Fence "chess" from a picket fence: ideas for creating

The fence is considered the main attribute of the arrangement of the personal plot, since it performs not only a protective function, but also gives the architectural ensemble a complete look. Today there are many types of hedges, but the chess fence is especially popular with the owners of country houses. It is easy to install and looks great in landscaping.
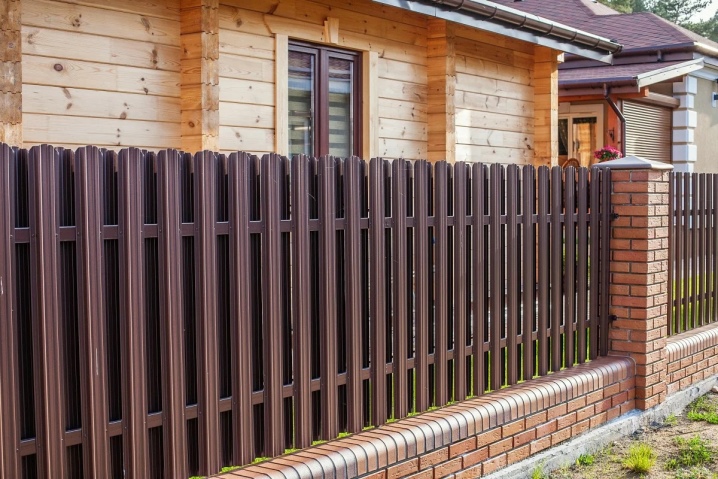
Peculiarities
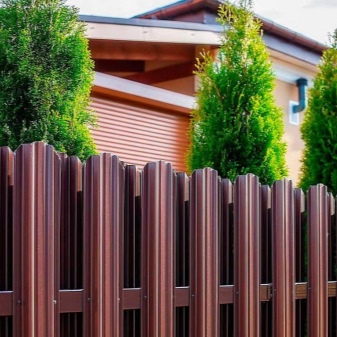
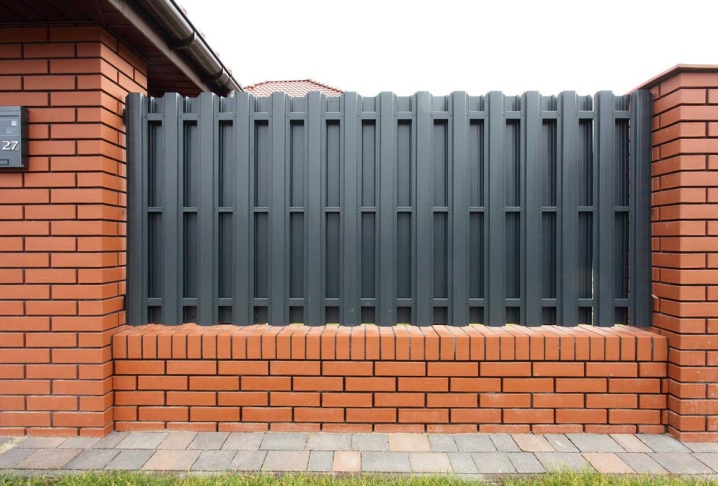
The fence "checkerboard" is a fence, the strips of which are fixed to the guides in a checkerboard pattern. Thanks to this method of installation, the fence gets double cladding and becomes stronger. Despite the fact that the canvas outwardly looks like a solid fence, it has holes for ventilation.
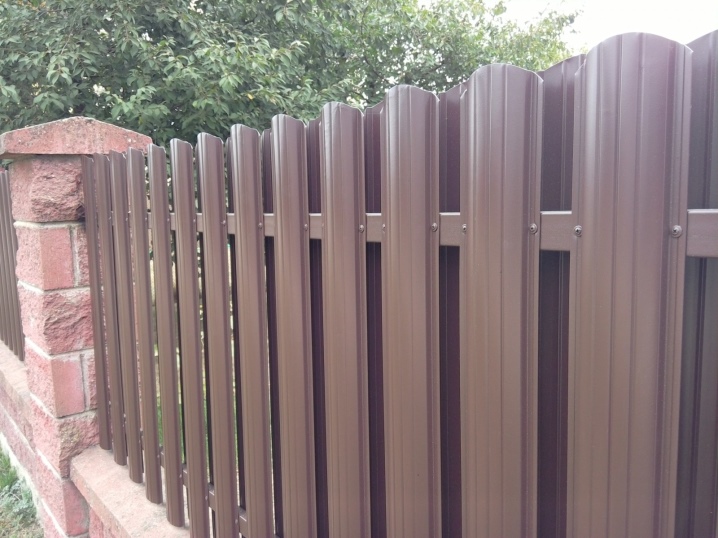
Many people confuse such fences with the classic picket fence, but these designs have significant differences. In an ordinary picket fence, the slats are fixed to the guides on one side, so the fence does not look very nice from the side of the yard. As for the chess fence, it has a peculiarity - it looks equally attractive from all sides.
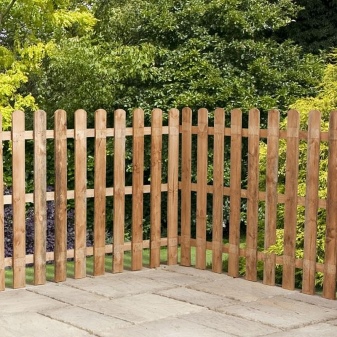
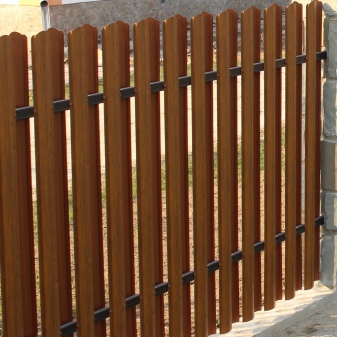
The main advantages of "chess" include several more qualities.
- Excellent barrier function. Even the smallest animal cannot enter the yard through such a fence. To protect the personal plot from intruders, it is best to install a vertical "checkerboard", since when installing a horizontal one, a "ladder" is created from the lamellas, which is quite easy to climb.
- Ease of installation. This fence can be erected independently without the help of specialists.
- High resistance to negative environmental influences and mechanical damage. Such hedges can reliably serve for more than a dozen years.
- Huge selection. Today, manufacturers produce lamellas from a variety of materials in chic colors. This allows you to quickly select them for the style of the site.
- Affordable price. On the market you can find many budget options for a picket fence, which is of high quality.
Types of euroshtaketnik
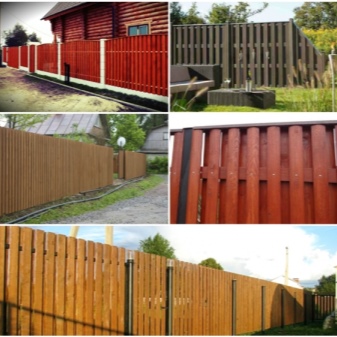
Fences "checkerboard" made of euro shtaketnik, depending on the material of manufacture of the lamellas, are wooden, metal and plastic. Each of these types differs not only in design, price, but also in service life.
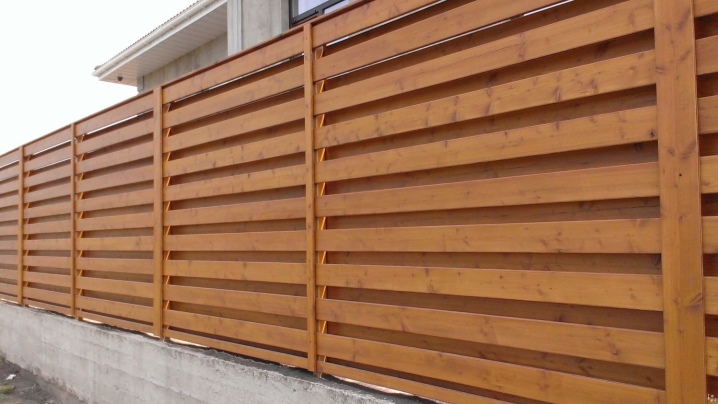
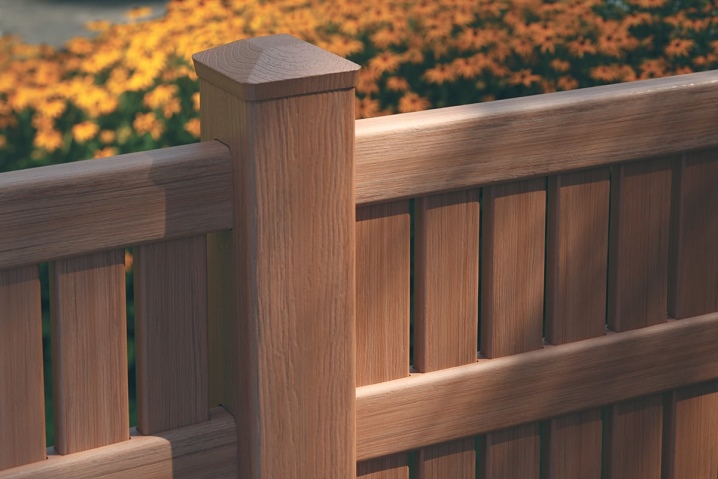
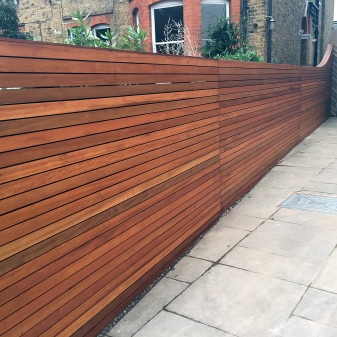
The most beautiful are wooden hedges. - they look expensive, but require careful maintenance (timely replacement of rotten planks, painting). To further emphasize the texture of the wood, it is recommended to install the lamellas horizontally and cover them with tinted or colorless varnish.
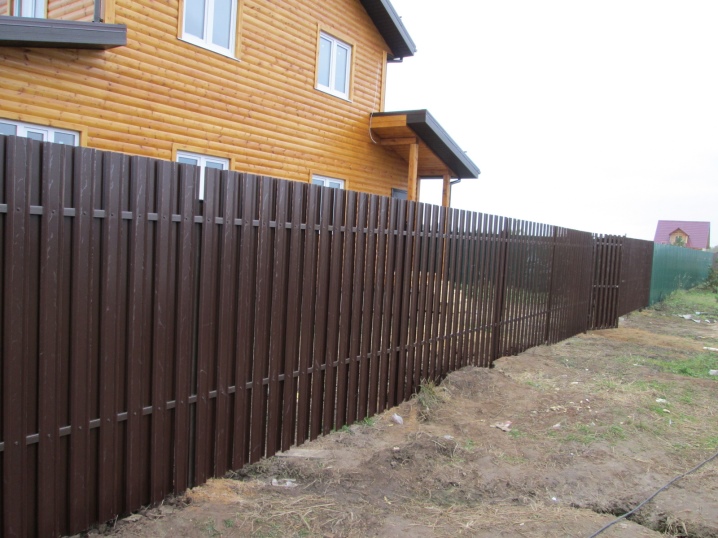
For those owners of backyard plots for whom it is important that the fence fulfills a barrier function, a metal picket fence is considered an ideal option... It comes in a variety of colors. This type of euro shtaketnik is characterized by durability and does not require special care, since it is painted during the production process.
The most budgetary option is considered to be a plastic picket fence. - it is produced not only in various colors, but also with imitation wood, natural stone. Plastic slats are easy to clean and do not require painting. Their only drawback is that, under the influence of ultraviolet rays, they begin to quickly turn yellow, fade and lose strength.
Fence installation
If you plan to make a fence made of metal picket (wood) in a checkerboard pattern, then you can use two mounting options.
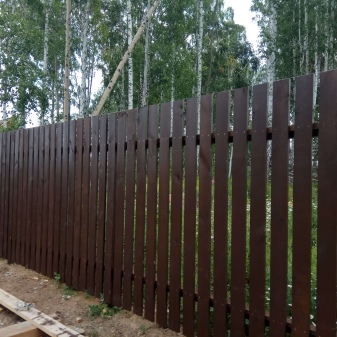
- Vertical. This is the easiest and most common installation option that does not require special tools and experience. In this case, slats from a metal picket fence are fixed to the transverse lags using special rivets or self-tapping screws. The size of the lamellas can be from 1.25 to 1.5 m.
- Horizontal. Suitable for those who love unusual designs. This installation method is rarely used because it requires strict adherence to instructions. In addition, to avoid the sagging of the picket fence, the installation of columns will be required, and this is an additional cost of time and money. The installation process is as follows: first, columns are placed (they need to be poured with concrete), then logs are placed between them, on which slats are attached on both sides.
The choice of the method for installing the fence largely depends on the material for the manufacture of strips and fasteners. In addition to choosing the installation method, you also need to decide on the type of foundation and supports.
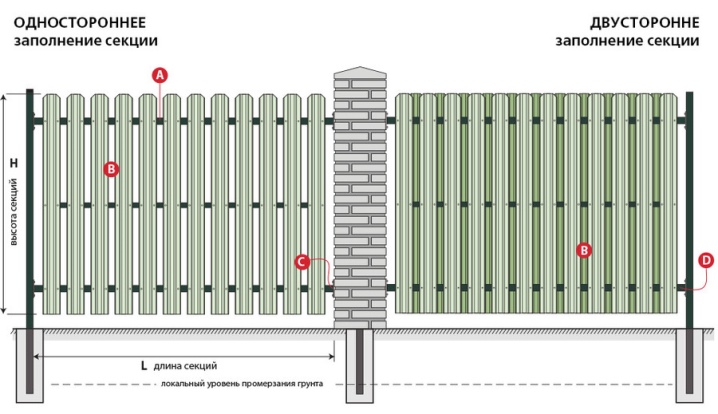
To make the design durable and beautiful, it is recommended to make a drawing in advance. In it, you need to specify the length of the spans and the distance between the columns.
Foundation
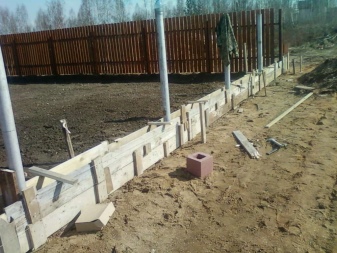
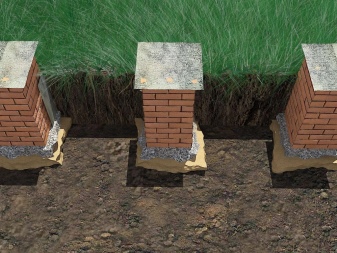
An important element of any fence is the base, since the service life of the fence depends on it. Fences "checkerboard" are usually installed on a strip or columnar foundation, the first of which allows you to give the structure increased reliability. Before erecting the foundation, you need to plan the territory and mark the axes. Then a trench is dug along the marking axes - its depth depends on the weight of the future fence and the distance to groundwater. Formwork is being built. Everything ends with concrete pouring.
Support
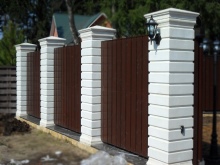
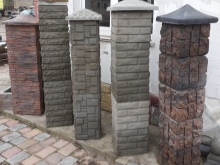
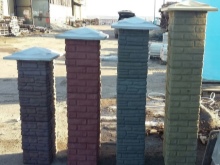
For the installation of the fence "checkerboard", you can use concrete, brick, wood or metal posts. Since this structure does not have much weight, craftsmen most often choose concrete posts as a support. They are installed in pre-prepared pits, the depth of placement can vary from 0.8 to 1.5 m. It depends on the structure and quality of the soil.
Mount lag
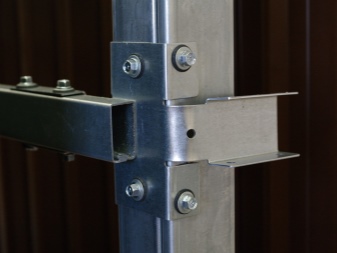
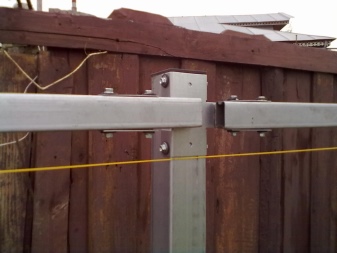
After the base and supports of the future fence are ready, the guide beams are installed. For this, grooves are prepared in advance in the columns, corners are welded to the metal columns. The lag should be fastened along the markings to avoid skewing. Planks should not be laid close to the ground - this is especially important if they are wooden. When installing a horizontal "checkerboard", it is necessary to additionally install vertical posts to fix the planks.
DIY installation
The fence "checkerboard" is usually chosen by land owners, who are trying to simultaneously give the territory an aesthetic appearance and hide it from prying eyes.
Do-it-yourself installation of such a fence is not difficult, but it takes time and preparatory work. The first step is to reconcile with the plan of the land plot, and the distance between the supports is determined. Then you need to purchase the necessary material and prepare the tools.
Before starting installation work, you should buy picket material, cross beams, fasteners, crushed stone and sand. As for the tools, you will need a laser level, a shovel, a roll of construction rope, and a screwdriver.
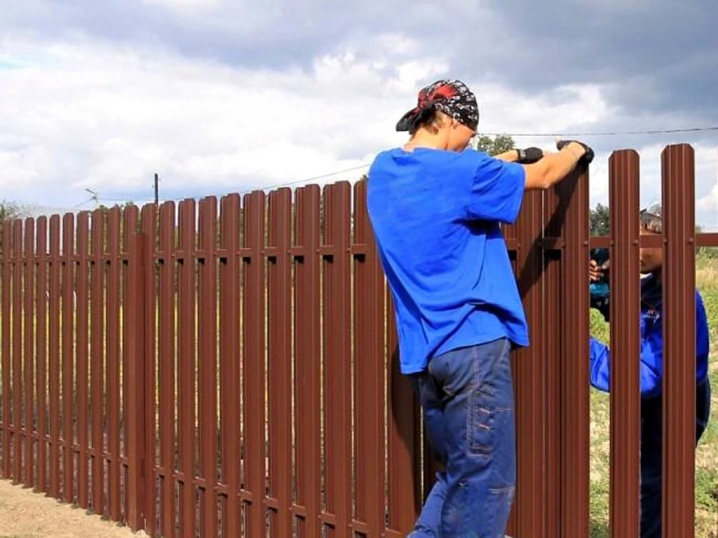
Then you need to follow several steps sequentially.
- Prepare the foundation and install the columns. Supports for the "checkerboard" fence can be installed both in drilled holes and in holes dug out with a shovel. Their diameter should be 70 mm larger than the diameter of the support. The depth is determined depending on the height of the columns: if it is 1.5 m, then the recess is made by 60 cm, from 1.5 to 2 m - 90 cm, and more than 2 m - 1.2 m. Before pouring the solution into the installed columns, the formwork is mounted.To do this, a sheet of roofing material is placed on the bottom, its edges are bent in such a way that the depth of the well corresponds to a section of a large diameter pipe. Then a column is placed in the center. It must be leveled and then filled with concrete.
- Fasten transversely. To prevent the crossbeam from sagging, it is recommended to make a distance of 1.5-2.5 m between the supports. Fixation is carried out using special lugs - if they are not in the columns, then you need to weld it yourself. You can also fix beams to embedded elements in the concrete column. After that, the horizontal position of the installation must be checked.
- Installation of lamellas. This is the simplest step in installing a fence, during which it is important to correctly observe the distance between the euro bar. For this, it is recommended to make a template, it will help you quickly determine the width of the gap between the strips. After several lamellas are fixed, you need to check the structure with a vertical level. If this is not done, then you can "spoil" the entire fence.
Step-by-step construction of a fence "checkerboard" from a picket fence in the video below.


The comment was sent successfully.