Varieties of trellis for cucumbers and tips for installing them
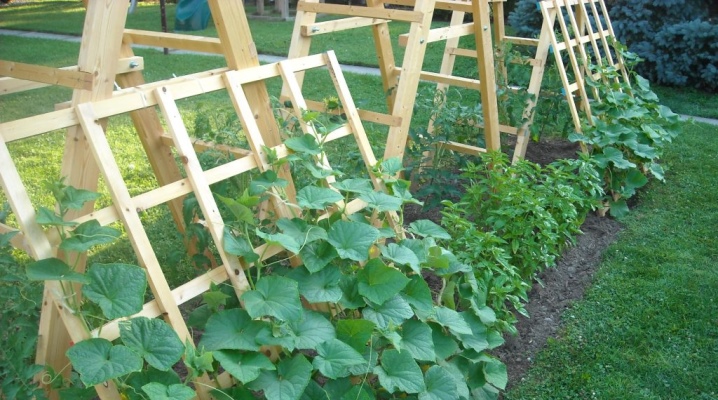
It so happens that in the same region with the same climatic conditions, one of the two neighbors has a good harvest, while the other has a better one. The fact is that in order to obtain a higher yield, one cannot be limited only to watering and heat. In the stock of an experienced gardener there are always several tricks that affect the quality and quantity of the crop. One of them is the installation of supporting structures on the beds - trellises, which do not allow highly climbing plants (raspberries, cucumbers, tomatoes) to lie on the ground.

Why do we need it?
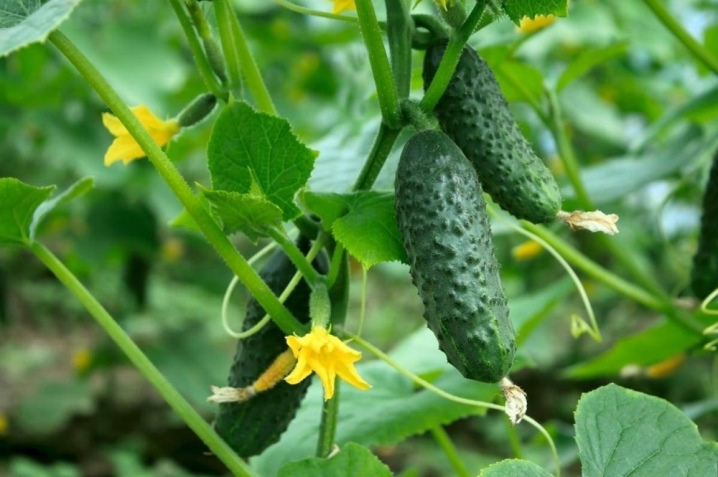
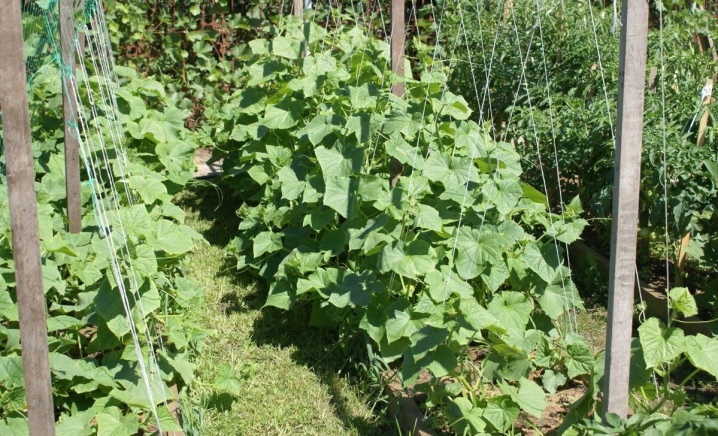
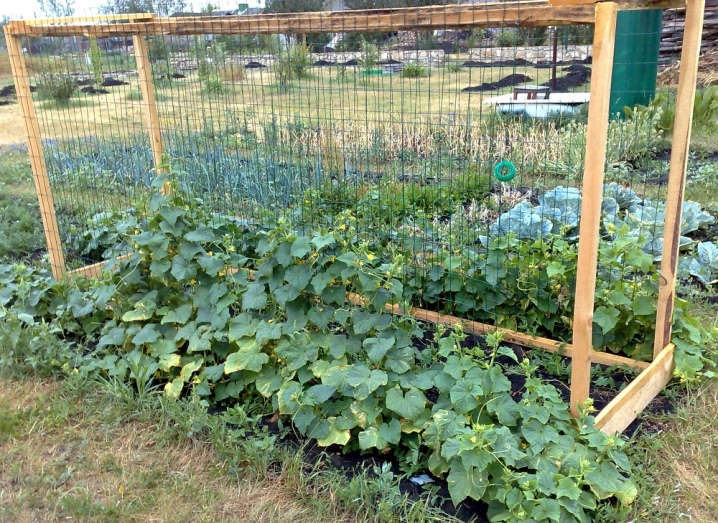
Cucumbers, being a pumpkin crop, are similar to a liana, since they are a climbing plant. In addition, the numerous tendrils of the culture cling tightly to everything that comes their way: tree branches, stones and earthen mounds. They also cling to each other, forming a fairly strong bond. Most often, such tying by gardeners is ignored, since it does not affect the taste of cucumbers. And only a few people know that because of this, the amount of harvest decreases, since flower ovaries break off, and cucumbers, not receiving the proper amount of light, are much smaller in size.
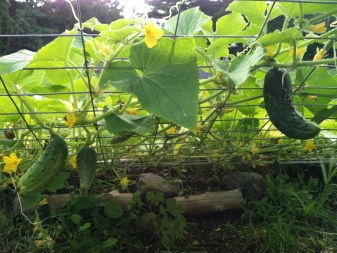
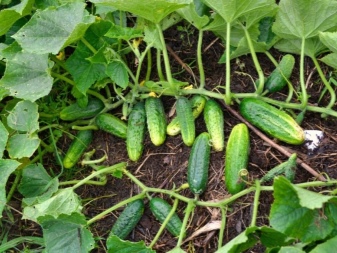
And the result of the harvest, obtained with the presence of trellis for cucumbers in the garden, will not replace planting a crop either in a greenhouse or in open ground, since the trellis has certain advantages:
- The presence of a trellis simplifies the care of cucumbers: when watering, water flows directly to the root. The weeds that have appeared are clearly visible, which are removed easily and quickly, since you do not need to be careful, fearing to damage the root system of the cucumbers.
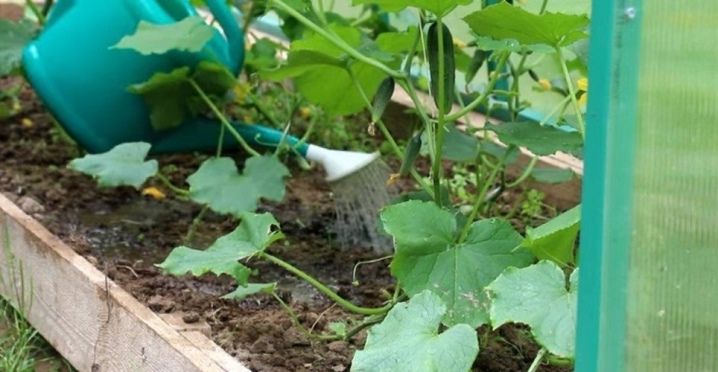
- The tapestry helps prevent the appearance of fungal diseasesbecause foliage does not come into contact with wet soil.

- Eating of fruits by pests living in the ground is excluded, since cucumbers are in limbo. In addition, it is much easier to harvest, and at the same time, the flower ovaries hidden under the large leaves of the crop do not break off.
- If it becomes necessary to carry out any soil cultivation, then there is no need to worry that the solution will get on the fruit.
- Beds with tied bushes always look more aesthetically pleasing.
It should be noted that this structure can be installed both outdoors and in greenhouses and greenhouses.
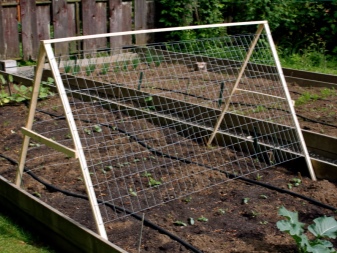
Species overview
First of all, it should be noted that the tapestries can be factory-made or made by yourself. But when choosing a design, it is better to be guided not by this, but by the appropriate version of the device specifically for this or that particular case. The choice of the model is influenced by the characteristics of the growth of the crop, the shape of the garden bed and the place where it grows (greenhouse, greenhouse, open ground).
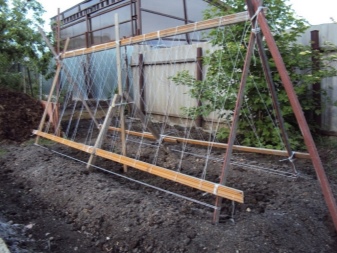
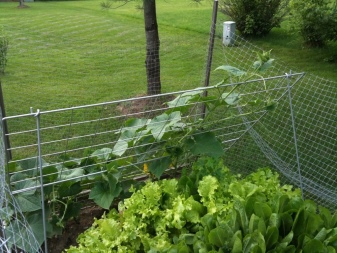
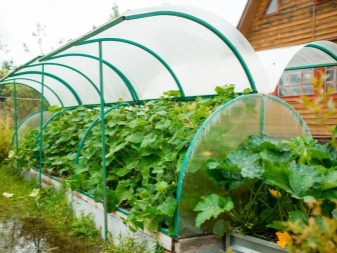
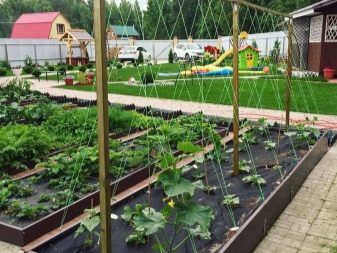
These or those types of trellises differ mainly in height and slope (separate straight and inclined). The choice of material is of secondary importance, affecting not the functionality, but the appearance of the device. Hand-made models are made from any available material (metal, wood), and factory ones are collapsible plastic structures. Both factory and self-made tapestries can be divided into several types.
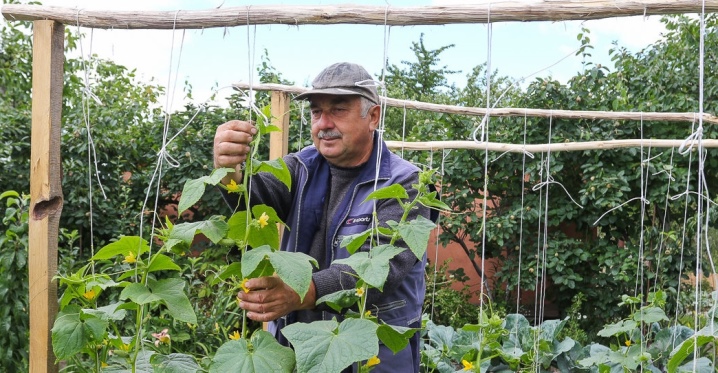
Horizontal
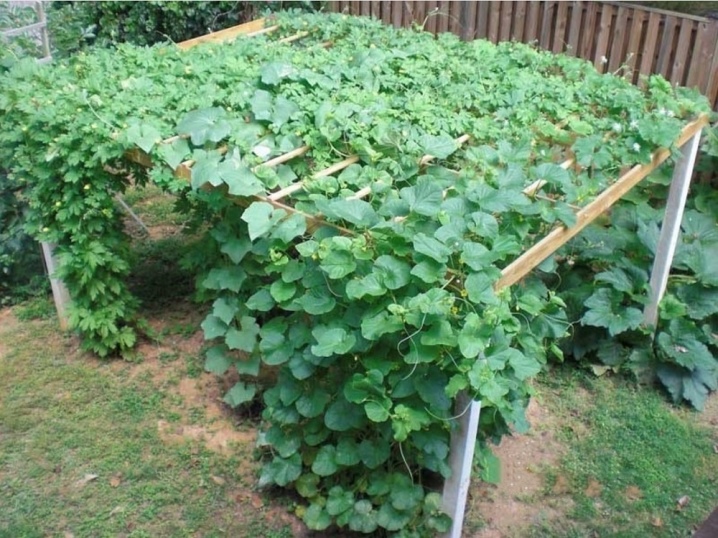
The horizontal trellis is the easiest design to use; it is most often used by novice gardeners.
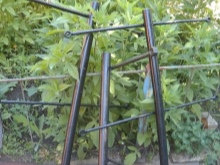
The essence of the design is that wooden columns or metal pipes are installed along the edge of the bed, between which a strong rope or wire is pulled in rows. The distance between them should be about 30 cm. The result is a multi-row design. A young culture is fixed to the bottom row through a garter.
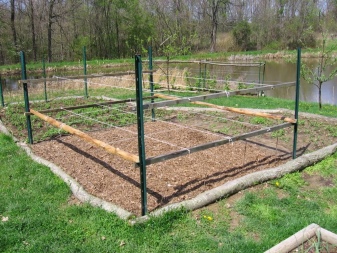
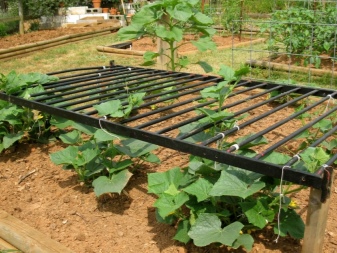
A horizontal trellis has one drawback: if the height of the bush becomes higher than the trellis, then the plant begins to hang down, forming a kind of canopy. This becomes the cause of the appearance of the shadow side, which prevents the even distribution of the sun.
Vertical
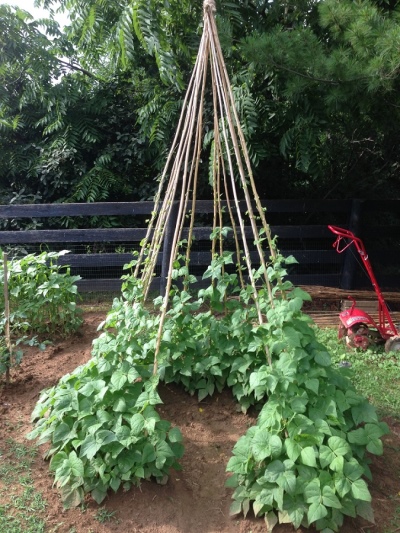
A vertical trellis differs from a horizontal one in that more material is needed to install it, since the structure is installed near each bush.
But to some extent it is easier to install it, no help is needed. It is an ordinary pipe or wooden post that is stuck into the ground near the bush so that the culture can be easily tied to them. Various ribbons or ropes are used for tying.
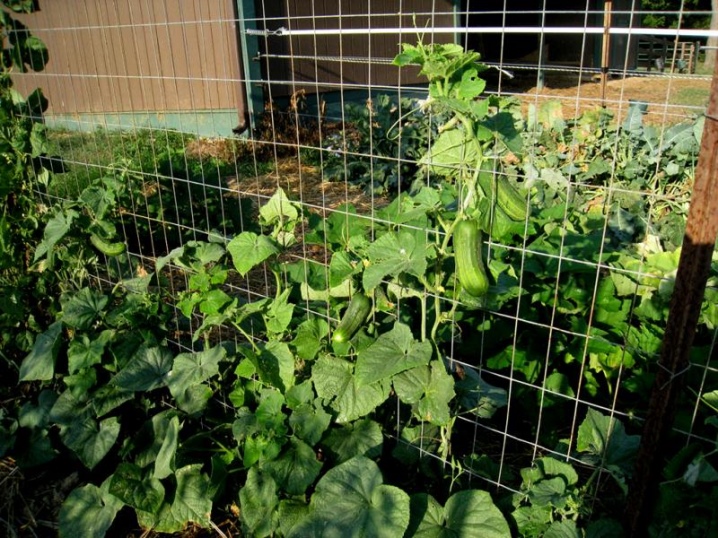
Trellis net
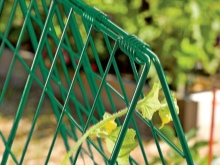
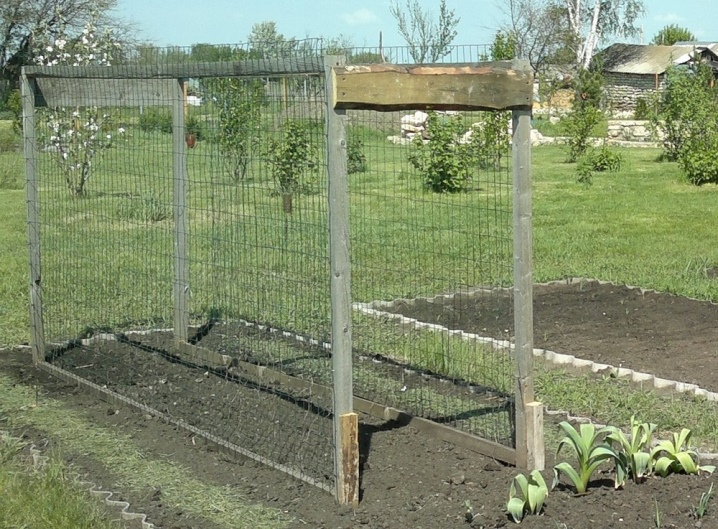
This type of construction can be factory made, made of polycarbonate, or you can make it yourself. There is no functional difference between them.
Such models differ only in the installation method. Purchased trellis do not require special efforts during installation - just stick the posts into the ground, after which the lattice is fixed to the special fasteners. The difficulty of installing a do-it-yourself trellis net is that you will need to make a slight effort to pull the rope or wire both horizontally and vertically. In addition, if you do not twist the wire at the joints of the horizontal and vertical, or if you do not tie a rope into a knot in the same places, then the mesh will not work. This is the only difficulty that is possible during installation.
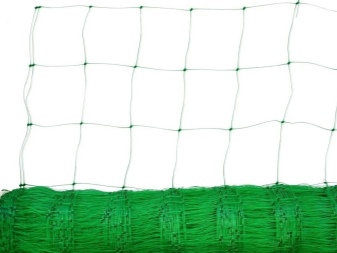
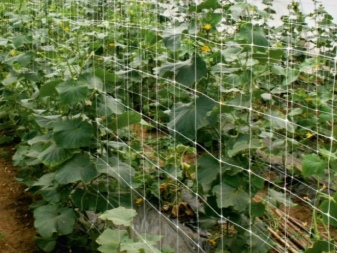
Besides, the service life of the factory model is much longer (about 7 years), it can be disassembled without hassle for the winter. The size of the cells is 15 by 17 cm, it is convenient to pass the cucumber tops through them, which does not need a garter as additional fixation. As for the appearance of the structure, polypropylene, being a plastic, is resistant to moisture and sunlight - it does not rust or swell like wood or metal.
Rectangular and hut type
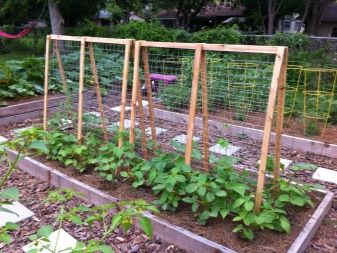
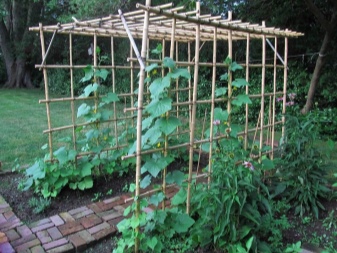
Those who like to surprise with the originality and beauty of their site often design unusual rectangular trellises or hut-type trellises. From the point of view of functionality, the structures do not have an advantage over, for example, the simplest option for installing vertical trellises. But with skillful construction, a tall, beautiful model may appear on the garden bed, the top of which will be decorated with cucumber tops, and the fruits themselves will hang down below.
This type of trellis is the case when the gardener can show imagination, since there is no specific construction scheme. Everyone makes a model at their discretion: some use a mesh for these purposes, while others pull the threads vertically or horizontally.
The tapestries are used both in greenhouses and outdoors. But if you want to grow early cucumbers in the absence of a greenhouse, you can install small trellises in greenhouses, if the young seedlings are well pulled up, and the weather conditions still do not allow moving the crop to open ground. Installing the corresponding trellises in it will allow the cucumbers to strengthen without clinging to each other.
Materials (edit)
It has already been noted above that factory tapestries are made of polypropylene, which makes them resistant to moisture, sun and sudden temperature changes.
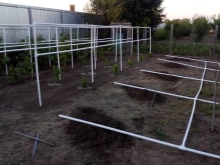
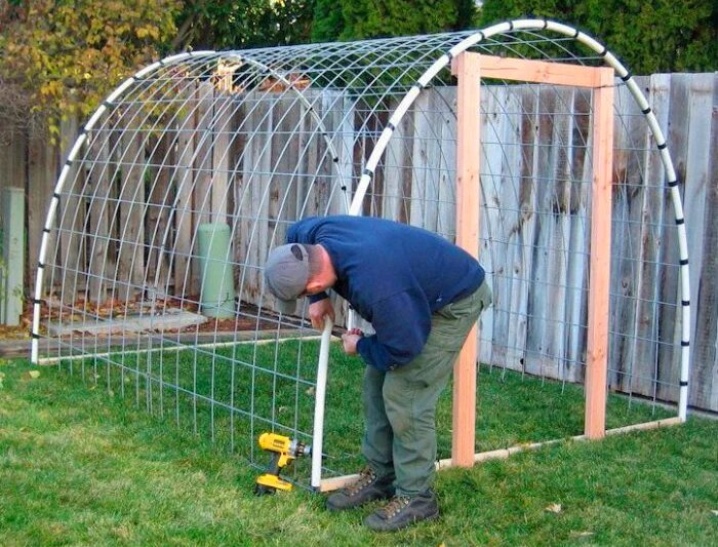
To make the home-made device the same invulnerable, you can use plastic pipes, pieces of PVC panels and other polypropylene improvised means for manufacturing.
For metal models, you will need fittings, a metal file and, in some cases, a welding machine.
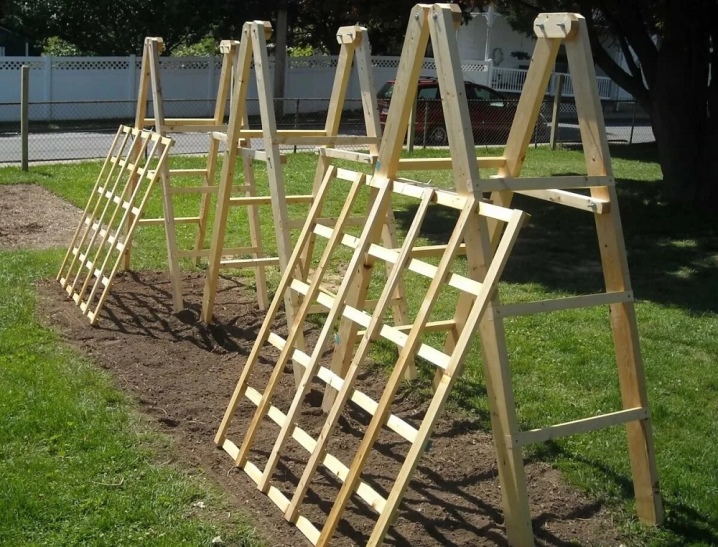
Wooden trellises are the easiest to make, since there are always several unnecessary bars and slats in the country, just like in almost all country houses there is a saw for wood, a hammer and a few nails. Wire or rope is used as binders. But in wooden models, you can replace them with crossbars made of thin slats. Such a model will resemble a ladder or lattice. She always looks spectacular in the garden.
When choosing a material, it should be remembered that rust will quickly appear on metal products. The tree on the street is subject to rapid decay. Plastic is considered more resistant to environmental influences, but you need to work with it very carefully, since it can crack (when trying to connect parts even with small nails). It is preferable to use glue for the connection, intended for outdoor use.
But in many ways, the choice of material depends on the shape of the cucumber bed, since for this or that material you can pick up special processing agents that protect against external influences (rust, decay).
How to do it yourself?
Making a trellis yourself does not make up ore. First, you just need to decide, taking into account the shape of the garden, what it should be. It can be simple in form or it can be complex.
The simple ones include horizontal and vertical structures.
Making a mesh, an arc, a hut and other options is considered difficult.
The next step is the choice of material (see above).
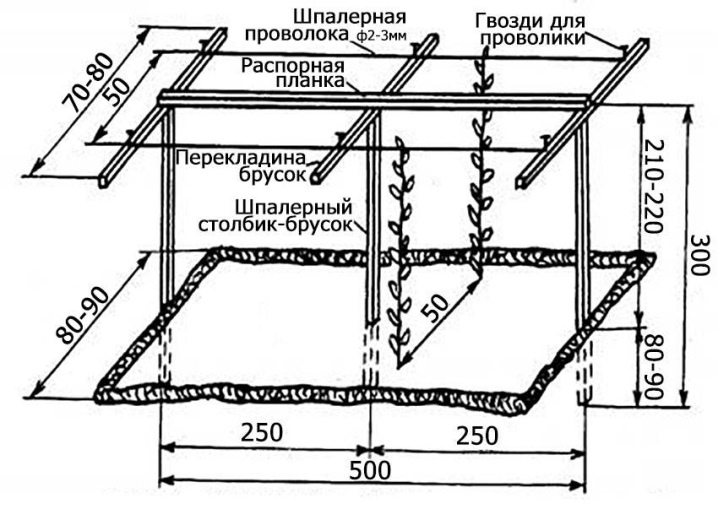
Then we draw up simple drawings that allow us to calculate the dimensions.
If it is decided to install a metal trellis at the dacha, then you need to purchase two-meter metal pipes, as well as metal pegs, the number of which is related to the width of the bed. We fix the pipes in the ground at a depth of 40 cm, then attach a metal crossbar to them from above, to which a rope launched from the pegs will be tied. On the opposite side, we set pegs in pairs at a distance of 20 cm from each other. The final step is to pull up the rope from the bottom of the peg to the crossbar welded to the metal pipes. We repeat the strapping until an L-shaped structure is obtained.
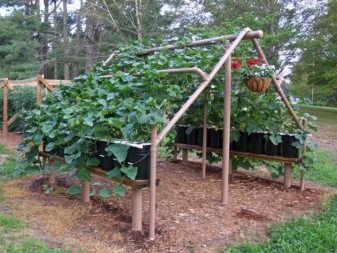
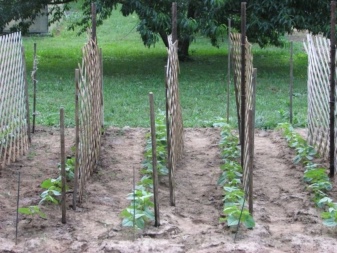
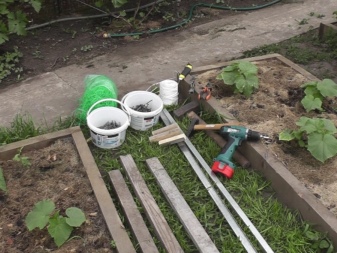
Making wooden trellises yourself is much easier than making metal ones. To do this, bars are fixed in the dug holes at a distance of 2.5 m (the distance and the number of bars depends on the size of the beds). After that, we nailed to each column along the crossbar so that the letter "T" would turn out. We then pull the rope onto these rungs.
If it becomes necessary to make a plastic model, it is recommended to use pipes and corners to them, which are used in apartments for heating. Such parts will not need to be glued or nailed. It is enough to find the required pipe sizes, and with the help of the corners, you can give them a U-shape, over which the rope is pulled.
There is no single requirement on how to make a trellis correctly - it all depends on the requirements and imagination of the gardener.
How to install?
The essence of the installation lies in the good fixation of the structure. The fact is that moist soil (for a favorable growth of the culture, moisture must be maintained constantly) is rather loose. Moreover, if the trellis is heavy, then the entire installation can collapse, damaging the culture.
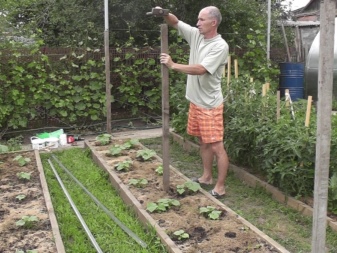
To prevent this from happening, it is necessary to secure the leading pillars for the entire structure in a special way, since their height must be at least 2 meters. To fix these columns near the beds, the depth of the hole must be at least one meter. For complete balance, they need to be placed in the middle of the fossa. Then sprinkle with earth and tamp well.When installing trellises on loose sandstones (earth with a predominance of sand in it), it is recommended to fill the metal posts with cement mortar, which will give the whole structure special strength. The method is not applicable to wooden posts, since they should be removed for the winter in order to avoid decay. But in the case of cement mortar, there is also a certain nuance: the trellis will become non-portable. And to increase yields on infertile soils, the place of planting of crops should be changed every year.
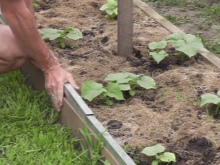
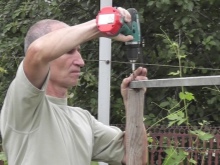
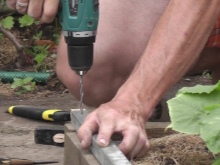
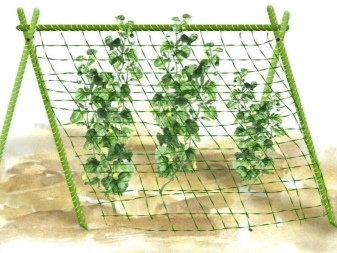
If the cucumber bed has a round or oval shape, then it would be preferable to pull a mesh trellis on it at an angle or organize the installation of a more complex one, for example, a hut-like structure. Such an installation will not only look spectacular, but in the future will also reduce the time spent periodically tying each free-standing bush. Another advantage of this design is the absence of the need to prepare a large number of columns.
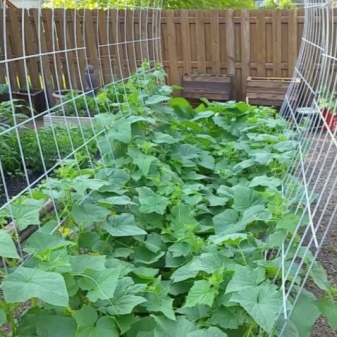
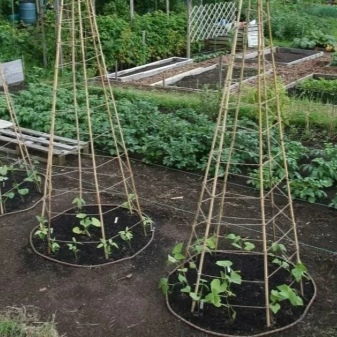
And if the bed is small, where the crops are scattered from each other, then there is no need to install complex trellises. Here it is more expedient to use a vertical garter for each bush separately.
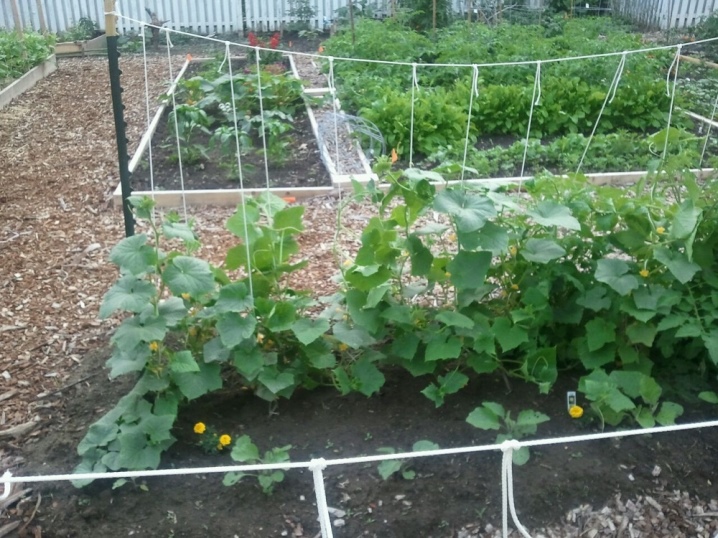
To prevent the curling cucumber bush from slipping, it is necessary to fasten the trellis in close proximity to it.
But pressing the trellis tightly is also not worth it, since this can cause the support of the bush to be uneven. It turns out that the cucumbers that have grown in breadth will be attached only on one side, and the other will be on the ground.
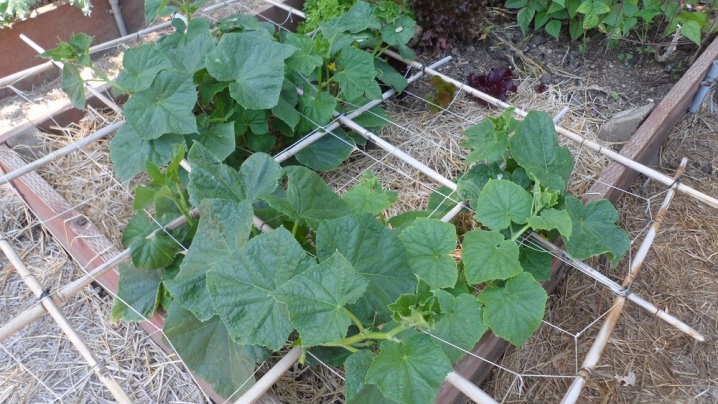
How to tie up cucumbers?
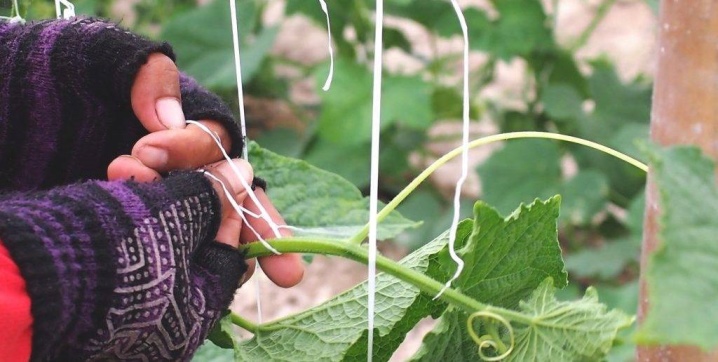
Usually, the garter of cucumbers does not cause any hassle, but in order not to damage the crop, it is necessary to tie it correctly.
- For a garter, it is not recommended to use tight or too thin threads (fishing line or nylon), as they can cause cuts.
- You cannot tie the thread tight. It can also damage the plant.
- The garter is not quite from the bottom and not quite from the top. With regular garters, the optimal distance is just above the middle.
- Most of all, ribbons or pieces of rags 1-2 cm wide are suitable for a garter.
- If you tie it with a bow, and not with tight knots, then for the next garter you can use the same material by untiing it.
- The garter procedure is best done in the early morning, as there is a high likelihood of wounds that will dry out with sunrise. This promotes quick healing.
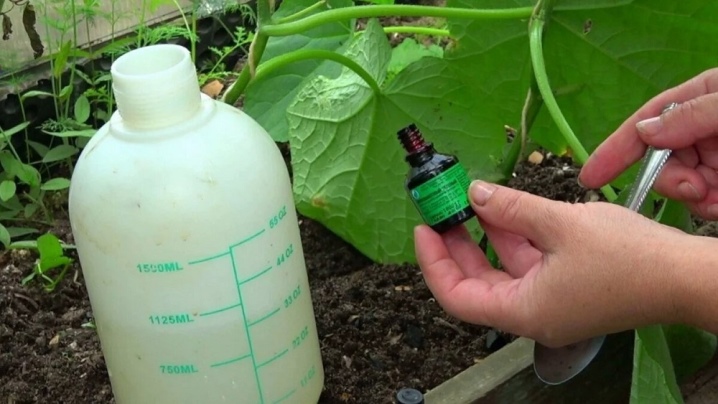
- When tying up a still fragile young growth, it is recommended to irrigate the bushes with "Epin" after the procedure, so that the plant will quickly come to its senses.
- The first garter after planting is done when the crop has released 3 or 4 leaves.
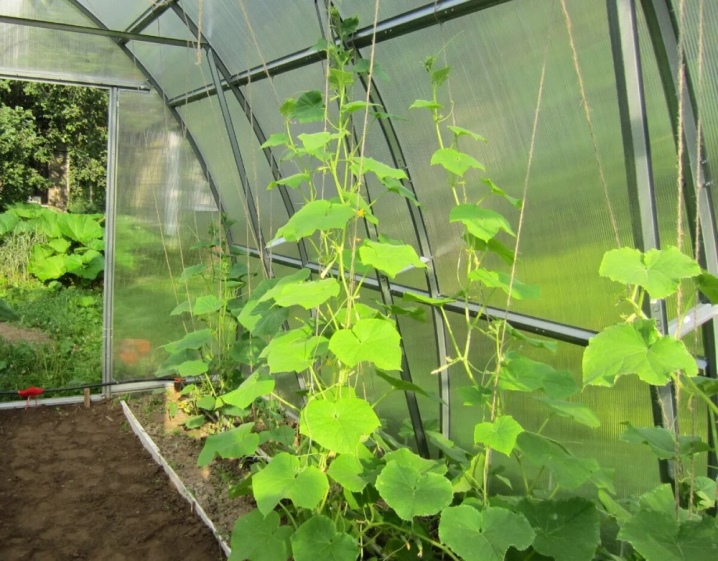
How to make a trellis for cucumbers with your own hands, see the video.


The comment was sent successfully.