Starting putty: features of choice
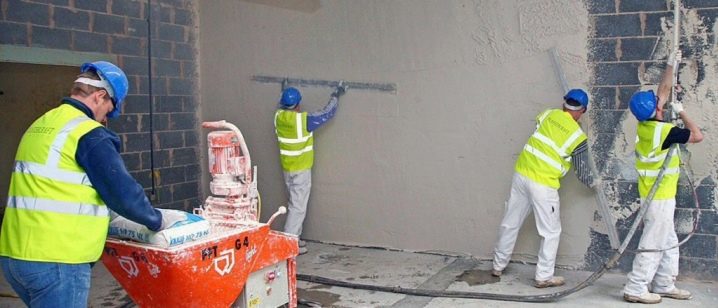
There are a variety of starter putties on the market today. Finding the right option is often quite difficult not only for novice craftsmen, but also for specialists. In order not to be mistaken, you need to understand the types of such materials, the features of the choice and use of the starting (also called base) putty.
What it is?
Starting putties are used to smooth various surfaces. Such materials are well suited for the following foundations:
- stone;
- concrete;
- brick.
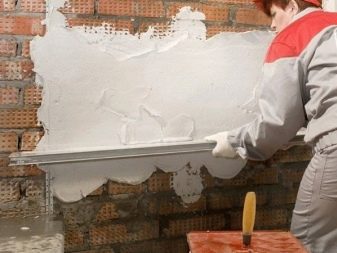
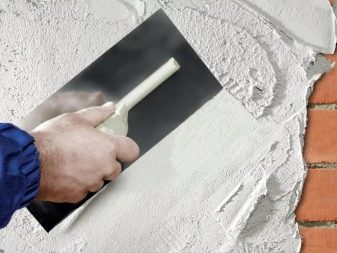
Similar putties can also be used for arched openings, door, window slopes, and so on.
They are suitable for plastered ceilings, walls. With the help of such materials, the foundations with potholes, chips, cracks are leveled - they allow you to eliminate a variety of defects. It should be noted that the starting putty differs from the finishing material: it is cheaper and has a denser consistency.
Quality starter putties have the following characteristics:
- resistance to cracking (however, for this, certain recommendations must be taken into account when preparing and applying the material);
- the ability to quickly become dry;
- environmental friendliness.
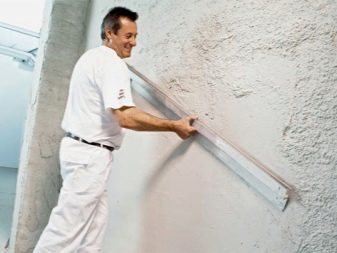
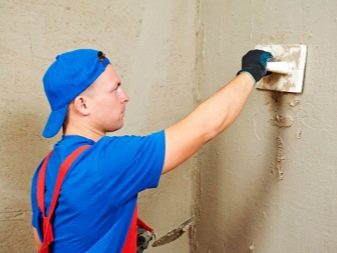
Manufacturers offer putty materials specifically designed for outdoor or indoor finishing work. In order for the putty to adhere better to the base, you can first apply a primer to the surface.
Many people who are going to use a starter putty are interested in whether it is possible to glue wallpaper on this material immediately (without using additional coatings). Different situations are possible. If the wallpaper is thin, it is better to first apply a finishing solution to the surface.
If the coatings are thick enough, they can be used immediately.
The consumption of putty largely depends on the type of substrate being processed. If you are going to purchase a putty material, you need to inspect the entire surface: this way you can take into account every nuance and correctly calculate the required amount of solution.
Views
Manufacturers who create a starter putty usually use for this:
- gypsum;
- polymer binders;
- cement;
- lime.
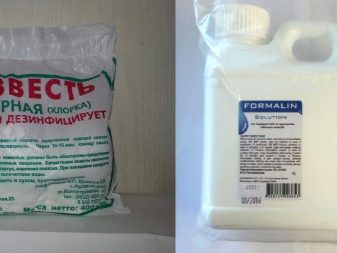
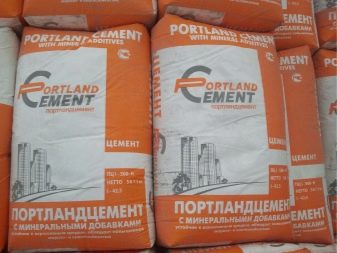
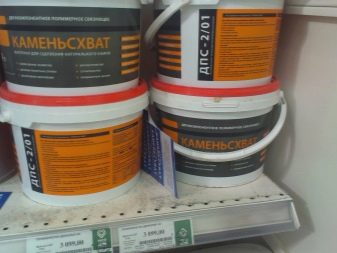
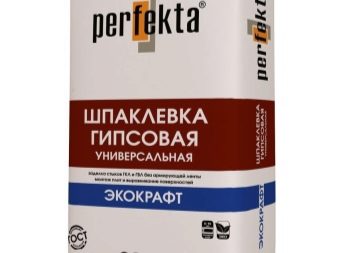
The proportions depend on various nuances, as well as on which manufacturer produced a particular putty material. Today, many companies specialize in the production of basic putty: Knauf, Prospectors and so on.
Choosing the right material, you can read consumer reviews, get acquainted with the ratings. It is recommended to give preference to well-known manufacturers with a good reputation.
Materials with a particularly high concentration of cement are highly resistant to liquid attack. For this reason, they are well suited for both interior and exterior decoration work. They are used for surface treatment in rooms with high humidity. However, such materials also have disadvantages: they are distinguished by a rich gray color, which is very difficult to hide with thin wallpaper, and also shrink significantly after a while.
Dry gypsum putties have a beautiful white color, they are more aesthetically pleasing. However, such materials should not be used in rooms with high humidity.
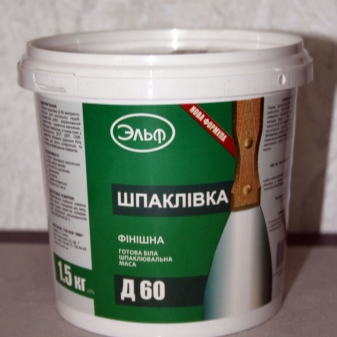
Putty materials based on polymer binders are very popular. These are, for example, acrylic materials. These putties have the following advantages:
- they can be used to apply to a wide variety of surfaces;
- they don't shrink over time;
- they are easy to apply;
- they are highly elastic.
How to choose?
If your goal is to obtain coatings that will last as long as possible and will not cease to be aesthetic over time, use materials from the same manufacturer (and related to the same series) in the same room. If you are going to purchase a putty, first find out the expiration date, read the instructions.
Do not use putty solutions for interior finishing work, which are intended for processing external surfaces. Otherwise, cracks may appear on the surface, after which you will have to make repairs again.
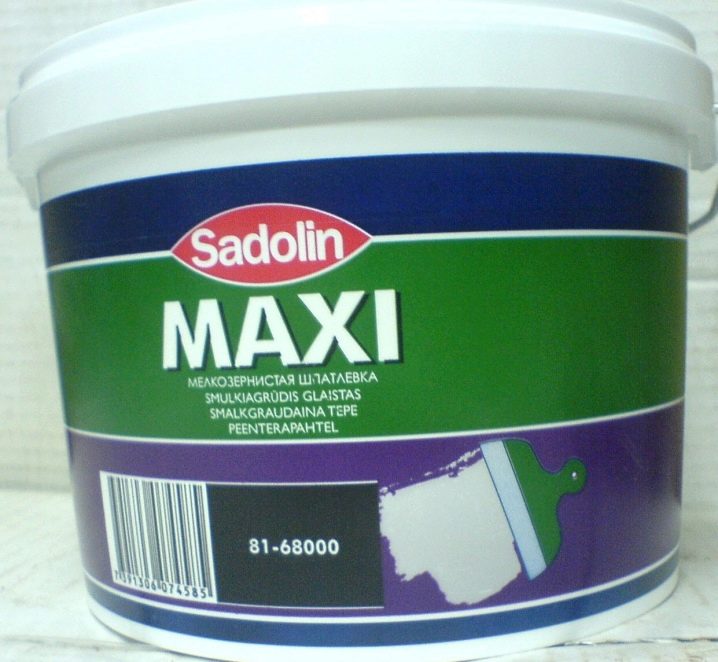
If you are a beginner but want to tackle everything yourself, opt for Maxi materials. Putties with such a mark take a long time to solidify, so you will have the opportunity to carry out finishing work without undue haste.
Preparation of the solution
If you don't have confidence in the putty materials that are sold in stores, or you just don't want to spend money, try creating a mixture with your own hands. So you will not doubt the composition of the material, its quality will also depend only on you. Some consider this option to be the most reliable, but it should be borne in mind that the consumption of self-made putty is more significant.
The following types of homemade putties can be distinguished.
Oil
They are suitable for wood surfaces that need to be made as resistant to high and low temperatures as possible (facade walls, window frames and other similar substrates).
To create such a material with your own hands, you will need to mix chalk (2 kg) and drying oil (1 kg). Then add a desiccant to the mixture that you have obtained (100 g will suffice). Boil the solution over a fire, let it cool. This mixture should be warm when used.
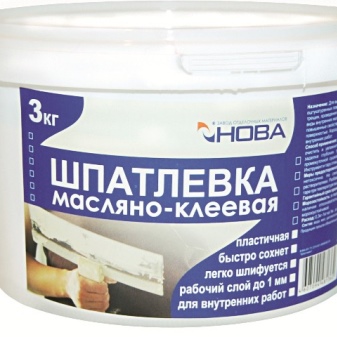
Chalk and gypsum materials
They can be used in rooms that are not characterized by high humidity. With the help of such putties, you can make concrete and drywall walls smoother.
To make such a mixture, you need to mix gypsum (one part) and chalk (three parts) in a dry container. Take the dishes in which there should be a 5% solution of glue (carpentry / animal), pour the mixture there. In this case, it will need to be gradually stirred.
Then mix everything to get a homogeneous mass. This homemade putty material will need to be applied to the surface immediately, as it hardens very quickly.
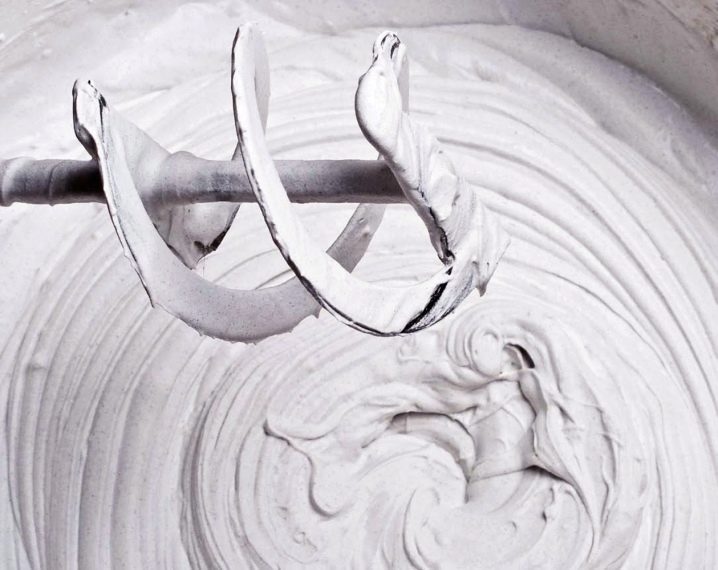
Usage
Starting filler materials must be used, taking into account certain recommendations. In the instructions that come with the putties, manufacturers describe how to apply the materials correctly. Usually, there are differences only in the initial stages (when the mixture is prepared).
Polymeric materials are ready for use from the very beginning; such a putty only needs to be mixed. Many consumers note that this is very convenient.
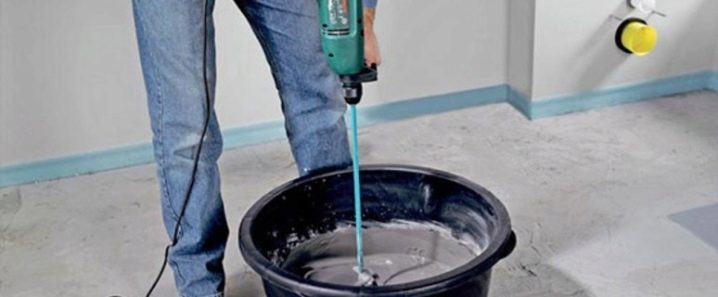
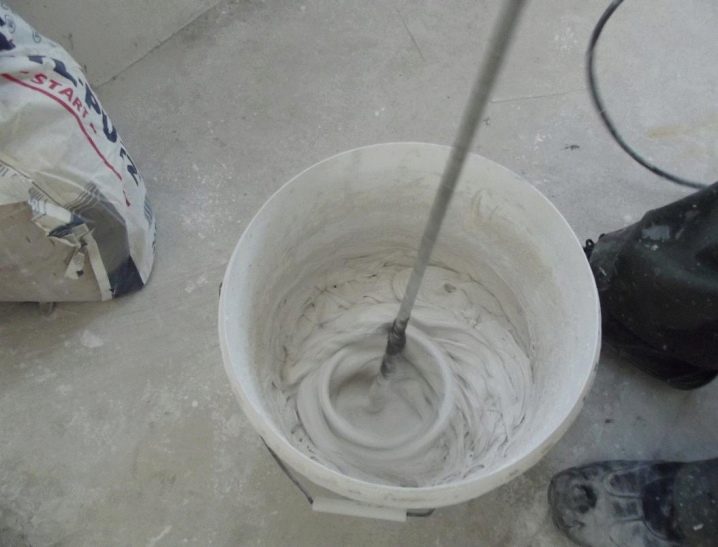
Mixtures based on gypsum or cement are diluted with liquid. Do not forget that after dilution, the material hardens quickly enough. You will need to use it immediately after preparation.
Prepare the surface thoroughly before using the filler material. It will be necessary to apply a primer to the base in advance, let it dry.
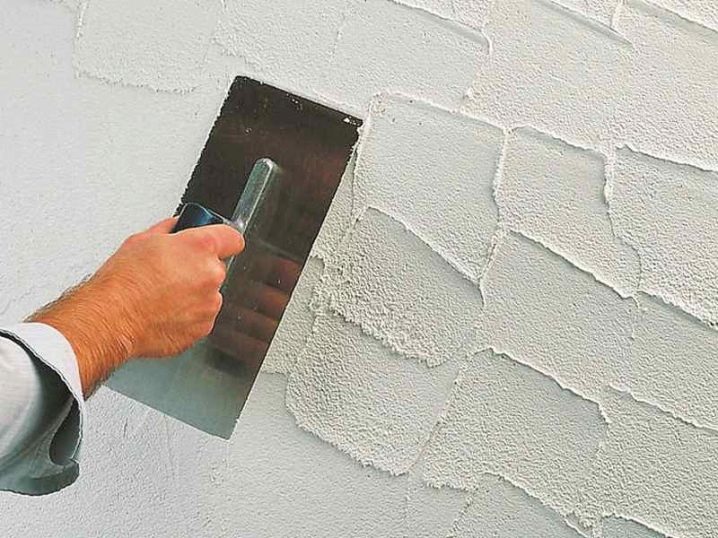
If the substrate is relatively flat, apply the filler as follows:
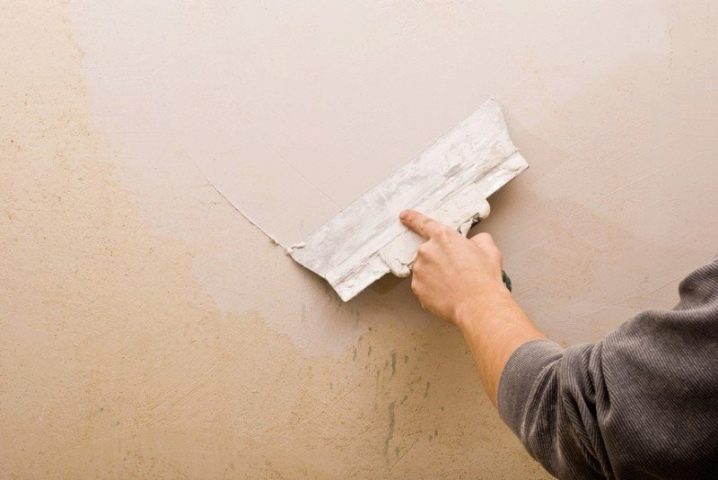
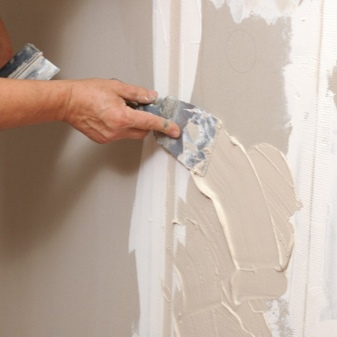
- Using a spatula, draw up the material (the portion must be large enough). Start applying the mixture to the surface with broad, sweeping strokes. This should be done as quickly and confidently as possible.
- Press the trowel firmly against the wall. The angle of inclination of the tool to the base should not change during operation.
- If sagging occurs, remove or spread using an empty trowel.
In cases where the irregularities are strong, it is necessary to apply a putty to the surface and wait for it to harden. Then it will be already possible to start leveling.
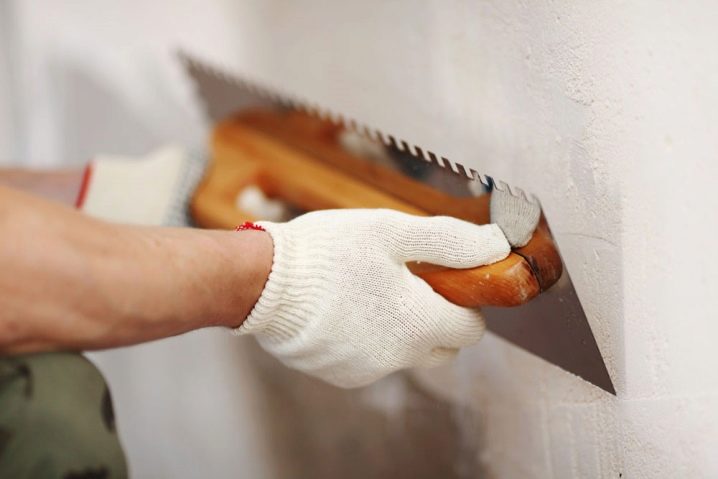
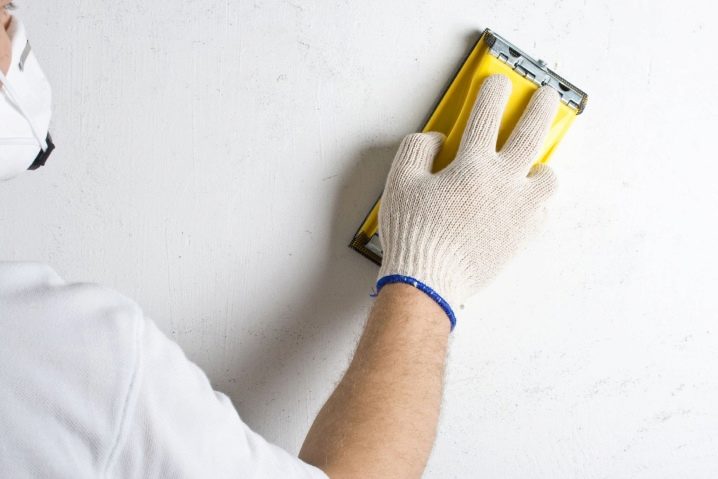
It is necessary to carry out grinding using sandpaper. Eliminate tool marks, sagging, and other defects: the surface should become smooth and even. Experts align it quickly and easily, and novice craftsmen will need perseverance and patience.
Before carrying out finishing work, one should not only understand the range of filler materials, but also learn how to prepare the surface, apply the mixture. If you do everything right, you can safely begin the final finishing.
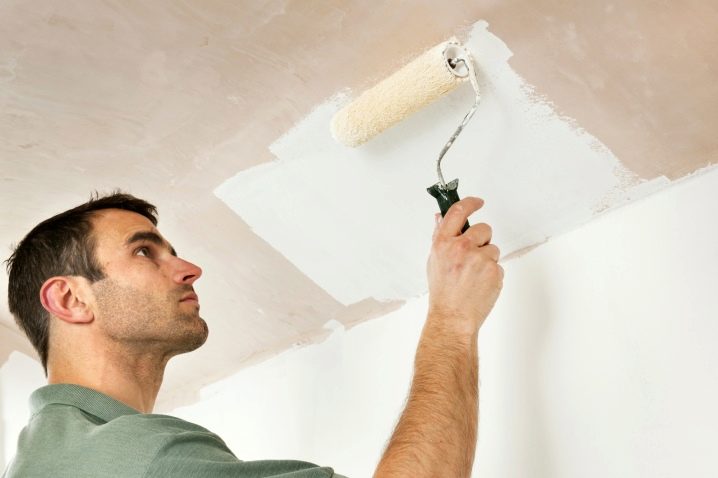
You will learn about the features of the starting putty and its use in the following video.


The comment was sent successfully.