How to make a box out of origami modules?

Modular origami is a very common form of creativity. Most often, the first attempts to create paper figures are done in childhood. However, the crafts from the modules are somewhat different from the standard origami. Using the modules, you can create original jewelry boxes, secrets. Anyone without special skills can do such things. It is enough to study the detailed description of the algorithm of actions.

What is modular origami?
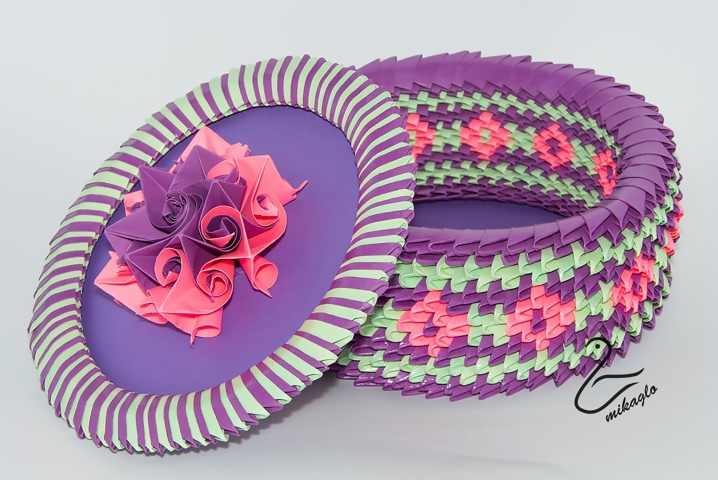
This kind of creativity allows you to form shapes of a three-dimensional type. The main distinguishing feature of such a product is the assembly of many blocks, triangles or other created figures. The shape of the modules can be varied, as well as the size or color. This type of handicraft allows you to create very interesting things: toys, souvenirs, decorations for the Christmas tree, garlands and even boxes. Parts are bonded to each other without glue.
The technique of creating a product consists in the formation of individual parts-modules in the required quantity. Then the thing itself is formed from them: voluminous, bright, with a spectacular texture. It is enough to practice on the simplest figures to fill your hand, and you can start creating more complex textured things.
A huge plus of origami is that it is a fascinating action that is addictive, allows you to be distracted, relax, enjoy creativity.
Tools and materials
Before starting the process, you need to make sure that the necessary tools and materials are at hand. The main tool is the hands of the master, however, the process is impossible without some things.
Paper:
any type will do, the office variety is best;
the paper must have a dense structure;
give up sleek options;
colored office paper - ideal for bright compositions;
you can buy special paper in a creative store;
a color option for children is suitable;
experts make figures even from magazine sheets;
a wraparound matte look is a great option for modules;
craft type is well suited for the formation of products that require stability;
you can use corrugation or embossed;
it is important that the material does not slip and is strong, keeps the fold.

Scissors should be:
sharp;
not tight.
Also useful:
ruler (triangle);
pencil;
paints;
glue;
accessories for decoration - optional.
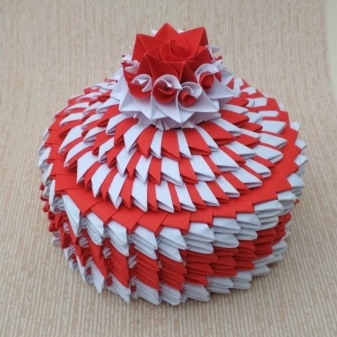
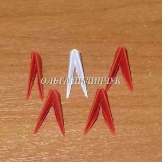
Before starting work, remove all unnecessary from the work surface, check that all tools are prepared. In such a casket, you can store jewelry or just present as a gift. This product is assembled from blocks of a triangular type. You will need white modules - 34 pcs., Red or pink - 184 pcs. The size of the blocks is 32 parts of a sheet of standard A4 format. In addition, you will need:
1/32 sheet white blocks - 32 pcs.;
white blocks 1/64 - 16 pcs., orange - 1 pc.
Bottom Assembly Description:
in the first row there are modules in this order - 1 pink, 1 white, 1 pink;
in the second row - 2 pink, so 32 rows are formed;
on the 33rd row alternate - pink, white, red;
then the formed part is bent in the shape of a half-heart;
the second half is formed in the same way;
they stick together;
we form a cardboard bottom of the desired shape and glue a heart to it.

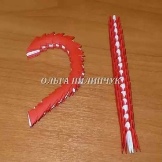

Cover assembly diagram:
formed from pink or red blocks that are inserted into one another;
you will need 26 parts for each half of the heart;
we give the desired shape to the finished blocks;
we fasten to each other and glue another cardboard heart of the same color.


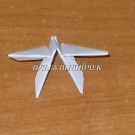
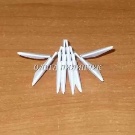
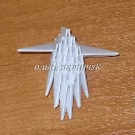
In fact, the product is ready, but you can also decorate it with white swans. Here is a step-by-step instruction for assembling swans. To shape the birds, you need to create the details:
snow-white for the body, size - 32 part of the sheet - 16 pcs.;
the same color for the neck, 64 part of the sheet - 8 pcs.;
orange color for the beak - 64 part - 1 pc.
Body shaping scheme:
on the first row - a white block, with the elongated side inward;
on the second - put on 2 blocks with the same side;
on the third - 3 blocks;
on the fourth - 4;
on the fifth - 3;
in the 4th row, you need to leave the corners free - forming the wings;
on the sixth - 2;
on the seventh - 1.
Next, the neck part with the beak is laid out: white - 8 pcs., Orange - 1, all - 64 part of the sheet. The body and neck are connected and glued.
Figures are attached to the lid with glue.


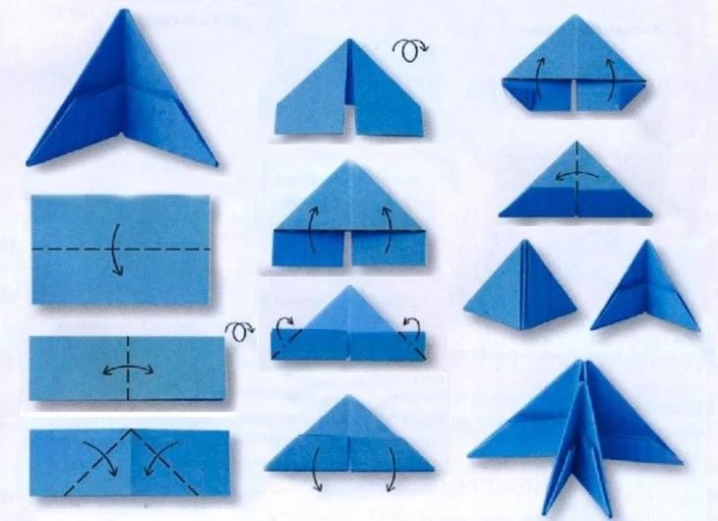
How to create a triangular box module:
A4 sheet is divided into the required number of parts, in our case - into 32 and 64;
the required format is cut in the required quantity;
the sheet is bent twice along;
the middle is outlined, you can bend / unbend for clarity;
located at an angle upward, bent with edges to the center;
the block turns to the other side;
the bottom is bent upward;
the corners are folded, bending over a triangular shape;
the bottom and corner are unbent;
the corners are folded over the same folds;
the bottom rises and bends in half.
This piece has 2 pockets and 2 corners at the bottom. Therefore, it is very easy to insert modules into one another.
For information on how to make a box out of origami modules, see the next video.


The comment was sent successfully.