How to make a wooden box with your own hands?
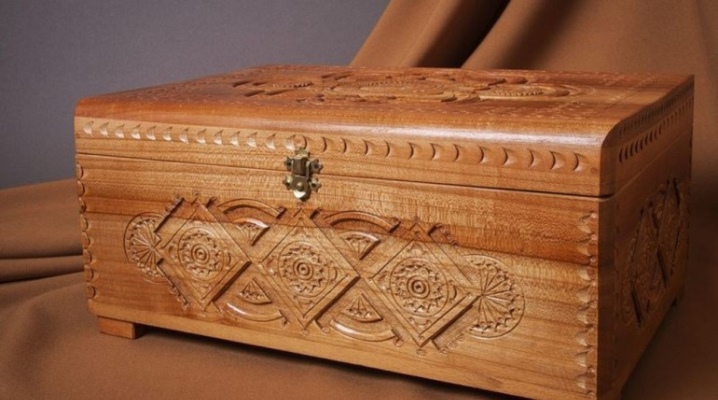
Initially, caskets were intended to store various jewelry and expensive things, therefore, they were most often found in the homes of wealthy gentlemen. Today, these products play the role of not only a small storage, but also a decoration of the existing furnishings. Caskets made of wood are rightfully recognized as some of the most popular and attractive. In this article, we will look at what the features of the accessories in question are and how you can make them yourself.

Peculiarities
At all times, wood has been a solid, demanded material, from which not only reliable buildings or pieces of furniture were obtained, but also various accessories. The latter include charming boxes. These products can be safely called universal, since they can be used to solve many different tasks. A beautiful wooden box can be a wonderful gift for a birthday, New Year or any other holiday. You can store rings, earrings, chains and other ladies' jewelry in it. There are many areas of application for these products.


Today in souvenir shops you can find a lot of different models of wooden caskets. Consumers can find a great model that will become a spectacular interior decoration. However, many people do not want to spend extra money on the purchase of such an accessory, because it is quite possible to make it with your own hands at home.
A homemade wooden box can be absolutely anything. The shape and size of the item will directly depend on the idea of its creator. At home, it is possible to make not only a simple, but also a chic carved model.
The process of making plaster itself is creative - here the master can let the imagination go free. The main thing is to show a little patience and stock up on all the necessary materials / tools.


Choice of shape and size
The wooden box does not have to be as simple as possible, having a standard square or rectangular shape. The product can be made more original and interesting. Everything here will depend on the wishes and the project of the master who makes the accessory. So, models designed for various accessories, jewelry, can be of medium or small size. They often have soft inner lining.
For the latter, materials such as velvet or suede are ideal. Such additions protect expensive metals from accidental damage and scratches on the wooden surface of the box. Usually, these designs have wider compartments for storing necklaces, beads and special rollers for fixing bracelets.
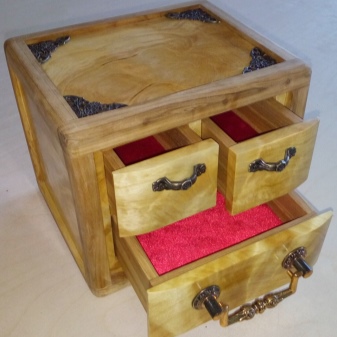

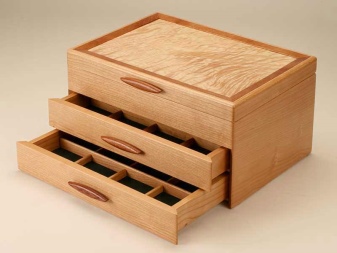
Wooden boxes designed to store all sorts of household trifles - keys, small-sized documents and other similar trinkets can have similar dimensions. Larger boxes should be made with boxes. They make a kind of mini-chests of drawers.
The size of the box being made directly depends on what exactly it is made for. If it is planned to store a lot of things of medium or large sizes in it, then its dimensions should be appropriate. If the box is made to contain all sorts of little things, then it can be made compact, neat.
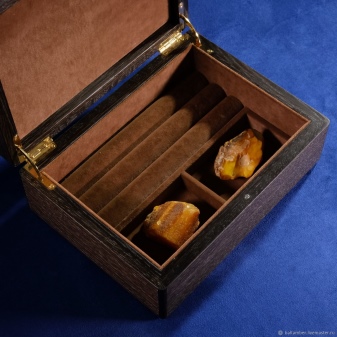
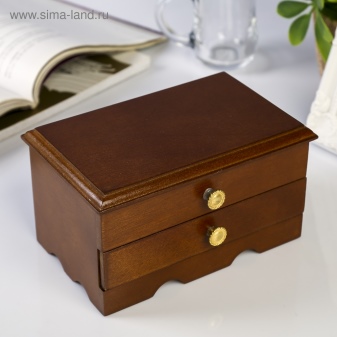
The shape of the wooden box can be absolutely any. Here, home craftsmen are not limited in anything. Of course, most users make classic rectangular or square models, but a more interesting option can be made. Wooden boxes with the following shapes look vivid and bright:
- chic options in the form of a heart;
- elongated oval or round options (look especially interesting if supplemented with carvings);
- curved options (in the shape of the letter "C");
- in the form of an original wooden gramophone (this way you can make a music box);
- in the form of a chic royal casket;
- in the form of a complex mechanism with many small parts (difficult options in execution).


Today, unusual boxes with non-trivial shapes are especially popular. The accessory can be made in the form of a small piano / piano, safe, book, treasure chest. Product design can be completely unexpected.
Often, at first glance, nothing in these items gives out a casket - they seem to be just an interesting souvenir, but in fact, the souvenir turns out to be a secret, and it has a place to store all sorts of things.


Required materials and tools
If you decide to make a beautiful wooden box with your own hands, you need to stock up on all the necessary tools and materials. In order for the casket to turn out to be really high-quality and beautiful, you should not skimp on the specified details. Consider what you need to buy to make a beautiful accessory yourself:
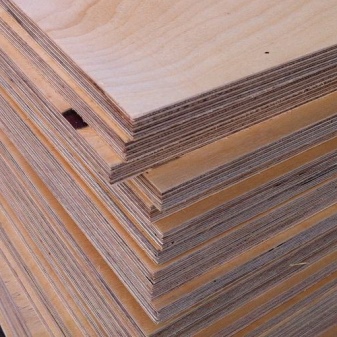
- you will need sheets of plywood or wood - it is recommended to pick up boards with a preferred thickness of 1-1.5 cm;
- cardboard;
- special adhesive for wood;
- loops for installing the lid of the box;
- fittings;
- selected scenery.

Depending on what kind of box model you are planning to make, you can use materials such as plastic, cardboard, bamboo, steel and even marble. It is important to stock not only suitable materials, but also good tools, with which the process of making the accessory will be quick, easy and hassle-free. You will need the following tools:
- pencil and ruler;
- hand saw or special electric jigsaw;
- set of files;
- a saw for wood (will be needed for cutting the material);
- screwdriver, if some parts will be fastened together with screws;
- hammer;
- file for wood;
- a hand-held milling cutter may come in handy;
- sandpaper for grinding workpieces;
- paint, rollers and other devices that will be needed for the final finishing of the product.


Having all the necessary components, you should not immediately rush to make the box. First, you should draw up a detailed diagram, a sketch of the future product.
In the drawing, it is desirable to indicate all the dimensional parameters of the casket. With a plan like this, making an accessory will be faster and easier to understand.

Step-by-step manufacturing instructions
Making a beautiful and high-quality wooden box may seem like a daunting task for novice craftsmen. In fact, this procedure cannot be called too difficult and incomprehensible. You can cope with everything based on detailed step-by-step instructions. First, let's take a closer look at the assembly process of a classic wooden box. Even a schoolboy can easily cope with this work.
- A similar product can be built from plywood, consisting of several layers. However, care must be taken to ensure that the sheet of material does not have chipping or other similar defects on its surface.
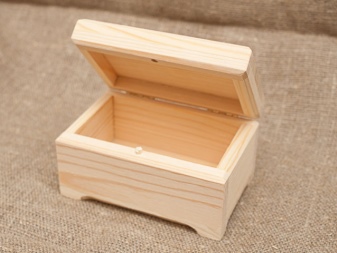
- First you need to prepare a ruler and pencil. In order not to complicate the work, it is better to choose a more correct geometric shape for the walls, lid and bottom, for example, rectangular or square.
- On a plywood sheet, you will need to sketch the outlines of 4 walls of the accessory: 2 side - shorter and front parts - long.
- Further, all the sketched elements will need to be cut out as accurately as possible using a jigsaw. Any irregularities will need to be sanded.
- So that the ends and side sections are well connected, small grooves can be built at the edges corresponding to the thickness of the material. Thanks to this trick, the accessory will acquire a more monolithic appearance.
- The walls must be glued to each other, and then installed on the bottom of the box. If the bottom part does not come in easily, then the edges should be carefully filed. The bottom landing must be tight.
- Now you can make a lid. To make the design more interesting, it can be made deep, rather than flat. To do this, you need to cut out the required workpiece with all the necessary details (side and end walls).
- All elements are processed with sandpaper and reliably glued to each other. The lid must be attached to the finished body using loops.
- The finished product must be varnished or painted in any color you like.


Similarly, you can build a simple structure not from plywood, but from solid wood. To do this, you just need to take a board, grind it and cut it into pieces of the desired size. It will be more difficult to cut wood with a jigsaw, so it is better to use a circular saw. Curly edges should be processed with a router. Let us analyze step by step another life hack for making a beautiful casket made of wood.
- On a cardboard box, you need to sketch a template for the bottom and top of the box, bottom and lid.
- You need to take two wooden planks and circle the templates on them.
- Next, using a router, you should carefully cut out all the drawn parts from the tree. This should be done slowly and carefully.
- The cut-out bottom and lid must be sanded. A skin on a wood disc is fine, but other materials can be used as well.
- Now you need to take 3 boards of the same thickness and height. The length parameter of one of the sides can be different - this part will become the back wall. It is necessary to saw the boards at an angle of 45 degrees in the areas of their joining. An end saw is suitable for this.
- The details must be glued to the bottom.
- Now you need to cut out 2 small boards for the front of the box. It must be borne in mind that they should be connected together, but without excessive density. Another, thinner board can be glued onto the boards for aesthetics and subsequently a handle can be fixed to it.
- Next, one board must be carefully glued to the top of the product. The second should be attached to a box of boards with a bottom. The thickness of the boards of this component should be approximately 0.5 cm. The box will easily fit into the bottom hole for it.
- The next step is to prepare partitions for the box. To do this, you need to take boards, the thickness of which will correspond to the thickness of the walls of the box and glue them in at your discretion.
- Now the box should be inserted into the chest. If it is difficult to enter there, it is necessary to grind its side parts.
- It is necessary to glue the bottom and partitions for the box that is on top.
- Fasten the cover and back piece together with the hinges.
- Decorate the item to your liking.

Making a wooden box with your own hands is not so difficult. The main thing is to act gradually and slowly. You need to be patient and follow the detailed guidance at all stages. As a result, you can decorate the product in any way.
How to decorate?
For a homemade box, it is important to think over a beautiful decor to make it look more interesting, brighter and richer. There are many ways to decorate this accessory. The most popular solution is carving. The carved caskets look very nice and soundly.
It is not recommended for a novice master to immediately take up the application of intricate and complex carved patterns on structures. It is worth starting with simple shapes or large lines. A master with minimal experience can cope with such work, but you need to be very attentive and patient in order to avoid mistakes.

To add a thread to the product, a certain pattern / pattern should be applied to its surface with a pencil. Each line must be drawn as accurately and visibly as possible. Next, you need to take a special scythe knife or chisel. With these tools, lines and patterns are neatly cut in accordance with the applied design. Small flaws and defects can be removed with a file or sandpaper.
If you don't want to waste time carving a product, you can turn to a simpler solution - paint the box or cover it with a special varnish. The color of the accessory can be absolutely any - it all depends on the idea of the home master. The caskets decorated using decoupage technique look interesting and stylish.

The finish of the box can be any:
- often, products are supplemented with precious / semi-precious stones, beads;
- the design can be effectively painted;
- attach a flower arrangement to the lid;
- make the effect of aging, referring to the craquelure technique;
- fix pearls (natural or imitation) on the lid.


Helpful hints and tips
If you decide to make a beautiful and high-quality wooden box with your own hands, then you should consider some useful tips and tricks.
- If you are making a box for storing jewelry, it is advisable to trim its inner space with a soft, velvet cloth, and glue a small mirror under the lid. With such components, the accessories will not scratch, and it will be very convenient to try them on.
- If you wish, you can make a "secret" box, in which, for example, you can store cigars. An interesting solution is a model in which pleasant music plays when the lid is opened. Such products are difficult to implement and require special tools. Such options are best done under the guidance of a more experienced master.
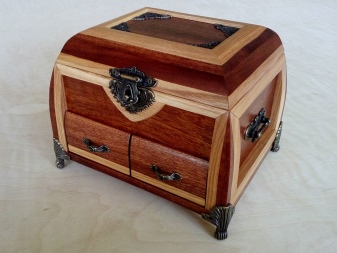
- You can make a box using pieces of wood of different species with beautiful texture patterns.
- It is necessary to cut out all the details of the future design as accurately and clearly as possible. You should not violate the boundaries of the drawn blanks, otherwise it will be very difficult to assemble the product in the end.
- It is recommended to clean small parts with fine-grained sandpaper. This thing will be especially relevant in the process of decorating the carved elements on the casket.
- If you are making a casket not for jewelry or small knick-knacks, but for sewing accessories, then it is advisable to provide several separate compartments in it, and supplement the upper part with a handle that is comfortable to wear.
- If the box is made of beautiful, dark wood, then its texture can be effectively emphasized by waxing. If the model is made of lighter rocks, then it is best to coat it with linseed or other oils (if you have chosen this finishing method). To experiment with colors, you should turn to high-quality, water-based stains with coloring pigments.

For information on how to make a wooden box with your own hands, see the next video.


The comment was sent successfully.