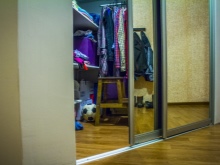
Sliding wardrobe made of plasterboard
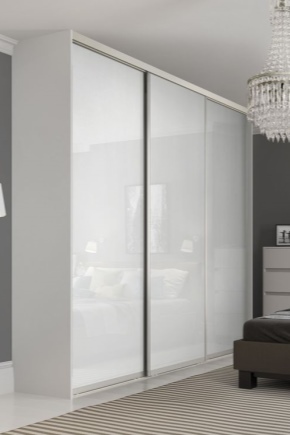
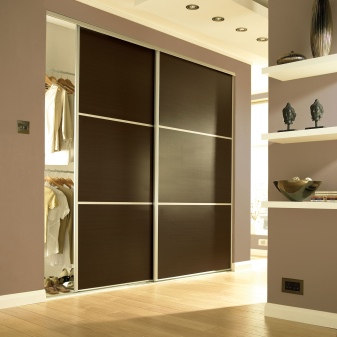
Sliding wardrobes are very popular lately, as they are very roomy and practical. They often store not only clothes, shoes and accessories, but also various household appliances: a vacuum cleaner, an ironing board, an iron, etc.
These pieces of furniture are made from a wide variety of materials. Plasterboard models have excellent performance characteristics.

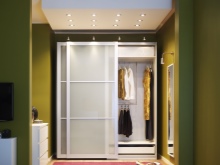

Advantages and disadvantages
- Plasterboard furniture is inexpensive, so every consumer can afford such products. The low cost does not in any way affect the quality and beauty of such sliding wardrobes.
- You can make a cabinet of any modification from drywall, which will be in harmony with the general interior without getting out of it. This material is non-capricious and malleable, therefore, not only traditional, but also original designs are often obtained from it.
- It is worth noting the safety of drywall. Today, there are many products on the furniture market, the environmental friendliness of which leaves much to be desired. Drywall is an excellent alternative to such options, as it is non-radioactive and non-toxic. Even at high temperatures, it does not emit harmful substances that have an adverse effect on the human body.
- Sliding wardrobes are often made not of ordinary, but moisture-resistant and fireproof drywall. Experts recommend turning to just such a material, since it is more durable, reliable and wear-resistant.
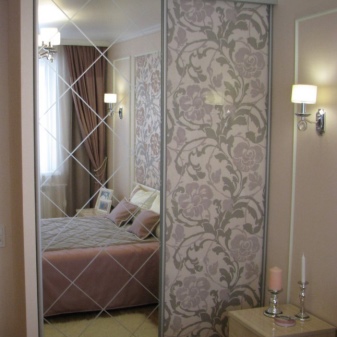
- Such pieces of furniture are easily amenable to various treatments. The sliding wardrobe can be covered with plaster or paint of different colors. Recently, people are turning to more custom plasterboard finishes, covering surfaces with tiles, wallpaper, or wood.
- It is easiest to install various lamps, mirror or glass inserts into drywall furniture.
- Such models can be made by hand. The whole process doesn't take long. You can get to work after drawing up all the necessary drawings.
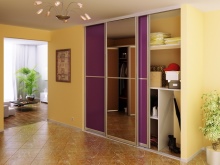

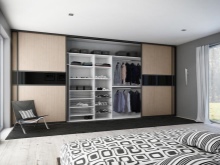
However, these options for roomy furniture have their drawbacks.
- Models of drywall cabinets can only be static, so they cannot be rearranged from place to place.
- In addition, it is no secret to anyone that drywall is vulnerable to mechanical damage, which is why a cabinet made of such material should be treated very carefully.

Instruments
The first stage in the manufacture of a drywall wardrobe is the development of a design drawing. In the process of taking all measurements, you cannot do without a level, a plumb line, a cord for painting, a pencil and a square.
To install a drywall structure, you will need tools such as:
- screwdriver;
- drill;
- puncher;
- scissors for metal cutting;
- painting knife;
- square;
- ruler;
- pencil;
- plane (for processing drywall edges);
- level;
- set of spatulas;
- paint rollers and brushes;
- grater and sandpaper;
- capacious containers for different solutions.


How to make measurements and drawing?
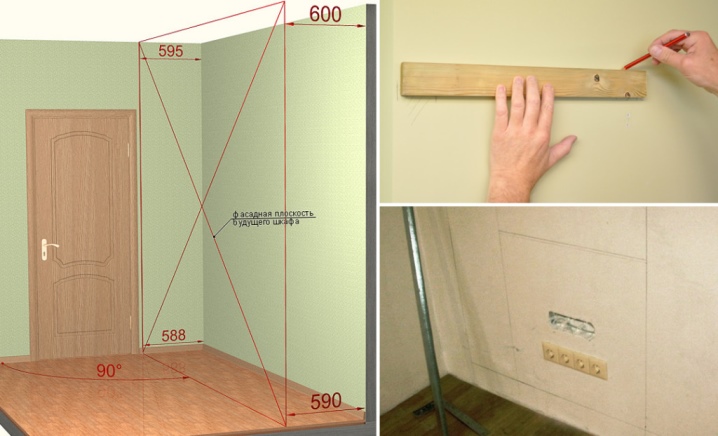
- Today, apartments with perfectly flat surfaces (walls, floor, ceiling) are extremely rare. For this reason, measurements must be made on all sides of the future structure.
- The wardrobe must have a depth of at least 60 cm, otherwise things on the trampolines simply will not fit in it.
- The outer panels must have a depth that is 10 cm higher than the inner parts.This is necessary in order for the doors to fit into the structure.
- All measurements taken must be transferred to a drawing, which will be very useful in calculating the amount of required materials.
- All previous coatings at the installation site of the cabinet are removed, the floor is leveled.
- After that, you can start applying the markings to the material and surfaces of the room. In the process, it is necessary to take into account the thickness of the frame and drywall panels.
- The markup should be applied using a level, ruler and square.
Necessary materials
For direct installation of the product, you need to stock up on a large amount of materials:
- Metal profiles (CD, UD).
- Wooden blocks if you plan on making a base from wood.
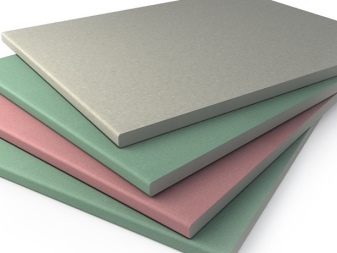
- Plasterboard sheets. Experts recommend choosing a moisture-resistant option, as it is more wear-resistant and durable.
- Metal or plastic corners. These parts are needed to protect the drywall.
- Painting net.
- Fasteners. It is best to turn to self-tapping screws, which are ideal for fastening drywall panels and metal profiles.
- Finishing putty.
- Paint or other materials for the exterior of the wardrobe.
- Primer.
- Furniture fittings, if necessary.
- Switches, lamps, sockets and cables, if you are going to integrate additional lighting into furniture.



It is recommended to purchase only quality components. To do this, you should contact well-known stores with a good reputation in your city.
Installation of frame and drywall
- Before installing drywall sheets, a frame should be designed. If you chose a wooden base, then it should be mounted using self-tapping screws.
- If you prefer metal profiles, then you can go to the hardware store with the available drawings, where they will help you calculate the amount of material and fasteners you need.
- The frame must be assembled very carefully and carefully. The strength and external design of the plasterboard wardrobe will depend on its design.
- Each part should be installed based on the indicators of the building level and drawing.
- First you need to start laying a profile that joins the surfaces. The step depends on the dimensions of the future cabinet. The larger it is, the closer the profiles are attached to each other.
- The bearing profile at this moment should be leveled using a level. To make the whole structure more dense, reliable and non-creaky, a damper tape can be installed at the sections where the profiles and walls are connected.
- The vertical posts of the outer half of the wardrobe must be installed in the guide profiles and securely fastened.
- After that, you can proceed to the installation of horizontal parts. They must be attached from the ceiling line. In places of future shelves, it is necessary to strengthen the structure with transverse elements. Such additions must be installed in the back of the future cabinet.
- The lighting wiring is mounted in the frame.
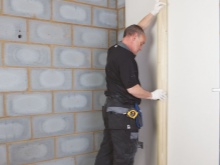


- Then you can start plasterboarding. Sheets are cut in accordance with the drawings. This can be done with a jigsaw or a hacksaw.
- The edges can be leveled with a plane, but this must be done very carefully.
- Plasterboard must be fixed on the frame profiles with self-tapping screws. It is recommended that both the outside and the inside of the product be sheathed for added structural strength.
- The outer corners must be reinforced with reinforcing paper or metal corners.

Finishing
- After installing metal profiles and plasterboard sheets, it is necessary to prime the inner and outer parts of the wardrobe.
- The corners and seams between the plasterboard sheets should be glued with a special serpentine mesh and these areas should be sealed with a starting putty.
- After it is completely dry, the surface of the cabinet must be plastered and primed. If necessary, apply another layer of putty.Now you can proceed to the final finishing. At this stage, it all depends on personal preference. You can paint the furniture, mosaic it or paste it over with beautiful wallpaper.
- You can turn to an interesting self-adhesive film with woody patterns.

Door installation
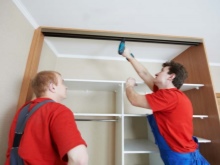
Installation of doors with a sliding mechanism is difficult, therefore it is recommended to entrust this work to specialists. However, if you have the necessary knowledge and experience, then you can install such parts yourself.
First you need to install the upper and lower guides in the structure. Sometimes these parts are sold complete with doors. Such elements are installed much easier and faster.
Now you can proceed to the installation of doors. First, panels are attached for the distant doors, as close as possible to the rear wall.
After installing the doors in the upper guides, it is necessary to install a stopper that will not allow the door leaves to go beyond the permitted limits during the opening / closing process.

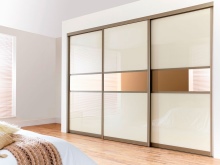
Plasterboard cabinets look especially beautiful, in which there are several doors. They are not only more attractive but also multifunctional.
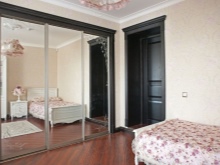
This stage is final. As a result, you should have a very neat and beautiful built-in wardrobe. Such furniture will look harmonious in the hallway or bedroom, without taking up a lot of free space.

How to make a wardrobe from drywall, see the next video.


The comment was sent successfully.