How to make a garden sun lounger with your own hands?
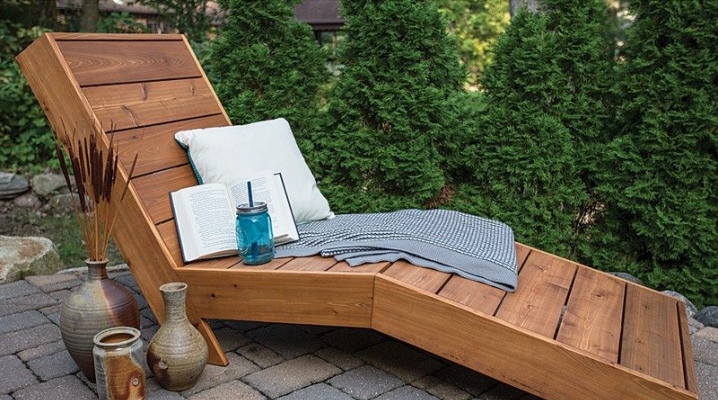
Making things with your own hands is always a pleasure. There is nothing to say about the opportunities that are opening up for savings. Moreover, a self-made garden sun lounger will also ideally meet the needs of specific people.

Drawings and dimensions
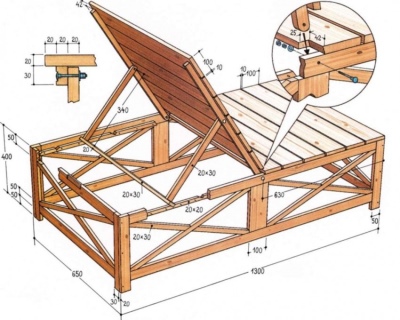
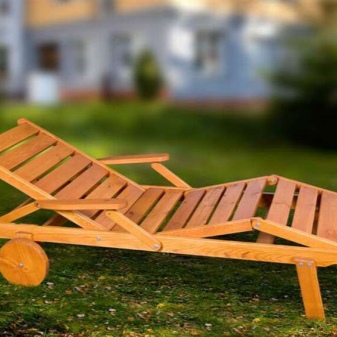
Before manufacturing, it is advisable to draw a diagram, which will facilitate the work process. It is not difficult, for example, focusing on the drawing, to make an excellent chaise longue with a length of 1.3, a width of 0.65 and a height of 0.4 m. The width of the middle support post will be 0.63 m, and along the perimeter there will be bars with a section of 0.2x0.3 m.The distance between the backrest support and the backrest itself in the raised state will be 0.34 m. 0.1 m. Between them, gaps of 0.01 m must be left.
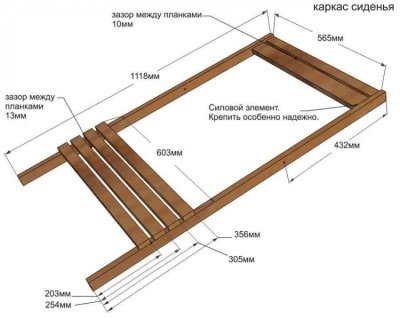
And this is what the seat frame of a fabric chaise looks like. Its length will be 1.118 m, width will be 0.603 m.In the front part, two strips of different lengths and 0.565 m wide are stuffed with a gap of 0.01 m. Closer to the other edge, 4 planks are already filled with a width of 0.603 m in increments of 0.013 m.
When determining the overall dimensions of a chaise lounge, it is better to focus on the dimensions of standard models, for example:
- 1.99x0.71x0.33;
- 1.9x0.59x0.28;
- 3.01x1.19x1.29;
- 2x1m.
Materials and tools
Making a sun lounger with your own hands is possible in one, maximum two days. To do this, you will not need anything other than improvised materials and tools that can be found in almost every home. Important: it makes no sense to consider samples found in stores as a reference. They can usually be made only in a well-equipped production environment. Very few people have such workshops.
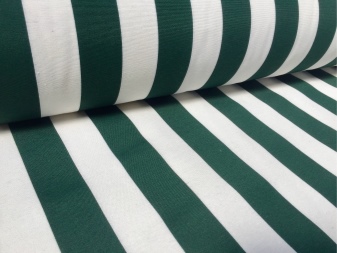
First you need to decide whether the landing surface will be made of soft or hard elements. In the first case, you will need a fabric that is reliable and resistant to outdoor conditions. In the second, there are wooden planks, of which they make up a hard set.
However, it is important to understand that a soft chaise longue is not suitable for staying outdoors longer than 2-3 hours in a row. In most cases, it is used either at dachas (where you have to work on the farm, mainly, taking only short breaks), or on fishing, at a picnic. The rigid structure will require much more effort during assembly, and the materials themselves will cost a lot.
The manufacture of metal structures should be considered last.
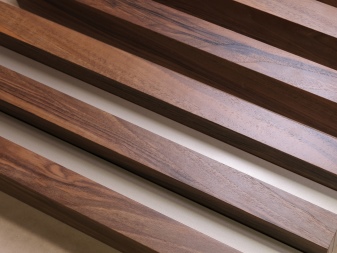
More suitable materials are as follows:
- profile plastic elements;
- plywood;
- natural wood mass.
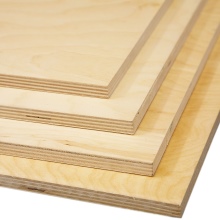
However, even stopping at a wooden deck chair, you will need to figure out which tree to use. The main choice is made between solid wood and glued plywood. The second option is chosen by those who want to save time, even if they spend a little more energy. In addition, plywood loungers are cheaper than those made from solid wood. A simple timber cannot be used for a sun lounger.
It is simply not sufficiently resistant to sudden changes in temperature conditions. Humidification is also detrimental to such wood, and both of these factors together can do a lot of harm. Larch is purely mechanically suitable, but it will quickly fade and turn gray in the bright sun. Of the breeds growing in our country, only beech and oak are useful.But they cannot be used ready-made either: you will have to impregnate the workpieces with a water-polymer emulsion, known under the name "Eco-soil".

Walnut and hornbeam arrays cannot be used at all. Although they are durable, resistant to moisture and bright ultraviolet light, they can be quickly damaged by woodworms and other pests. Hevea is the best option for imported wood. Its advantages are:
- relatively low price (comparable to aged oak);
- chemical, physical and biological resistance;
- sufficiently high strength;
- ease of processing;
- the ability to make a thin graceful carving;
- noble appearance;
- no need for impregnation, polishing, varnishing.
However, hevea wood has only one small drawback: it is sold in the form of relatively short blanks. However, for sun loungers, sun loungers and other homemade furniture, this minus is not too critical. If people choose plywood, then again there is a fork: which type to prefer. Aviation plywood, despite its promising name, is bad: it is expensive, almost does not bend, and is prone to cracking.
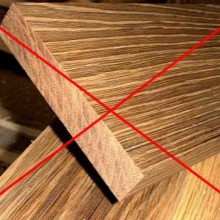
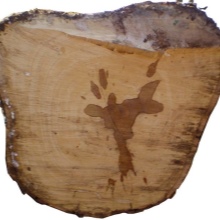
Pine building material can easily burn out in the light. And its cost, too, will not spare the wallet. The only way out is to buy packaging plywood. True, it will have to be significantly improved, impregnated with the same familiar "Eco-soil". A plaster brush is used for impregnation.
The workpiece is processed 2-3 times on both sides before cutting. An interval of 15 to 30 minutes is left between the impregnations. Then you need to dry the plywood for 24 hours. Important: if the temperature is more than 25 degrees, and the air humidity is less than 60%, you can limit yourself to night drying. The need to impregnate the plywood before cutting is due to the fact that this way there will be less dust and dirt.
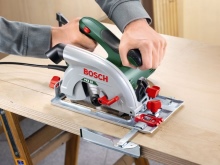
The cutting of plywood itself (and wood, if an array is chosen) must be done very accurately. Therefore, you will have to put aside the hand saws and use an electric jigsaw. Measurement is carried out using a ruler or construction tape. Attention: in the absence of experience with a jigsaw, it is better to first practice skills on trimming and waste wood. Only after that you can safely take on the finishing work.
As for plywood, it must be remembered that a sufficient resistance to moisture is achieved only on the part made of it on the second or third day after impregnation. For gluing the strips, it is recommended to use PVA assembly glue. But it is impractical to use liquid nails. After gluing, you need to wait the same 2 or 3 days.
It is better to stock up on as many clamps as possible, weights for squeezing the workpieces.
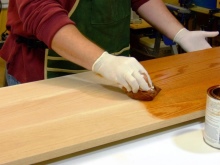

The use of metal fasteners also helps speed up the work. However, one must understand that the heads of the self-tapping screws will stick out. Putting and painting them helps to solve the problem. Gradual rusting of fasteners and loosening of the structure will also be a problem. That's why experienced home-builders immediately put the screws aside and use finishing nails, they are also nails for platbands.
Some of them (more expensive) are made of bronze, while others (cheaper) are made of high-quality stainless steel. Thanks to anodizing in different tones, you can choose a perfectly inconspicuous option for "your" material. As far as bent plywood parts are concerned, they must never be overdried. Otherwise, the material quickly becomes very brittle, even more so than untreated plywood. The strips on the longitudinal flooring are nailed with finishing nails, and the lamellas of the transverse flooring are fixed using a plaza.
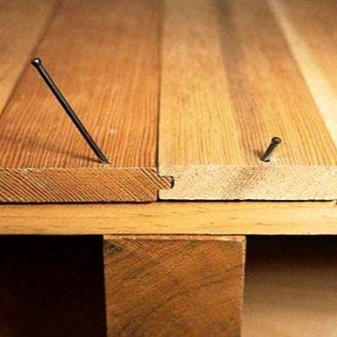
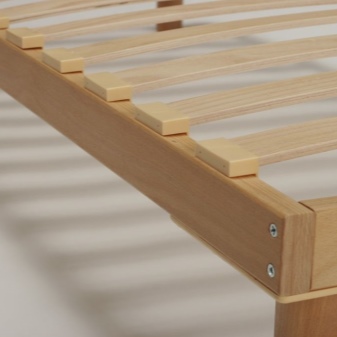
This name was given to an even shield made of wood. On a plaza of a suitable size, profile contours are beaten. They need to be made exactly as much as required, because you cannot remove the lamellas until the glue is completely dry. Further, the algorithm of actions is as follows:
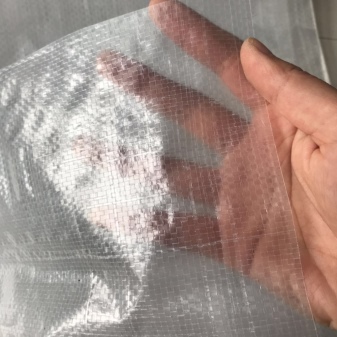
- transparent polyethylene is laid on the plaza;
- bars are nailed along the profile lines;
- the first line of plywood is nailed to them;
- the second lines before fastening are coated with glue;
- after the glue has hardened, 85% of the workpieces and bars are torn off from the plaza;
- the bars are cleaned with a nail puller;
- the problem ends of the nails are cut off.
Considering the above, we must also add that they are preparing for work:
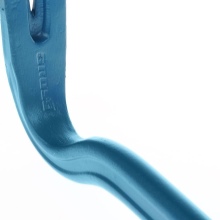
- nail puller;
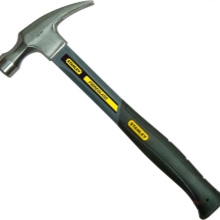
- hammer;
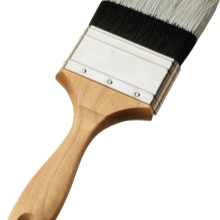
- brush;
- fasteners;
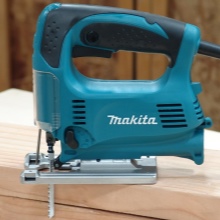
- electric jigsaw;
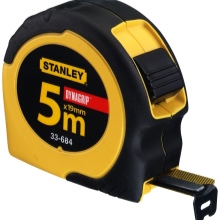
- roulette;
- ruler.

How easy is it to make from wood?
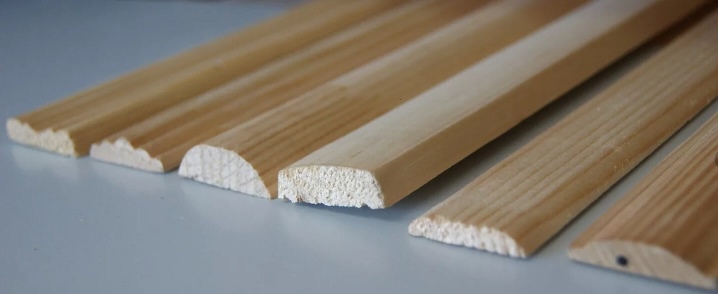
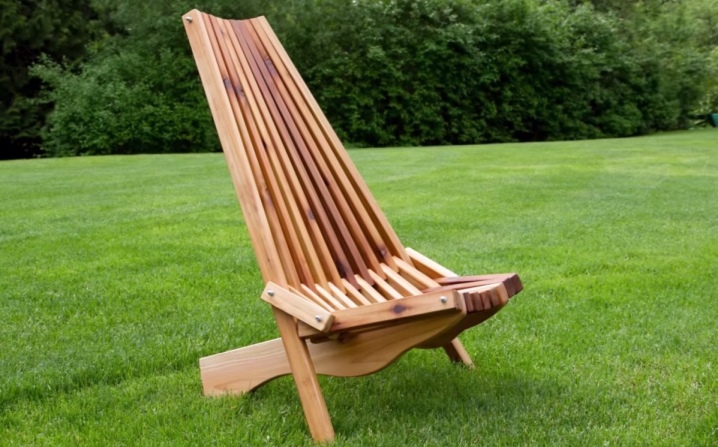
It is certainly possible to use timber or plywood in the ways described above. But only this is very laborious and time-consuming. The Kentucky scheme makes things much easier. For work you will need:
- 6 rails 0.375 m per seat;
- 2 slats for rear legs 0.875 m long;
- 2 slats per back, 0.787 m long;
- 2 shortened slats per back (0.745 m);
- 2 slats for front legs (1.05 m);
- 9 dividing strips 0.228 m long;
- drill and drill 6 mm.
The manufacturing technology is as follows:
- pieces of timber are folded in a row;
- connect them with wire or pins;
- lay out the elements one by one;
- fasten them in a checkerboard pattern.
The optimal material for a Kentucky sun lounger is pine blocks. They must be sanded with emery to a completely smooth surface. Recommendation: it is better to arrange the cuts in the form of a semicircle, then the design will look more aesthetically pleasing.
The holes for the fasteners must be drilled in strict accordance with the drawing. The edges of the studs are fixed with nuts.
Step-by-step instructions for creating a fabric sun lounger
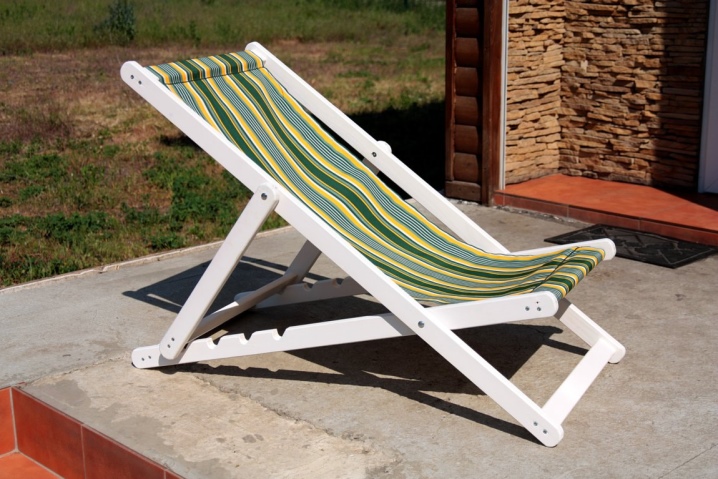
The basis of the design is a bed or a folding bed. You will have to drill holes in the main frame. 4 cuts are made in the auxiliary frame (otherwise the backrest tilt cannot be adjusted). Then they prepare holes for the ends of the rails to put the seat.
The transverse edges of the circular cross-section are coated with glue and laid in the hole. Then the tissue of the required volume is measured (after fixing it should sag). A sewing machine will help you finish the edges of the fabric. After that, the fabric is pulled over the crossbar. It is required to nail it down with nails.
Back legs are made from a pair of slats 0.02x0.04x1.22 m; additionally you will need 1 rail with dimensions:
- 0.02x0.04x0.61 m;
- 0.02x0.04x0.65 m;
- 0.02x0.06x0.61 m.
The seat is made of 4 boards 0.02x0.04x0.6 m and 2 boards 0.02x0.04x1.12 m.One piece will need a board 0.02x0.04x0.57 and 0.02x0.06x0.57 m. Back support will be provided 2 parts 0.02x0.04x0.38 m each.For the same purpose, a rod with a cross section of 0.012 m and a length of 0.65 m is prepared.For a fabric seat, you will need a piece of suitable cloth measuring 1.37x1.16 m and a pair of wooden rods with a diameter of 0.012 m, length 0.559 m.
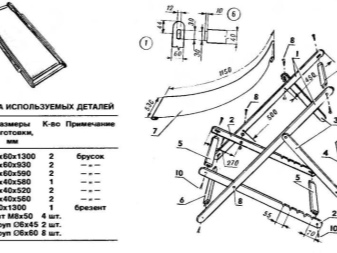

To complete all the necessary work, you will also need:
- 4 bolts;
- 4 nuts;
- 8 pucks;
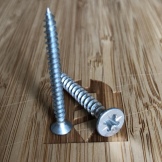
- screws;
- joiner's glue;
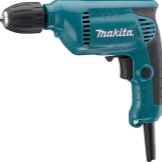
- drill;
- emery or angle grinder;
- round file.
Any details are polished in advance and impregnated with protective mixtures. Crossbars are formed at the bottom of the seat legs to help fix the backrest. The backrest frame must also have bolt holes. On the frame, the seats retract 0.43 m from the top before making a cut.
The hole in the back support is made exactly in the middle.
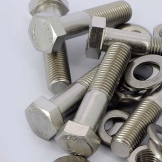
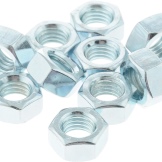
First of all, you need to make the backrest frame. The plank measuring 0.02x0.06x0.61 m is fixed as firmly as possible.If two planks are used, leave a gap of 0.01 m to fix the fabric. The holes during the assembly of the back and seat frame are fixed with bolts and nuts, the frame racks are certainly separated by a washer. Important: tightening the additional locknuts will increase the reliability of the sun lounger.
Next, mount the back support. Bolts and washers also hold the strips. Large dowels are pressed into the hole with glue. The strong fabric is folded in two layers and stitched 0.015 m from the edges. Turning out to the front side, bend the edge for the rod and stitch it.
Then the following actions are performed:
- the edges of the matter are pushed between the slats;
- put a rod in the bend;
- clean the roughness with a file, emery or angle grinder.
How else can you make?
From pallets
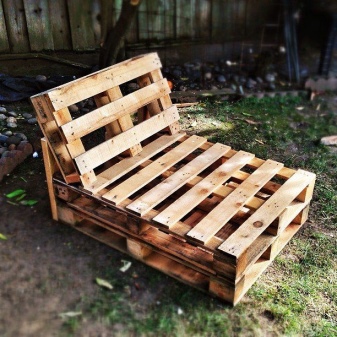
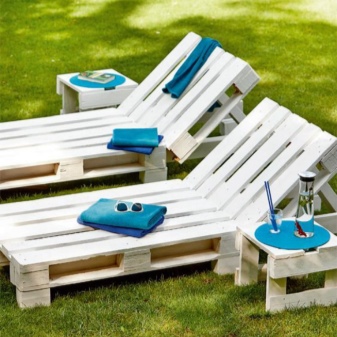
But making a recliner chair for a summer residence with your own hands is also possible from pallets. It's even easier.First, one pallet is placed on top of another, and the third is taken wider than the previous two. Then this pallet-back is disassembled. All bottom, front and back boards are set aside. Half of the top ones, too.
The next step is to set the backrest to your feet. You can make legs from old scraps. Then all the prepared elements are connected with screws. Other mounting options are not reliable enough. At the end of the work, the homemade chaise longue remains only to be painted.
Made of metal
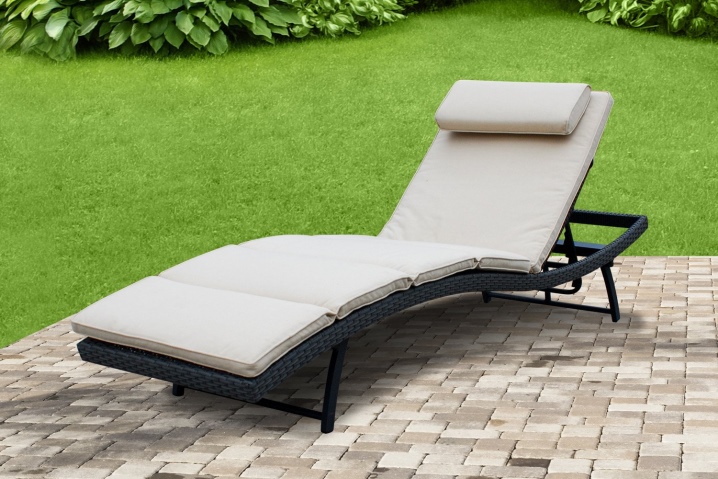
You can make a chaise longue and stainless steel. Rather, it will be a fabric product with a steel frame. Three frames are formed from tubular blanks: 1.2x0.6 m, 1.1x0.55 m and 0.65x0.62 m. They must be sanded and then connected with fasteners. First, the backrest frames and its supports are assembled, after which they just take up the seat.
Once it's ready, all the pieces are put together.
From polypropylene pipes
Only reinforced pipes can be used for this job. Section 40 will go to the frame, and other elements are made from pipes with a section of 32. To connect them, you will need adapter fittings. Then we need more corners under the headboard. The main parts are soldered to each other with special soldering irons, then covered with cloth.
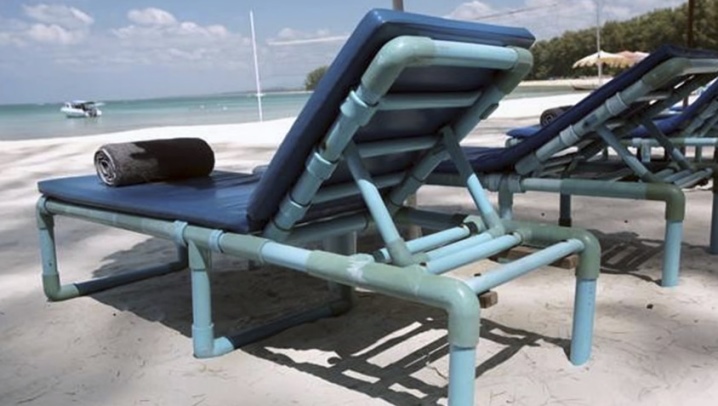
For information on how to make a garden sun lounger with your own hands, see the next video.


The comment was sent successfully.