The subtleties of building a barn
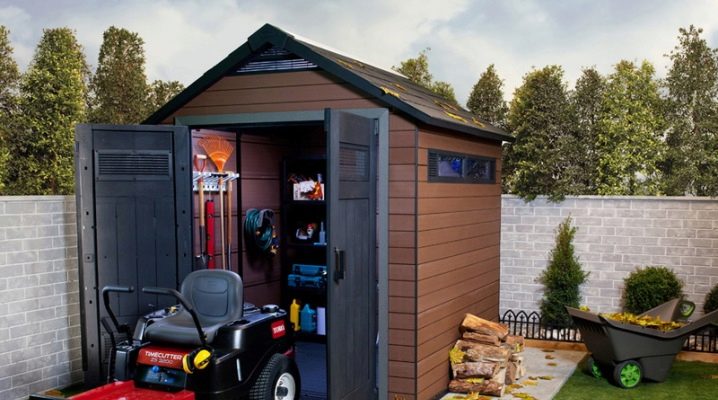
A house on a city or suburban area is very good. But no dwelling can be considered complete until the auxiliary structures are prepared. And they can be very diverse, which is important to take into account when arranging the territory.
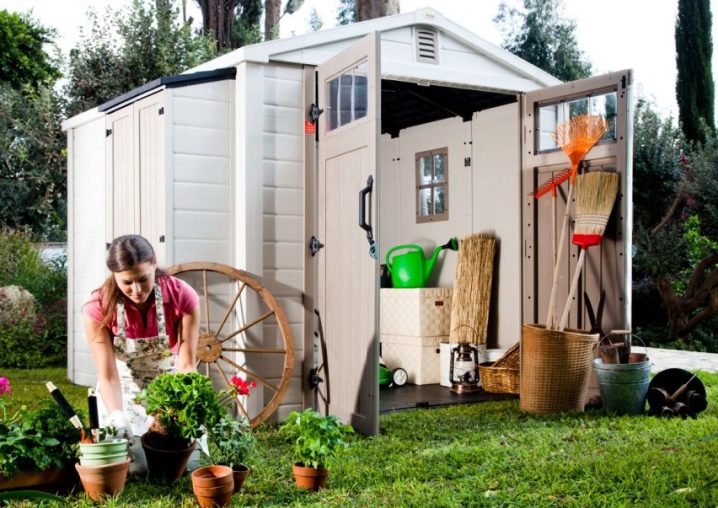
Features and purpose of the building
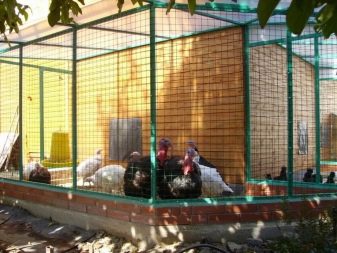
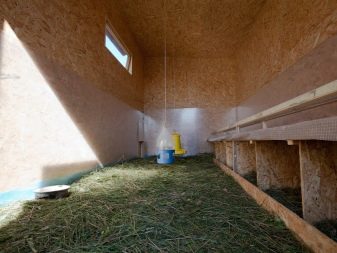
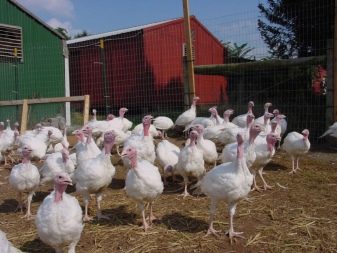
There is a widespread belief that the design of sheds is simpler than baths and even more so houses. In fact, the situation may be somewhat different, failure to take into account the basic requirements leads to a serious danger. Funds invested thoughtlessly can be devalued, especially since ancillary structures must be flexibly adapted to a specific function. Quite often there is a situation when a barn on the site is intended for turkeys. These large and proud birds make significant demands, their maintenance is very difficult to organize properly.
Even if the turkey is not sick, it can grow slowly and gain weight with difficulty.
Any turkey house should be:
- dry;
- well ventilated;
- thoroughly warming;
- stably lit room.
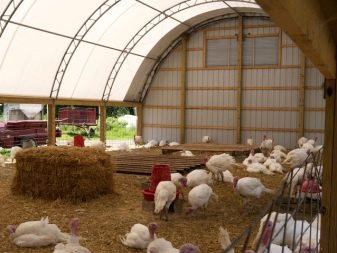
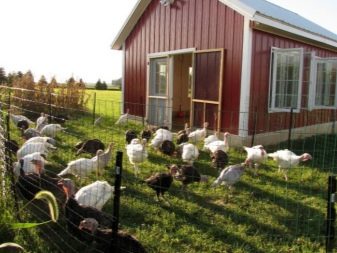
One bird must have at least 1 sq. m inside; for small turkey poults, this figure is five times less. Both overheating and drafts or hypothermia, as well as stagnation of air inside, are categorically unacceptable. Usually they use a box with a latch on the ceiling. Even in winter, temperature drops below 0 degrees are unacceptable. For foreign breeds of poultry, this figure is another 10 degrees higher, which means that in order for everything to be fine, it is imperative to mount a stove and take care of thermal insulation.
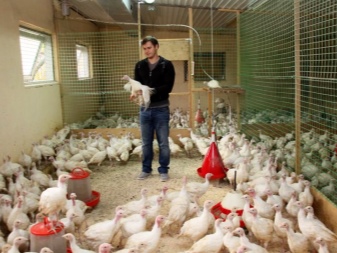
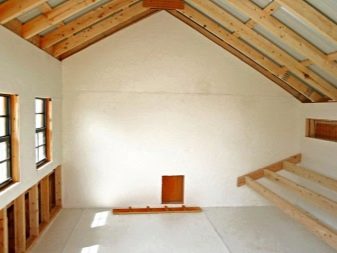
Additional points that cannot be ignored are the ease of maintenance of the floor material and the permeability of the walls to air. The higher it is, the less you have to ventilate, risking freezing the bird. The turkey poultry is most often built on an elevated place or where the depth of groundwater is deep. It is recommended not to bring it closer to other outbuildings, even the garage. As for materials, stone and brick are the best options; in relatively mild climates, the use of wood is allowed.
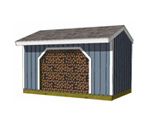
Among the household sheds that can be built in the country, it is worth paying attention to the buildings for firewood. The fact is that, although they are less demanding in terms of keeping conditions than poultry, they must still be built correctly.
The main requirements will be:
- minimal visibility;
- proximity to home or bath;
- the possibility of free passage for the cargo van;
- dryness of the chosen place.
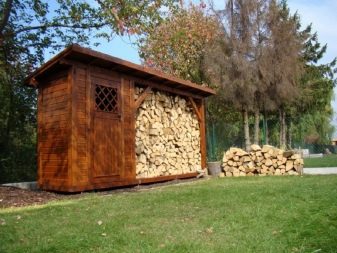
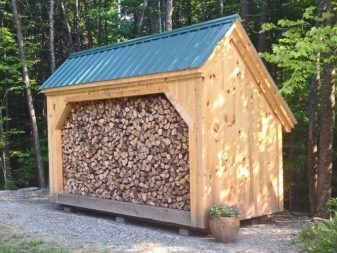
Most often, wood sheds are built from wood, because this material is the cheapest and more practical than other options. It is also worth remembering that this kind of attached shed is much better than standing alone. Such a solution reduces the scale of the required work and allows not looking for a design, but using a ready-made solution. Usually, a firewood storage is placed from the north of the house or utility block in order to minimize contact with the sun's rays and at the same time cover the building from cold winds.
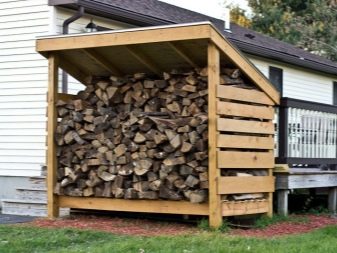
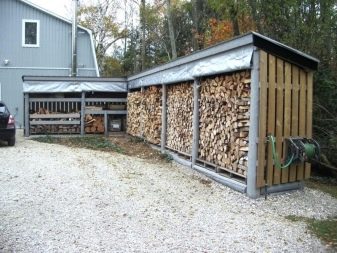
In addition to wood, slate, profile flooring and polycarbonate are used for wall cladding. Important: all these materials are mounted with gaps to ensure natural ventilation. The application of paint (enamel) or polyurethane-based varnish will help to improve the appearance of such unattractive structures. On average, to warm up a house with an area of 100 sq.m in the middle lane, for autumn and winter it takes 2 cubic meters. m of dry pine wood or 1.7 cubic meters. m of birch wood. These figures allow you to calculate the volume of construction for them, but it is still advisable to create some stock.
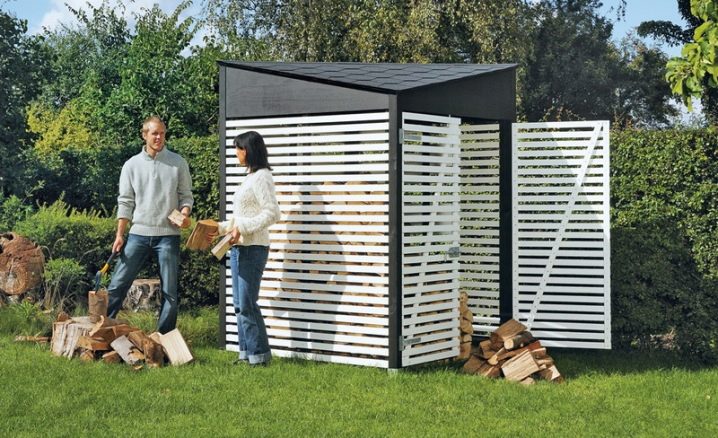
If you use freshly harvested firewood that has not undergone summer drying, the consumption will be approximately twice as high. Reasonable owners always lay in a reserve for at least two seasons, so that in case of interruptions or material restrictions, they do not run into problems. Do not forget about the consumption of firewood when heating a bath and when using the barbecue.
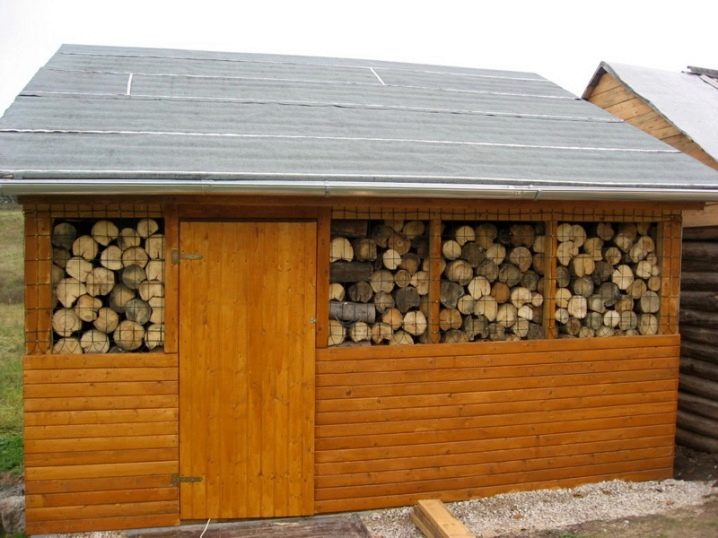
If we talk about a livestock barn, everything is somewhat more serious. A cow and a pig, a goat and a bull, even guinea fowls and sheep - all require indispensable cleanliness. But even the cleanest animals in nature quickly litter the habitat, paddock or stall.
Therefore, you cannot use materials that:
- get dirty easily;
- difficult to wash;
- pick up odors;
- do not allow wet cleaning.
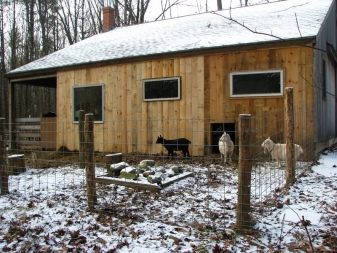
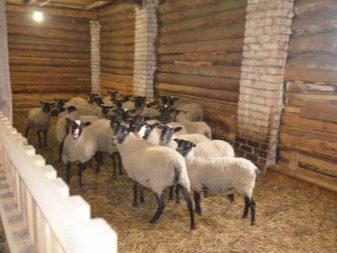
For sanitary reasons, sheds intended for animals should be placed on the most dry and not blown by the prevailing winds. Even with the onset of floods or heavy rains, the selected place should remain as protected from moisture as possible. Violation of the established distances to a well, a house, a well (even an artesian one), a surface water body or an area with an enhanced sanitary regime is unacceptable. The best materials for the construction of a barn for pastoralists are those that save heat and last as long as possible. And the area is selected in such a way that the animals can make their usual movements without the slightest difficulty.
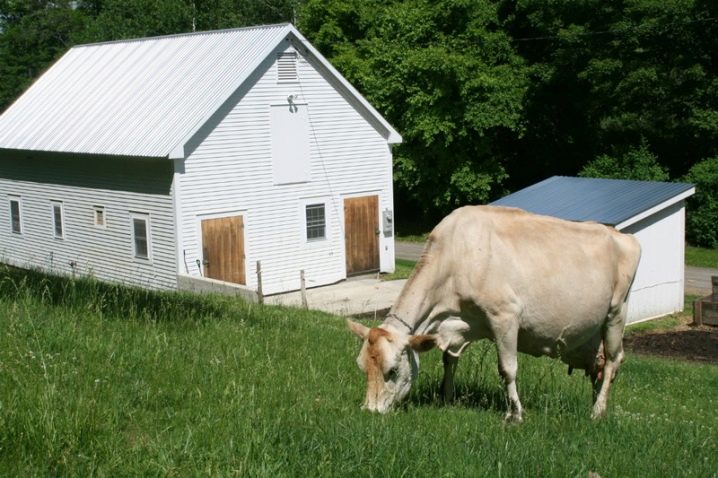
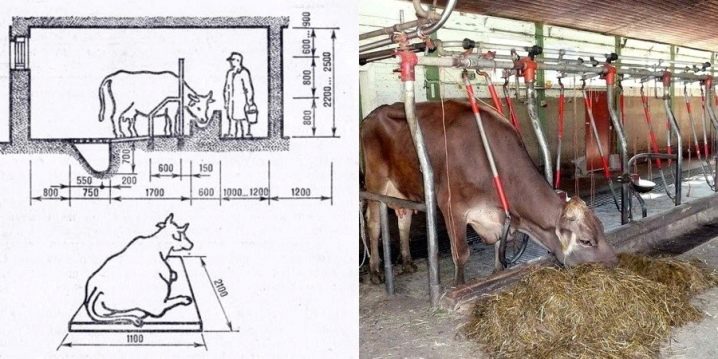
One cow is allocated about 6 square meters. m, and the construction of a barn for an animal with a calf implies the allocation of at least 10 sq. m. When placing cattle, individual zones are provided, delimited by partitions. Keeping the floor clean is made easier by placing the floor at a 2% angle towards the drain. Not too large individuals are satisfied with stalls up to 1.7 m in length. Placing stalls in two rows requires the formation of a passage with a width of 1.2-1.5 m; are guided by the fact that, if necessary, it was possible to quickly introduce or start an animal.
Even those who are not going to store firewood or raise livestock are unlikely to be able to do without a room for inventory. It is not always wise to accumulate it and tools in the house, and household blocks rarely have a sufficiently large area. Attempts to arrange tools and various useful things in the open air will quickly lead to their deterioration by sediments, dew, curious animals, or to disappearance in the hands of people who are not too scrupulous about other people's property. It is not worth building a shed more than is required in practice.
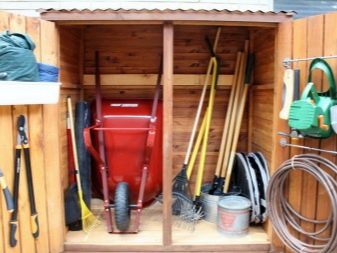
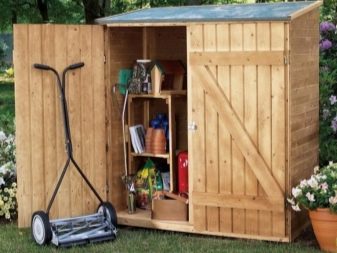
An excess of 5-10% in comparison with the planned needs is the limit, after which there are already only unproductive expenses. Sometimes it turns out to be more convenient and more profitable to build not a simple storage for working property, but a multifunctional room.
They can additionally accommodate:
- leisure room;
- kitchen for the summer;
- shower cubicle and some other premises.
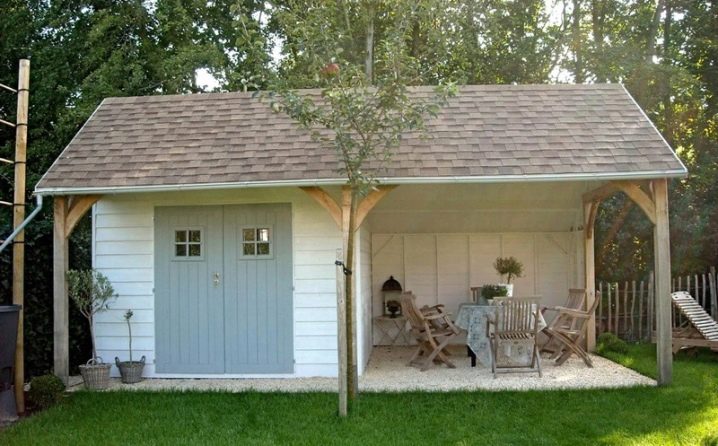
By itself, the storage of tools for the most part requires 2x1.5 or 2x2 m. Of course, these figures refer only to the internal volume, and the external parameters can be increased by the width of the walls. In workshops, where, together with the storage of the tool, it will be used for various works, the minimum size is 3x3 m. Attention should be paid to the appearance of the structure. Despite its purely utilitarian task, it should harmoniously be part of the ensemble formed by the house, other buildings, decorative elements and vegetation.
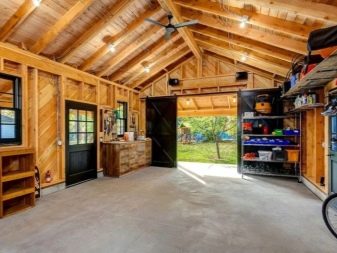
Types and materials
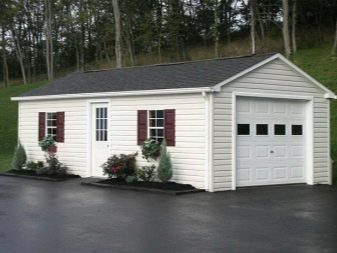
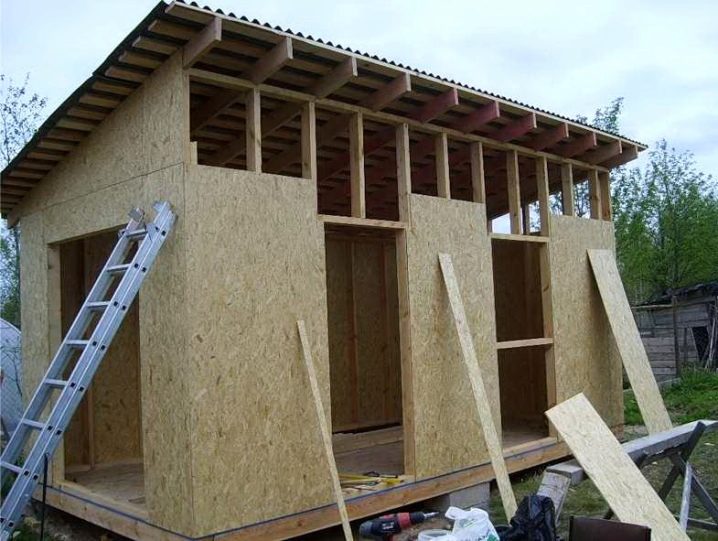
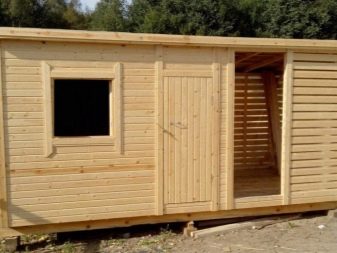
When choosing building materials, you cannot focus only on their cost or ease of work.Those options that seem to be the most convenient and simple, usually have many pitfalls in implementation and subsequent use. Many people choose a frame shed because it serves for a long time and is built from ordinary lumber (in other words, from boards), and from an oriented slab. To improve the appearance, siding and lining are actively used. The choice between these two coatings is largely a matter of personal taste.
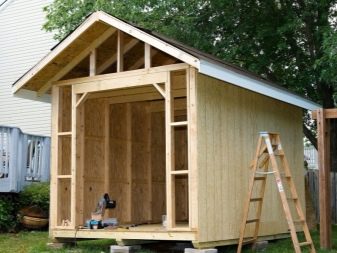
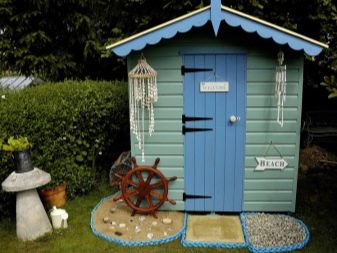
Most frame sheds are covered with a pitched roof. Only occasionally, if the need arises, is a gable roof mounted. Basically, European slate and metal profiles are used, but sometimes a material is chosen that is identical to that installed on the house. Important: before starting construction, you should completely decide on the placement of the door and roof slope. Inattention to these moments turns into the flooding of the room with precipitation or melt water.
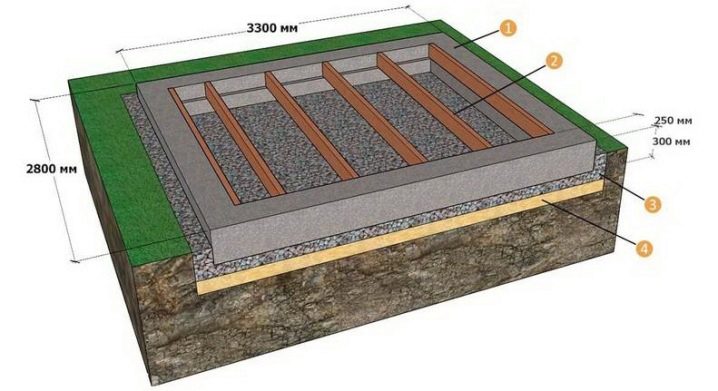
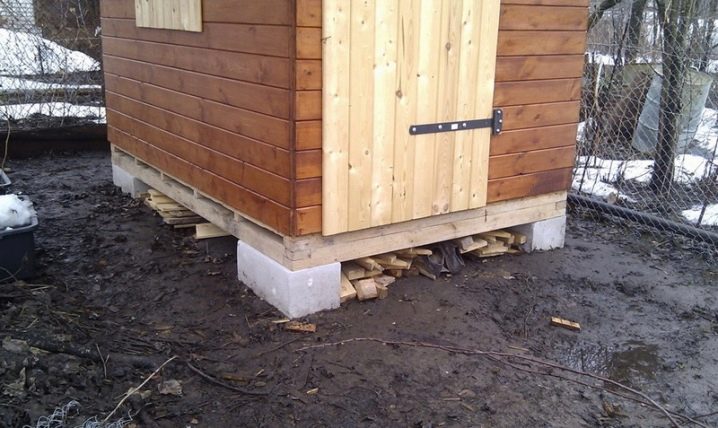
Protection of the wooden frame from waterlogging is provided by a strip foundation, especially when using a concrete base with a height of 0.3-0.4 m. But such a solution is unacceptable on sedimentary and peat soils. The alternative is the formation of the first rows of the building from clinker. A layer of waterproofing is immediately placed in a trench up to 0.4 m deep, where 0.15 m of sand has been poured. Typical dimensions of the timber are 10x10 cm; for beam logs, a board of 5x10 cm is selected.
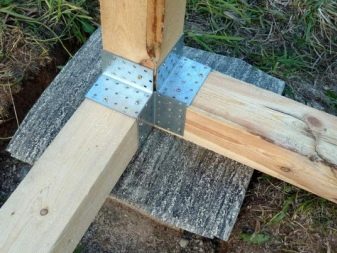
To connect the elements together, self-tapping screws or nails are used. It is recommended to use vertical timber racks with a section of 10x10 cm, which are fixed with metal fasteners in the form of the letter G. In the absence of such fasteners, you will have to use an oblique face of simple nails. The placement of the door pillars is determined by the type and dimensions of the door itself. A pitched roof on one side is raised with bars, achieving a slope of at least 25 degrees.
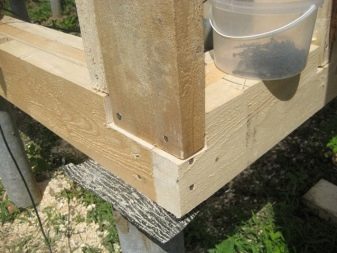
Facing the frame shed with profile metal or boards is carried out both in the vertical and in the horizontal plane. The lining is significantly more expensive. An alternative to frame buildings are foam block sheds.
The advantage of this choice is:
- an increase in heat-shielding properties (in comparison with a brick of the classical or silicate type);
- decent frost resistance of the material itself;
- optimal exchange of air with the environment;
- zero risk of burning and flame spread;
- lightening the load on the base and reducing costs (in comparison with an identical brick structure).
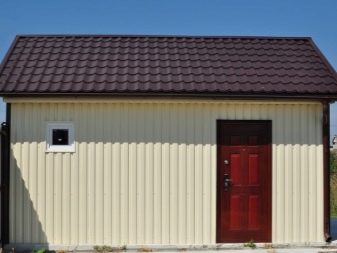
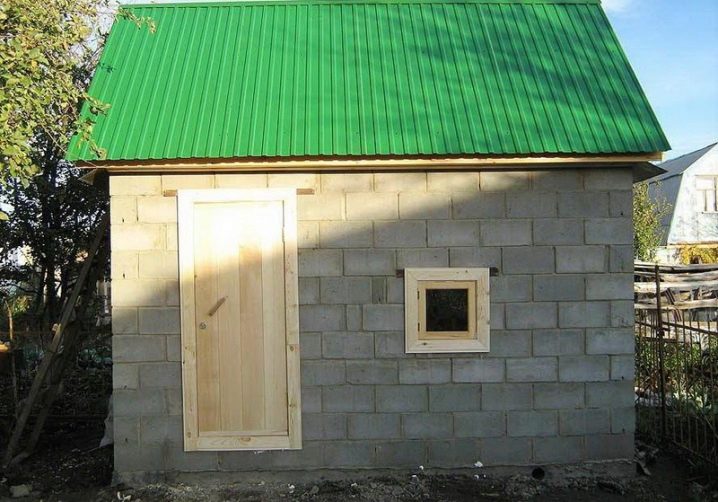
Foam concrete has good environmental properties, and it can also be cut without much difficulty. Its strength is limited, so during transportation any negligence can damage the material. The not too presentable appearance of the blocks makes an auxiliary cladding necessary. This not only increases the cost of construction, largely absorbing material benefits, but also lengthens the work, makes it more difficult and time-consuming to perform. Under the influence of severe frost, foam blocks uncovered from the outside can deform.
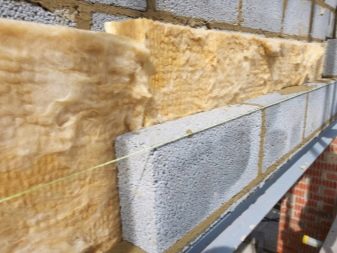
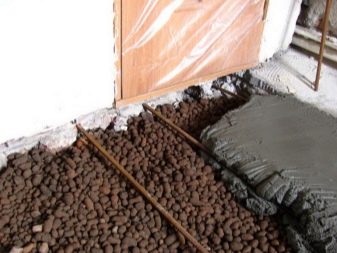
For insulation of foam concrete, cork, mineral wool, penofol, polystyrene foam, polyurethane foam are used. On the floor, sometimes expanded clay is poured under the face layer. It is undesirable to pour it into the wall, it is too prone to caking and heavy material. A barn is relatively lightweight and can be built even without a foundation. For your information: such a solution is acceptable only on stable soils, if they are weak, you still have to take care of the foundation.
When such a need arises, a base in the form of pillars is mainly chosen. If there is sufficient quality brick, you can build from it. For the installation of the walls themselves, a beam with a section of 10x10 cm is used, which must be well dried. Rotten areas or even small cracks are unacceptable. All material is pre-impregnated with antiseptics and fire retardants.
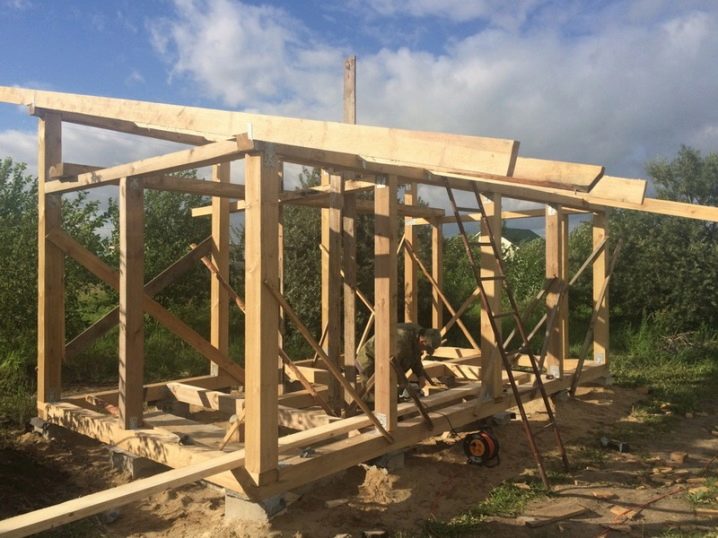
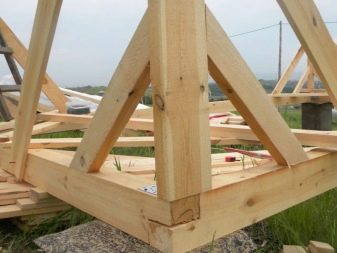
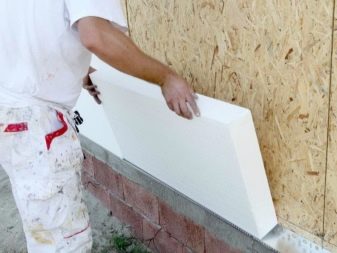
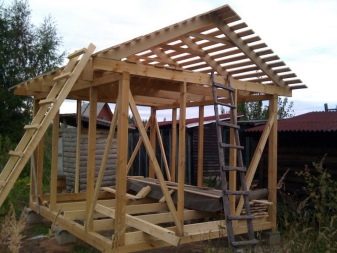
Corner posts are most often attached using temporary jibs, which are made from slats and boards. Alignment is carried out by plumb lines or by levels. The usual distance from one rack to another is 1.5 m. You should not save on temporary jibs, anyway they will be removed later. When it is planned to use the shed in winter, it is insulated with foam plastic or the walls are sheathed from the inside with sheets of chipboard.
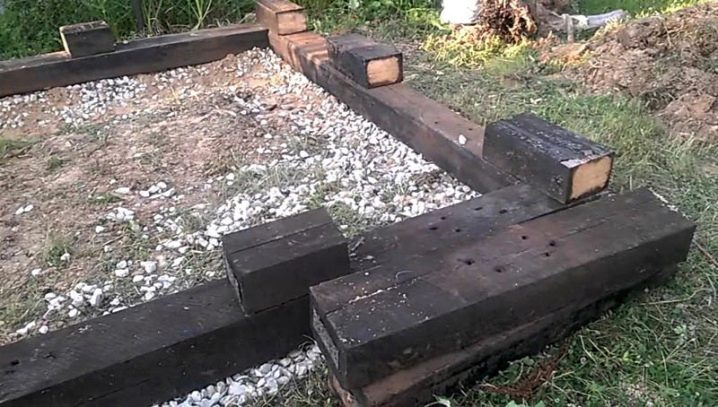
A wooden shed can be built from sleepers. Support pedestals for the main structure are made at the rate of three pedestals per sleeper, the third turns out to be longer in order to ensure docking with the second. Instead of such a solution, you can use a strip foundation. It must be covered with a layer of waterproofing. Closing the gaps between sleepers is most reliably done with the use of polyurethane foam. In search of cheaper than traditional options, people do not stop at sleepers.
Sometimes it is practiced to build sheds from plastic bottles with clay enveloping them. This really allows you to do without unbearable material investments and dramatically speed up the process. High quality plastic lasts a long time and is quite flexible, has a decent resistance to stress. It helps to create an optimal microclimate inside, regardless of the actual weather. The material itself is purchased in batches at specialized enterprises, in wholesale trade or in the form of waste in cafes, restaurants or canteens.
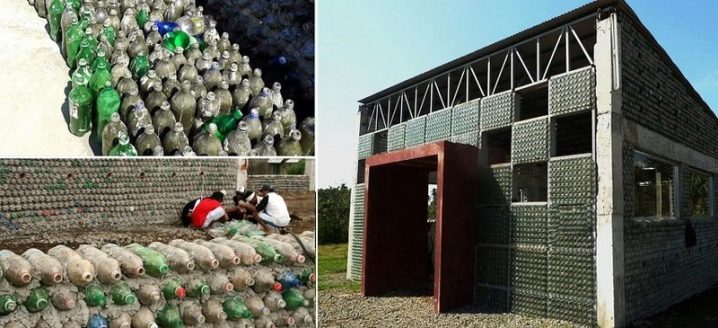
Collecting bottles yourself will be long, difficult, and ineffective. Only a small part of the container discarded in the trash is suitable for use. To prevent the collected bottles from crushing during use, they are tightly filled with soil or dry sand. It is the second option that is considered the most attractive in terms of external data. The clay solution is made using dry sand and clay (1 and 3 shares, respectively).

Straw is added to the dry mix, which turns out to be an attractive consistency-improving filler. When this consistency is reached, water is added to the mixture. Important: if the clay is very oily, the amount of sand should be increased. You can check the readiness of the solution by rolling a clay ball and throwing it on the floor. When the ball crumbles or cracks, the sand concentration must be reduced.

It is recommended to work in dry weather, there is no special need for a foundation. Trenches are dug at least 0.3 cm deep. This will deepen the walls and ensure their strength. Plastic bottle sheds are made both round and the traditional rectangular shape. The columns that carry the main load are made at least four; in the middle of each column, a steel bar is used.
To further strengthen the walls, a mesh is used, the cells of which cover the necks of the bottles. An alternative is to use a rope that wraps around the necks of individual bottles in a crosswise manner. As a result, a semblance of small rhombuses appears. The roof of a shed made of bottles is made as light as possible, otherwise it turns out to be not stable enough in practice.

As a final finish, use plaster, putty and after it - paint. With all the desire to save money, most people still choose more capital variations, for example, cinder block or brick sheds. It is recommended to use a combination of broken bricks or crushed stone with cement mortar as a base under them. The preliminary filling of the ditch is carried out for 3-6 months, and the longer the better. Noticing the subsidence of the poured material, add fresh cement to the ground level.
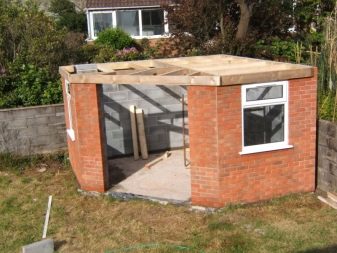
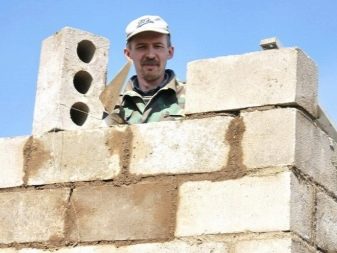
Slate roofing is done when installing wooden logs on the upper parts of the walls. Insulating materials such as foam and cotton wool should be laid over the joists and covered with boards. Plastering cinder blocks is not required. Instead, plain clay is usually used for finishing.Floors are poured most often together with the foundation; the simplest option is to lay out pallets covered with straw or linoleum.
Dimensions (edit)
The selection of material and the design of the outbuilding are interrelated things. Most of the finished blocks, as well as wooden structures, have dimensions of 100x100 or 50x100 mm. Based on this, you can easily estimate the final demand for materials. But do not forget about leaving door and window openings, about structural gaps. The exact dimensions are matched to the needs.
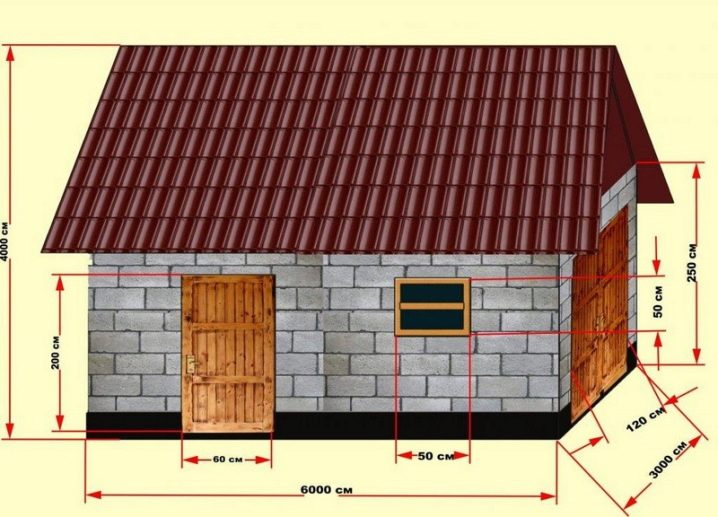
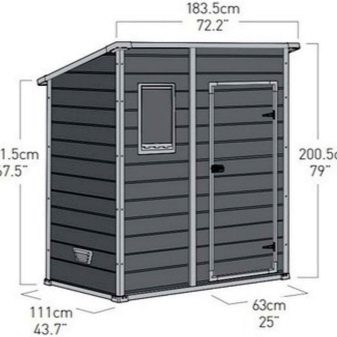
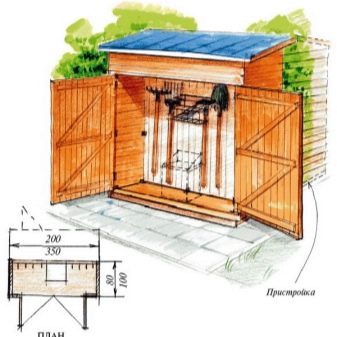
Simple inventory for a garden or a summer cottage is usually stored in structures with a size of 150x150 cm.But when it is required to create special shelves for storage, the length of the building increases to 200-250 cm.But gardening equipment and the rest of the volumetric tool require it to be increased to 300 cm. simple tools include rakes and hoes, shovels, hoes. Even in such a lightweight building, you can mount hooks or stands for hanging locksmith and carpentry tools.
Project development
Having evaluated all the properties of the required materials and the dimensions of the structure, it is required to prepare drawings. As practice shows, it is they that allow you to build a frame cheaply and quickly; the same applies to sheds without frames. On the contrary, if you abandon design, difficulties and problems almost inevitably arise. When you only need to store ordinary garden tools, there is no need for a foundation, a solid roof or even windows. If the list of stored things grows, and the building must perform a number of other functions, the structure can be equipped with several doors and windows.
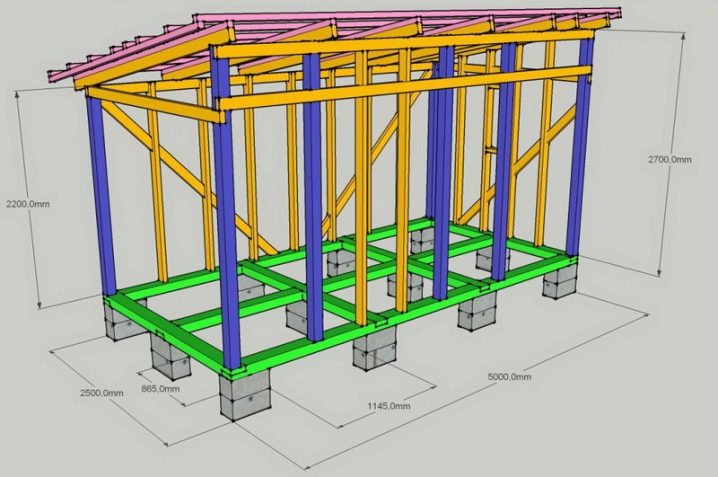
It is recommended to include in projects and drawings a slightly larger area than necessary. The need for storage space steadily increases over time, and it is better to immediately lay stock so that you do not have to finish building later.
In the course of designing, in addition to the area, they take into account:
- preferred building materials;
- occupied site;
- equipped bathroom (if any).
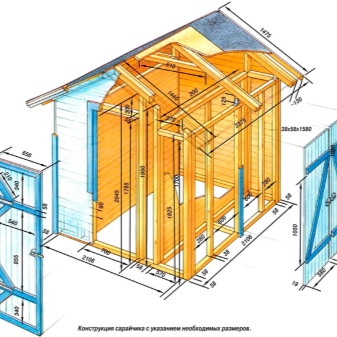
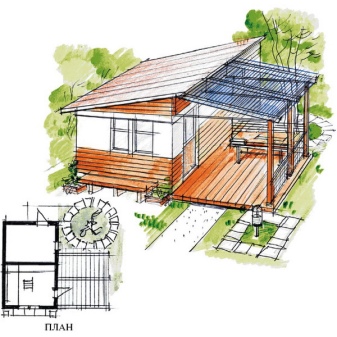
Economy-grade sheds are built in about a week and are very cheap. Typical dimensions are 2x3 m and 2.4 m in height. Capital brick projects are used if you need to build an insulated durable building. Important: if you plan to equip the shed with a shower, design solutions should provide for the protection of walls and other capital parts from contact with dampness. The arrangement of shelves, cabinets and racks is selected exclusively according to personal taste.
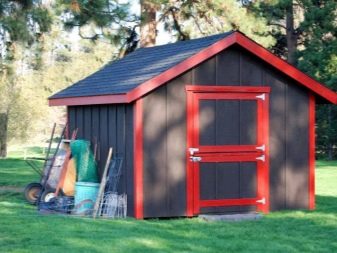
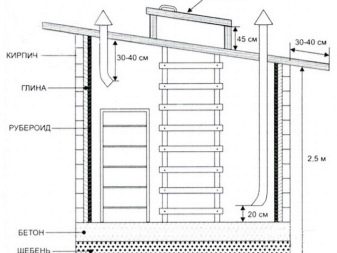
Some varieties of barns are made with a cellar. There are two main schemes: this is the location of the entrance part on a moderate slope and a pit with a sharp drop. Before starting construction, and ideally even before designing, it is required to find out the height of the soil water. When raising them to a height of 2 m, it is unacceptable to build a cellar. In such cases, no engineering solutions can guarantee normal operation.
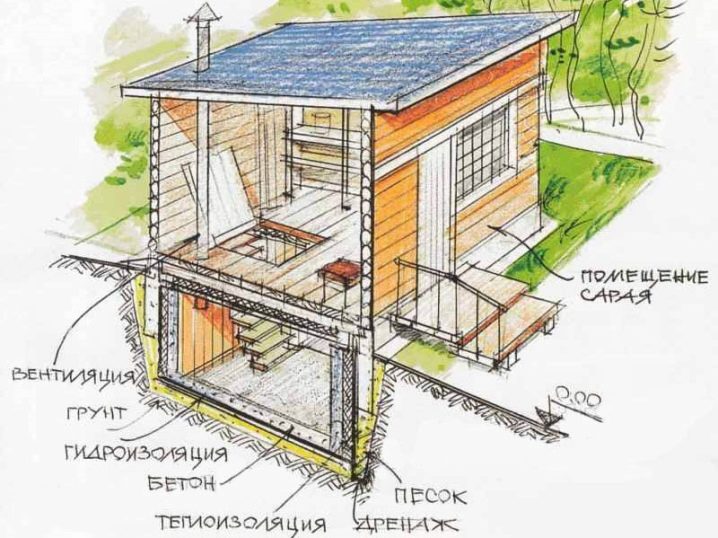
The walls of the pit must not be brought closer to the outer perimeter of the shed by more than 50 cm. If you do not comply with this requirement, you can face the collapse of the structure or the curvature of its geometry. Basically, the floor and walls are lined with bricks or poured with concrete; additionally equip the cellar with ventilation. Almost always, they cannot do without arranging shelving, the size of which is selected individually. The design of the upper floor can be done both separately and taking into account the already equipped floor of the shed itself.
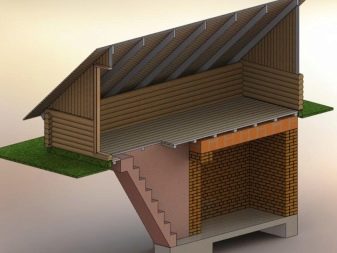
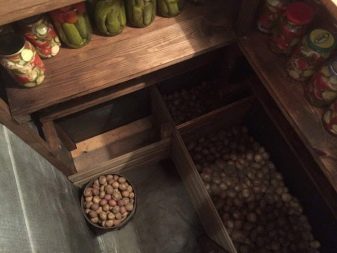
Most of the cellars are made in pits with a depth of 2-2.5 m, their length and width are calculated in accordance with the design dimensions of the premises. You cannot ignore the space allocated for passages with a width of at least 1 m.Without them, it will be unnecessarily difficult to use the cellar. Almost all construction work on arranging a vegetable store is done together, it is much more convenient than single efforts.
The clay castle is 0.4 m long. The bricks are laid out 4 times, oily clay should be poured every 3 rows. Be sure to measure the accuracy of brick lines using a hydraulic level. The bottom is filled with sand to a height of 300 mm. Concrete cushioning is considered more practical than using brick debris.
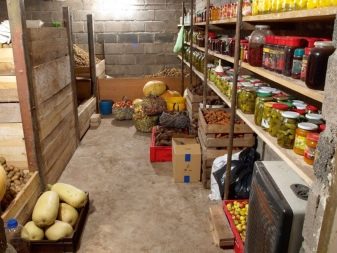
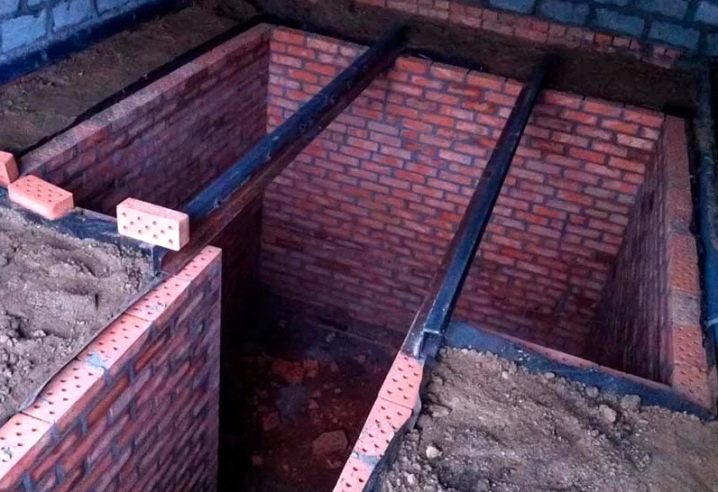
It is undesirable to build cellars using wood. Even the best and most resistant varieties degrade very quickly upon contact with moisture. When the ceiling of the cellar also protrudes with the floor of the barn, it must be reinforced. Channel bars are mainly used as reinforcing supports, although brick supports are sometimes used. Self-made floors are made using frames connected by electric welding, which are formed from rolled metal, primarily a channel.
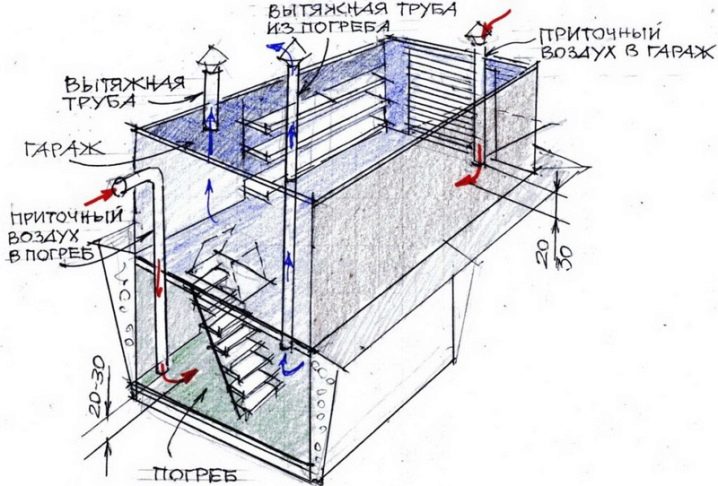
We must not forget about the passage of the ceiling by pulling air lines. An array of boards is placed on top of the frame; instead of wood, boards made of wood chips are sometimes used. There should be two pipes - one supplies the flow from the street, and the other removes the clogged mass. Solid ladders can be equipped with bricks, reinforced with a welded metal contour. Sharp transitions to the basement, in contrast to the gentle ones, are equipped mainly with ladders.
The most reliable version of the shelving is considered to be a sheet steel structure. Instead of tightly fixed shelves, many people choose hinged structures held on hooks held by anchors in the walls. Brick can be used to form small walls. Lighting in the shed vegetable store is prepared using mains voltage. The cable is pulled in a pipe, which does not allow moisture or rodents to reach the conductive cores.
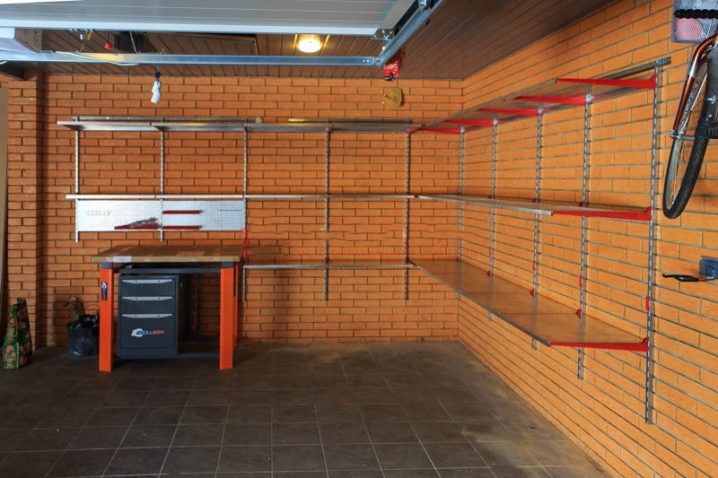
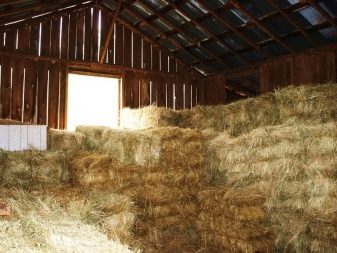
For your information: the best place for the lighting shade is at the top of the entrance. Placing this element on the ceiling often carries a high risk of damage. If you plan to breed livestock, a very good solution would be to equip a barn with a hayloft. Usually the capacity of a sennik is 8-10 cubic meters. m; it is difficult to imagine a private household where more feed would be required. For the sake of the highest dryness of the hay, it is usually placed on the upper tier, and the hayloft floor also acts as a barn ceiling.
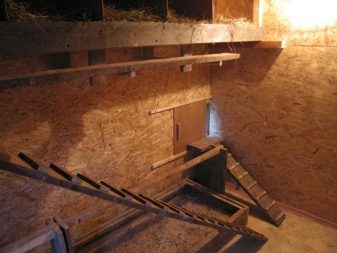
They carefully think over the supports that should not bend even under significant load. The working opening in the floor is equal to approximately 15% of the entire base area. This size allows you to perform any work as efficiently and accurately as possible. For the convenience of ascent and descent, a ladder is placed. Even novice home craftsmen can build a good hayloft.
How to build?
All of the above information is undoubtedly very valuable. But for effective work, instructions are required on how to complete the construction step by step with your own hands. The very first step should be a careful selection of the site where to put the outbuilding. In most cases, they choose the space behind the house so as not to darken the observed picture on the site. In addition, there is usually a shadow, that is, it will not work to grow at least some plants.
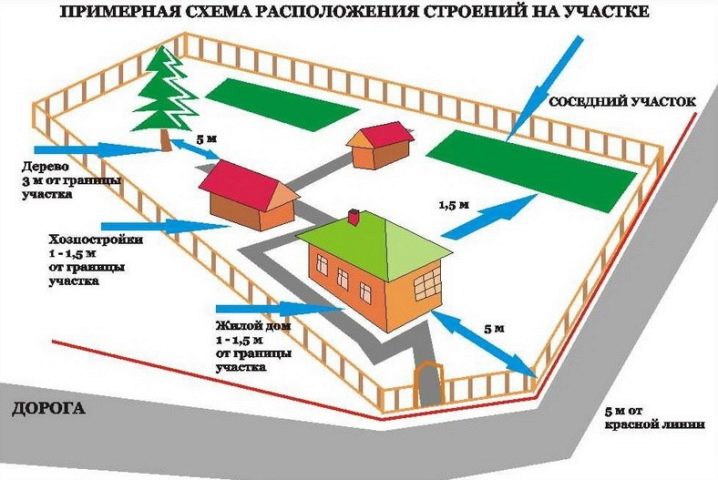
Attention should be paid to the function: for example, sheds for gardening tools are located closer to gardens, vegetable gardens and flower gardens. You need to think about how to harmoniously fit the outbuilding into the overall composition. In addition, you should think about the optimal geometry and appearance of the planned structure. Experiments with the shape, size of windows and doors are quite acceptable, provided that they are prepared. The simplest and most affordable material is edged board; when using it, the duration of work is reduced to several days.
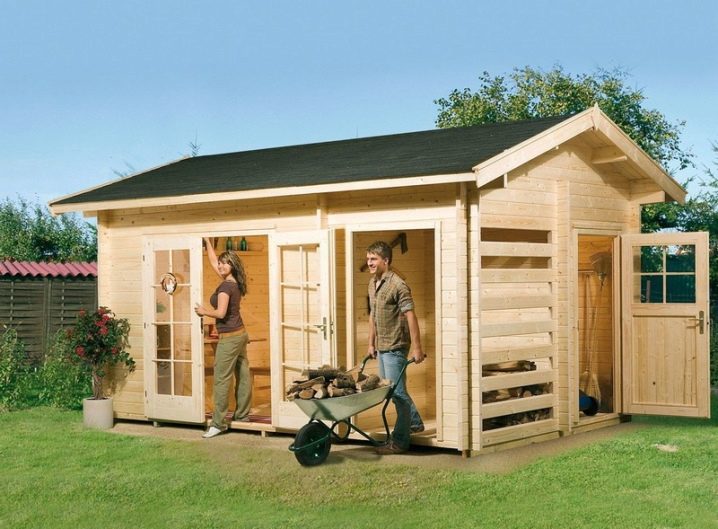
When the barn is built, its appearance is improved by:
- breakdown of flower beds;
- planting attractive trees and climbing crops;
- wall decorations in different colors.
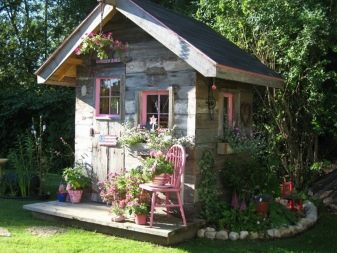
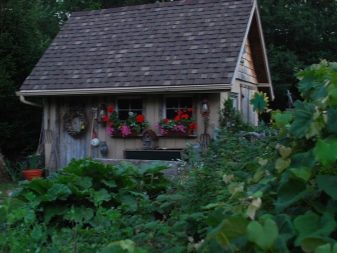
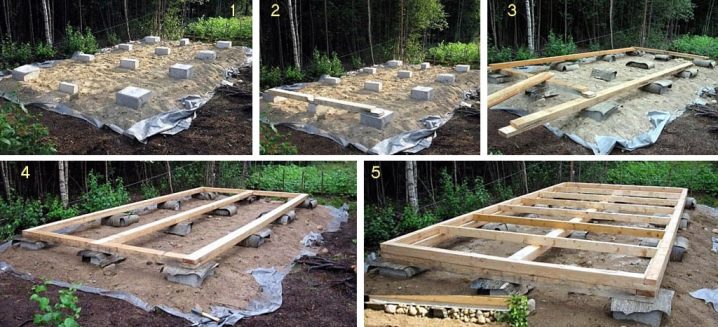
At the very first stage of construction, when a place has only been chosen, the site is broken up with stakes. It is necessary to remove the top soil layer in order to exclude overgrowing of the area with weeds. Under the frame structure, mainly column foundations are formed, and to make them more stable against high-standing groundwater, they prepare depressions up to 0.8 m, the gap between them is made twice as large. The exposed pillars are checked for evenness using a building level, if everything is in order, they are covered with a mixture of gravel and sand and poured with concrete mortar.
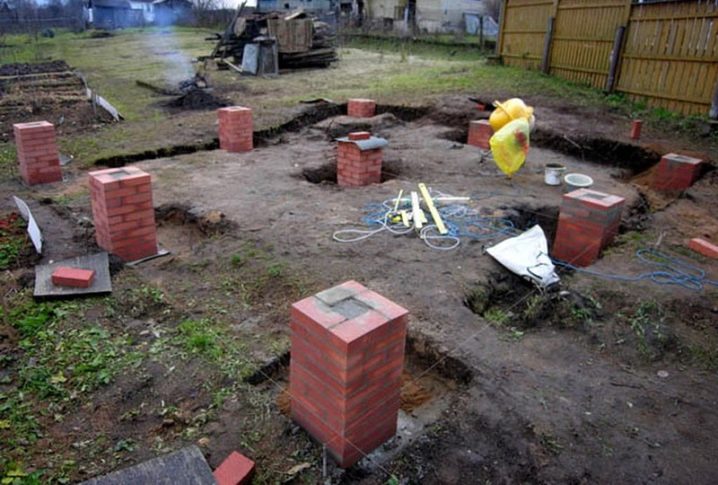
Exposure of concrete is normally from 72 hours, this will allow it to set. The increase in the service life of the poles is achieved due to the mastic, which makes the waterproofing even more perfect than the default. The timber is impregnated mainly with compositions including color. These mixtures are not inferior in characteristics to conventional impregnations. The rough floor is laid out from boards 0.3-0.4 cm thick.If you immediately measure and saw off the areas located next to the racks, the installation process is greatly simplified.
Plane processing is a mandatory procedure. That is why fixing the boards on the logs is done in a "secret" way. To eliminate misses when placing the bars, stick slopes are used. The nails holding these sticks do not need to be driven in completely, then dismantling will be noticeably easier. Sometimes they choose to install a brick base in several rows.
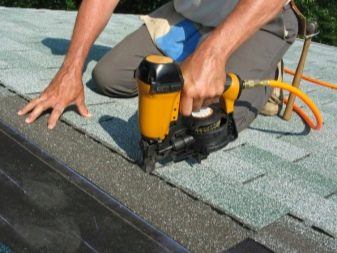
The next stage of the arrangement is the placement of the rafter system and the installation of roof structures. The connections are fastened with self-tapping screws and steel corners. Planks with a thickness of approximately 40 mm are allocated to the rafter system, which are 50 cm longer than the lower frame in length. In the process of wall cladding, a board with a size of 25x150 mm is used. Wooden roofs are certainly equipped with waterproofing, most often it is made of roofing material.

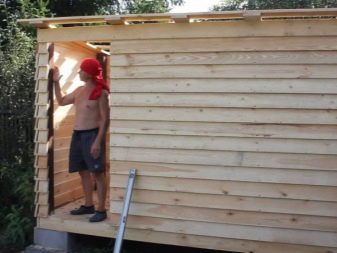
The most attractive decorative material on top of roofing material is bitumen-based shingles. When the appearance is less relevant, the roof is usually covered with simple gray slate blocks. The walls are sheathed with boards from the center to the edges, it is advisable to maintain as little gaps as possible. The final surface treatment with an electric plane, along with the aesthetic effect, reduces the absorption of rainwater. An important step is usually the use of varnishes or paints, selected taking into account the appearance of the house, other dominant building.
Internal organization
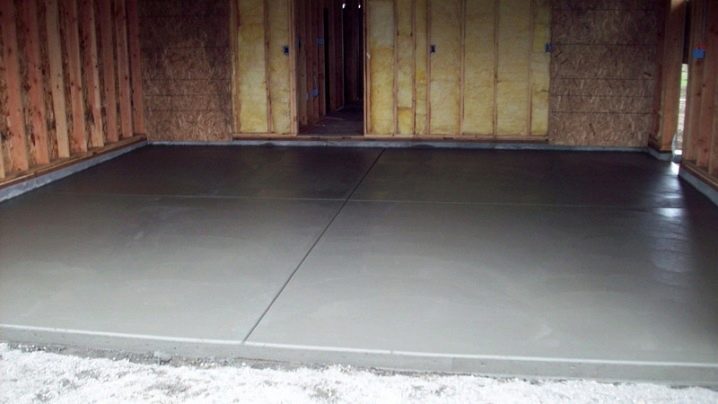
No matter how durable and beautiful the barn is on the outside, its arrangement inside is no less significant. And here there are no trifles, neither the shelf, nor the floor, nor other elements can be considered as something secondary and not worthy of attention. A smooth and durable base can be made of concrete, but there must be a layer of waterproofing under the screed. Such a layer is easy to create from cellophane or polyethylene. If the flatness of the floor is not as critical as the ease of its creation, the use of asphalt can be recommended.
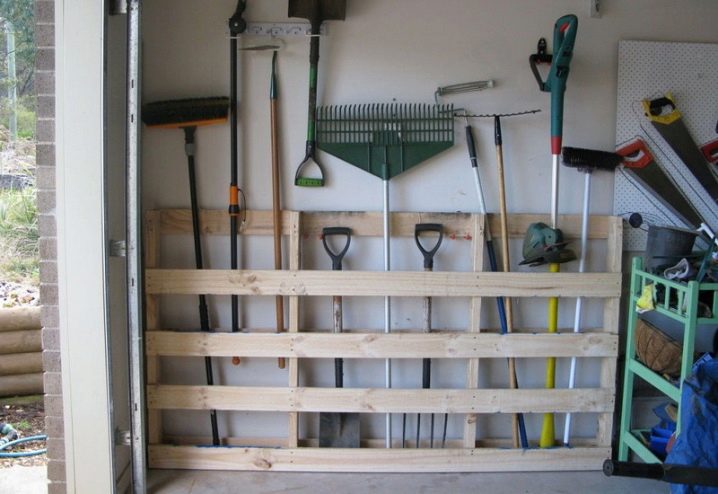
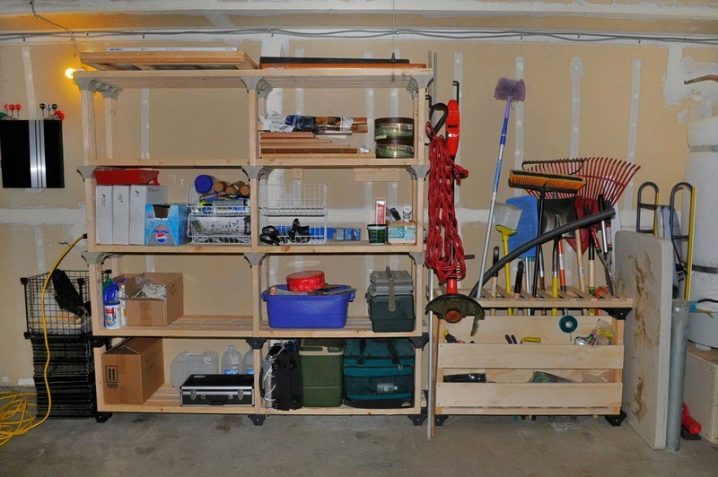
Shelves are mainly made of wood or metal parts. When using wood, predominantly one-piece structures are created, which are assembled using nails and self-tapping screws. But the possibility of disassembling metal storage systems depends on the method of connecting their parts (electric welding or bolting). The second option allows you to make the rack mobile, quickly move it as needed. But the rigidity of such storage systems does not always satisfy consumers.
Occasionally you can find a rack made of a perforated steel corner. Hooks and grooves are used to connect parts of the structure. If necessary, you can even move the shelves to the desired height. However, not everyone will like the cost of such a nice bonus. The racks have maximum strength, on the stern of which a pair of steel ties are mounted.They can be attached by welding or screwing in bolts.
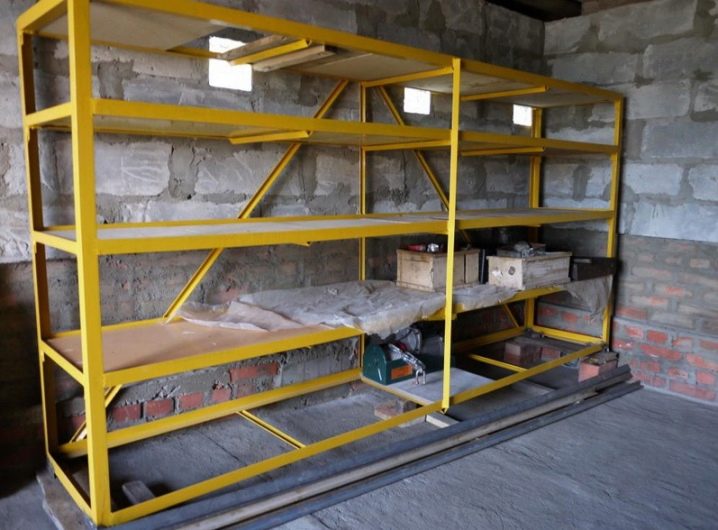
The length of the spans is calculated in such a way that even if the expected load is somewhat exceeded, the shelves do not bend down. The heaviest things can be placed on spans no longer than 150 cm. But even for the lightest property, it is impractical to equip shelves longer than 2 m, unless it is absolutely necessary. The lowest storage space, whether on or off the shelf, should be at least 0.7-0.8 m above the floor.
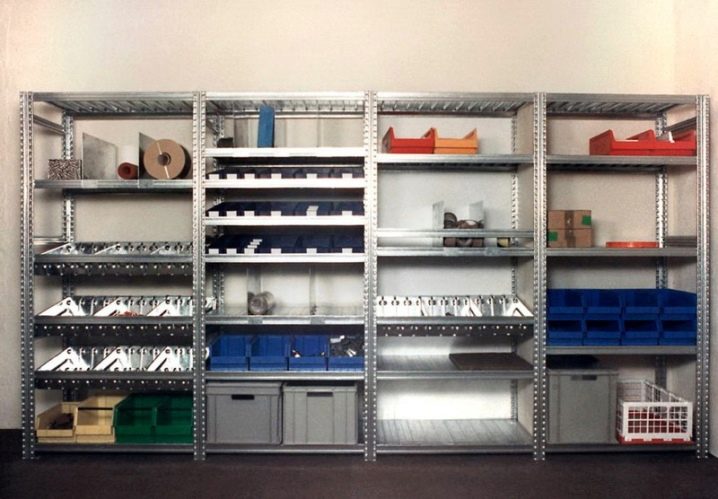
The minimum tier height in storage systems should be such that a 1.5 liter plastic container can easily be placed there. That is, 40 cm is enough with a margin, even for a rather chubby hand. Wooden parts are mainly connected in a quarter or half of a paw. To simplify the work, you can hammer them together end-to-end, reinforcing with metal corners. The racks are usually made of 5x5 cm bars, and the crossbeams are made of the same parts or with a 5x3 cm section.
Tips & Tricks
In some cases, it is advisable to take advantage of the capabilities of modern technologies. Three-dimensional visualization will significantly simplify the search for weaknesses and inaccuracies, will help to more accurately imagine the type of future structure and the impact of certain decisions on it. At the stage of preparation for construction, you need to make sure that the diagonals are equal to each other, and that right angles are indeed measured accurately. If brick foundation pillars are used, it is recommended to impregnate them with waterproofing mastic before backfilling with sand. A few hours of work and a little expense will extend the life of your barn for years.
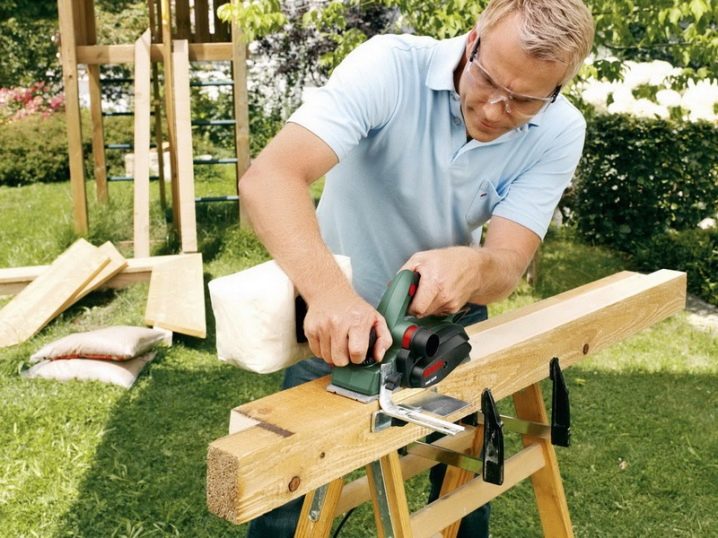
Goats help to make it easier to cut wood planks or logs. The steps at the entrance are sometimes made from European pallets, including as a temporary option. It is recommended to pay maximum attention to waterproofing. Refusing to do it or making mistakes when working is extremely expensive. When backfilling the pits of the pillar foundation, only water-restraining materials can be used.
For information on how to build a barn, see the next video.






The comment was sent successfully.