Features of the construction in the country of a shed with a pitched roof measuring 3x6 m
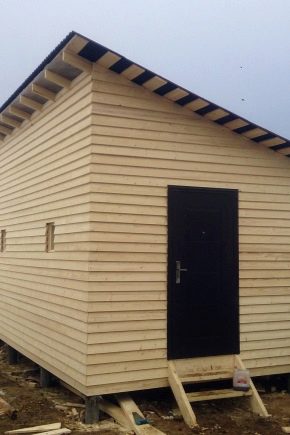
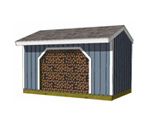
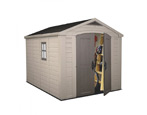
It is well known that it is practically impossible to live without a barn in the country, since there is always a need to store various tools, building materials for the period of construction of a country house, equipment collected at the harvest site and much more. At the same time, the most popular format of such a structure is the dimensions of 3x6 m, and the most common architectural solution is a wooden building with a pitched roof.
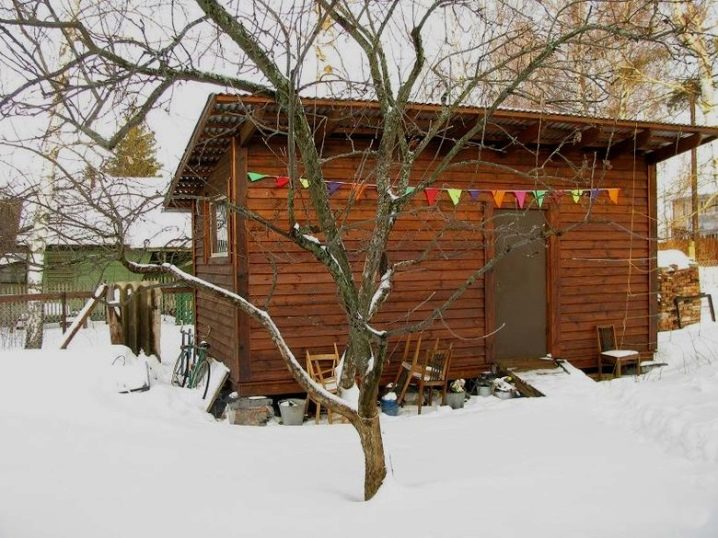
Site selection and design
The barn is definitely an auxiliary structure, therefore, during its construction, architectural delights are inappropriate, and it is not necessary for it to somehow stand out in the general landscape design.
Its most rational placement will be either its extension directly to the country house, or the construction of such a shed somewhere on the edge of the site. The place for its construction should be convenient, and the construction site is best organized where the soil is least suitable for planting.
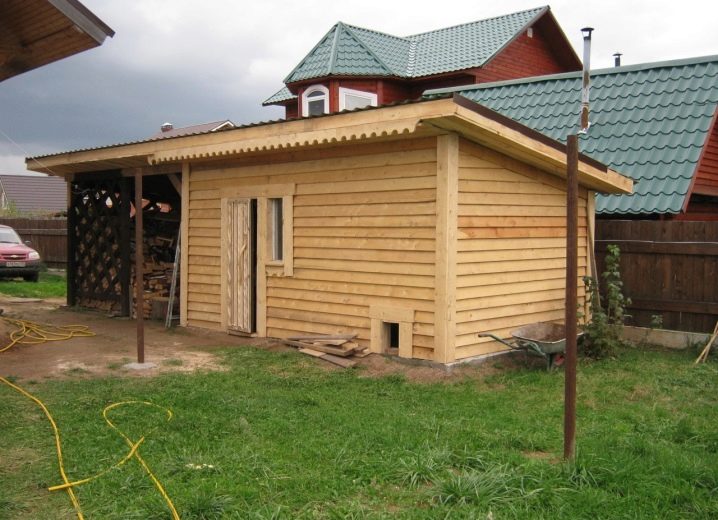
A prerequisite should be the availability of a convenient entrance and approach to such a utility room, and it should be located from the place of the main summer cottage work so that carrying tools, garden equipment and other massive objects into it is accompanied by the lowest physical costs.
Any construction, even not very complicated, should start with a project. Addressing such a question to professionals is quite expensive and impractical, but your own drawings and sketches will be very useful. Especially for calculating the amount of material and as a basis for technical solutions during construction, such a scheme is simply necessary.
It is also costly and unreasonable to hire professional builders for this work, because such work, in essence, can be performed by every man with a minimum set of building skills. Therefore, the construction of a shed must be done by hand.
Main material
The most budgetary and technologically advanced option would be to build such a shed from OSB slabs. This abbreviation stands for Oriented Strand Board. The multilayer material consists of 3-4 sheets. It is made of aspen wood chips, glued with resins with the addition of boric acid and synthetic wax filler.
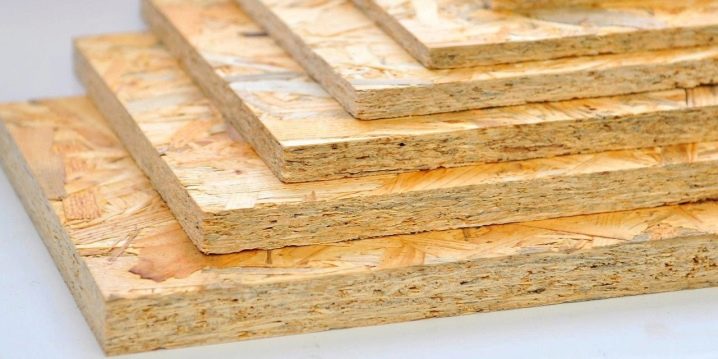
Such slabs are used for wall cladding, as removable formwork for concreting, continuous roof sheathing, manufacturing of floors and various supporting structural elements like I-beams.
This material has significant mechanical rigidity and a high level of sound absorption. It is distinguished by its ability to withstand snow loads and wind sails. All these qualities make it possible to use OSB-plates as a basis for various roofing materials.
Frame shed
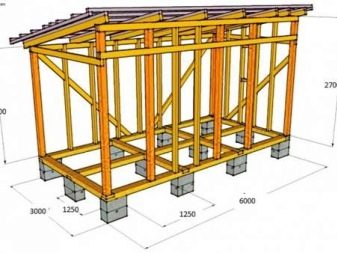
After marking, clearing and leveling the construction site, you need to equip the foundation. The simplest solution would be to make it from foundation blocks laid out along the perimeter of the structure. You can build a columnar foundation. For this purpose, pits are dug, and a pillow is placed on their bottom for installing ready-made blocks in a vertical position.
The posts can be made of concrete. They should be deepened by 0.4-0.5 m. Having marked the outline of the structure on a tape measure, pegs are driven in in the corners of the site and a rope is pulled between these stakes, after which the places for the installation of the pillars are marked.
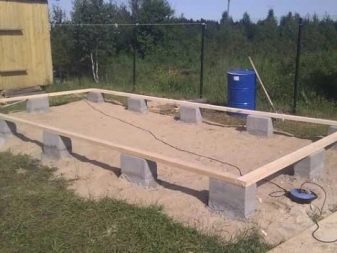
They dig holes for them with a shovel, or make holes in the ground with a drill. From above, a formwork is installed, rising above the surface by 0.2-0.3 m. Then a gravel-sand cushion is arranged, reinforcement is constructed and pouring is performed.
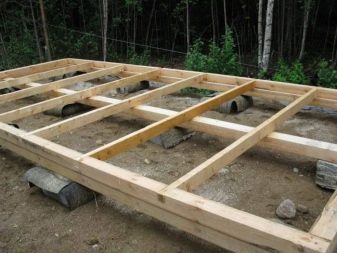
Another option is a strip foundation made of concrete poured into the formwork. The disadvantage of this method is a very long waiting time for shrinkage and complete setting of the concrete mixture. If you wish, you can not be limited to a rectangular structure, but build a shed with a veranda, observing the overall dimensions of the building 6 x 3 m.
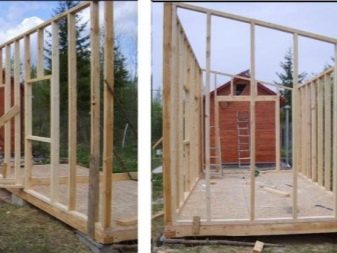
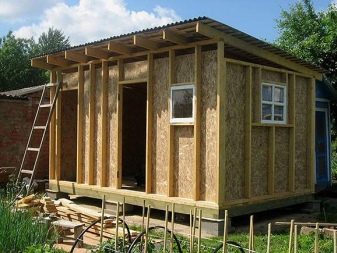
After the work on the base is completed, the lower harness is assembled and treated with an antiseptic composition. The floor is laid on this strapping made of OSB or edged boards. The first frame post is also installed here. It is fixed with a steel corner. To increase the rigidity of the structure, a temporary spacer is attached to the harness.
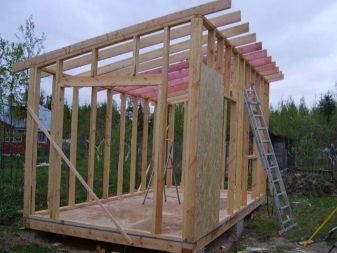
After that, an OSB sheet is attached to the base and to the first rack. The sheets should be fastened to the bottom of the frame with an indent of 5 cm. For this purpose, a bar is attached to the lower strapping, on which the OSB sheet is supported. This sheet is fixed by transferring this control block further.
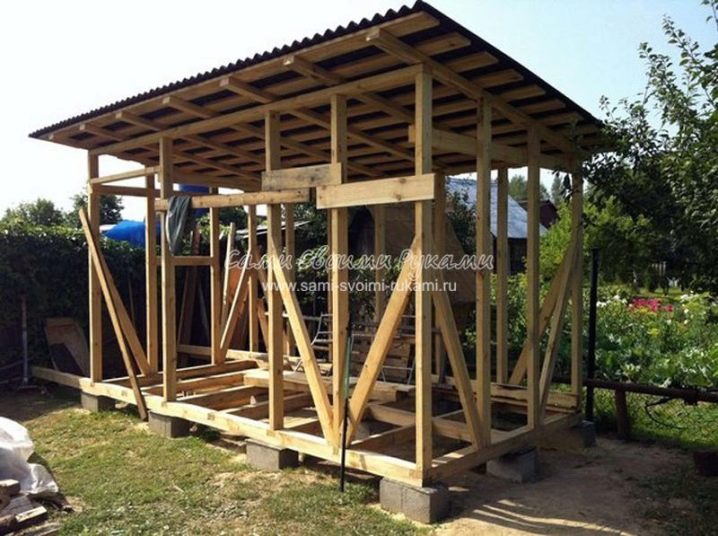
Next, the installation of the second rack is carried out. It attaches to a pre-installed sheet. Now the spacer is removed, and all manipulations are repeated in the same sequence.
In the same place on the site, the assembly of the upper timber strapping is performed, after which the entire structure is placed on the racks and fixed, and then the rafter structure is mounted, the crate is attached, and the shed is covered with corrugated board or some other roofing material.
Roof
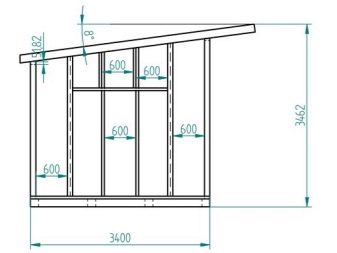
Its construction is started at the end of the frame assembly. In this case, it is necessary to calculate the length of the rafters. For this purpose, the length of the double-sided overhangs, equal to 40-50 cm, is added to the inter-wall distance.
Then they begin to make the main rafter leg. To do this, a fragment of the required length is cut from the board, a place for the fastening grooves is tried on and marked, and the required number of rafters is made.
The rafter legs are mounted to the frame and connected to one another using a tight thread.
The installation of the remaining rafter elements is carried out at the previously marked level. They are fixed with nails or a corner.
The waterproofing is fastened with a stapler with an overlap of 15 cm between the edges of the strip.
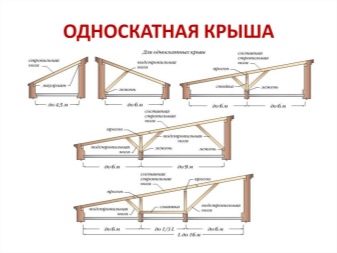
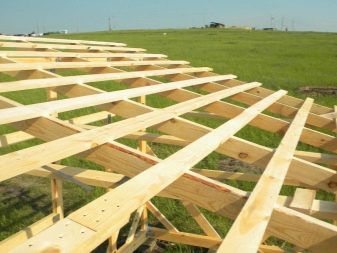
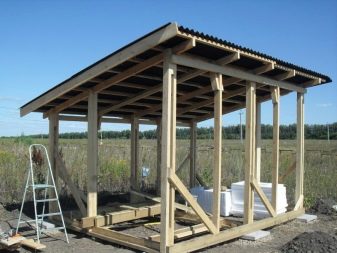
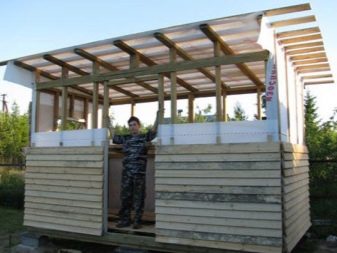
This is followed by the lathing device, cutting the roofing material and installing it on the farm building.
It should be borne in mind that the step between the individual rafters is 60–80 cm. Therefore, for a shed of 3x6 m, eight rafter legs will be required.
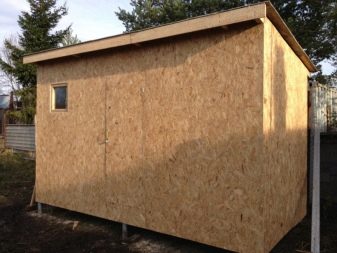
Next, the frame is sheathed, the window frames are fitted and the door is installed.
The final stage is painting the structure, making shelves, supplying electricity and making steps.
Thus, the construction of such a simple barn on your own is quite a feasible task. The only thing to keep in mind is the legally required offsets from neighboring properties by 3 m and 5 m from the nearest road.
How to build a shed roof with your own hands, see the next video.





The comment was sent successfully.