How did garden gnomes appear and what are they like?
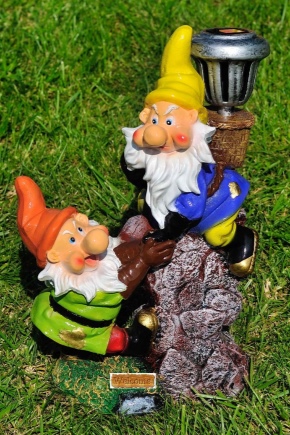
One of the most popular garden decorations is figurine of a garden gnome. As a rule, such a decorative element does not cost a lot of money, but it is sold everywhere and in the shortest possible time gives the site a special zest.
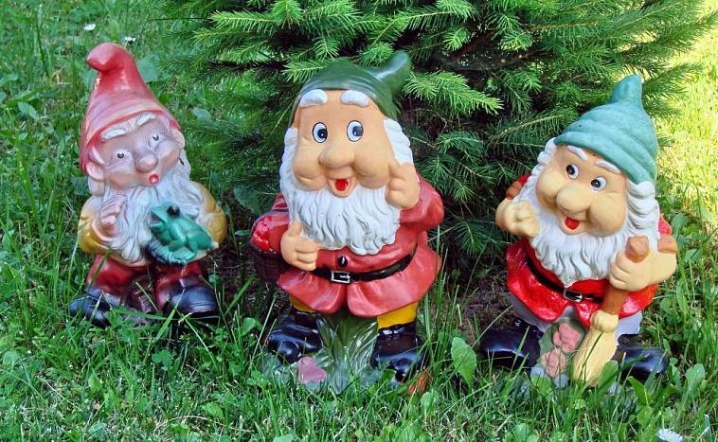
Origin story
Garden gnomes - decorative figurines used in landscape design originally appeared in Germany and Italy in the 19th century, and then gradually "spread" around the world. It is believed that the first of them was created by Philip Griebel in 1872. A ceramic figurine in a pointed red cap and with a white beard symbolized the defender, therefore it was installed at the doorstep of the house. In 1874, the production of gnomes was put on stream. Since then, the demand for such a garden decoration has increased and then fell sharply.
Even various movements against the garden gnomes have formed: some people consider the figurines to be a manifestation of bad taste and philistinism, while others are dangerous objects that steal the soul of living mythical creatures.


What are they?
In the garden or on the personal plot, you can place any gnomes you want, but it is important to remember that decorative elements must be made of the same material as the objects next to which they are located.
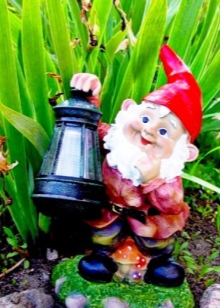
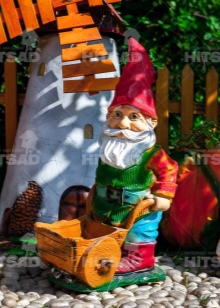
For garden decoration, both the simplest figurines and creatures with additional "accessories" are suitable: with a lantern, a cart, a shovel or in overalls.
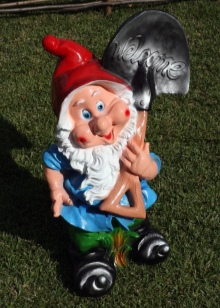
Wooden
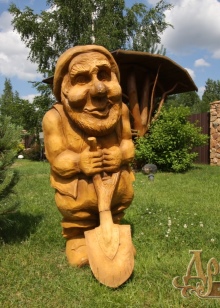
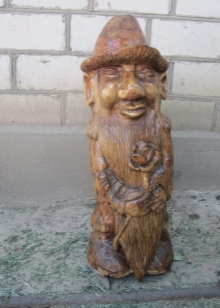
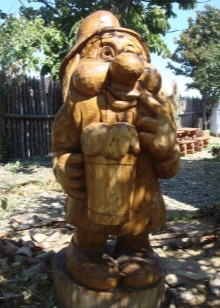
Wooden figurines are a versatile solution in landscape design. Despite the fact that such a garden gnome does not always look bright, it fits well in almost any style. The material, convenient for work, is subservient even to a novice master, which allows you to create such a decorative element yourself. Strong species are most suitable for work, for example, oak or larch, from which reliable and durable products are obtained. To extend the service life and protect against mold, the wood is first dried, after which it is treated with an antiseptic and moisture-resistant varnish. When making a gnome yourself, you can also use branches, driftwood, saw cuts, foliage or moss to decorate it.
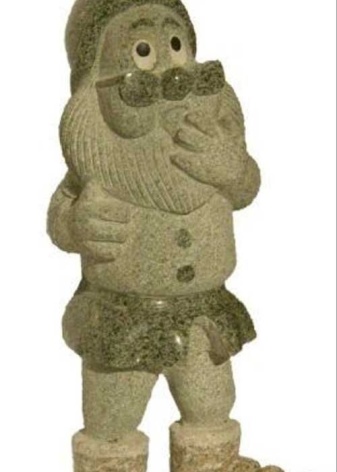
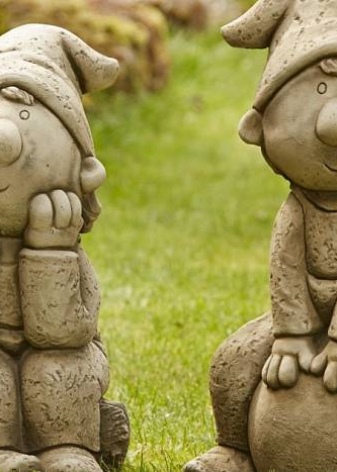
Stone
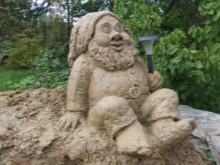
Despite the high cost of stone gnomes, many owners of summer cottages choose them due to the aesthetics and durability of decorative elements. The stone figurine will last for decades without even having to be brought indoors during the winter months. However, it should be purchased only when there are already other elements made of the same material on the territory. In order to complete the decorative element, it is recommended to sprinkle gray or multi-colored pebble stones next to it.
Polystone
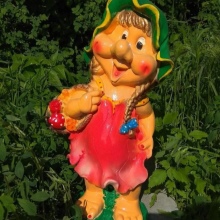
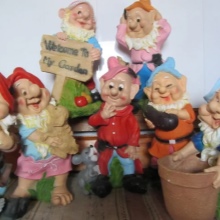
A large gnome made of polystone (artificial stone) looks very realistic and pleases its owners for a long time, without cracking or deforming when the weather conditions change. This material is based on stone chips, which are further combined with acrylic resin. The strong figures that form after the mixture hardens are lightweight, but very reliable. Substances can even be shaped into complex shapes, and the figurine itself can be endowed with miniature details. By the way, an interesting decision will be to purchase a lamp in the form of a polystone gnome.

Gypsum
Plaster gnomes are especially popular due to their low price. Unfortunately, they cannot boast of the duration of operation and often suffer from mechanical damage. When making such an element yourself, it should be remembered that the figure is processed with sandpaper before painting. A special tool will also be required to decorate small parts. As a rule, a gypsum gnome is only enough for one season.
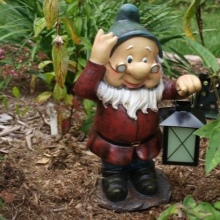
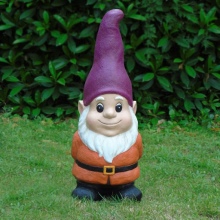
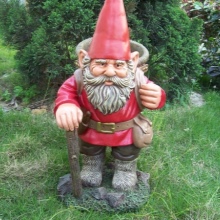
Concrete
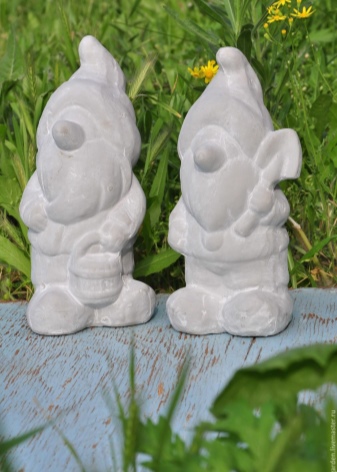
Concrete gnomes are very durable, but they cannot boast of grace. You can create such decorative elements yourself using a suitable solution and forms.
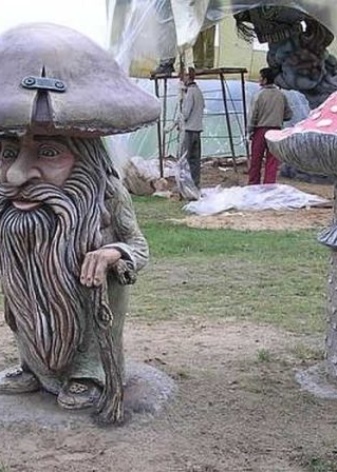
Thatched
Straw gnomes are obtained as follows: from tightly twisted straw, individual parts are created, which are then connected to each other.
Other
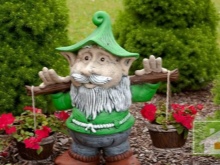
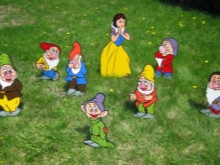
A garden gnome can be made from plaster, plywood, or even foam. Some craftsmen design decorative elements from available items at hand. Plastic figurines look very attractive, but they don't last very long. A cast metal gnome may seem too rude to some, but it will last for many years. Minus this option is also called the need to care for the material, including protection from rust.
Where to put?
In principle, garden gnomes can be placed on a personal plot in absolutely any place. The figurines will look good next to or right in the flower beds, on the sides of stone paths, next to wicker fences or main gates. You can also place them on a veranda, near a decorative pond, near a gazebo, or even at the entrance to a greenhouse. The main thing, when purchasing gnomes for the country, is to make sure that they fit into the existing design... A classic landscape requires the use of decor in any uniform color scheme, but pink or burgundy figures are more suitable for a romantic setting.
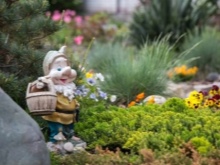
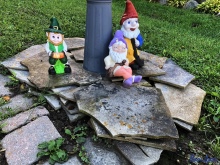
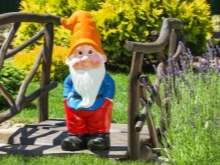
Country and Provence styles imply the use of wood, while Art Nouveau allows you to experiment with concrete, metal and marble.
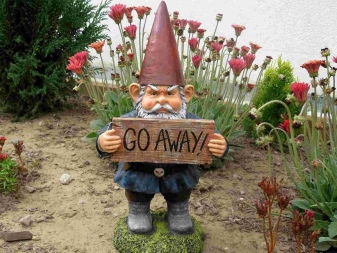
A useful rule of thumb is to position the gnomes so that no more than one sculpture is visible from each vantage point. In addition, the symmetry of landscape design should be emphasized by the same type of objects. If the area of the garden plot is large, then it is better to select a large decor, and miniature figures are more suitable for a small number of acres. In the event that the height of the gnome exceeds a meter, it is better to place it on a separate site. By the way, just such a garden decor will allow you to disguise a snag, a valve or any other unsightly object that cannot be gotten rid of.

How to do it yourself?
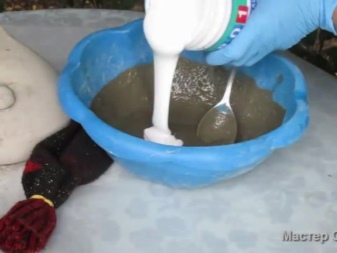
Simple master classes allow you to create country crafts from almost any materials with your own hands. For example, following the instructions step by step, you can make a very cute gnome out of cement. For work, it is necessary to prepare not only the cement mortar itself, but also a woman's whole stocking, an old sweater sleeve, ropes and a thin elastic band. It is more convenient to fix some elements with PVA glue. At the first stage, the cement mortar is prepared, for which cement and sand in a ratio of 1: 3 are combined with water.
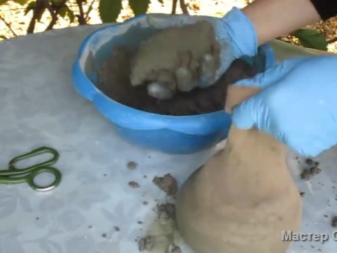
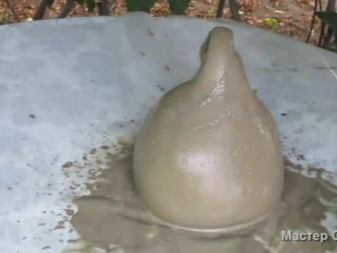
The substance is stirred, then it should be poured into a stocking so that an elongated drop is formed. A small protrusion is created in the middle of the stocking, which is fixed with an elastic band to form the nose of the creature. The workpiece will have to dry out throughout the day, for which it should be fixed in such a way that the lower part of the drop retains its shape. The finished workpiece is released from the stocking.
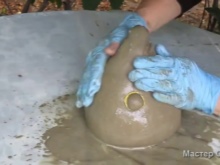
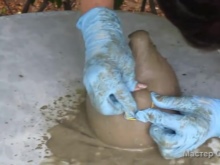
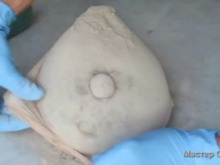
In order for the gnome to have a hat, you will need to tie the sweater sleeve with a rope, soak it with a mixture of glue and water, and then fix it on the creature's head.A wet piece of thick cement is fixed under the gnome's nose, which, with the help of a special tool, is shaped into a beard and mustache.
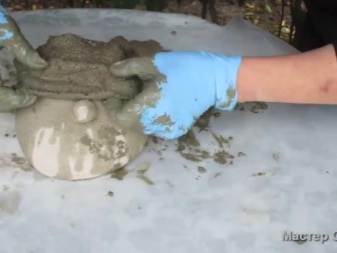
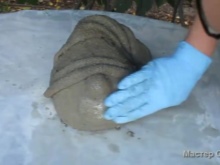
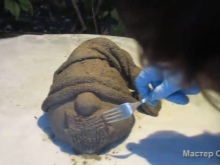
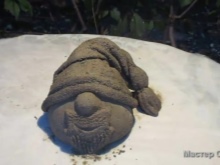
In the end, the craft can be decorated and varnished.
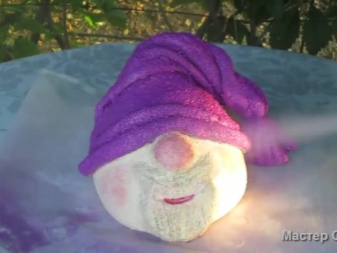
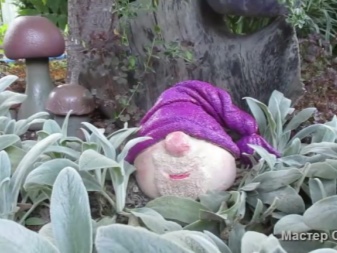
In a similar way, a garden gnome is created from plaster. To work in this case, basic material, glue and a mold of the required size are required. It is better to paint the figure with waterproof paints, and then additionally varnish. First of all, according to the instructions, a gypsum solution is created, and for greater strength it is recommended to add a little glue to it. The form is filled in half, after which you need to wait a short pause. If bubbles form on the surface of the substance, then to get rid of them it will be enough to knock on the mold. Pouring the remains of gypsum solution into the mold, the surface is leveled, and the future gnome is left to dry naturally. The finished product is painted and varnished.
How to make a garden gnome from plaster, see the video.


It becomes very clear and simple when you watch your lesson. It is very interesting and useful.
The comment was sent successfully.