Overview of stork garden figures and their placement
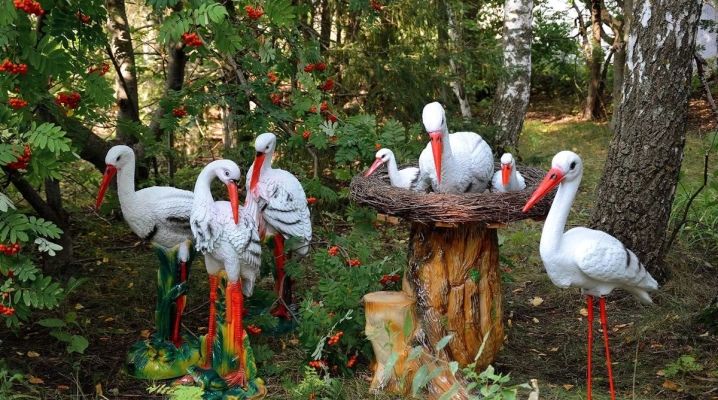
The stork bird has always symbolized happiness, peace and family hearth. Garden figurines of birds are placed in the courtyards of maternity hospitals, kindergartens and schools. The figurines are very popular among summer residents. Below we will talk about the features of a garden figure, types, methods of placement and tips for making it yourself.
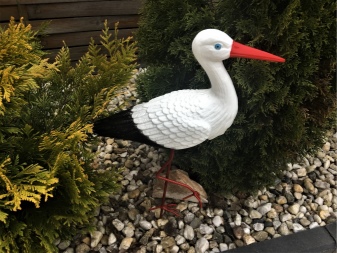
Peculiarities
A large number of legends and beliefs are associated with the stork. Since ancient times, people have considered the stork to be a sacred bird. It was believed if a person kills a stork or destroys a nest, then for the rest of his life he and his family will suffer from misfortunes, there will be no harvest, livestock will die. The bird has become a kind of deity. And every spring people waited for the return of the storks, protected them.
Following many beliefs from different countries of the world, it is worth concluding that people still believe in the magical power of birds. Garden figures of a stork are bought or cut out on their own. People are sure that the figurine will protect the house from evil spirits and troubles.
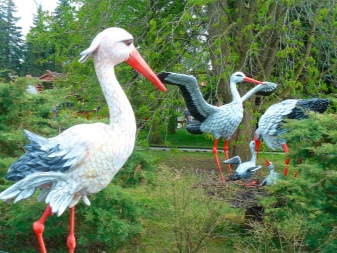
In our country, the stork is a symbol of family and comfort, love and fidelity. Many summer residents place stork figurines on their plots to give an atmosphere of tranquility, harmony and comfort.
A refined and original figurine is able to decorate any place allotted to it and give a special chic to the territory. Each owner believes that the bird really brings good luck and happiness.
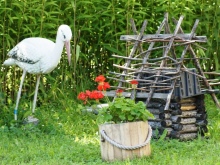
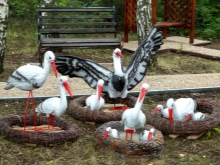
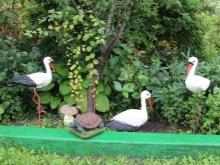
Stork figurines are sold in garden shops. The assortment is quite large and consists of statuettes of various sizes and types. The figurines have a special coating that protects the structure from moisture, heat and wind. Many sculptures have a special mount for secure fixation to any surface.
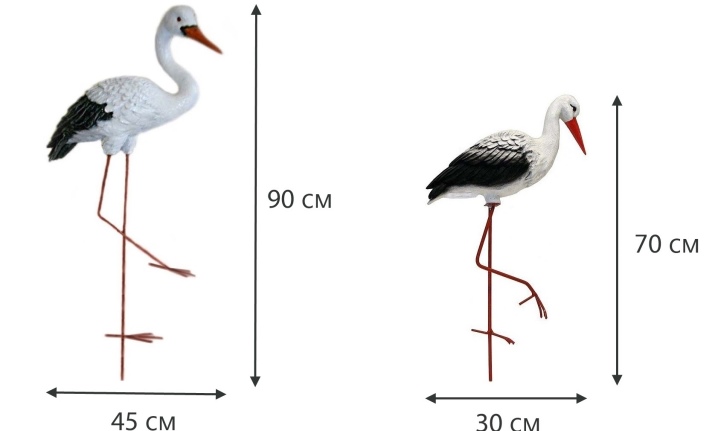
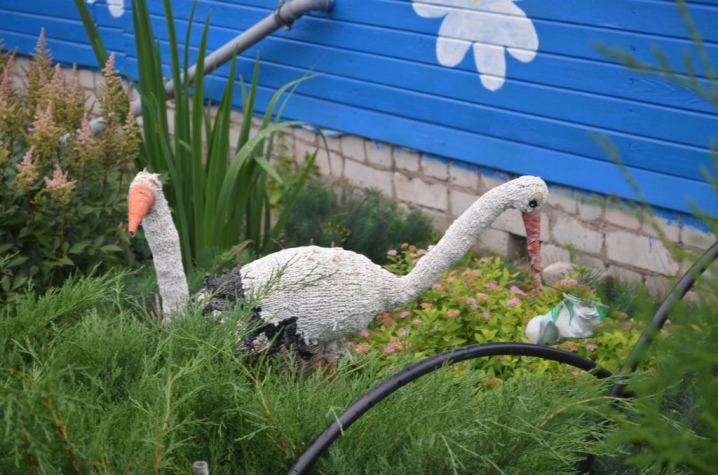
Some summer residents prefer to make products with their own hands. Making a stork figurine is not as difficult as it seems. Any materials at hand are suitable for manufacturing.
Figures are cut from plywood, foam or plastic bottles. The appearance depends on the imagination. There are many types of figurines, each of which is different with its own personality and carries a special message.
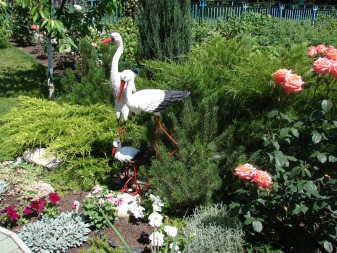
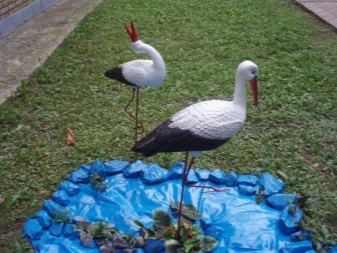
What are the shapes?
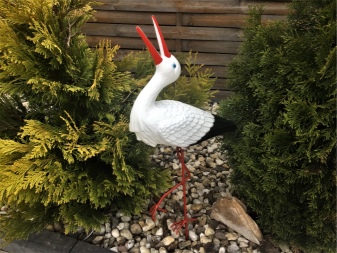
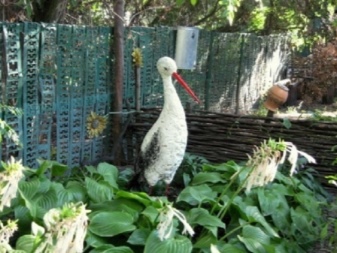
An overview of the types of figurines for a summer cottage opens with a classic wooden stork figurine. The bird can stand on one leg or freeze in the motion of flapping its wings.
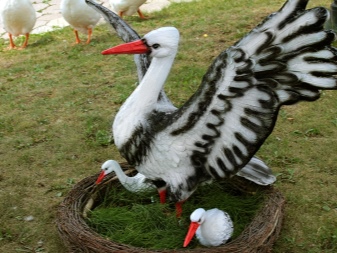
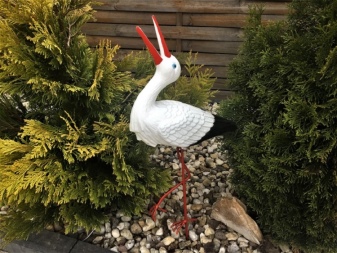
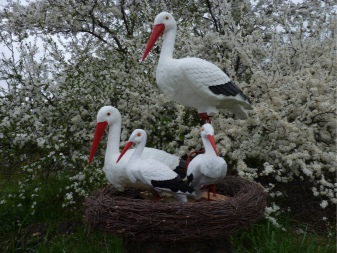
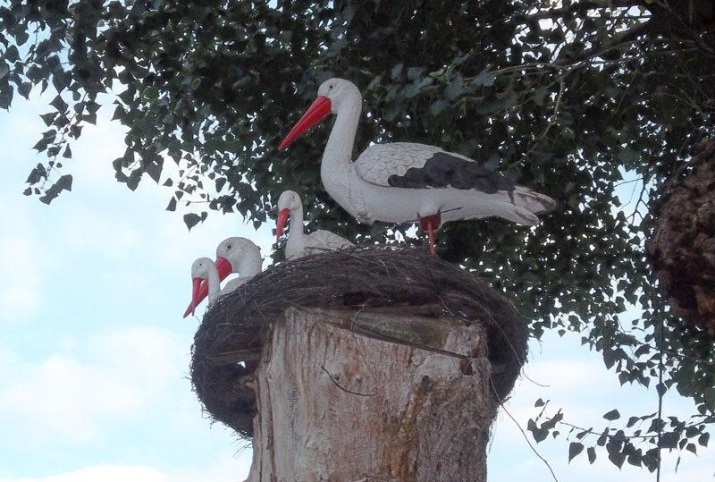
Decorative plastic stork is able to fit into any landscape design of the territory. A family of storks with a nest and a small chick looks especially original. The family nest is also placed on a tree stump or small decorative driftwood.
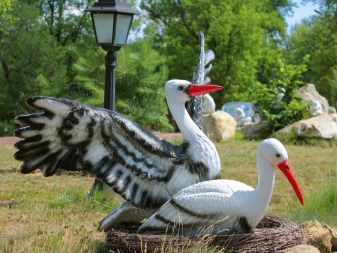
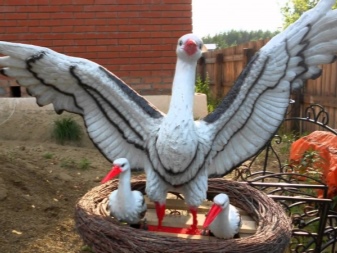
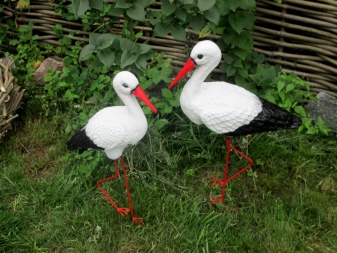
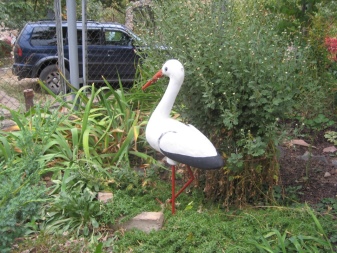
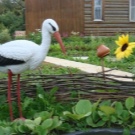
A single bird, imposingly walking around the site, will also become an original decor. It is installed in the middle of the beds.
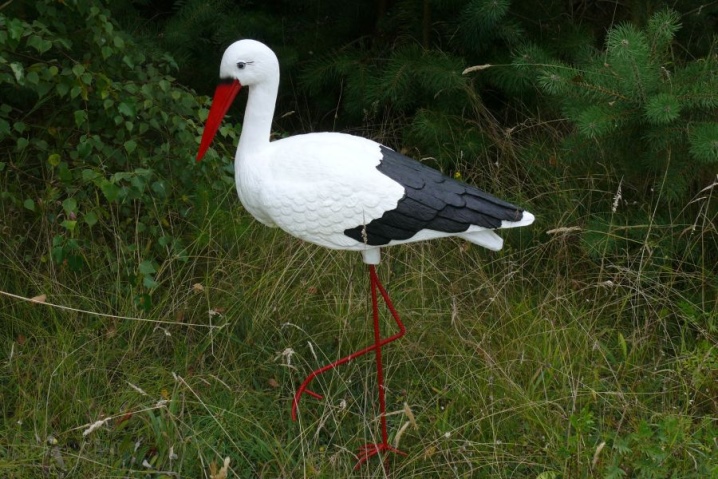
The most common option is a stork sitting on a stone. The stone can be a classic color or framed with grass and small flowers.
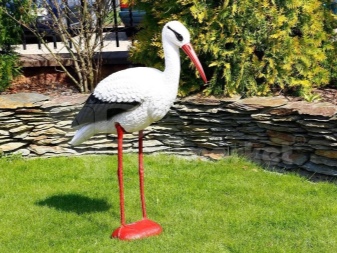
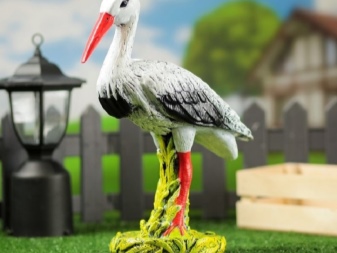
In some summer cottages, you can find a stork holding a bundle with a baby in its beak. This cute statuette will not leave anyone indifferent in the area.

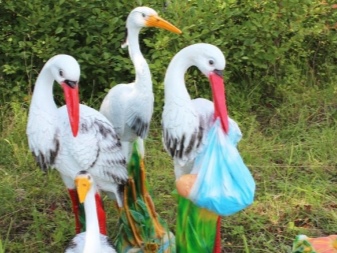
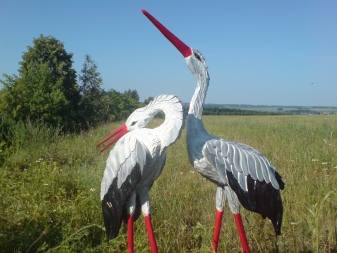
A stork sitting in the grass will also be a great addition to the decor. There are compositions of several birds that peacefully rest in the shade of trees.
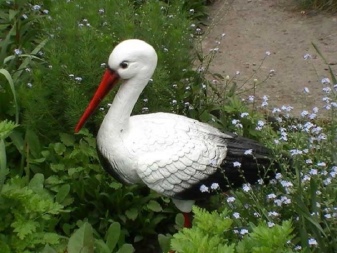
How to do it yourself?
If you wish, you can make a stork for a summer residence on your own, you just need to find the time, the necessary materials and show all your creative potential.
Tools and materials
To create a garden sculpture, you will need the following things:
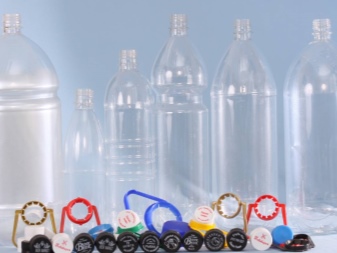
- plastic containers with a volume of 0.5, 1 and 1.5 liters and one 5-liter bottle;
- scissors and knife;
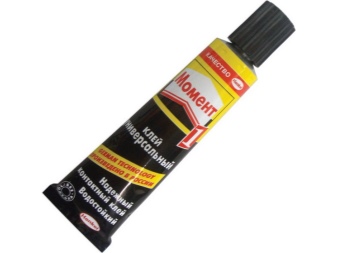
- glue;
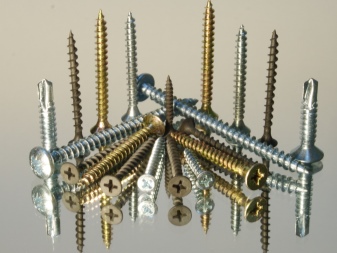
- self-tapping screws;
- a piece of styrofoam;
- corrugated tube;
- metal rods;
- mesh frame;
- wire;
- sandpaper;
- furniture stapler;
- acrylic paint;
- varnish.
Manufacturing
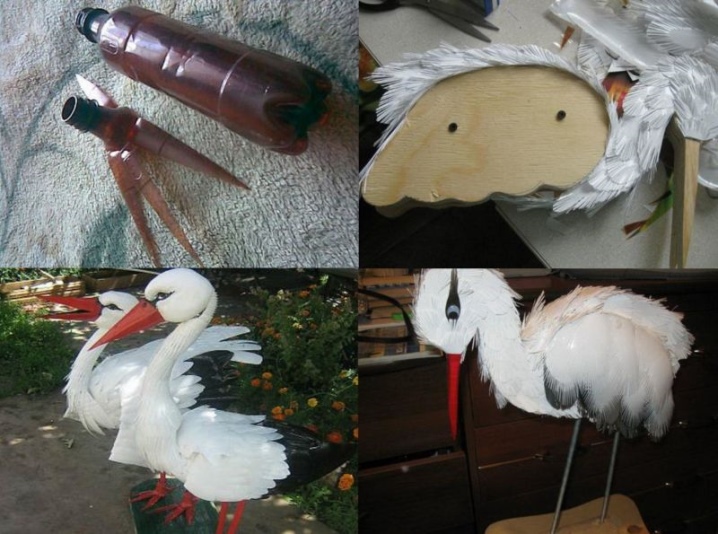
A homemade stork consists of blanks for the head, neck, trunk, frame with plumage and legs. A master class with step-by-step instructions will help you create a garden figure.
- A blank head with a beak is cut out of the foam. The part is sanded with sandpaper. Particular attention is paid to the edges of the beak. The head is immediately covered with white paint. It gives expressiveness to the workpiece and protects it from the effects of weather conditions.
- For the beak, two plates are cut from a plastic container. First, the bottom and the neck are cut off from the bottle. The rest is cut into rectangular plates. Triangles are cut from these rectangles. They are the parts of the beak. The plates are bent in the center and fixed with self-tapping screws to the place where the head and beak are connected.
- Take the next container and cut off the bottom. The toes for the future bird are cut from the edge to the neck. It turns out 3 fingers in front and one in the back. They need to be bent outward. Each finger is shaped by cutting the edges with scissors.
- Plumage creation is the most painstaking task. Take another container, cut off the bottom and neck. The rest is cut into 6 parts, which will serve as feathers. Feathers are cut in different sizes. Each feather is given a fringe effect with scissors. This will create additional airiness of the future plumage.
- The neck feathers are cut in the same way. Only small plates need to be cut. The end of each feather is decorated with a fringe and curled with scissors.
- A 5 liter container is used for the torso. A frame mesh is attached to it, having previously shaped the wing. The plumage will be attached to the frame.
- Next, you should collect the torso. A neck tube is inserted into the neck of the bottle. The bottom is cut and a thick steel bar bent in half is inserted. It will serve as the stork's paws.
- The basic assembly of the figure begins with the head. The head and neck are connected with wire. Additionally, they are fixed with glue.
- The feathers are fixed with a stapler, starting from the bottom of the container. The tail is fixed at the back. Feathers begin to overlap on the outside. Make 6-7 layers. The last layer is connected to the corrugation and fixed with self-tapping screws. Small feather plates with curled edges are wrapped around the corrugation.
- The assembly is complete. Now you need to decorate the workpiece. Black beads or buttons are used for the eyes. You can also paint the eyes with paints.
- If transparent containers were used during creation, then it is necessary to paint the plumage before cutting the bottles. Before staining, they are well rubbed with an alcohol-containing liquid.
- The beak and legs are covered with red acrylic. Another way to finish the legs and beak is to wrap the blanks with red tape.
A stork figurine can also be crafted from just one foam. Manufacturing materials:
- a piece of styrofoam;
- scissors;
- knife;
- acrylic paint;
- metal rods;
- glue;
- stapler;
- sandpaper.
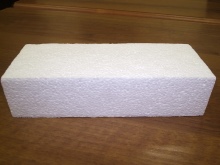
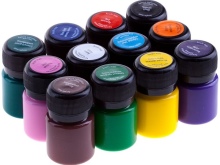
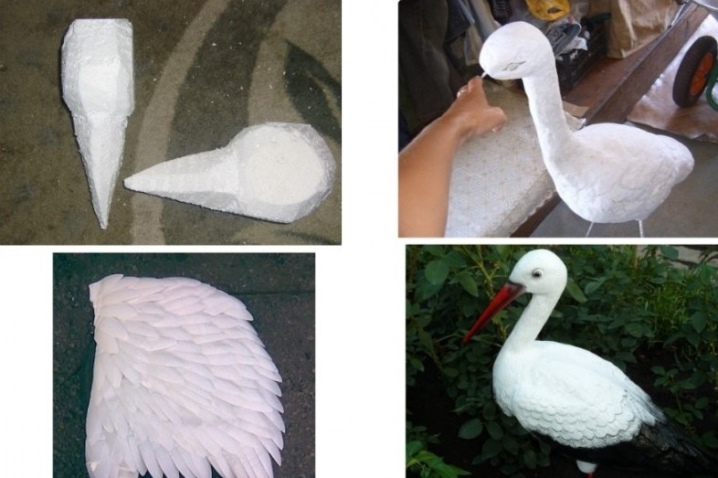
First, paws are made. Metal rods are sharpened from below, the edges are bent at the top. The workflow is to cut the correct blanks. The head, neck and body are drawn on foam. Details are cut out. The rods are fixed in the body with a stapler. The torso is covered with an extra layer of foam to add volume. Feathers are glued on top. A head with a neck is placed on the rod. The beak is covered with red paint. It is better to use beads as eyes.
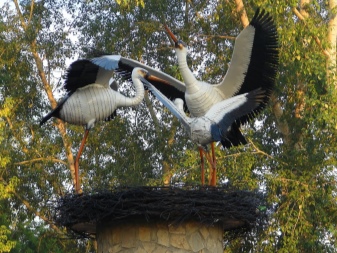
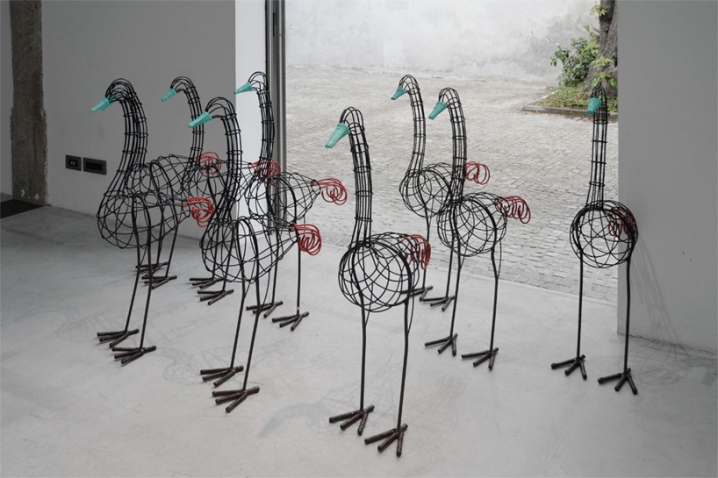
Stork's nest. There are some nuances in making a bird's nest. To create a composition, it is better to collect branches of young trees.
Old rods will break when crafted. You can take a bicycle or wheelbarrow tire, an old basin or wire frame as the basis for the nest.Particular attention is paid to cutting and laying out branches. In the process of this painstaking exercise, it is necessary to periodically tie and fix the twigs on the frame.
You can also purchase a ready-made steel base, wind a vine or young shoots on it. This will give the craft a natural look.
Where to put?
A garden statuette of a stork at a summer cottage is an excellent decor option. You can place the bird anywhere.
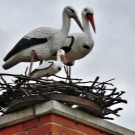
- One of the places for the figurine is the roof. Most often, a whole composition with a nest is installed on the roof. In order for the decor to hold tightly, crossed boards are used. The sculpture is attached to such a base.
- A chimney is also suitable for installing a stork figurine. Remember, however, that smoke and sparks come out. The figure must be protected with a steel sheet or raised by a meter with metal rods.
- The statuette can be placed on a tree or stump. Some summer residents use an uprooted old tree for the base, on which the sculpture is installed. A family of storks in a nest looks great on a tree stump. Such a composition will become the main accent of the personal plot.
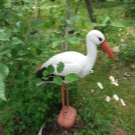
- Single figurines of birds look great near bushes. Compositions of several storks resting in the shade of vegetation look original.
- The sculpture is placed in the middle of the beds.
- Some summer residents install a stork figurine in front of the entrance to the house. Such a statuette at the entrance creates an atmosphere of comfort and hospitality.
- In order for the stork to bring good luck and happiness, there are nuances of figure placement. Some landscape designers advise to install stork sculptures on the sunny side, as the sun's rays enhance the magical properties of the sculpture.
- Another placement option is to install crafts near the water. You can create a small artificial reservoir and place the stork and its family next to it.
- You should not install the statuette with your back to the windows of the house. The bird should look into the house. Correct placement of the figurine will give strength and energy to all its inhabitants.
- Since the stork is a symbol of procreation, the bird can be placed near the bedroom window. At the same time, do not forget that the figure must be looking out the window.
A garden figure of a stork in a summer cottage is a win-win decor option. The sculpture is purchased in a store or made by hand.
Making a craft is very simple. You can create a unique figurine or composition of several birds. In this case, the product will look no worse than a purchased sculpture.
For an overview of stork garden figures, see below.


The comment was sent successfully.