How to make a subwoofer with your own hands?
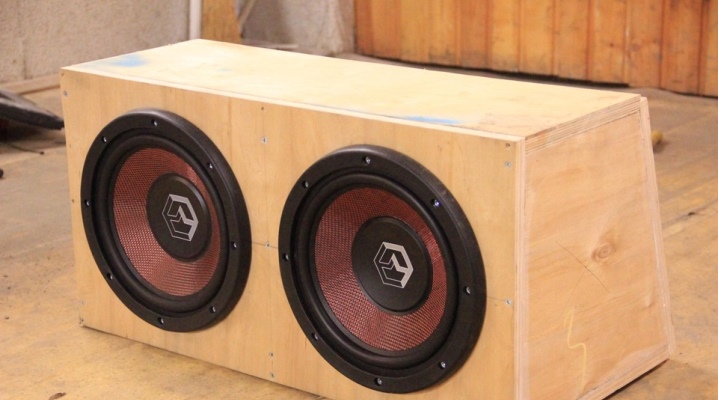
Homemade speakers are the path to virtually unlimited power. You can create at least a few watts of HF speakers, or a subwoofer for hundreds of watts, practically approaching the equipment that is used on dance floors and in disco clubs. The possibilities are limited only by the high cost of the largest speaker.
Features of homemade models
If you want your neighbors to envy you just because you have superpowerful semi- or professional acoustics, then it makes sense to equip your main stereo speakers with a powerful subwoofer, which exceeds them tenfold. The peculiarity of the low frequencies is that, unlike the middle and high frequencies, they are not subjected to stereo sound. This means that it makes no sense to manufacture two full-range speakers, in which the woofers are separate.
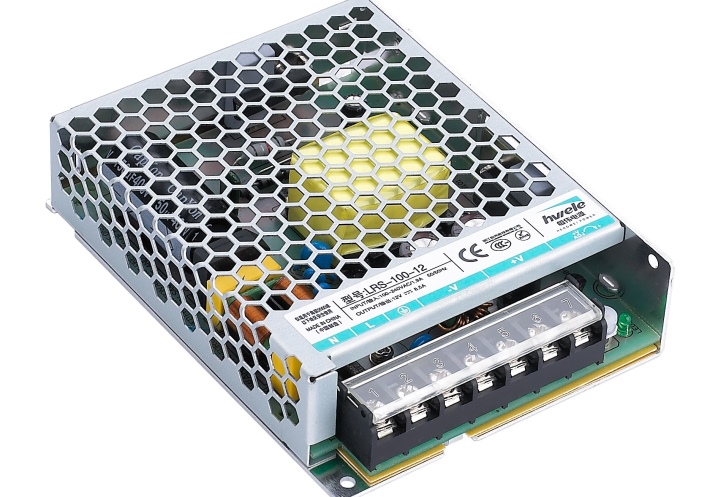
The main thing is to choose speakers and powerful amplifier microcircuits, as well as a powerful switching power supply unit for 100 or more watt-hours of the consumed amount of electricity.
The rest of the consumables in comparison with them cost a penny. Paying special attention to quality, the user will actually assemble speakers with their own hands that have served for decades without any problems. Basically, only semiconductor radioelements (diodes, transistors, microcircuits) are aging.
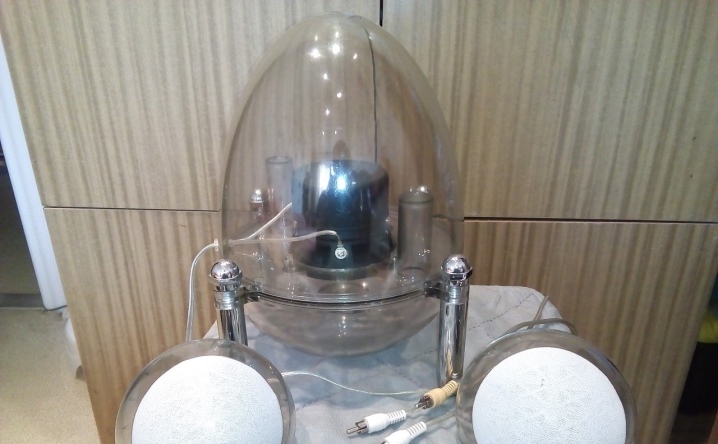
Almost unlimited imagination in design will allow you to make any column - cube, "parallelepiped", any other polyhedron. Round columns - cylindrical, ovoid, are also very popular. Of the specific details - for example, the "egg" can have four phase inverters, which is also important in terms of design solutions.
Tools and materials
The following tools will be required for work:
- drill with a set of drills;
- grinder with a wood-cutting disc;
- jigsaw with a fine-toothed saw;
- screwdriver with flat and curly bits.

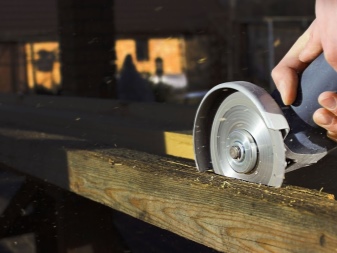
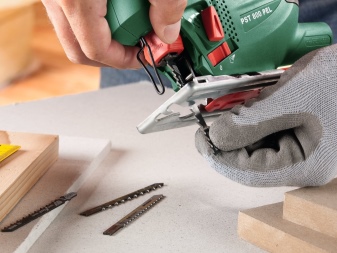

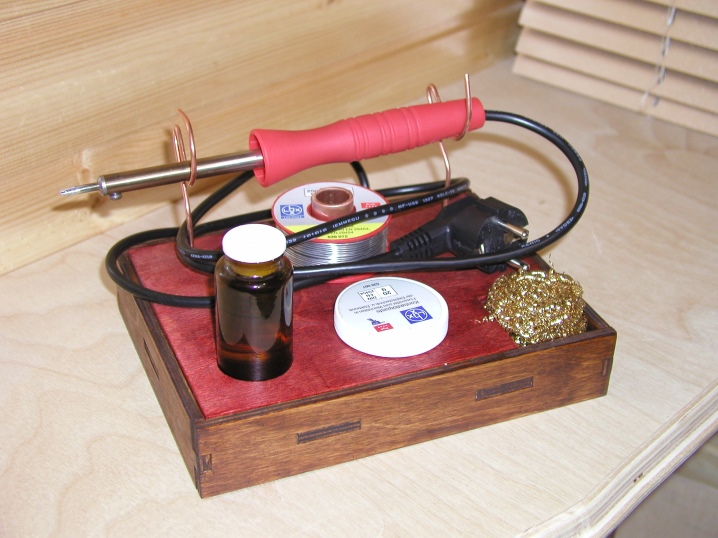
The power tool allows you to cope with the work several times faster than a completely manual set of tools. But locksmith tools are also needed: a hammer, pliers, side cutters, possibly an adjustable wrench, cutter, file (or chisel). You will also need a soldering iron with a stand.
Column materials:
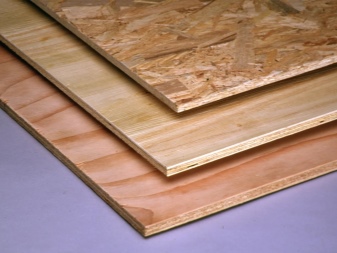
- chipboard, fiberboard or plywood board;
- self-tapping screws;
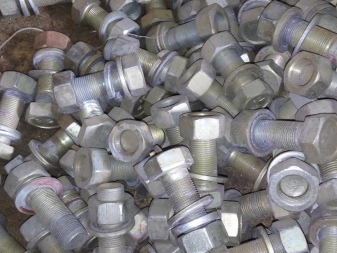
- bolts and nuts with engraving washers;
- universal glue for gluing wood, rubber and plastic (or furniture corners - they are preferable when disassembling a column in case of failure);
- adhesive sealant;
- solder, rosin and soldering flux.


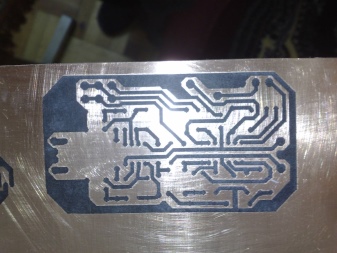
If you assemble the amplifier board yourself, you will also need foil-clad fiberglass.
An alternative is the assembly on any dielectric plate (except for rubber), where the tracks of the boards are soldered from wire, and not cut / etched onto the conductive layer (glass) of the PCB.
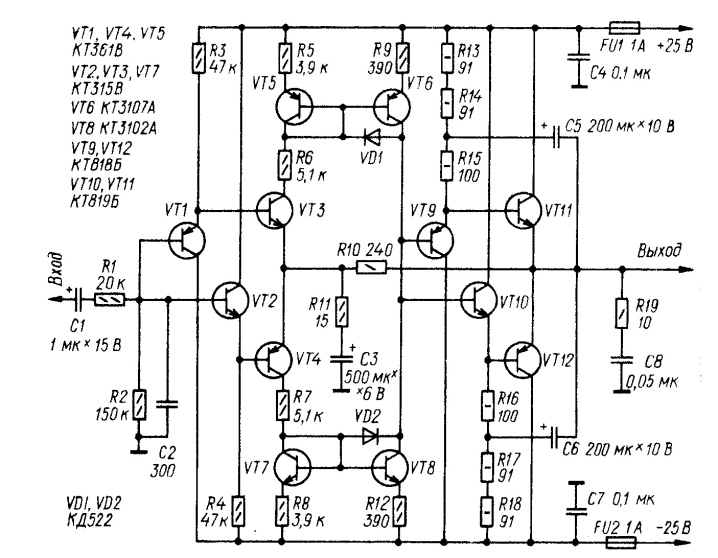
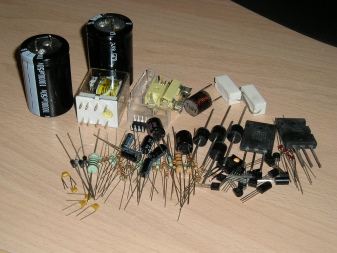
Radio elements are purchased according to the amplifier circuit. In addition to the main microcircuit, attachments are needed - resistors, capacitors, diodes, possibly coils and chokes. Additional super-power transistors are used as power stages - when the power of the main microcircuit is no longer enough, and the bridging of power stages could help the user achieve almost unlimited power.
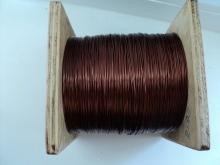
For winding homemade coils of oscillatory circuits of the crossover filter, if the column is common, and not for low frequencies, you will need enamel wire, epoxy glue and a piece of plastic pipe of the correct diameter.


Manufacturing instruction
The manufacture of a column is a multi-stage process, subdivided into locksmith and electrical work. A speaker for home (or rather, for a PC or home theater) is made according to a pre-selected drawing. Choose the option of a subwoofer - mini or regular, the size of the box made at the beginning of work depends on this.
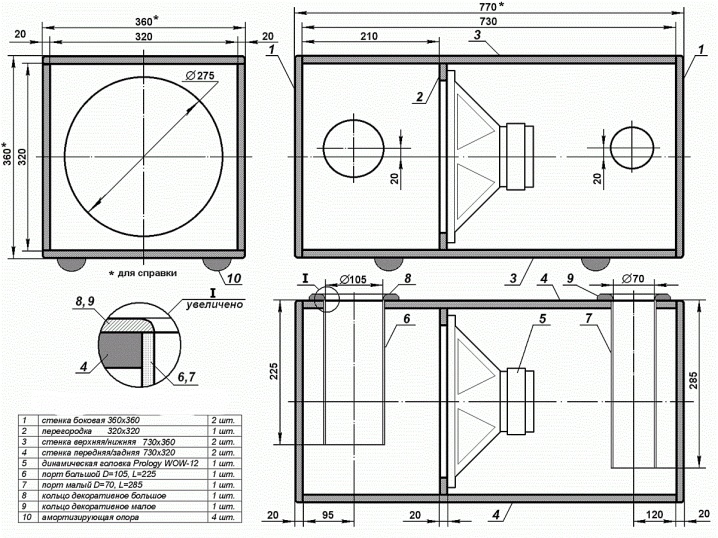
Assembling the case
To assemble the chassis, follow these steps.
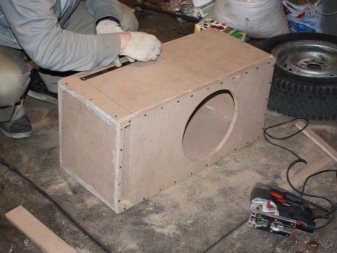
- Saw a chipboard, natural wood or MDF board according to the drawing into its constituent elements.
- Prepare a rectangular hole for the cable duct maze.
- Staple at the corners or glue the top, bottom, back and side edges with epoxy glue. The result is an incompletely assembled box with sufficient rigidity.
The column box is assembled.
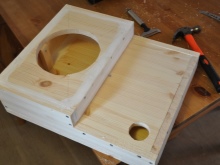
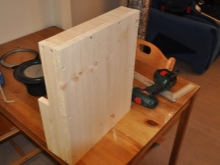
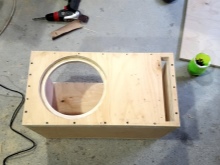
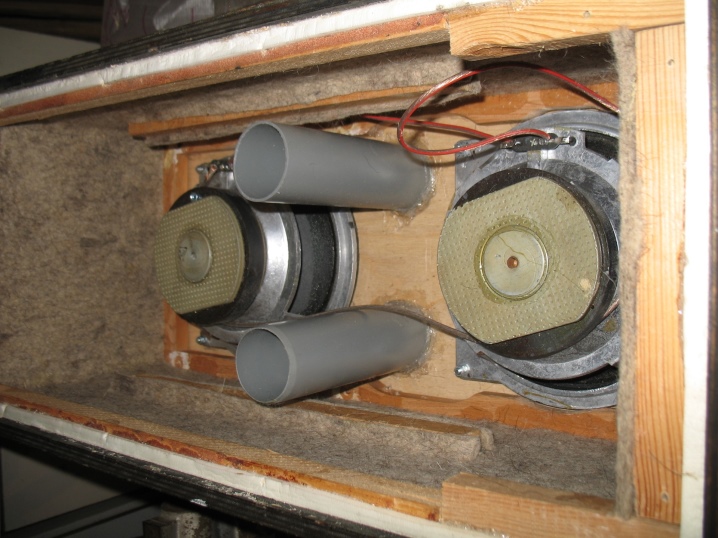
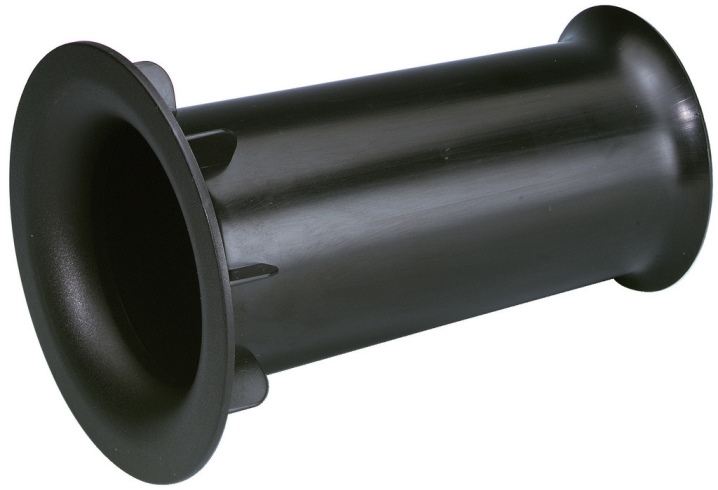
Port
To build and install the port, do the following:
- cut out suitable pieces from the box that fit into the dimensions of the column;
- attach the elbow of the box at the turn of the cable channel;
- check that the port (cable collection box) fits the inner dimensions of the box;
- glue it with hot glue or sealant.
When the glue dries, check that the port is not loose from the box. Insufficient fixing of it can lead to the fact that it enters into resonance at a certain frequency.
Speaker hole
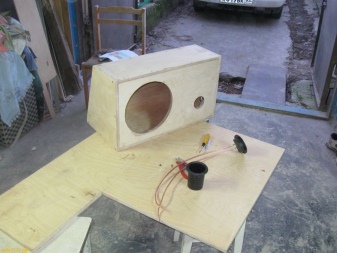
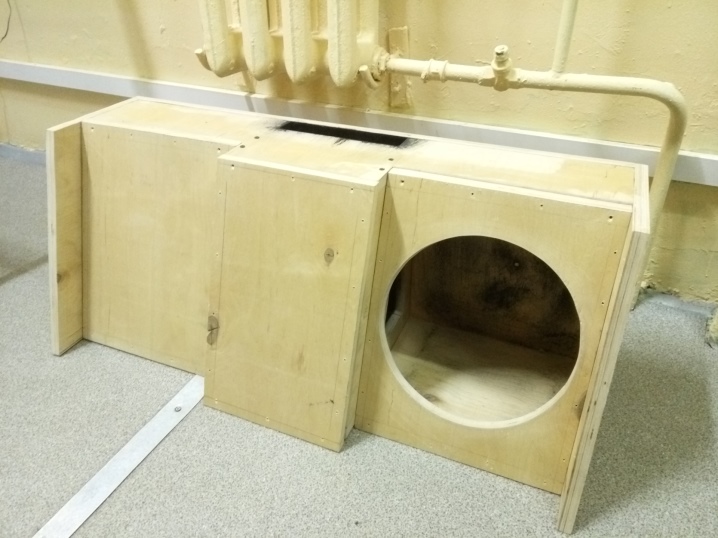
The speaker requires a large, preferably perfectly round hole for its outer diameter. Cut it out so that the speaker will fit freely into it. Most low-power "woofers" (up to 30 watts) fit within 8 inches of hole diameter. If the subwoofer is assembled on the basis of a regular rectangular or cubic speaker, then replace the front wall. Extra holes from additional speakers are not needed.
Processing the inside of the case
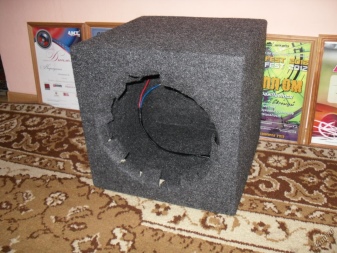
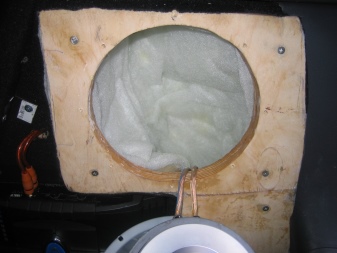
After installing the labyrinth channel, which allows the speaker to give out maximum bass and at the same time not "mumble" at the low frequencies, the inner part of the speaker is covered with damping material. It reduces the likelihood of resonance occurring over time. As a damper, they use mainly thick cloth, drape folded in several layers, woolen fabric, or just a piece of old worn carpet. It absorbs the excess of sound waves, preventing them from being re-reflected several times, which would ultimately lead to loosening of the structure and the appearance of resonance.
An important part of the internal assembly is the layout, placement of functional electronics. First, the amplifier is prepared. Do the following.
- Make a printed circuit board according to its topology (track maps).
- Place the radioelements according to the wiring diagram (assembly drawing).
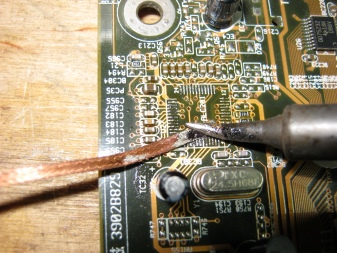
- Solder all the pins of the legs of the parts with the tracks of the printed circuit board.
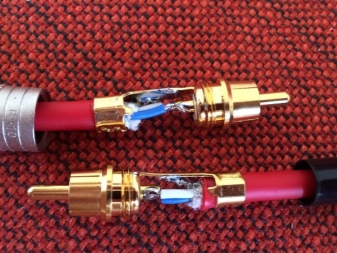
- Solder wires to the input, output and power supply of the assembled amplifier.
- Attach the amplifier heatsink to the main IC and place it in a secure place on the speaker, for example using screw posts. It is also permissible to place it on wooden lining - it will not heat up enough to set the wood on fire.
- If the power of the speaker reaches hundreds of watts, assemble additional amplifier stages. Their number is limited only by the free space inside the column.
For example, 8 stages of 100 watts each, amplified by 25-watt sound from the output of the microcircuit, connected in a bridge circuit, are capable of providing 800 watts.
But to cool all the heatsinks, you need a powerful computer cooler, the air flow of which is directed to these heatsinks. Each transistor will need its own heat sink. In the old days, radio tubes were also used - now they are supplanted by transistors and microcircuits. In addition, the level of linear distortion in the tube amplifier stages is off scale.
The collector power dissipated by the transistor (its actual useful power) is only 1.5-2 times higher than the thermal power released by semiconductor junctions when heated during intensive operation. To remove excess heat from the power elements, a radiator is needed.
Nutrition
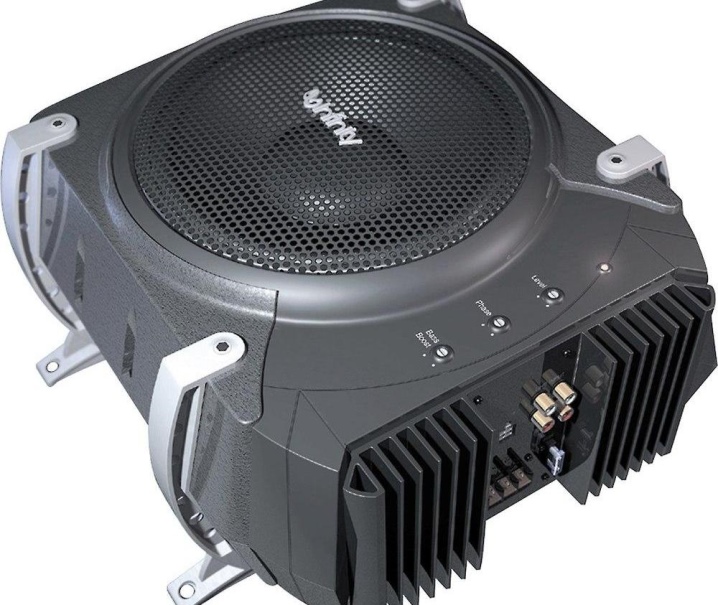
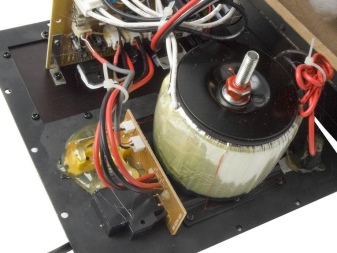
In a powerful active speaker, which is a subwoofer, an internal power supply may also be required. It should produce tens of amperes and be powerful enough - without such power, it will not be possible to overclock the speaker system. To leave the same euphony and efficiency of "bass", often both the amplifier and the power supply are placed in a separate compartment, tightly fenced off from the main acoustic cell. This will require a seventh wall of the box, which serves as an internal partition. It is cut out, taking into account the labyrinthine passage that passes through it. The electronics are located at the back of the box. If the column is not active, the amplifier and the power supply are taken out in a separate unit. Only the power wire is suitable for the column itself.
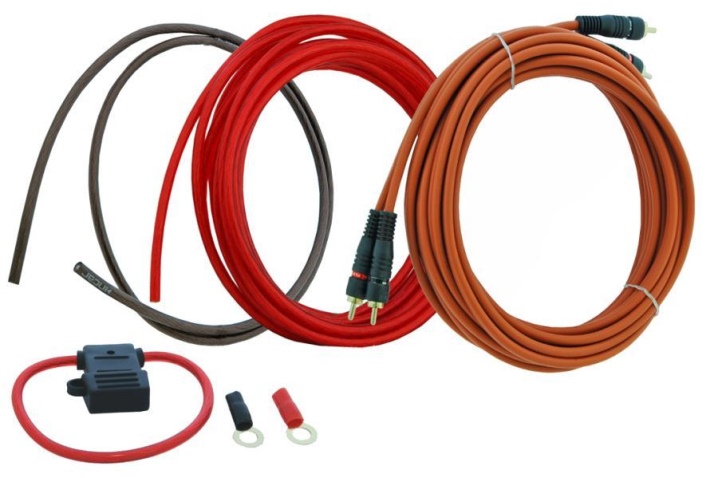
As a power supply, a charger for car batteries is often taken. It gives out no more than 15 V, while the current can reach tens of amperes. It is made according to the modern scheme of a switching power supply unit, which includes:
- network rectifier - a powerful 220 V diode bridge;
- frequency converter from units to tens of kilohertz - it allows to reduce the size of the transformer by tens of times;
- transformer - galvanically isolates the output part from the mains voltage, protecting against electric shock and high-voltage breakdown;
- high-frequency rectifier bridge based on modern diodes with high efficiency;
- filter - delays current surges;
- pulse stabilizer - eliminates voltage surges.

This whole scheme, having the necessary details, can be assembled in a column and yourself. But more often they put a ready-made unit built-in or external (in the same case with an amplifier). Having placed all the necessary functional nodes inside the column, we do the following:
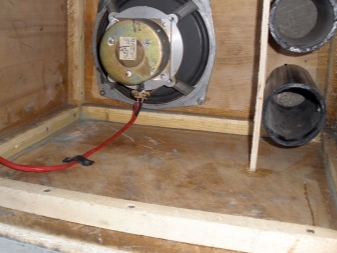
- we display power and sound lines;
- we connect the speaker to the amplifier output;
- put the front part (with the speaker) in place and fix it.
Before working on the design and ergonomics of the speaker, test it:
- connect any sound source (for example, a smartphone) to the amplifier input;
- turn on the power supply;
- also connect high-frequency speakers ("satellites") to the amplifier output;
- play some music track on your gadget.
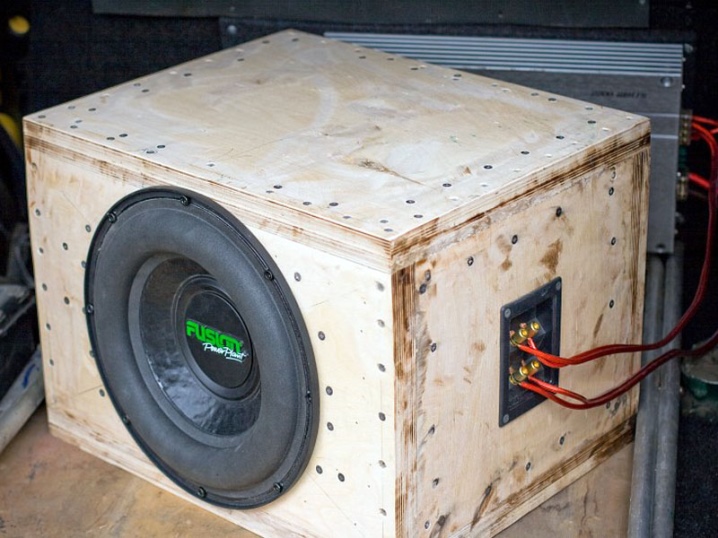
The sound should be clear, without wheezing. The subwoofer should reproduce bass frequencies clearly.
Most subwoofers are focused on low frequencies from tens to hundreds of hertz, the rest are reproduced using high-frequency speakers. This can be verified by temporarily disabling these "satellites" during operation. If the test was successful (no rattling, wheezing or other noise in the sound was detected), perform an acoustic calculation of the room or car.
- Place the subwoofer somewhere on the floor of the room. In a car, this is most often the trunk or the space under the rear seat.
- Walk around the room (or near the car, change seats in the car), listening to the natural sound of bass. If the sound becomes humming, move the subwoofer to another location.
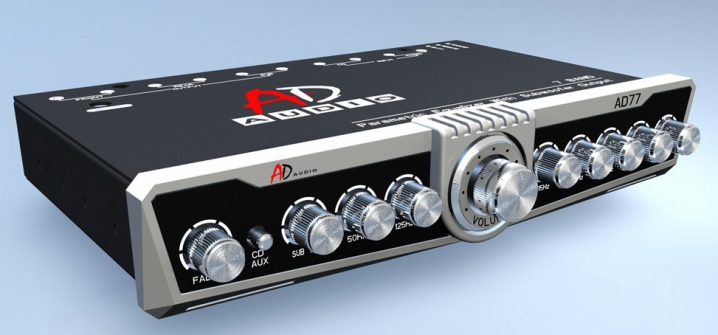
- Try reconfiguring the equalizer (if you are a musician, then a sampler) of the amplifier or the gadget itself. Aim for optimal settings so that the speaker does not go into the region of slightly overestimated low frequencies (100-250 Hz).
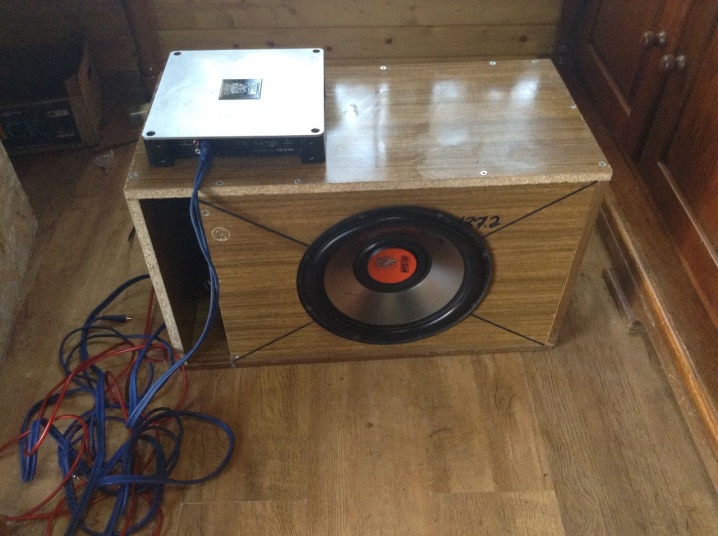
If it was not possible to completely get rid of the blurred bass, the reasons are as follows:
- incorrect calculation of the box and the channel;
- the speaker does not meet the declared characteristics;
- the slots between the walls of the column are not properly sealed;
- too thin plywood from which the walls are cut.
For high-power speakers, a board or slab with a thickness of less than 15 mm cannot be used - the rigidity of the walls in this case is insufficient for sound waves.

Registration
The external design of the column can be done in any way, even the most unusual. Finishing options:
- sheathing the column with matter;
- processing of chipboard boards with putty, painting;
- installation of thin-walled plastic, metal or composite panels;
- gluing high quality plastic wallpaper or decorative foil.
The front part, where the speaker is located, is covered with a fine-mesh grille. The latter will protect the horn diffuser from accidental poking movements. In some speakers, multiple bass reflexes allow you to hide the entire speaker inside.
Recommendations
It should be remembered that the output voltage with an amplifier power of hundreds of watts can reach 40 volts. Sound is a rapidly alternating current with a variable frequency. You will get an electric shock at lower high-frequency voltages. Do not grasp the bare (at the connection points) wires of the speaker operating at full power with your hands. There have been cases when people were shocked from 25 V with a frequency of, for example, 8 kilohertz.
A speaker for concert halls reaches a power of one kilowatt or more. It is extremely difficult to acquire such a speaker - it can cost tens or even hundreds of thousands of rubles.
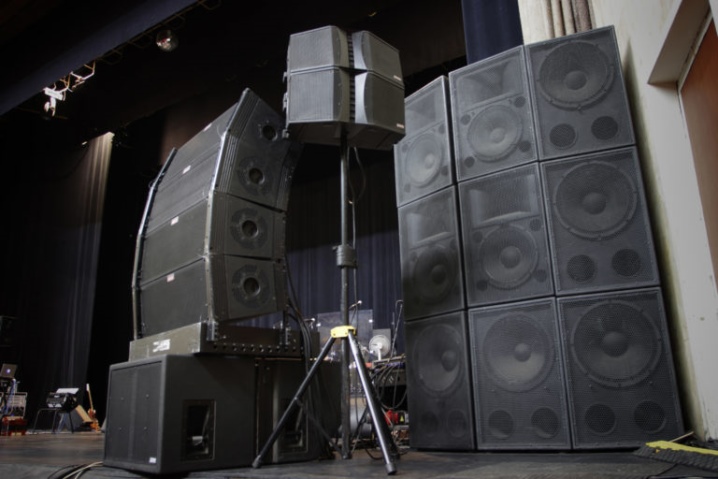
A speaker that can be heard three kilometers away will also require a powerful power line. The elite discos in Moscow and St. Petersburg used subwoofers with a power of up to 500 kW. Such sound sometimes required a separate substation and power line, designed for ultra-high load. Amplifiers and speakers in finished form cost more than one million rubles. The speaker alone will cost several hundred thousand rubles. Don't chase kilowatts. High-quality "car audio" is limited to one or two hundred watts. The main thing is to adjust the equalizer and calculate the acoustics, and 10-50 W is enough for each stereo channel.
When creating a powerful subwoofer for yourself, make sure that the speaker does not emit subsonic frequencies (up to 20 Hz). Don't try to get them! Normal sound at a frequency of 20-20,000 Hz makes your body vibrate and presents little danger. But sound waves with a frequency of 6-8 Hz with a similar power and speaker volume can lead to rupture of internal organs, because they enter into resonance. Waves with a frequency of 16-18 Hz cause hallucinations - this effect was used in disco clubs.
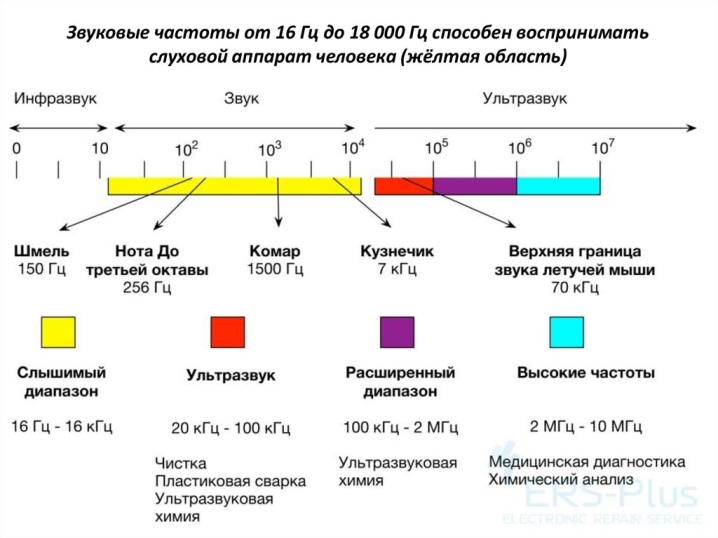
Young people who came to have a pleasant time at a disco, where a loud sound contained extremely low frequencies and served as an audio drug, fell into a state of altered consciousness even without the use of alcohol and tobacco. Modern manufacturers do not allow speakers, transistors and microcircuits to emit infrasound. The fact is that its use is limited to scientific laboratory testing and is not intended for domestic use. For ordinary civilian purposes, powerful infrasound is prohibited by law.

Use the column away from frost, high humidity and acid fumes. This will prevent her from failing prematurely.
The subwoofer cannot be used in the field, completely mobile. If you want sound like in a car, with well-defined frequencies of 20-80 Hz while walking or hiking, use a powerful gamer headphone that completely covers your ears. They work with any frequency from 20 Hz to 20,000 Hz. The necessary sound settings are set in the software media player on a smartphone, tablet or ultrabook.

The computer will not give out tens of watts of power - its preamplifier is designed for only 1-2 watts. Do not connect the subwoofer directly to the output of the sound card: a speaker impedance of 8 ohms or less will burn the final stages of the audio path.
A powerful self-made subwoofer saves 10 times or more on the total cost of the speaker. With the skills in assembly and plumbing work, you will save 10 or more thousand rubles from your budget.
How to make a subwoofer with your own hands, see below.


The comment was sent successfully.