Ceiling painting: painting over old paint
It so happens that when painting the ceiling, the old paintwork is removed, but sometimes this stage is skipped. If you do everything right, then even in this situation, the result will be surprisingly good. After reading the article, you will learn how staining is carried out on old paint.
Process features
Ceiling painting is not as difficult as it seems at first glance. As a rule, before this process, workers clean off the old finish layer. The fact is that a thick layer of old paint can shine through and spoil the appearance of the surface. If cracks appear on the ceiling, then the matter is completely hopeless - no matter how you paint over them, they will still be visible. If the repair has not been carried out for a long time, then under a layer of old paint you may even find mold, which will negate all your attempts to renew the surface.
If there are no such serious problems, then you can safely apply a new layer of water-based paint, acrylic on the old paint. Take a close look at your ceiling. If its appearance suits you, and the pieces of paint do not fall off, you can leave everything as it is.

Professionals advise you to pay attention to the following: if you have painted the ceiling with water-based paint before, then you are in luck. It is better than whitewashing. Even if this type of paint begins to flake off and fall off in pieces, it may not be completely removed. You can safely restrict yourself to surface cleaning, removing flaking pieces and cleaning the area around them. After this short work, you can safely apply a new coat of paint.
Choice of paint
If you decide to cover the ceiling with paint over an old layer of material, then you will have to face the question of choosing the right option. For such work, different paints are used. Each type has its own advantages and a number of disadvantages.

Acrylic
Perhaps this type of paint is the most popular. It is good because it is highly resistant to all kinds of dirt and dries quickly. So you can safely use this material, for example, in the kitchen, where the work with food is not always neat.
Such paint also withstands high humidity well. If any contamination appears on the painted surface, it can be safely removed with a damp cloth or napkin, without fear of cracking the paint.


Acrylic paint can be easily applied to a wide variety of surfaces. It fits well on metal, wood, plastic, and even on already plastered bases.
Painting with acrylic is also good because it perfectly hides minor surface imperfections. Textured paint is able to mask small cracks or places where pieces of the coating have already fallen off.
It is also pleasant that such a coating dries quickly and retains its color for a long time. Even if you paint the ceiling in a room where the sun's rays constantly fall on it, the paint will fade and fade far from immediately. However, there is one caveat: when choosing this type of paint, remember that the color of the coating applied to the ceiling will be slightly different from the one you see on the package, because the material immediately darkens.This cannot be called such a big drawback, because there are a lot of colors, and you can always find exactly the shade that will suit you in the end.


With all these positive aspects, it is worth noting that the paint is not that expensive. You can buy a kilogram of paint for about a thousand rubles. And it will be consumed quite slowly - you will need less packaging of material to paint the ceiling in a medium-sized room. About 100 g of paint is consumed per square meter.
Latex
There are several other types of paints that are suitable for the ceiling. One of the most expensive options is latex. This paint is ideal for painting the ceiling over an old layer. The fact is that it perfectly masks defects, microcracks on any surfaces. You can safely wash or wipe the ceiling painted with this material.


Silicant
Cracks (up to two millimeters) can be masked by silicate paint. However, it is more expensive than most analogs.
In addition, it is also important to remember that silicate paints, as a rule, are not used in residential premises.
This is the coating that is used for profile wall decoration. and ceilings in production areas - for example, in warehouses. This paint is based on liquid glass. This coating is best applied to concrete or stone surfaces.
Water emulsion
Ceilings are also often painted with water dispersion paint. However, it should be used in dry rooms - for example, in living rooms or bedrooms. A coating of this type does not tolerate high humidity and quickly becomes covered with cracks, dark spots (in the bathroom or even in the kitchen). The cost of water-based dispersion paint is low, which is what makes it popular. In addition, it can be matte or glossy, which is convenient for those who decorate their premises in a certain style and do not want to disturb the harmony in the room.
You can choose any of these basic types of paint for repainting the ceiling. It can be dense and structural, oily, very light - it all depends on what kind of ceiling you have, what are your financial capabilities.


Instruments
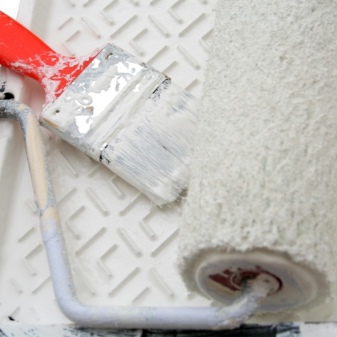
The next step is choosing the right tools. Most often, either a roller or wide brushes are used to paint the ceiling.
Brushes
Brushes of different sizes can be used both for coloring the base, and for joints, finishing elements. When painting the main part of the ceiling, they are not very effective.
If you decide to paint such a large surface with brushes, then choose the widest. The joints with the walls, stucco molding and other decorative details are just more convenient to paint over with brushes.
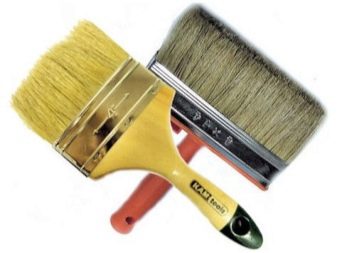
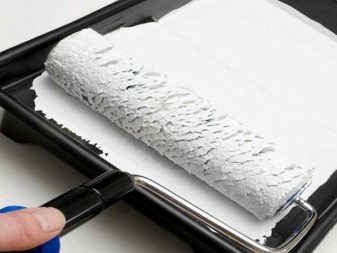
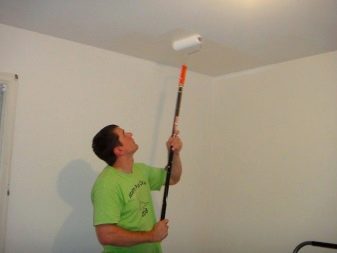
Roller
It is much more convenient to paint the ceiling with a roller. Foam tools are used to paint the ceiling. The second most popular option is a roller with a fabric base. The length of this ceiling painting tool can vary from five to thirty centimeters.
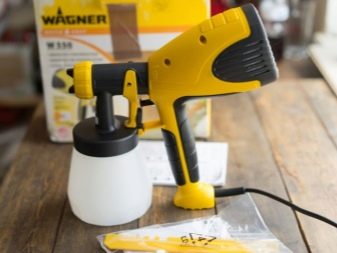
Spray gun
It is most effective to use a spray gun. However, not everyone prefers this option. The fact is that the spray gun is not only more expensive than all other devices, but also more difficult to use. If you are not a professional, then you will need to adapt to the spray gun first.

How to dilute and calculate the amount?
Having decided on the type of paint and tools, you can proceed to the preparatory work. First, you will need to dilute the required amount of material.
Paint consumption depends on how large your room is., the area of the ceiling is very important. As a rule, all the necessary information to help you calculate the paint is on the package. Check out this information.
Choosing a water-based paint, you will see on the packaging that you should not dilute it. If the product you purchased has already thickened, then you can slightly dilute it with water.Otherwise, just stir the paint, roll it out on the pallet and start painting.
The preparation of other ceiling paints is not much different. You will also need to add a little water to the acrylic mixture. It is best to use the product immediately after stirring it. You should not let it freeze.
Subtleties of application
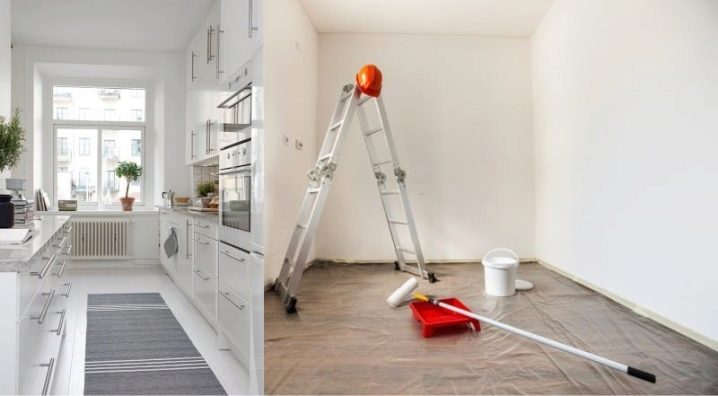
Painting the ceiling without first removing the old paint layer is slightly different from the usual repair work. You will save a little time, because you do not have to completely remove the old layer and putty or primer the ceiling again. It will be enough to work out the areas with cracks and remove the falling off pieces of paint and varnish material. If the paint is peeling, it will need to be corrected, otherwise the surface of the ceiling will appear uneven and sloppy.
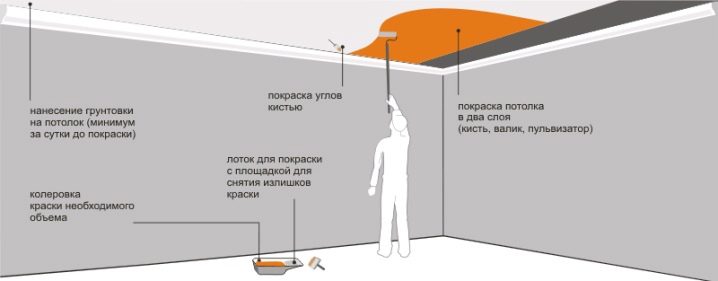
When you have dealt with the most noticeable flaws, you will need to move on to the main work. The diluted paint should be poured into the tray - there should not be too much of it so that the residues do not dry out or be thrown away later.
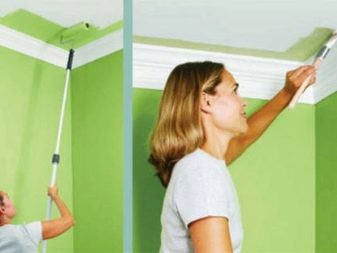
Ceiling painting starts from the most inaccessible places. Go over them with a narrow brush so that there are no gaps. After that, you can paint the entire surface. It is most convenient to work with a roller. So you can quickly paint over the ceiling over the old layer and paint over cracks, stains.
It is recommended to paint the ceiling in this way in several stages. The first layer may not be applied very carefully, but the second one will need to be worked very well. You should start working with the second layer only after the first one is completely dry.
It is not very difficult to paint the ceiling with your own hands, even if you are doing it for the first time. Follow simple guidelines, be careful, and you will succeed.
Design ideas
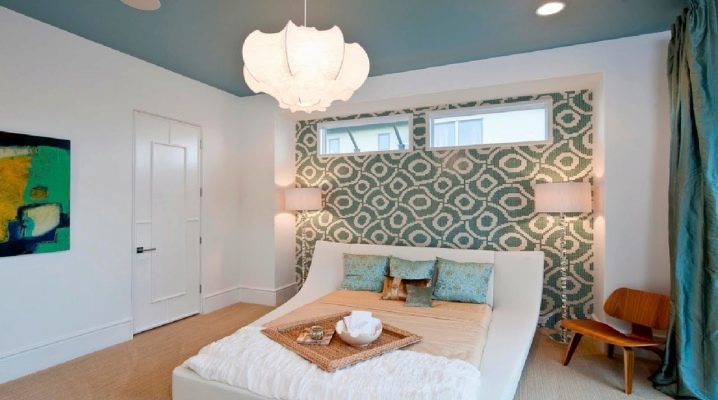
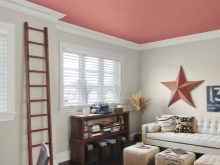
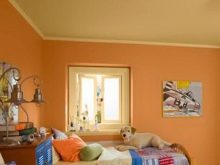
The ceiling is a very important part of the interior. How you decorate it depends to a large extent on how the room will be perceived.
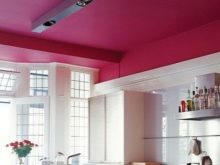
If you like minimalism or Finnish style, then you should not make the ceiling bright and filled with a variety of patterns. A plain finish is best. Pick a color that you like and only work with it. It is recommended to give preference to light colors, as they help to visually make the room look taller.


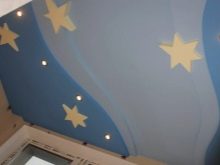
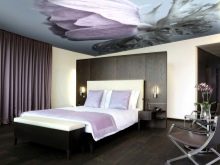
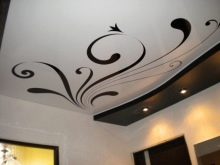
Ceilings decorated with all kinds of patterns look more interesting. These can be abstract patterns created with thin brushes, or full-fledged drawings. However, it is more difficult to work on their creation.

Painting the ceiling on top of an old layer of paintwork material is not such a difficult job. You can easily and quickly change the appearance of the room with your own hands and create the design of your dreams.
For information on how to paint the ceiling, see the next video.


The comment was sent successfully.