Growing radishes on a windowsill
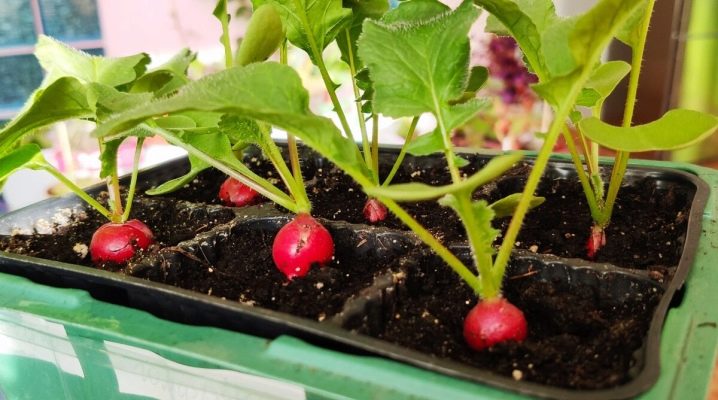
In order to constantly have fresh radishes in the refrigerator, it is not necessary to wait for the onset of spring, because this culture can be grown at home on a windowsill in your own apartment. Even in winter, a vegetable, with proper care, can grow healthy and strong. If you follow all the rules of cultivation, you can grow a large yield of large and very juicy radishes.
Advantages and disadvantages
Of the advantages of growing radishes in winter on a loggia or balcony, several factors can be distinguished.
- Throughout the year, you can delight yourself with delicious and fresh vegetables, without purchasing them in the store.
- The crop can be harvested much earlier than when planting seeds in open ground in the spring. In spring, the soil is not warm enough, and the planting material will germinate much longer than at home, where the ground and air have a suitable temperature.
- A significant amount of seed can be saved, since in the open ground most of the planting material may not germinate, and if the seedlings are friendly, thinning must be done.
- Behind the plant easier to care for.
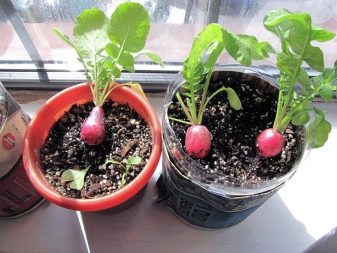

The negative side of growing is often referred to as insufficient amount of sunlight, which is needed for the normal development of the seedling.
But this problem is easily solved with the help of additional lighting created by means of special lamps.
Variety selection
It is recommended to choose varieties that can ripen 18-25 days after sowing. Below are the best options for home planting.
-
"Firstborn" - has a high yield, has a rounded shape and dark red color. The flesh of the radish is sweetish, tasty.

-
"Dubel F1" - round and large radish, in the taste of which you can notice a slight pungency. Resistant to void formation.

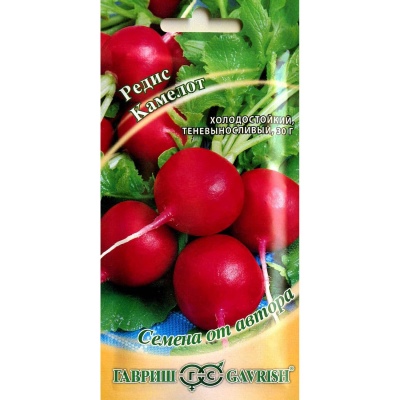
- "Camelot" - has a beautiful red skin and white flesh, the shape of the fruit is flattened. Differs in excellent productivity, even with a lack of lighting.
-
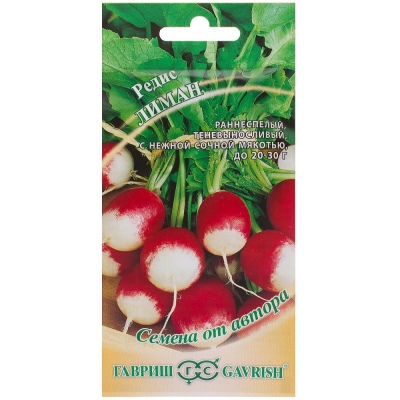
"Liman" - a reddish radish with a rounded elliptical shape, has a white tip. It grows well even at low temperatures, which is very convenient when grown on the balcony.
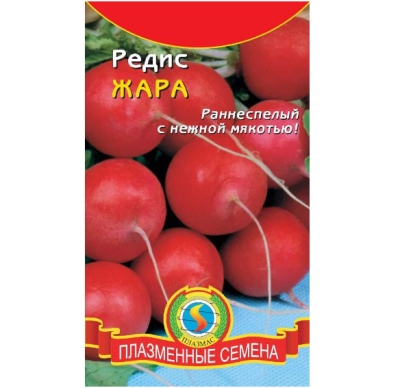
- "Heat" - a red-raspberry vegetable with a juicy pulp and a rounded shape. Ideal for autumn planting.
-
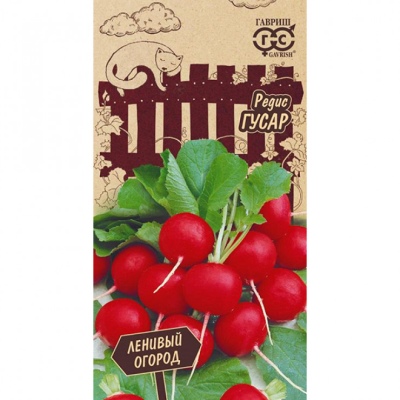
"Husar" - will delight you with rounded and scarlet fruits that have a slightly convex shape. The taste of the radish is delicate, the yield is quite good.
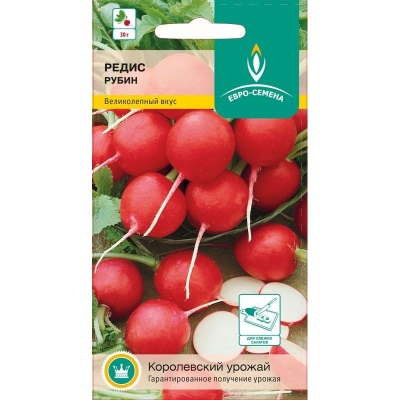
- "Ruby" - round scarlet variety, fruits ripen together and do not have any sharpness in taste.
The varieties named above have good drought tolerance and early flowering times.... And you can also choose such varieties as "Ultra early red", "Silesia" and others. It is important to remember that radishes must have a short ripening period.
Landing dates
Some do not know when it is better to plant a culture at home on a window - in spring or in winter. It should be remembered that at home you can sow planting material at any time of the year. Even in the cold season, if the care of the seedlings is correct, the fruits can grow quickly and will be as tasty and healthy as during spring planting.
When working in winter, it is recommended to maintain the required temperature and lighting.
Preparation
Before planting, you need to prepare the container, soil and seeds.
Capacity
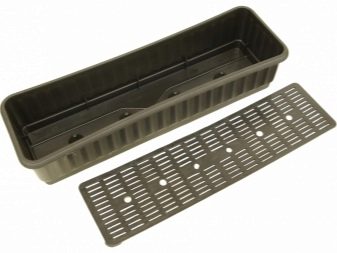
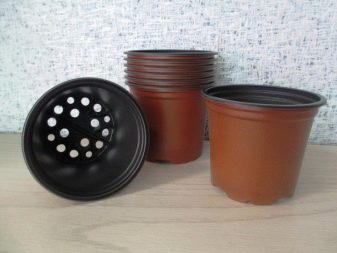
If the container is incorrectly selected, the fruits will not increase their normal weight, and the harvest will not turn out as good as it could be.It is worth choosing a wide and deep pot or box. The depth of the container should be about 20-25 cm (at least 15 cm), the width must be selected taking into account the amount of planting material. You can purchase a voluminous and roomy container.
And also the container should have drainage holes that will allow the culture to get rid of excess moisture, which will become reliable protection against fungal diseases and rotting.
The soil
Radishes need a nutritious and loose soil with neutral acidity, which will allow water and air to pass through well. You can purchase a universal soil that is used for seedling vegetables, as it meets all the requirements. And you can also prepare the ground with your own hands, for this you need to mix:
- non-acidic peat;
- soil from the garden;
- compost or humus;
- sand.
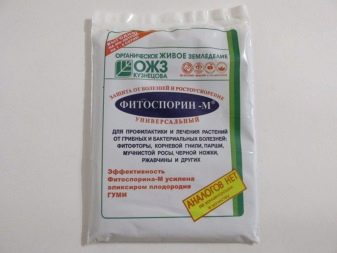
The components are mixed in a 2: 1: 1: 1 ratio. It is better to take the soil from your site where the cruciferous cultures have not been grown before. They are susceptible to the same diseases as radishes, so such soil is capable of infecting greens. Before using the earth, it is better to disinfect it. This is done by roasting in the oven for about 30 minutes, or holding over steam for an hour and a half. Then the soil is spilled with "Fitosporin".

Planting material
Seeds are able to germinate well and quickly without any treatment, but at home it is better to insure yourself and prepare the material. To improve germination, it is necessary to soak them in a growth stimulator. For this, tools such as "Zircon" or "Epin" are suitable. Processing is carried out strictly according to the instructions that can be found on the package. If you do not want to use any drugs, you can soak the seeds in warm water for several hours.
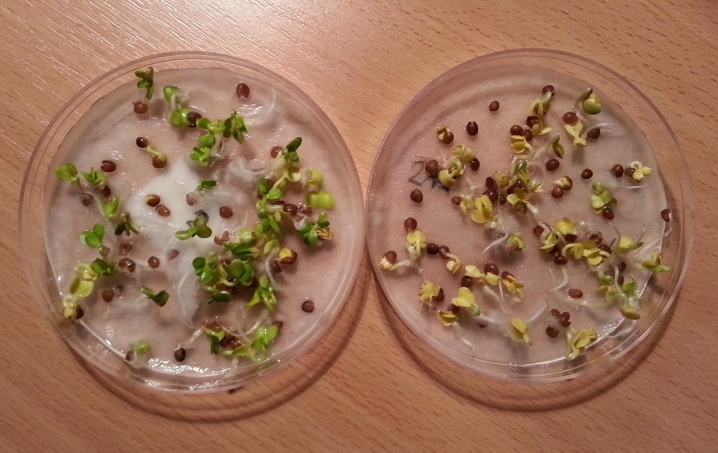
To be 100% sure that all planting material will grow together, it is better to germinate it. To do this, the seeds are covered with a damp cotton cloth from 2 sides, then placed in a plastic bag and sent to a warm place, the temperature in which should be about +27 degrees. After a few days, the material will germinate, and it will need to be planted in the ground. A germination check should be carried out every day and the tissue should not be allowed to dry out.
Sowing technology
After preparation, the seeds can be planted according to the following step-by-step scheme.
- Drainage is placed at the bottom of the tank - it can be expanded clay, broken brick or perlite. The drainage layer should be about 2-3 cm in size.
- The space of the pot or box is carefully filled with soil. Leave a small distance between the edges of the container and the ground (a few cm).
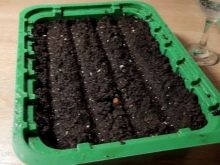
- Furrows about 1 cm deep are created on the soil surface. The distance between them should be 5 cm.
- Planting material is placed in the furrows, there should be 5 cm between each seed... If there is reason to believe that some seeds may not germinate, you can sow them more often (1-2 cm), but after a while it will be necessary to thin out.
- The furrows are covered with a layer of soil (1 cm).
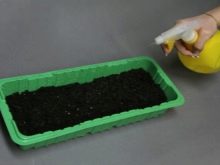
- The soil is abundantly moistened with a spray bottle... The liquid must be clean.
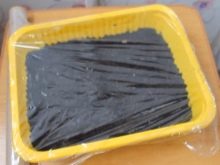
The container is covered with a film or a convenient lid.
Care
It is important to properly care for homemade radishes in order to get a large, healthy and delicious harvest, and not to face possible problems.
After sowing
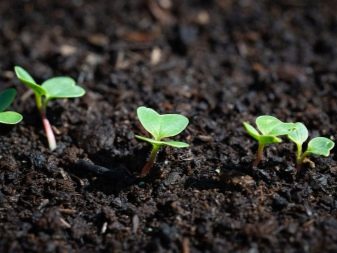
Until the seeds sprout after sowing, conditions for the comfortable development of the culture should be provided. Seedlings most often appear after a few (3-5) days. If the planting material was germinated before planting, the first greens can be seen after two days. Here are some guidelines for initial care.
- The container in which the seedlings are grown should be placed in a place where the temperature will be at 18-20 degrees constantly. Every day, you should check to see if the seeds have sprouted. If the soil becomes dry, moisten it with a spray bottle.
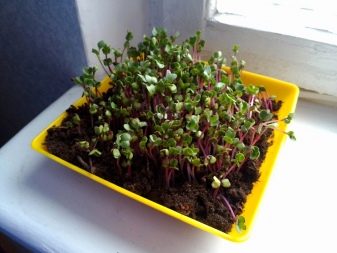
- After the emergence of shoots, it is worth getting rid of the covering material (film), and place the container on the windowsill, where there is a lot of light... It is advised to move it to a room where the air temperature will be 8-10 degrees, and after a few days move it to a warmer place.
- And also it is worth taking care of sufficient and suitable lighting. Radish is a crop of short daylight hours, so it needs about 10-12 hours of light per day. If it is longer, the plant may start to go into the arrows. In summer and late spring, it is recommended to expose the container to a window located to the east or west. When grown in late fall, early spring or winter, it is best to place it on a window in the south. It is best to grow radishes under a phytolamp.
- In an apartment, radishes are very demanding on temperature. In the daytime, he needs 10-15 degrees of heat, maximum 18-20. At night, the ideal temperature is 5-10 degrees, maximum 15. If the temperature is elevated, the culture will begin to shoot.
It is important to protect the seedlings from the heating battery, as it will make the air extremely dry and hot. For example, it is covered with a cloth of high density, and a thick stand is placed under the container with seeds.
After germination
To obtain a decent harvest in the future, you should regularly perform simple maintenance activities.
- Watering should be moderate and carried out only after the surface of the earth in the box dries up. It is important not to allow the earthy lump to become overdried, and it is categorically impossible to flood the culture, as this can cause the appearance of diseases and pests. In winter, the radishes need to be watered very carefully. When the roots are formed, more intensive watering is needed. Irrigation should be stopped 2-3 days before harvesting.
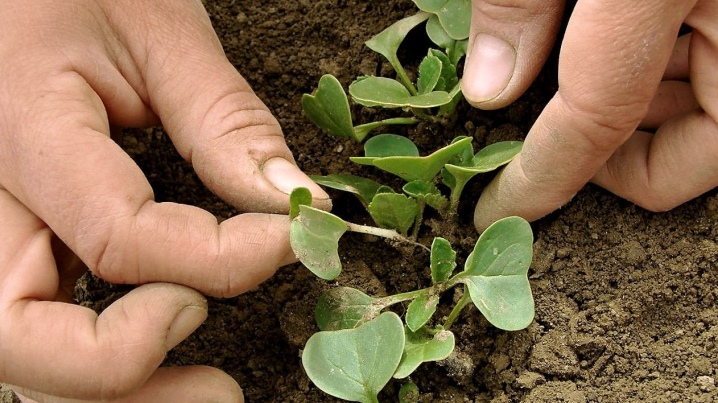
- Thinning Is the procedure to be done if the seeds have been sown too often. The seedlings should grow at a distance of 5 centimeters from each other. If it is much less, you need to thin out the plants after the first leaf appears. It is important to get rid of the weakest seedlings.
- Radish does not require feeding.
- If the indoor climate is too dry, use humidifier or irrigate plantings with a sprayer.
Diseases and pests
In order not to face big problems when growing radishes, one should be puzzled by the issue of its protection from various diseases. Home plantings are well enough protected from the attack of a large number of harmful insects, because you can get rid of a pest that accidentally flew into the house instantly, with your own hands, without using special means. But the following diseases can affect the culture:
- keel;
- blackleg;
- bacteriosis.
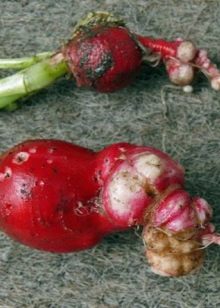
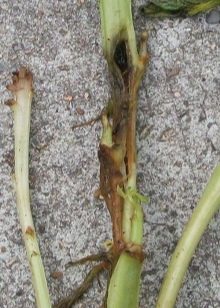
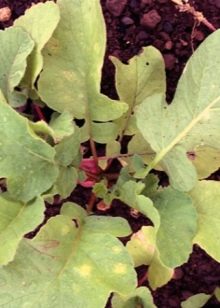
It is impossible to cure them, so it is worth taking a variety of preventive measures. To do this, before sowing, the container in which the planting material will be located, as well as the soil and the seeds themselves, should be thoroughly disinfected with a solution of potassium permanganate. After that, you must follow all the recommendations for care.
Possible problems
The most common problem is that the seedlings can be pulled upward during the growing process. In order not to face this, you should pay attention to the lighting. The light should not fall on the seedlings from only one side, otherwise it will tend to be closer to it. But there are a number of other reasons:
- too much watering;
- the room temperature is too high;
- insufficient lighting;
- the planting material is immersed in the soil too deep;
- the soil around the sprouts is too loose.
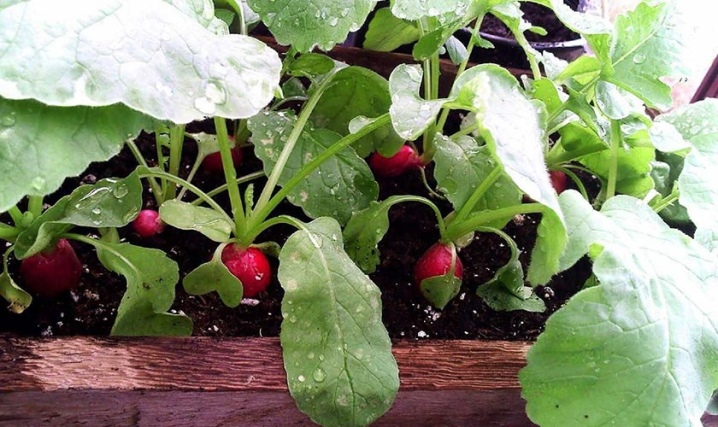
Pulling a radish is a consequence of being poorly cared for.
So that such problems do not arise, it is necessary to find out in advance how exactly this culture should be grown on a balcony or loggia, and only after that start doing it.
- If the seedlings are already stretched, and it must be saved, you can carefully cut off the tops. This manipulation will allow the fruit to develop.
- If the radish is not tied, it also indicates inappropriate care and inappropriate conditions. Another common problem is the bad taste of the grown fruit. This happens if you over-fertilize the plant.
Harvesting
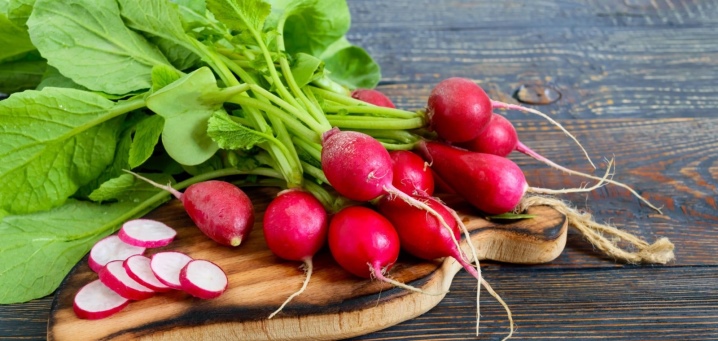
The fruits can be picked immediately after they are fully formed and large. This will be indicated by their tips protruding from under the ground. It is not recommended to overexpose the crop in the ground, as the radish will become coarser, acquire a bitter taste and will not be tasty.
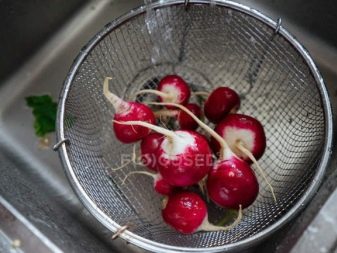
After harvesting, the fruits must be peeled, rinsed and dried. You can store them in the refrigerator, in a plastic bag not tied. It is important that air flows to them.


The comment was sent successfully.