A phono stage for a vinyl turntable: what is it, what is it for and how to make it?
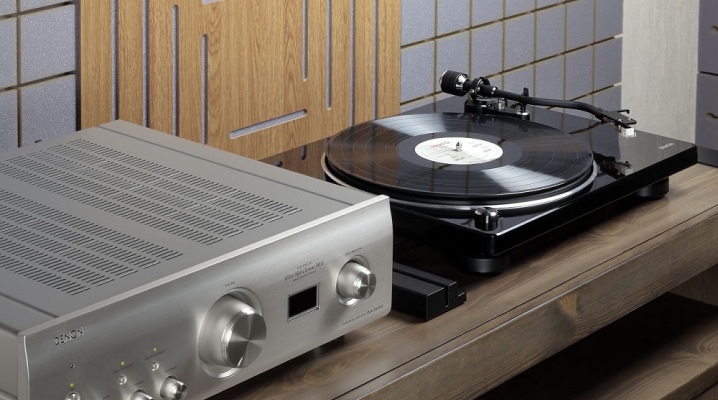
Vinyl players are back in vogue. However, now their design has become more modern. In this article, you can learn about phono stages - special devices for vinyl turntables.
What it is
A phono stage is a device through which the processed signal passes. If this component does not work correctly or it simply does not exist, then the sound at the output is deformed. It already becomes unimportant which speakers and amplifier are installed at the output. To fully understand the operation of this device, it is worth plunging into the essence of how the contents are recorded on a vinyl record and played back.
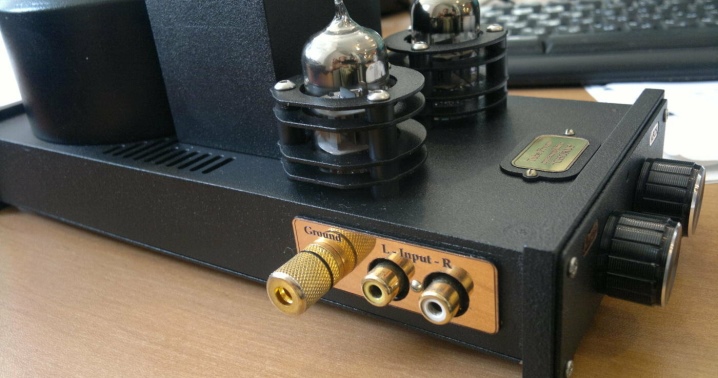
What is it needed for
During the recording process, the audio frequencies are corrected. High frequencies in this process are artificially increased (more precisely, their level), and low frequencies, on the contrary, are lowered. This is necessary so that the needle does not slide off the track during playback. It also minimizes noise.
When a vinyl record is played back, the signal is reversed: Spectral content is restored, with low frequencies increasing and high frequencies decreasing. The overall signal level also reaches the norm, which is necessary for the line input. It is for this process that phono stage.
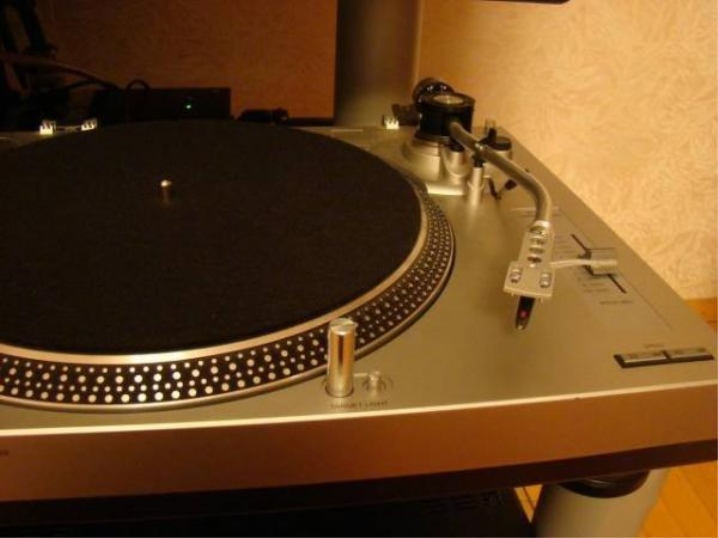
Views
There are two types of phono stage:
- Lamp.
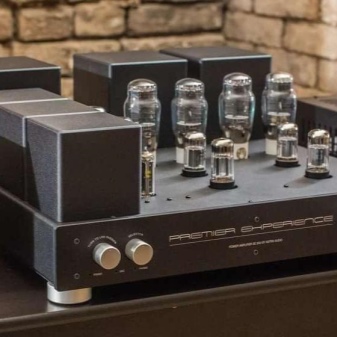
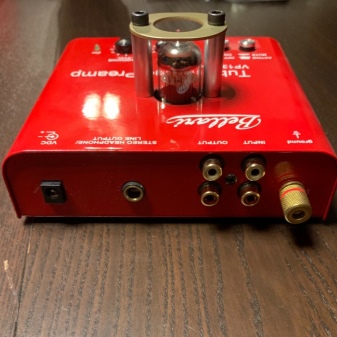
- Transistor.
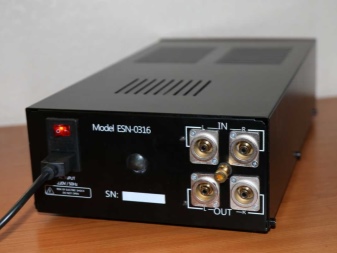
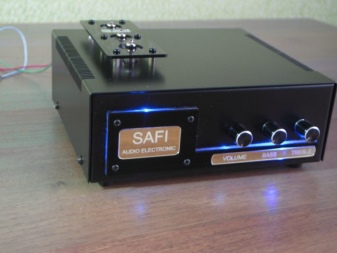
The first type includes lamps, the second - transistors. In inexpensive designs, there are no settings.
However, the expensive equipment is supplemented with several knobs, with the help of which it is possible to adjust the corrector parameters for the head used with it.
How to choose
When choosing a turntable, you can often observe the fact that the phono stage is already built into the system. However, this device is limited in frequency range and is not capable of producing high-quality sound. For this reason, many retro lovers purchase separate phono preamplifiers (phono preamplifiers). A quality device must meet the requirements below:
- The power supply unit should not fade, while its power supply can be carried out both from the mains and from batteries.
- Support for MM and MC heads. However, if you do not plan to invest large amounts of money, you can get by with the support of the MM head.
- The next indicator is the signal-to-noise ratio. An ideal device does not add noise of its own to the signal. In expensive devices, this figure is within 100 dB, while in devices of the middle price segment it is in the range of 20-40 dB.
- It is worth paying attention to the input impedance of the device. Typically, this is 47 kOhm. However, some phono preamplifiers are capable of adjusting this value, since most cartridges are designed for a different impedance parameter. It is worth paying attention to the description of the pick-up head - it indicates the parameters with which it works.
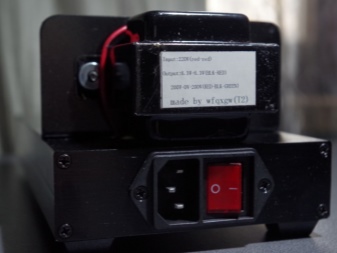
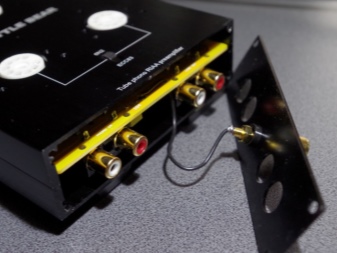
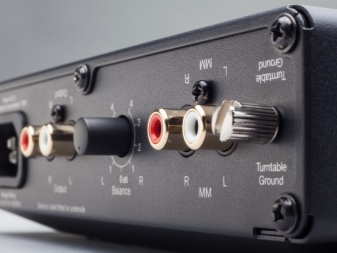
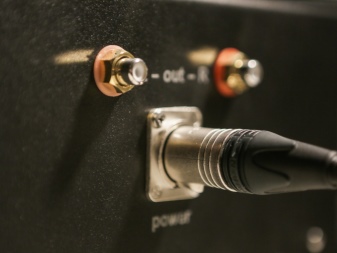
It is also necessary to take into account the quantity and quality of input and output connectors, the possibility of their adjustment, because other equipment will certainly be used in the system.
As for manufacturers, below is a list of those companies that are deservedly located in the ranking of the best phono stage manufacturing organizations:
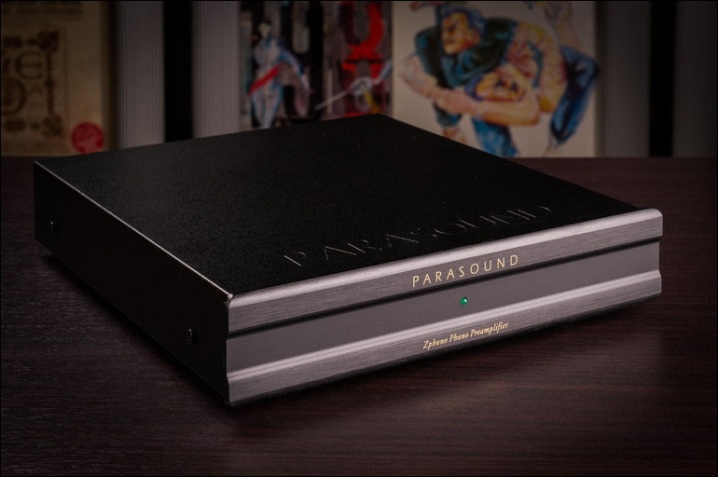
- Parasound. A prominent representative of this company is the Zphono phono stage.This device has been on the market for over 15 years. This is due to the fact that the sound quality produced by such equipment is quite good, and the price for it is pleasantly pleasing. This device is equipped with a transformer in a permalloy screen. The phono stage works with MM and MC cartridges, and there is only one input for them - with a switch on the back of the equipment.
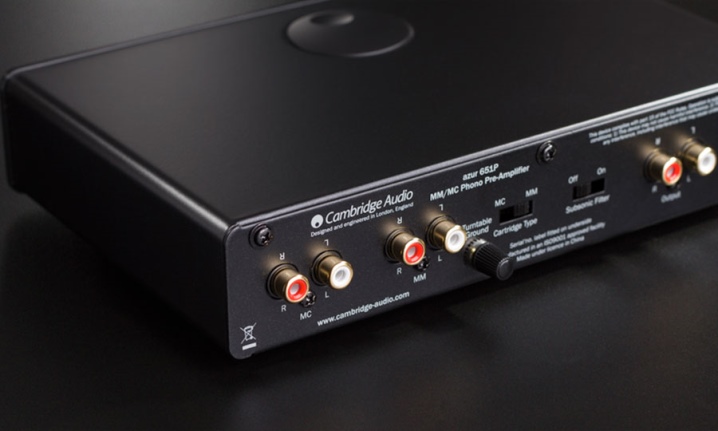
- Cambridge Audio. Solo equipment works with MM pickups. The phono stage is equipped with a new power supply and a surface-mounted PCB that helps to minimize unwanted noise. It is also worth noting the presence in the design of a device that filters ultra-low frequencies. Additionally, it should be noted that on the back of the equipment there is a channel balance control (right and left), which acts as a compensator for the volume difference between them.
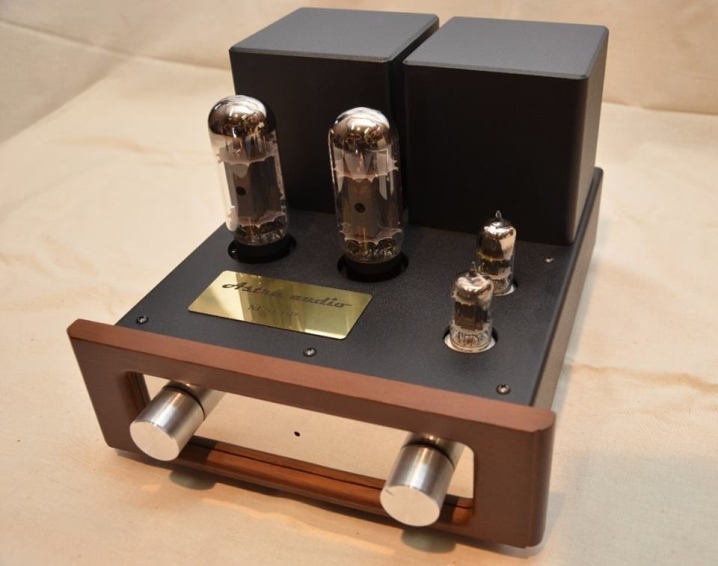
- Astra Audio. This company introduces the Premier model to the market. RIAA tube phono stage works with MM and MC heads. The design uses lamps 12AX7 (2 pcs.) And 6SN7GT (1 pc.).
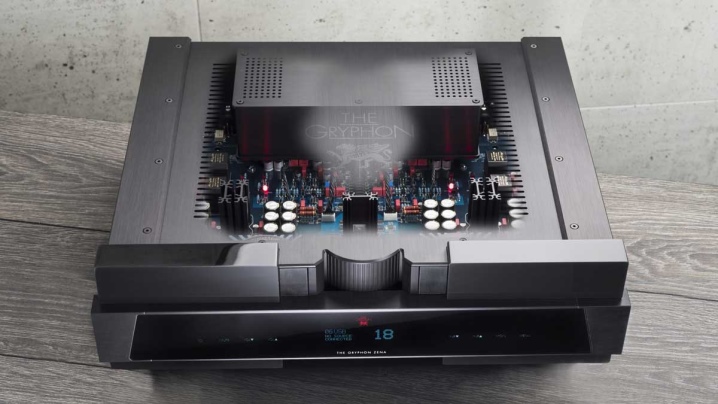
- Gryphon. The company has released a new product: the Gryphon Legato Legacy phono stage. This device has the following characteristics: aluminum double-block housing, stabilized power supply, dual-mono balance, sealed printed circuit boards. These parameters provide quality sound. Designed to work with MC and MM heads.
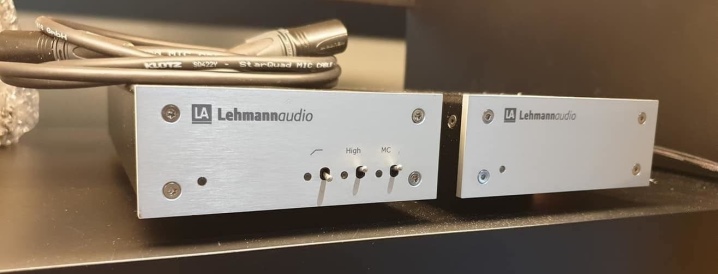
- Lehmann Audio. The manufacturer did the impossible: in his new product - the Black Cube Statement phono stage, excellent quality and reasonable price came together. This device, despite the excellent price indicator, works with two types of heads (MC and MM). The back panel is equipped with several adjusting knobs. Also, the phono stage is made on a passive RIAA-correction circuit.
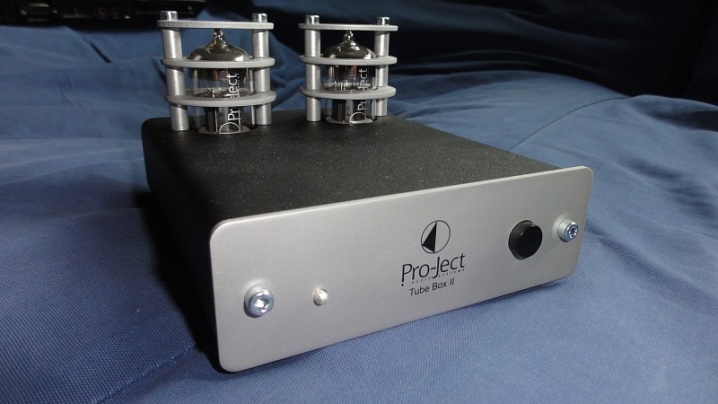
- Pro-Ject. This company manufactures many phono stages, however, one of the few that is especially popular with vinyl lovers is the Phono Box E. This modification works with MM heads, is easy to operate, and is endowed with SMD components. In addition, the equipment has a plastic case, all internal components are protected by a screen, while being compact in size. During operation, the equipment ensures accurate correction of the input signal.
How to do it yourself
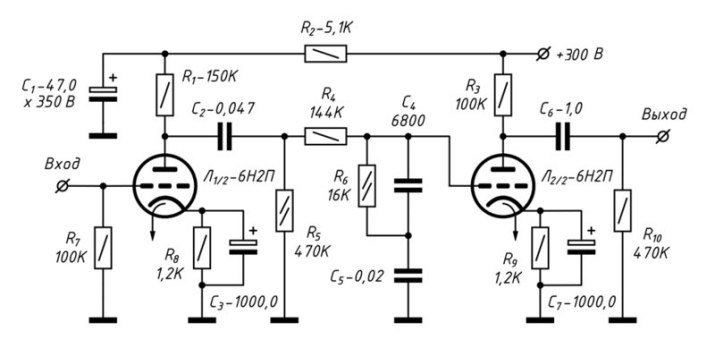
Below is a brief description of the homemade phono stage. First of all, you need to understand what the phono stage will be. The presented review was carried out on 6H2P lamps in a separate case (aluminum box from Gainta):
- It is necessary to place the following circuit in it (you can use a printed circuit board). Only phono channel 1 is shown here. For stereo sound of such minichannels you need 2.
- We take PLC-9 panels with a special device - a belt. With their help, you can install the screen in the form of caps.
- Then you need to mark the holes for the lamps. Then you can use a stepped drill to open the holes.
- The next step is to open up the post holes. The interior of the equipment will be connected to them. No mistake can be made here - even a 0.5 mm difference can cause the panels to not line up with the holes in the lid.
- Add capacitors. The result is this picture. Insulation tubes are put on the terminals of some elements.
- Open holes on the back of the cover, the diameter of which should be slightly smaller than for cables. They will help, together with the side board, to ensure reliable fixation of the cables, while the cover can be easily removed.
- The photo below shows the connecting cables. The left cord is required to connect to the power supply of the amplifier, the middle one serves as the output signal, the right one is the input for the turntable.
- From the bottom of the case, you can glue rubber legs.
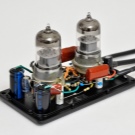
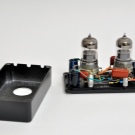
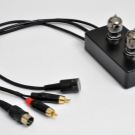
All assembled work is shown in the photo below. As you can see from the photo, making a phono stage yourself at home is not difficult.
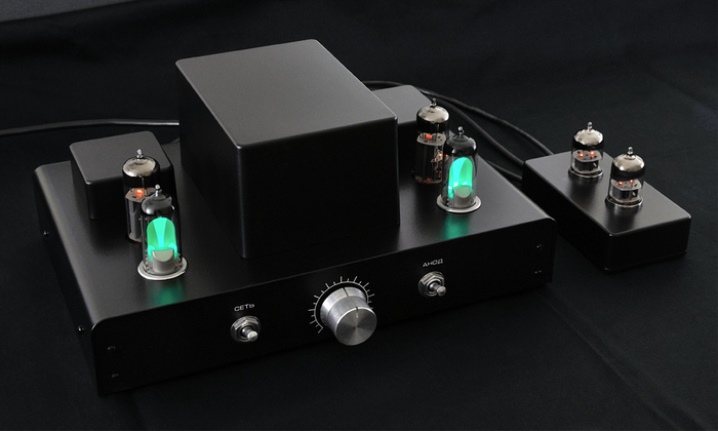
In the next video, you can get acquainted with a more complex and voluminous homemade model of a tube phono stage for a vinyl turntable:


The comment was sent successfully.