What are the wind strips for corrugated board and how to fix them?
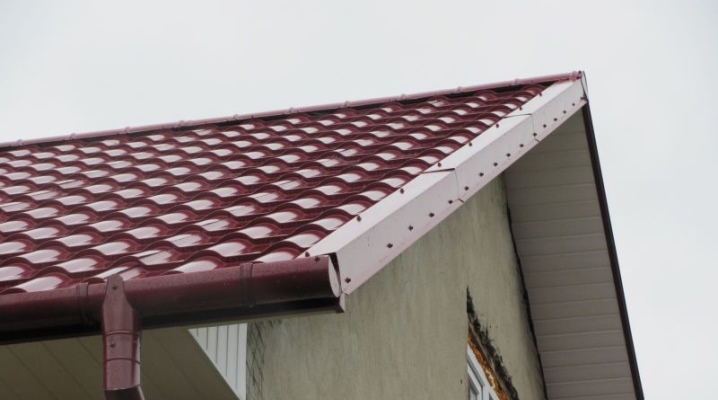
The main task of the roof is to reliably protect the house from bad weather. And for its implementation, the roof can consist of a number of small, but very important elements. The wind bar is one such element. Externally, it is a metal bar installed on the most important parts of the roof structure to strengthen it and make it more reliable. Usually it is installed either on the cornice, or at the ends of the front, which gives protection from rain, drops do not fall into gaps and crevices. But there are quite a few features of the wind bar, and in order to find the right option, you need to figure it out.
What it is?
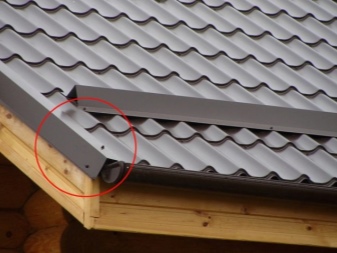
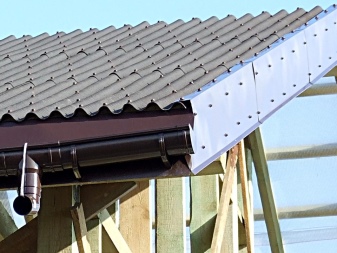
The wind bar for corrugated board is a special corner or board for the roof, which is installed on the roof of the house, more precisely, on the crate, and provides additional protection. Depending on the material, the quality characteristics of the roof change, and each type of plank has its own unique characteristics.
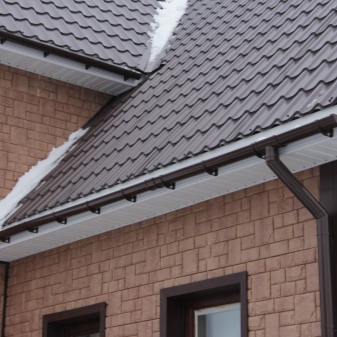
Species overview
If you take into account the quality standard, then the fastening of the wind bars is in any case necessary, regardless of the characteristics of the roof. The plank is installed along the entire perimeter of the roof, so it is very important to correctly calculate the dimensions and select the required amount of materials. In addition, you need to pay attention to the types of wind bars.
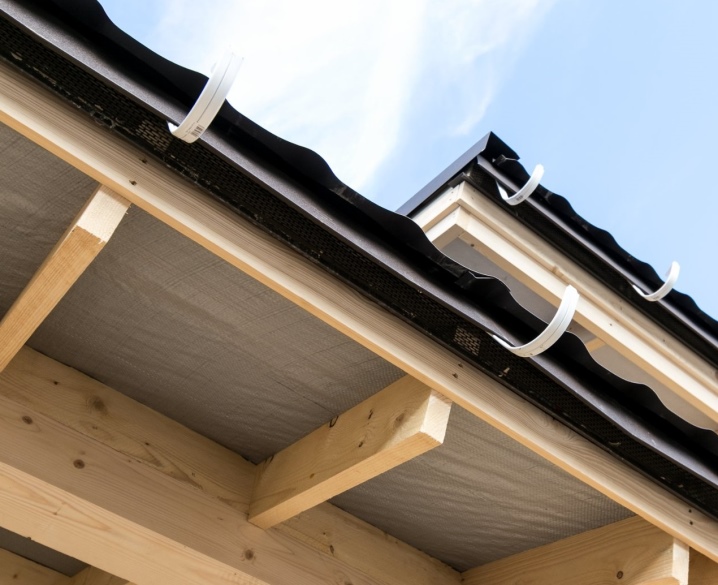
End
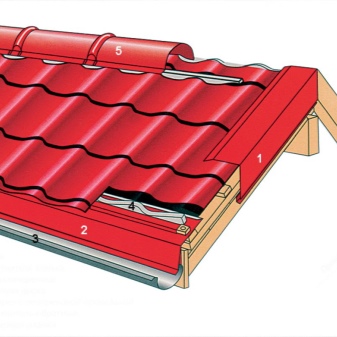
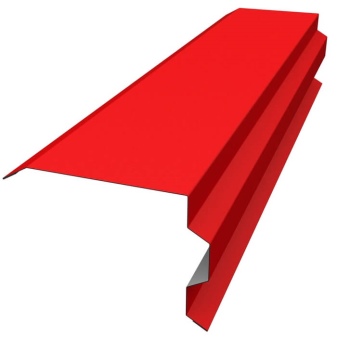
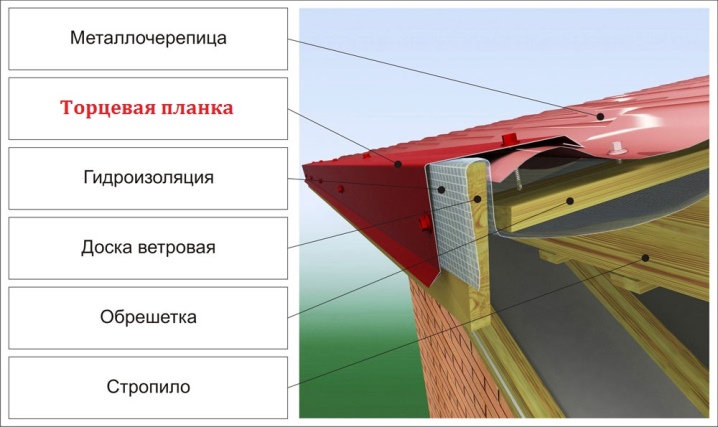
This strip is a corner with a straight mounting shelf, while the second shelf can completely repeat the profile of the corrugated board, taking into account all its features. This type of plank is attached to the roof overhangs near the front of the entire structure. Thanks to this, part of the corrugated board and the end board can be completely closed. And also sometimes an additional drainage of water is provided with the help of a kapinos.
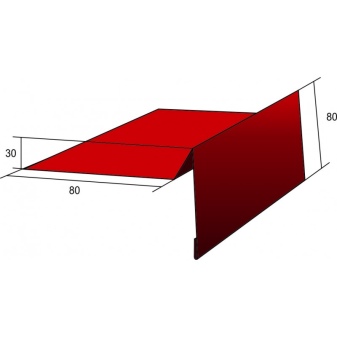
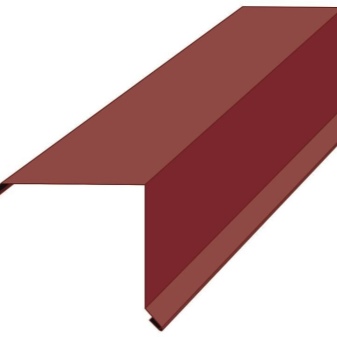
Cornice
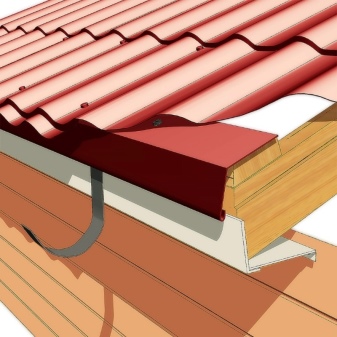
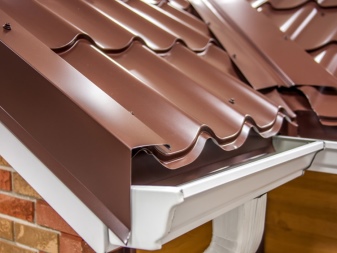
The eaves plank is installed just before the roofing is started and the gutter is installed. This is a galvanized steel corner. Additionally, it is protected from corrosion and other troubles by a polymer coating, and all the fixing shelves are very even and neat.
Skating
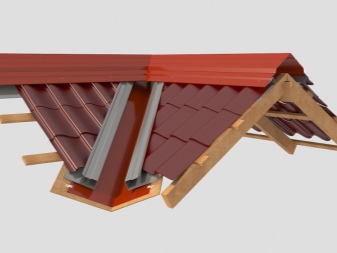
To protect the part of the joint between the corrugated board and the joints of several roof slopes, a ridge strip is mounted, it can even be pure white. Depending on the needs, they choose an oval, rectangular or straight shape. Some models are equipped with ventilation to ensure reliable air circulation.
Mounting
In order to properly fasten wind shaped elements under the profiled sheet, you will have to take into account many nuances. In particular, dimensions:
-
the standard length is 200 cm, but taking into account the gap, the total figures are 190-195 cm;
-
most models are 40 x 60 or 90 x 150 mm.
Interesting fact: planks 40 by 60 are more suitable for flat roofing. They are less stable, and if the wind in the region is not very strong, then you can safely install them on the roof.
It is quite possible to screw a wind bar for a gable roof on your own; this does not require professional experience or special tools. It only takes a few things.
-
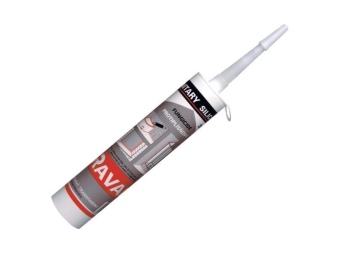
Self-tapping screws for roofs with rubber seal. Approximately 6 pieces are enough to install one strip.
-
Building sealant.
-
Metal knife.
-
Screwdriver.
The installation of the mount and the order of work will differ depending on the type of strip. Installing a plank for a pitched roof or for a sloping roof is a big difference. To successfully cope with this task, you need to consider a few rules.
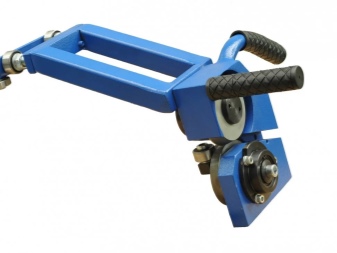
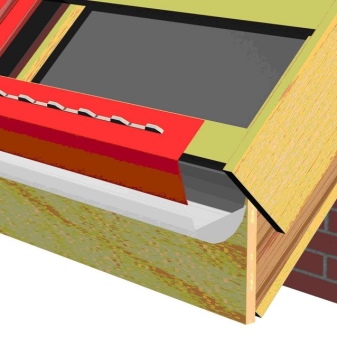
Let's talk in more detail about the installation features. The first thing to look out for is the type of plank you are going to install. The eaves strip is mounted on the overhangs before the roofing or gutter installation. This is one of the important milestones to keep your roof as secure as possible. There are not so many rules and features for installing such a bar.
-
Self-tapping screws are used for fixing. In this case, the step should be 40 cm and the overlap from 50 to 100 mm.
-
During installation, it is imperative to lift the waterproofing film that protects the crate. In the future, this film will completely cover the bar.
-
The eaves strip is attached to the inner surface of the gutter to prevent moisture from entering the rafters. For some types of roofs, the slats are made individually to meet all technical parameters.
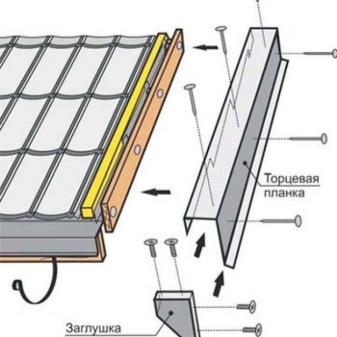
The installation of the frontal strip begins only at the final stage of the roof, since the roof ridge is then installed last. There are not very many parameters and features here either.
-
The size of the top fixing flange varies from 135 to 145 mm, everything will depend on the profile and height of the roof.
-
The bar is fixed at the top directly to the roof frame lathing and the end. In this case, the step should be from 30 to 50 cm.
-
Self-tapping screws must be either with a rubber washer or with a polyurethane washer.
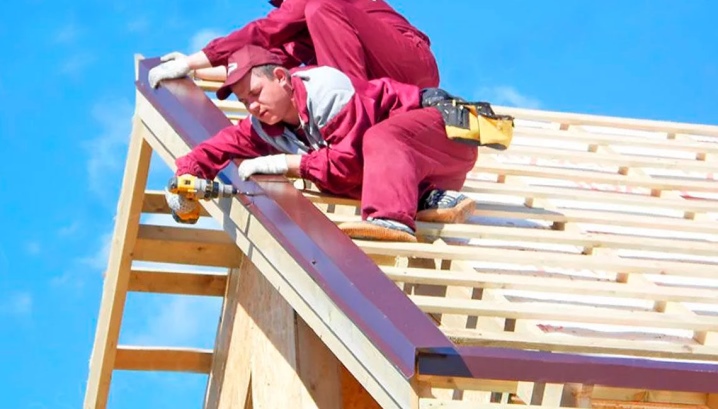
An interesting fact: if additional insulation is required for the joints of the roof, seals, silicone sealant or construction tape are used in the places of the gap. But a special seal is still much better than any other option, since it can copy the roof relief and serves for many years.
Design features and installation rules
Usually, the bar in terms of the material of manufacture coincides with the corrugated board. In stores, it is proposed to immediately purchase all the necessary elements for creating a roof. The planks have a concave shape and are painted in the same way as corrugated board. But the types of paint coating may differ in this case:
-
organic polymer based paint;
-
paint based on polyurethane with polyamides;
-
paint based on PVC and plasticizers;
-
conventional paints and varnishes;
-
coating with fluorine-containing polymers.
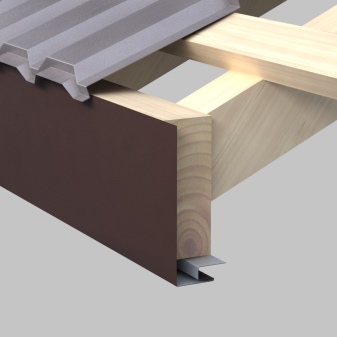
The colored coating also has a number of additional properties and characteristics. For example, it can protect against aggressive environmental influences, ultraviolet radiation, or increase the resistance of the roof to moisture. If the bar is frontal, then its parameters are usually as follows:
-
length up to 2.5 meters;
-
width from 250 to 312 mm;
-
thickness from 0.5 to 0.55 mm.
The shape of the part can be not only straight, but also curly, if additional rigidity is needed, then the part usually has not one fold, but two.
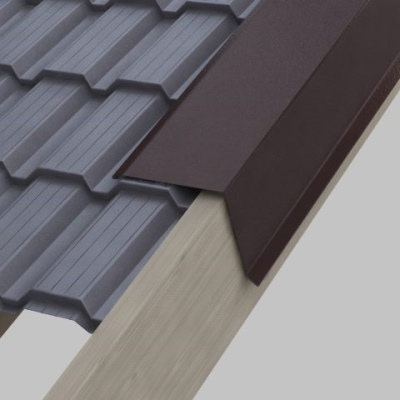
The end plate also has its own design features:
-
thickness from 0.4 to 1 mm;
-
width up to 300 mm;
-
length up to 2 m or more.
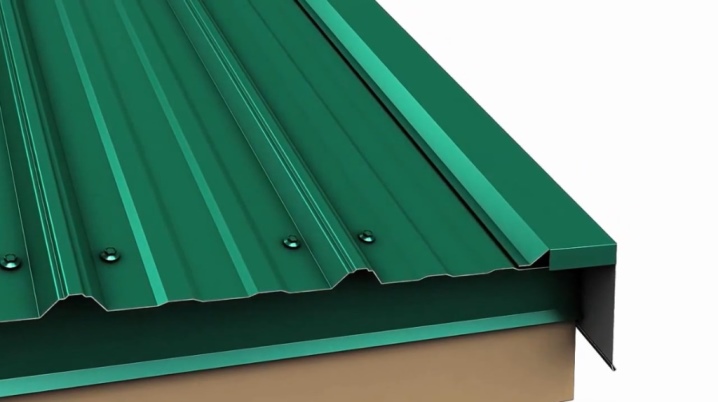
If the bar is made to order, then its parameters will also be individual. Installation of the end plate, for example, takes place according to a special algorithm.
-
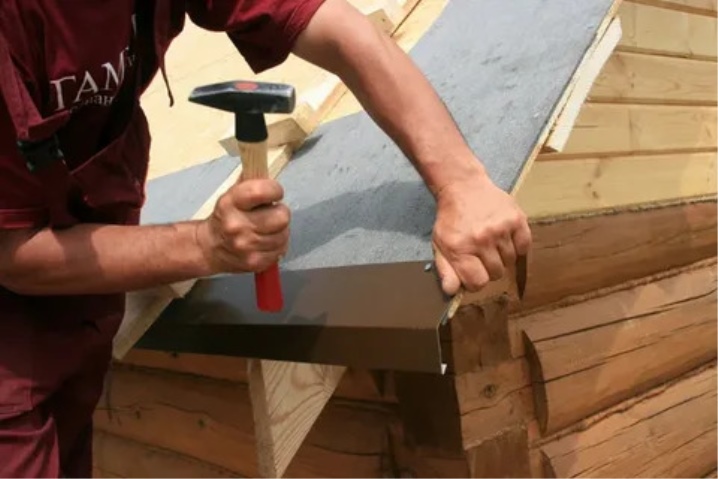
The end board with a width of 80 mm and a thickness of 25 is attached to the lathing. For this, construction nails are ideal, the diameter of which is at least 4 mm, and the length should be no more than 120 mm inclusive.
-
The installation of the wind bar takes place directly on the end plate using self-tapping screws. Their diameter must be at least 4.8 mm. A rubber gasket must be provided in the construction of self-tapping screws. The fasteners are positioned in increments of 200 to 300 mm. For faster installation, you can use a screwdriver.
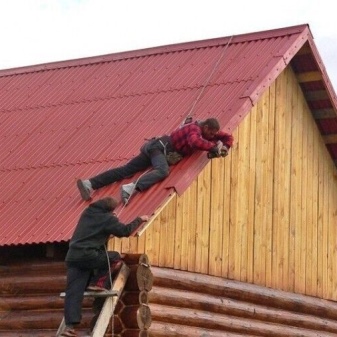
Installation must be carried out from the bottom point of the end face with an orientation to the ridge of the roof. Docking is always made with an overlap with a depth of at least 50 mm.
Important: it is strictly forbidden to fasten the corrugated board with construction nails, as this destroys the protective coating.
The use of nails is also illogical because extra holes appear on the corrugated board, into which moisture can penetrate. And the roofing sheet itself is usually made of steel, and under the influence of moisture there is a high risk of corrosion.
The ends of the wind bar are usually bent so that precipitation can flow freely. If a gap appears during installation, it is best to use a special seal. It is attached from the inside, thereby protecting the structure from moisture ingress. The types of seal can also be different:
-
universal self-adhesive;
-
universal with the possibility of self-expansion.
In the construction of the roof, the sealant perfectly fulfills its task. In addition, it has high technical characteristics, it tolerates exposure to ultraviolet rays and temperature changes well. Constant exposure to moisture is usually fraught with the appearance of mold and mildew, but in this case a special coating protects against them. It is best to protect the joint with a double wave of the coating, but here it is worth paying attention to the types of installation.
-
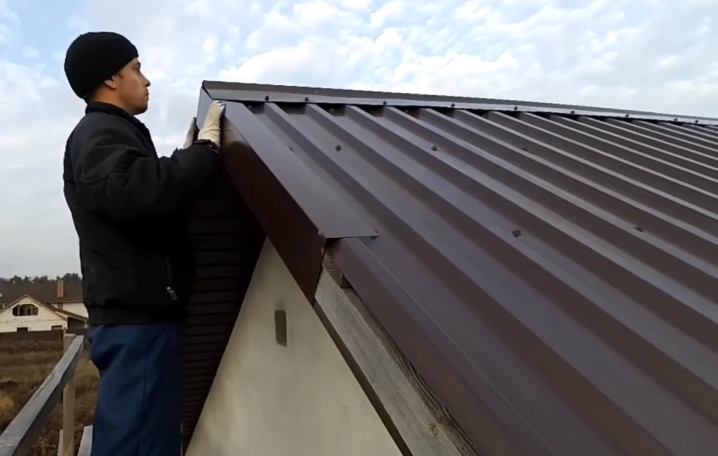
If the front plank has a wide horizontal part, a double overlap is best suited. Long self-tapping screws provide reliable fastening.
-
If the width of the front strip is at least 125 mm, you can do with one overlap, but then seals are definitely needed. Fastening is provided with short self-tapping screws to the end plate.
-
The front bar can be installed using an end bar, but this is not the easiest and most reliable method listed.
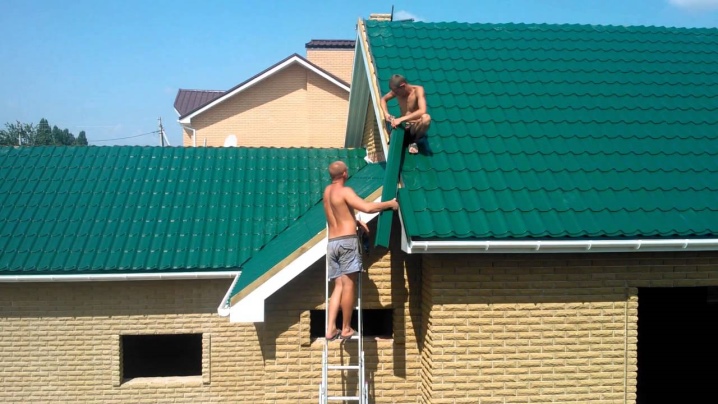
Is it possible to do without the butt end? In principle, there are no strict rules and regulations explaining its presence in any type of construction. But keep in mind that the coating unprotected by the end will last several times less. It is much more logical to spend a little time and effort on installation.
Step-by-step installation of the end plate
Installation can be started only after the corrugated board is completely installed. But before you install the ridge strip, if it is planned in the roof structure. For this, self-tapping screws for wood with sufficient length for the most reliable fastening are suitable. You will need to take into account such nuances as:
-
strip thickness;
-
thickness of corrugated board;
-
available length for screwing into the crate under the corrugated board.
The step should be from 45 to 55 cm inclusive, the distance is up to 30 cm. Closer is not recommended, otherwise the connection will be of poor quality. Fastening starts from the eaves. An additional 40 x 40 mm end bar can be installed on the crate, it is to it that the bar will be attached in the future. The rest of the docking is carried out with an overlap of 5-10 cm.
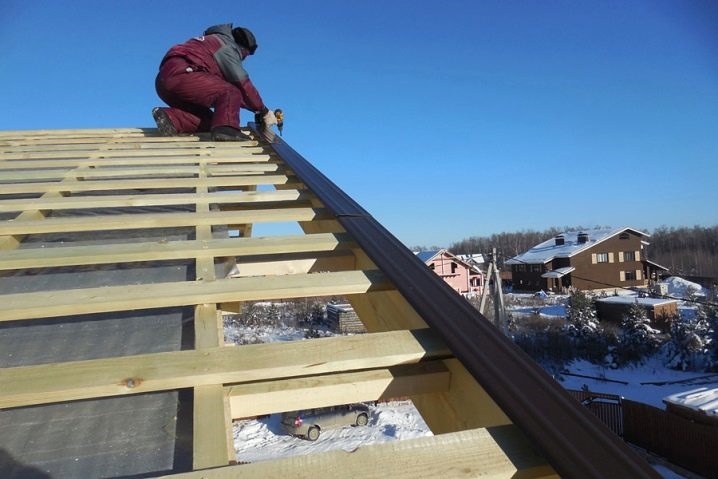
Although the last parameter and fastening technology will in any case change depending on the weather conditions of a particular region. The main rule is one: the more severe the climate, the more reliable the roof fastening should be. And the top ridge must be closed. It is worth thinking about the side plugs, and so that moisture does not get into the joints of the strip and on the fasteners, they are additionally covered with paint.
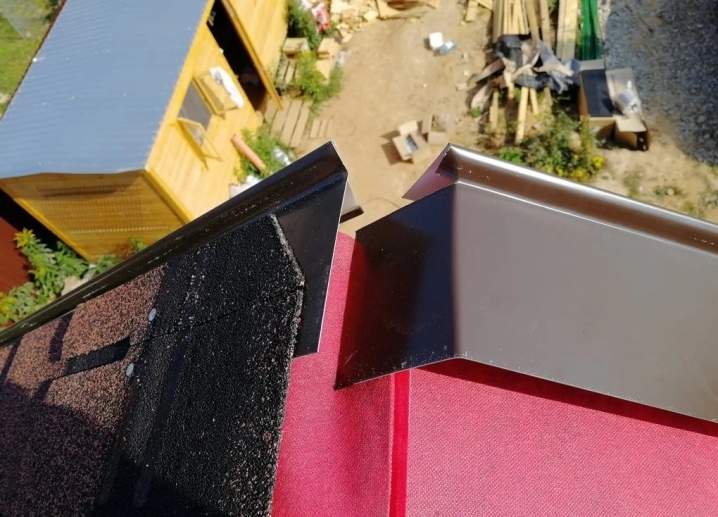
No roofing system can do without a wind bar. It is the plank that protects the roof from moisture and ensures that the roof is not blown away by even the strongest gust of wind. Therefore, the end plate must be purchased additionally if it is not included in the kit. And the best part is that the installation of this strip can be easily carried out even on your own.
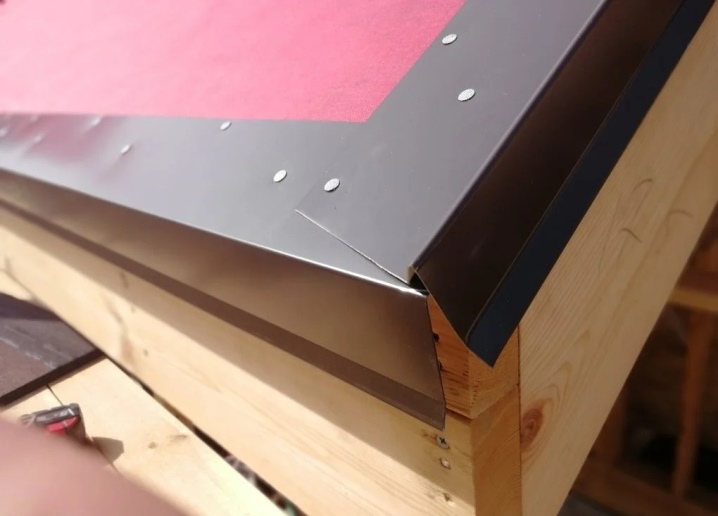
Installation of wind bars in the video below.


The comment was sent successfully.