How to properly lay the corrugated board on a pitched roof?
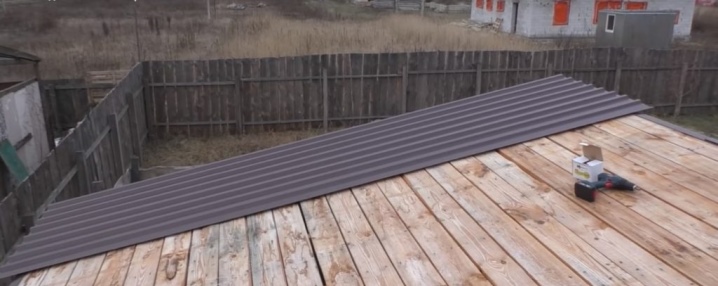
Today, corrugated board is a versatile and demanded material. Roofing sheets are easy to maintain and can be used for many years. Corrugated sheets are much easier to mount on a shed roof than on a two-slope or a wreck with a complex structure. Therefore, below we will talk about how to correctly lay the corrugated board on a pitched roof - we outline the work plan, the main steps and choose the tool necessary for the work.
Roof features
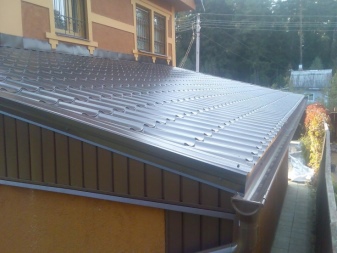
In modern construction, a shed roof is associated not only with cabins, garages, baths, it is also one of the fashionable trends in landscape design. A single-pitched roof made of corrugated board is easy to install, economical in terms of costs. The roofing job is pretty easy: even a beginner will be able to make simple calculations, mount the crate from the roof itself, besides, a device from one slope will delight its owner for many years.
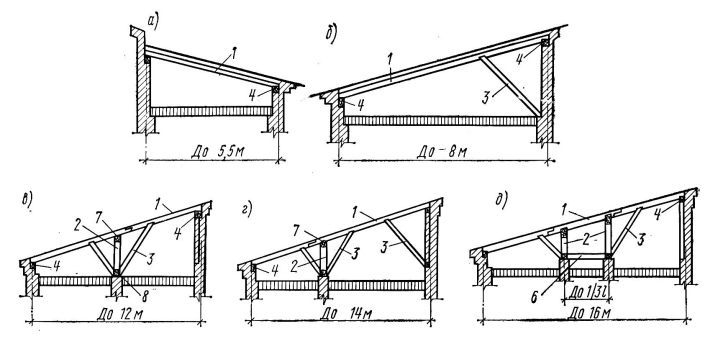
A roof with one slope is considered safe in terms of wind load and the easiest to make with your own hands.
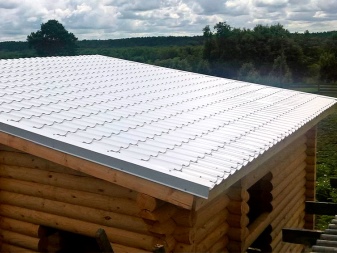
Decking for a pitched roof is good because you can choose any option in color, shape, size; it has a reasonable price and is easy to transport. For single-slope structures, it is better to choose sheets of type "H" and "HC" marked with NS35 or NS44. Each owner chooses the length, based on the parameters of the roof, convenience during work.
Preparation
Work should begin with a study of the roof from the operational capabilities. The next stage is the performance of calculations, with the help of which they are determined with the design, the number of consumables, and the required materials.
The primary task is to draw up a construction plan. It is better for a beginner to write down all the points step by step on paper. One of the important stages is the drawing of a drawing of the entire structure with an indication of dimensions and materials. The slope should be worked out in detail in the figure in several versions.
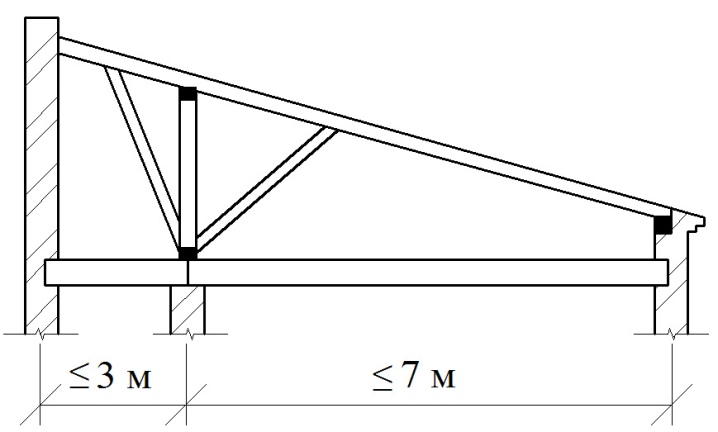
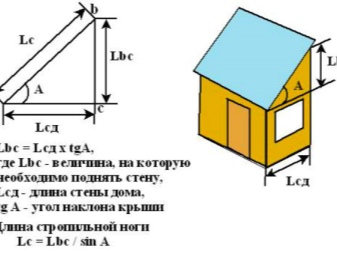
At the initial stage, the roof load on the entire structure as a whole is calculated. We use two formulas for the calculation.
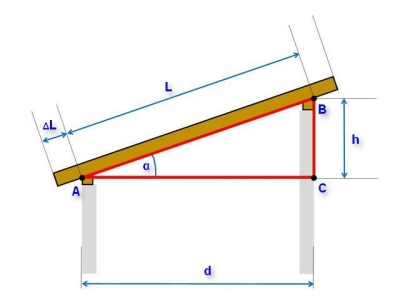
- The first formula: C = A x tg (B). C should be understood as the height of the walls, B is the angle of inclination of the roof structure, A is the dimensions of the upper floor.
- The following formula for the project: E = C / sin (B). Here, under E, the length of the rafters is taken, B is the angle of the slope, and C is the height of the wall.
It is better to choose the average step between the rafters in the range from 60-80 centimeters. When calculating, remember about the overhangs of the roof, which serve as protection from precipitation.
After that, you need to calculate the total area of the roof structure. Knowing it, we calculate the amount of all material for the arrangement. To do this, we multiply the length by the width of the roofing surface.
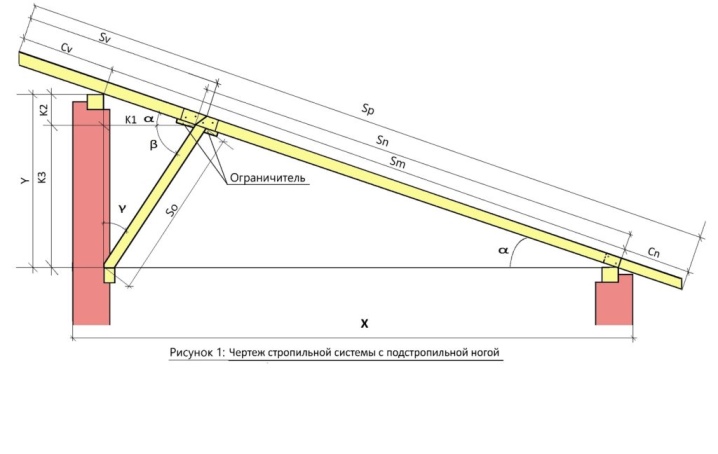
After determining the length of the ramp, rafter pitch, it is also easy to figure out the amount of wood needed for the job. Along the way, it is worth calculating the amount of waterproofing, insulation. Approximately this will be the length of the roof, plus we add 5 percent in reserve. Professional sheets are purchased with the same calculation. We take up to 50 self-tapping screws for one roof sheet.
Determination of the angle of inclination
The building codes stipulate the minimum angle of inclination. However, this is not the only requirement for choosing an angle that will have to be met. It is also necessary to focus on the slope of the roofing material.
The smallest angle of inclination should be considered such an angle at which there is no overflow of water between the corrugations, and no puddles appear on the roof. It is also necessary to take into account the severity of the snow on the roof, its ability to cram into the roof.
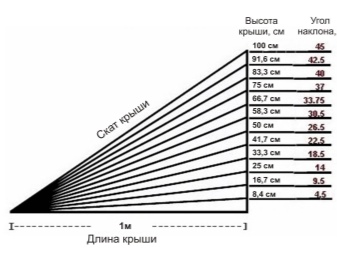
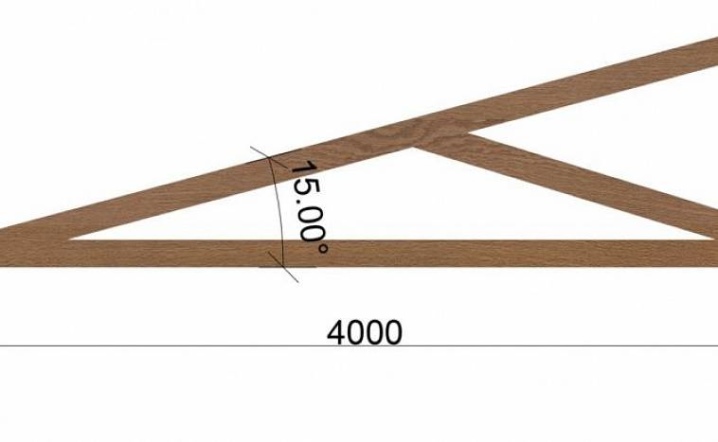
In other words, to determine the optimal angle of inclination, climatic conditions, the type of rafter system, the length of the roof, and the type of roof are taken into account. The height of the walls of the building is also taken into account. The average slope calculation is from 8 to 20 degrees. If you make a very small slope, then it is necessary to lay the waterproofing in several layers, and thoroughly insulate the joints.
Load calculation
It is important when calculating the angle of inclination to correctly determine the load on the roof. Here climatic conditions are considered the main point. Like the entire roof, the corrugated board has its own windage. If the terrain belongs to windy areas, then a steep angle should not be done.
The danger is the snow cover on the profiled sheet. Often, under the weight of snow, deformation of the roofing material occurs. On the other hand, if the slope is not steep, then you will have to take care of the joints and insulation.
The sun, the play of temperatures, frequent fogs, and exposure to chemicals also affect the load on the roof. In addition, it is worth considering the fact that the load on buildings will be different, for example, in the middle lane and near the sea coast.
Ventilation design
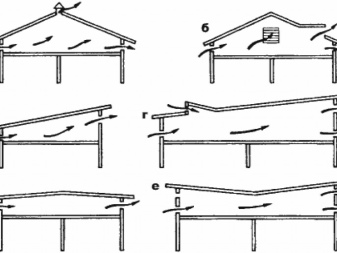
With a minimum slope, pitched roofs are usually designed without an attic space. Then the roof will be ventilated by the outside air coming through the layers of insulation or through the holes in the panels. This is the best option, because there will be no condensation on the roof.
Cold and heat are equally terrible for the roof. The coating should also be protected from direct sunlight. In the summer, there is a powerful heating of the coating. But properly installed insulation reflects the sun's rays and prevents overheating.
Installation technology
All the calculation periods are behind, one of the difficult moments remains - the construction of the entire structure with your own hands. Installation of the roof can be done on any extension to the house, and even a beginner can handle it. It is necessary to indicate all the nuances of the work on the diagram and determine the procedure. Let's describe this process in stages.
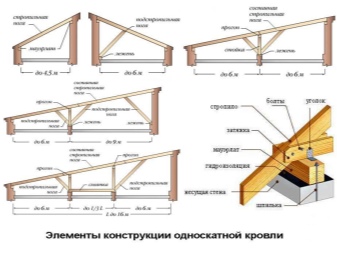
- We begin the workflow with the installation of the Mauerlat. You can use a beam of 10 * 15 centimeters, the base is knocked down according to the specified dimensions. If the structure is not made of timber, then the upper crown will suffice. Often, a reinforced belt of roof nodes is used to distribute the load. Mauerlat is necessary so that the corners of the roof are the same on all sides.
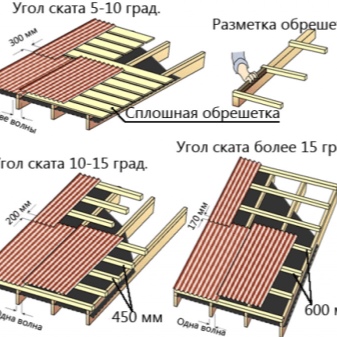
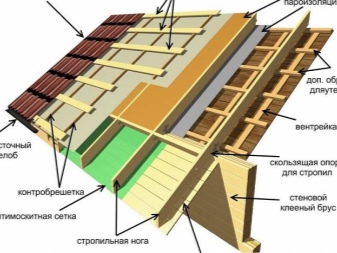
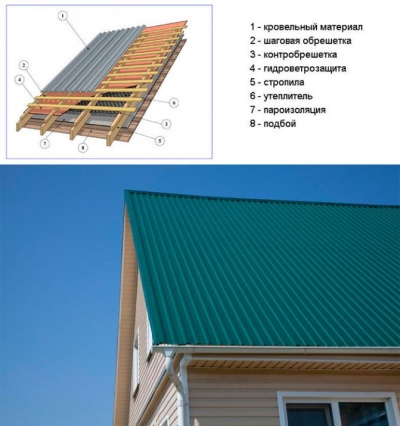
- Several steps for laying the rafters: boards on the Mauerlat must be laid with overhangs on the sides by 40-45 centimeters. The width of the cuts made must match the width of the Mauerlat. Upper and lower cuts should be made on all rafters. The base of the roof of a shed or other building is a crate. It can be filled with a solid area or in increments of 30 centimeters. If the slope is average, then a lathing step of up to 55 centimeters is allowed. We fill the crate in the direction from bottom to top, securing the board with a nail or a bracket to the rafter. Then you need to install overhangs or filly with roofing felt lining. This is a kind of protection against dampness, which will subsequently be covered with siding.
- In order to avoid further problems, it is immediately recommended to correctly lay the waterproofing. It is better to lay the roofing film with the canvases from the bottom up, leaving an overlap without tightening. On the lathing, the insulating layer is clamped with a rail using nails. If ventilation at the roof is not provided, then it is better to purchase and cover with a hydro-vapor barrier film or a vapor-tight membrane. This is also necessary because the spring snow will melt, press with its mass on the sheets, and if there is a small crack, it will be able to seep inside. But the film with a protective layer will retain moisture.
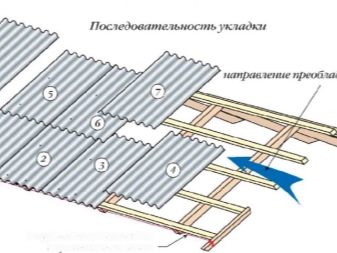
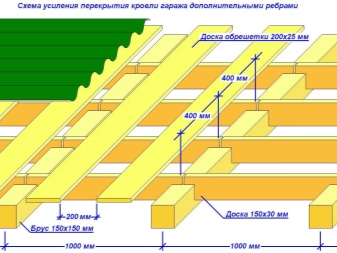
It is important to put a corrugated sheet on a pitched roof with a low slope so that the length of the sheets is greater than the slope. For installation, you should stock up on the following tools:
- electric shears;
- screwdriver;
- roof screws with rubber inserts and hex heads;
- ladder;
- staples, stapler.
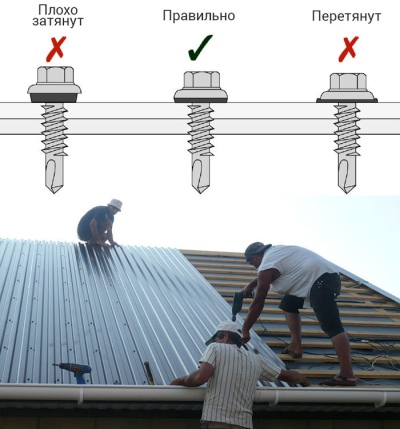
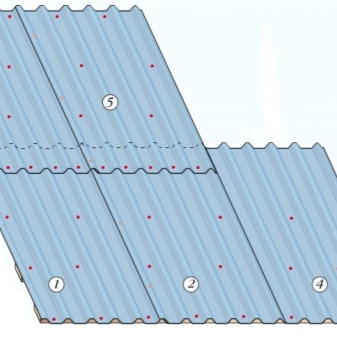
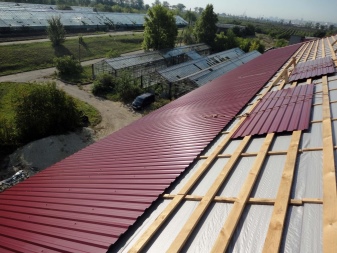
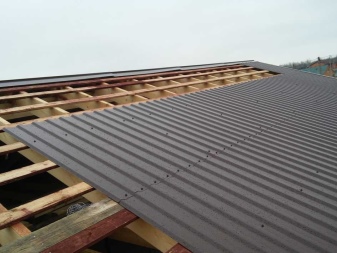
For the installation of profiled sheets, an average of 9 screws must be prepared. The first fastener goes along the top or deflection. Do not tighten the fasteners too much, but you should not loosen them either. We attach one screw per deflection to the first rail. On the second - 2 fasteners, alternating after 2 deflections. On the third - 3 through 2, and on the fourth - 4 screws over the entire area of the sheet. Laying is done vertically butt to the size of the wave. But at the walls, the joint should be at least 15 centimeters, inserting the fasteners into the cavity.
Recommendations
During the workflow, it is worth taking advantage of some professional advice.
- The thickness of the sheet creates the reliability of the structure, but the load on the structure also increases. Therefore, such nuances must be foreseen in advance with the help of a heavy roof and powerful rafters.
- When building, choose a middle ground between quality and price. An expensive auxiliary building may not justify the cost of it.
- It is necessary to pay great attention to waterproofing vapor. This applies to buildings in any region, because somewhere there is a humid climate, sea air, snowy winters, and there are record-breaking regions for rainfall.
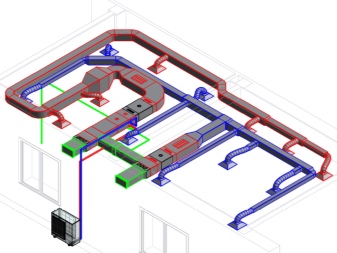
- Take care of the ventilation system, otherwise not only the roof, but the entire structure will soon fail.
Laying corrugated board on a pitched roof is not such a difficult process. It is important to carry out the correct calculations, choose the right material. Then everything will work out even for a beginner.
How to properly lay the corrugated board on a pitched roof, see the video below.


The comment was sent successfully.