Fence gate made of profiled sheet
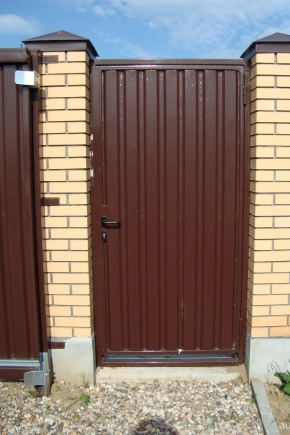
Unlike wickets made entirely of wood, metal models have a service life of tens of years. They do not require complex maintenance, and their appearance is very effective. We will consider other features of gates made of profiled sheet below.
Peculiarities
The metal profile used as the base of the wicket is the most common consumable for fencing a site. At a price, professional pipes and corner profiles are very affordable. The self-assembled gate from metal profiles and corrugated board has other positive qualities in the design of the fence:
- no forklifts are needed: parts and components are welded on site during assembly;
- additional strength is easily achieved by installing stiffening ribs;
- the gate (often together with the gate) is assembled in a fairly short time;
- you can make holes for supporting pillars with your own hands, without a mobile automatic drill fixed on a special vehicle;
- the assembled structure has sufficient stability to prevent strangers and stray animals from entering your territory;
- appearance can be quite personable;
- steel gates and wickets have ceased to be one of the signs of a landlord with a very solid source of income.
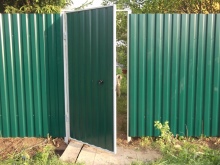
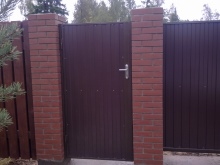
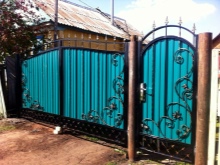
The professional sheet also has negative qualities:
- it is quite easy to cut through or shoot;
- it does not have soundproofing properties: everything that happens in the immediate vicinity of the owner's gate is well and clearly audible;
- butting blows spoil the appearance (in order to exclude damage, some owners put two or three more of the same layers under the sheet of corrugated board);
- galvanized steel, being scratched, immediately begins to rust.
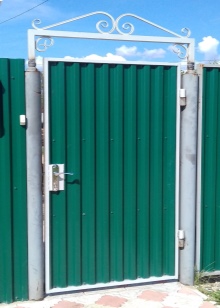
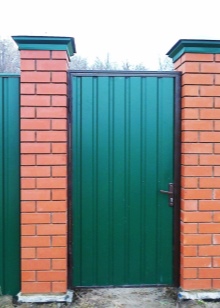
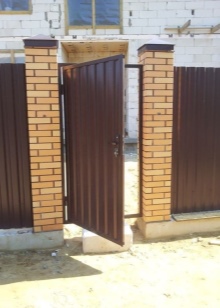
Traces from casually knocking guests, owners who carried bulky things and objects through the gate, as well as careless handling of the gate and gate can greatly spoil the appearance of the fence. Therefore, it needs to be well strengthened. Both the gate and the gate must withstand hurricanes, slanting downpours and hail in strong winds, without loosening a millimeter.
Having resolved this difficulty in the process of calculating the structure, the owner (or a hired master) will order the necessary construction materials and consumables, and then proceed to assembly.
Species overview
Wickets are subdivided into the following types according to the type of execution.
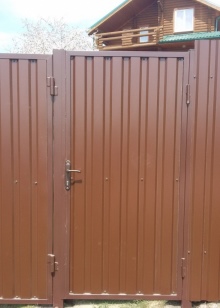
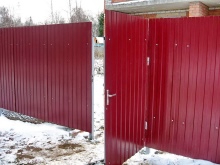
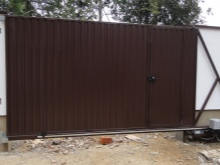
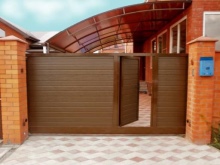
- Opening structure, which is part of the gate. The wicket acts as a fragment of the gate, has an additional lock that does not allow the gate to open completely. You can open the gate itself (together with the wicket), or leave only the wicket open. The foundation of this model is built into the gate leaf. On the one hand, there are hinges on it, and on the other, there are recesses for the lock blockers and the main rod of a separate bolt.
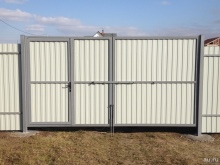
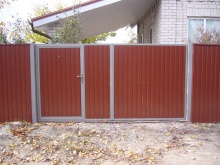
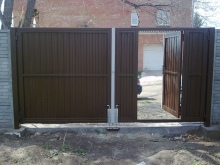
- A structure installed separately, for example, one meter from the gate leaves. Such a gate is cut into the opening specially cut into the fence. The frame base, equal to the width of the wicket, is cut into the fence. The sash, together with the frame, is inserted into this opening, suspended on hinges and locked with locks. The stiffening ribs are part of the fence, not the door leaf.
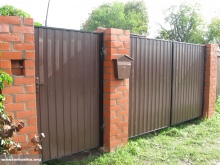
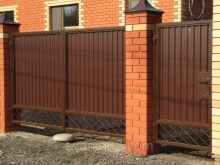
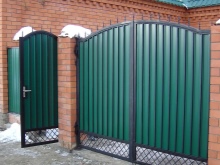
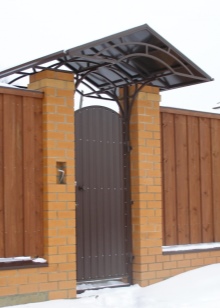
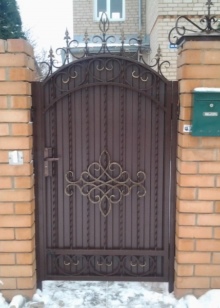
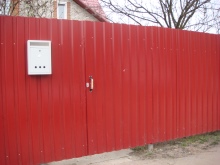
The owner selects the desired option according to the width of the yard, as well as depending on whether there is a gate for the car to enter. A visor, a beautiful forged ornament or a structure hidden in the fence - all these are additional, secondary attributes. A hidden gate looks no different from a fragment of a fence. You can guess that this is a gate, and not part of a fixed fence, by the presence of thin slots, holes for keys and a slot for a mailbox. There may be lights illuminating the courtyard, directed inside the fenced area, the door station of the intercom, etc. The wicket can be sliding: separately or together with the gate.
Choosing a material
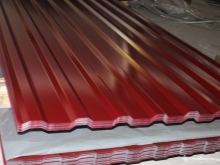
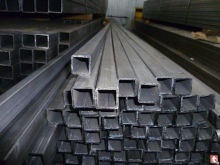
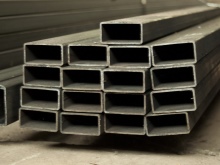
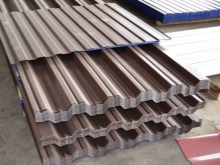
A professional pipe is selected as a supporting structure... The average wall thickness is 2.5 mm. Even a corner or U-shaped profile with walls of similar thickness cannot compete with a professional pipe. The profiled sheet has a length of 6-12 m, and some suppliers cut it into two-meter lengths. The wavelength of the profiled sheet is up to 15 cm, the width is 1-2 m, the thickness of the sheet is 0.9-1.8 mm. Thicker profiled sheets are not produced. If thicknesses greater than 1.8 mm are required, use conventional unzinc coated sheet steel. This was used in the construction of steel garages.
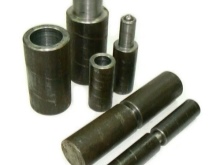
Any garage hinge that can support the gate leaves is suitable as hinges. Experience shows that it is better not to save on the margin of safety: a strong gate, which can be made at home, will serve as a guarantor of reliable protection from uninvited guests. Reinforced hinges should work smoothly, without jamming, like hinges.
However, the owner, who does not have an abundance of extra money, will manage with a simple construction of a corner profile and a single-layer corrugated board.
How to do it yourself?
To correctly assemble and install the wicket, use the ready-made drawings.
Create a drawing
The wicket, as well as the front door, should accommodate bulky cargo: for example, a refrigerator, a sofa and other furniture and household appliances, which many owners cannot do without today. If there is no good reason to open the gate, then the gate must meet the criteria of daily life, without interfering with the owner of a private house, or his family members, or guests.
- The width of the wicket should be with a margin. The standard size of the opening is within a meter. In the open state (excluding hinges and other accessories), the useful distance should be exactly this.
- The height of the gate and wicket must be at least 2 m. Since the corrugated board is a solid overlap, through which any visibility from the outside is excluded, the length (height) of the corrugated sheet, placed vertically, occupies these two meters. Taking into account the cutting down at the bottom, the height of the gate can reach 220 cm.
- The bearing supports of the wicket are buried in concrete to a depth of at least 1.5 m. This depth is suitable for all types and varieties of soil, given its swelling during the period of long frosts. Taking into account the current height of the gate, wicket and fence, you may need sections of a professional pipe with a section of 5x5 cm.The thickness of their walls reaches 3 mm or more. The total length of the pillars for the gate will be 3.7 m. The frame of the gate and wicket is welded from a professional pipe with a section of 2x4 cm.
- Reinforcing struts (diagonals) are located at the corners of the structure, their length is up to 30 cm... They are filed and placed at a 45 degree angle.
- In the middle (at a distance of 1 m from the upper and lower rungs), a horizontal spacer is installed... It can also be reinforced with spacers that form a triangle together with the main crossbeams. As a result, the supporting structure, equipped with a full set of diagonal spacers, can only be crushed by special equipment like a bulldozer.
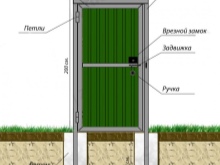
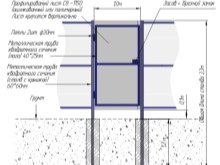
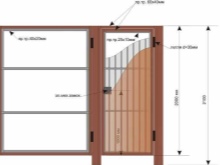
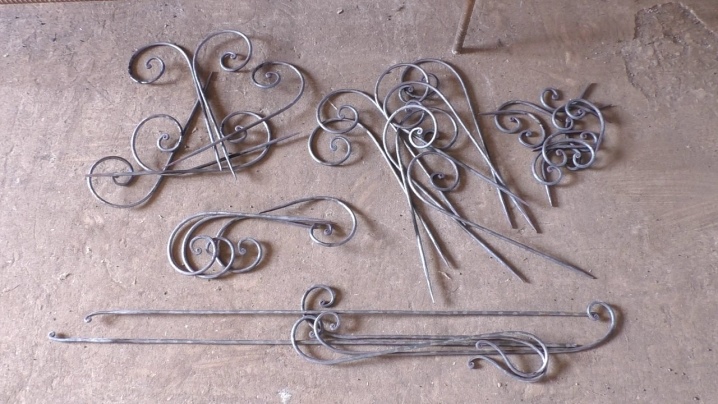
If the wicket is not solid, and its design presupposes the presence, for example, of forging elements, then prepare reinforcing sections with a rod diameter of at least 12 mm.Thinner reinforcement (6, 8 or 10 mm) is not recommended for use. Its staining takes longer, since the rods are located more often due to the pattern of the wickets.
The main goal of the home owner is to maintain the strength of the entire structure.
Installing racks
If the owner of the house has already installed a fence, then the arrangement of the gate entrance becomes a little more complicated, since in this place the existing fence is being redesigned. You need to do the following.
- Temporarily remove one piece of corrugated board, from which sections of the fence are made, covering the territory from the outside view. Also remove the mesh or notch at the bottom at this location (if any).
- Mark with a construction marker places on horizontal rungs fixed to vertical fence posts.
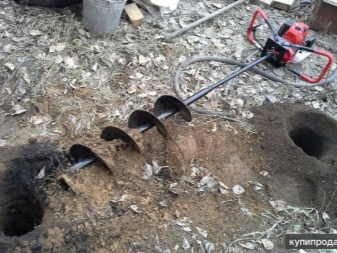
- With a plumb line applied to the points you marked on the rungs, mark other points on the ground. It is necessary to dig holes along them. The fastest option is to use a hand drill on a powerful perforator (from 1.5 kilowatts), to the drill on the concrete of which the drill (knob) itself is welded without a handle. Make sure the drill bit is centered to prevent the tool from wobbling from side to side at higher RPMs.
- Dig holes for the pillars of the future gate... The diameter of the hole is at least 50 cm. The total mass of the pillar and concrete will not allow the former to noticeably squint after several years of active operation of the entire structure.
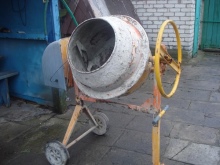
- Dissolve the concrete in the following proportions: 1.5 buckets of cement, 2 buckets of sand, 3 buckets of gravel and the amount of water required to obtain the optimal flow of concrete. It is convenient to knead concrete in a wheelbarrow with a carrying capacity of up to several tens of kilograms (one person can handle this volume). You can also use a mini-concrete mixer: for example, borrow a concrete mixer from neighbors in the village who have already completed construction work.
- Pour half a bucket of sand into the hole: concrete needs a sand cushion. Place the post exactly in the center of the drilled hole.
- Add half a bucket of gravel to the hole or prepare some lean concretewhere the amount of cement does not exceed 10%. After loading gravel or lean concrete, shake the post, making sure it is not off-center. The resulting layers will prevent the main concrete from mixing with the ground at the bottom of the pit. Professional craftsmen also cover the ground in the pit (bottom and walls) with a layer of waterproofing, for example, with plastic wrap from a stack of foam blocks.
- Start pouring concrete in small portions. Slightly wiggle the pole to help the concrete flow downward, allowing any air bubbles to rise to the surface. Using a bubble or laser level gauge, check the verticality of the column to be strengthened, adjusting it if necessary.
- Repeat the production and pouring of concrete until the entire hole with the column installed in it is filled to the brim. Repeat pouring concrete for the other pillar, just as carefully checking its verticality. If there is no access to the level gauge, then it is possible to "aim" vertically at the already installed poles, fences and walls of neighbors' houses, comparing the obtained result and choosing the best location of the newly poured post.
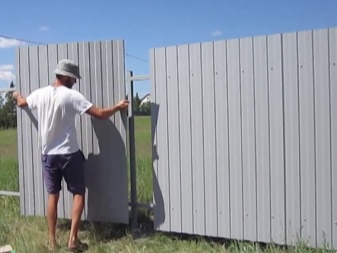
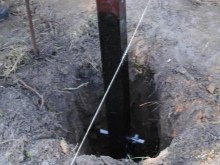
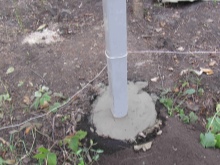
After 6 hours, the concrete will set and begin to harden completely. Water it regularly. In a month, he will gain maximum strength.
Frame installation
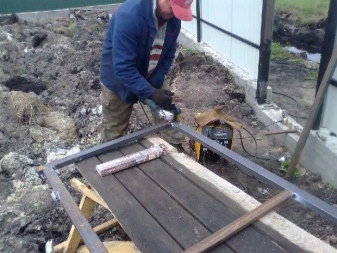
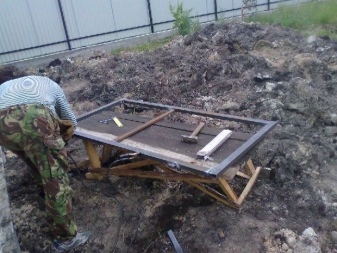
Weld the frame for the gate according to the drawing. Try it on recently concreted posts: it should fit into the gap between them effortlessly. Further instructions are as follows.
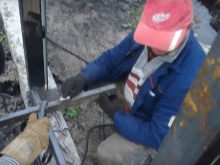
- Mark the seats for the hinges on the frame of the future wicket... Weld them using electrodes with a steel rod (excluding coating), in diameter equal to the wall thickness of the wicket pipe.
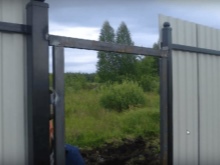
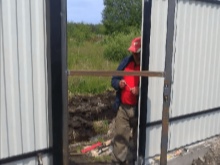
- Using, for example, trimming a lumber, raise the frame of the wicket door to the required height. Use clamps to fix it in the opening between the supporting pillars. Using a level gauge, check the verticality and horizontalness of the structure crossbars.Mark on the post where the hinges will be welded.
- Remove the frame of the wicket door, take it out of the opening. Weld the crossbars that previously held the fence deck to the posts. Make sure that the verticality of the posts is not disturbed. Cut the sections of the crossbars that interfere with opening the wicket (and entering it), grind the cuts with a grinder.
- Install the gate frame in the opening and weld the hinges. Now the gate (without corrugated board) opens and closes freely. Before installing the corrugated board, paint the entire supporting structure with rust enamel.
Sheathing
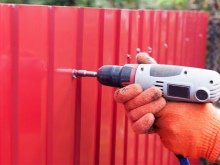
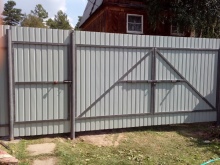
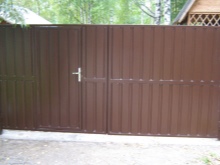
Using professional sheets, line the gate outside. At the same time, its frame will not be visible to strangers. The fixing of the profiled sheets is carried out using self-tapping screws with a hex head or bolts. The height of the profiled sheet should be flush with the gate and fence. Then the wicket, like the gate, will become a secret, invisible at first glance.
Installing the lock and handle
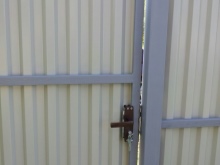
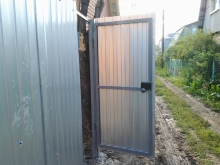
Install a bolt (or latch) that locks the gate from the inside, as well as locks with a set of standard covers included in the kit. Make sure that the structure is securely locked, and that the gate locked with locks and latch does not play. The lock and bolt can be welded or bolted. Sharpen all the protrusions so that they do not interfere with opening and closing the gate, and also do not tear the clothes of the hosts and guests if accidentally touched.
At the end of the work, paint the lining of the locks and the valve itself with the same primer-enamel.



The comment was sent successfully.