How to install "master flash" on corrugated board?
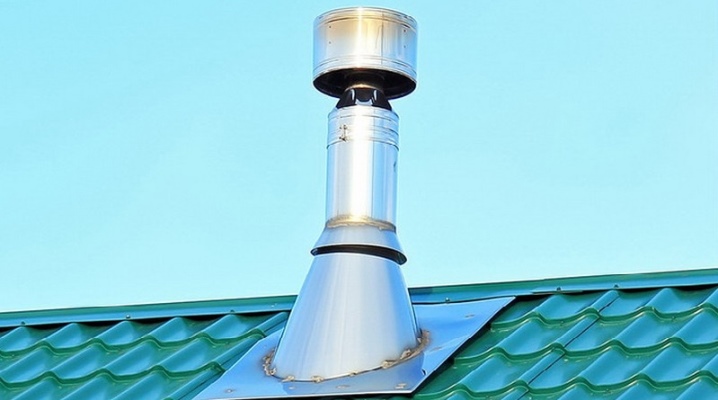
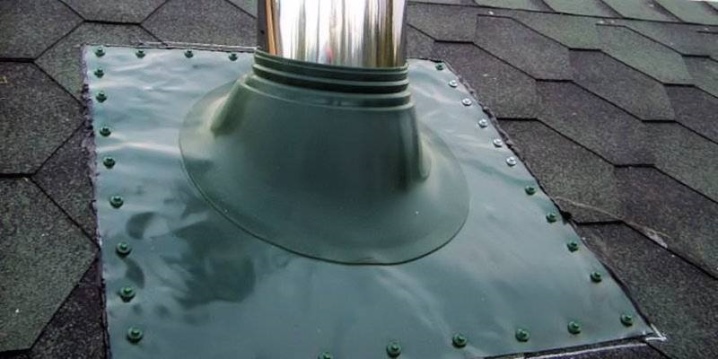
"Master Flash" is a special sealing collar for the chimney pipe, which protects the roofing cake from moisture ingress. It also has other names - "rat", "penetration", "otter".
Why install?
On the roof, where the chimney pipe comes out, a small gap of several centimeters is formed, but sufficient for rain and melt water to get under the roofing cake. Heat and moisture provoke rotting and the appearance of fungus, which has a devastating effect on almost all building materials.
To eliminate the gap, asbestos or bitumen was previously used, all of this was covered from above with roofing material and tin. Sometimes they were filled with cement. Such protection did not last long and was laborious to install.
Installation of the "master flash" on the corrugated board is much easier, and the rat itself provides more reliable protection against moisture penetration.
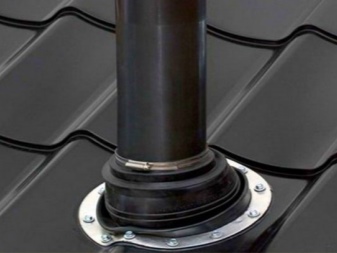
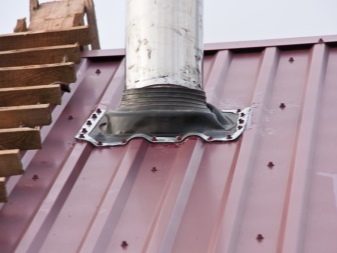
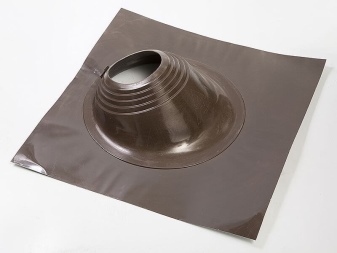
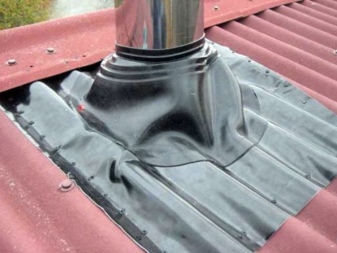
The Master Flush looks like a cone with corrugations and a square or round base (flange). It is put on the pipe, clasping it tightly, and is flanged to the roof. The presence of step rings on the cone makes the penetration universal, as it is suitable for a chimney of any diameter. For corrugated board and metal coverings with ribs, roof models with reinforcing aluminum strips around the perimeter of the base are available.
The "master flush" is made of rubber or silicone. The rubber pad can withstand temperatures up to 100-120 degrees Celsius, so it is more suitable for buildings with gas heating, but is cheaper. The silicone rat is more elastic and resistant to temperature extremes, withstands heating up to 240 degrees Celsius. But it does not tolerate UV radiation well, degrading in the sun. For protection, use special plates made of galvanized steel, which are covered from above.
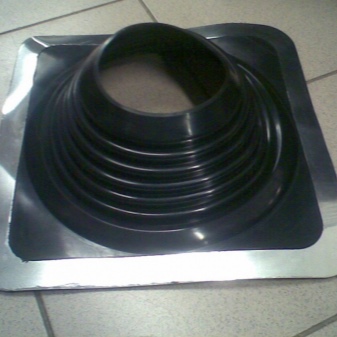
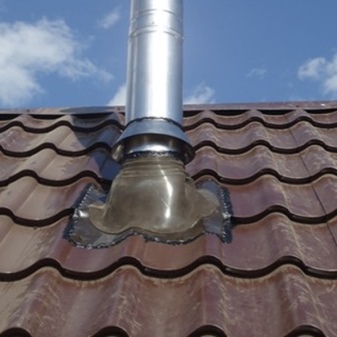
The following indisputable advantages of the "master flash" for protection from precipitation can be distinguished:
- the shape and material allows you to install the roof on any roof, regardless of the number of slopes, angle of inclination and topcoat;
- easy installation, no weather restrictions;
- snug fit to the pipe due to high elasticity;
- not afraid of corrosion, mold and pests;
- low porosity of the material gives high tightness;
- does not require additional waterproofing;
- fire resistance;
- withstands temperature and pressure drops;
- after expansion, it quickly restores its shape;
- long service life (up to 15 years).
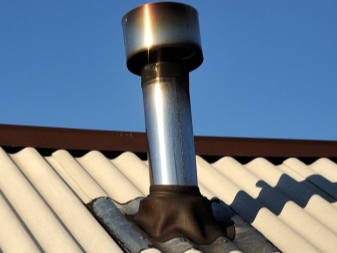
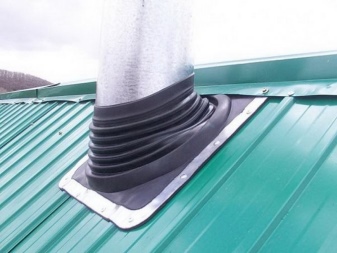
It is also important to note the low cost of the products. Manufacturers produce not only straight models, but also angular ones (30 and 45 degrees), taking into account the different slope of the slopes.
DIY installation
Instructions are always attached to the "master flash". It is so simple that you can do it yourself. All work will take no more than one hour. It is important to remember about safety at height, use a safety rope and protective equipment.
For installation you will need:
- construction scissors or knife;
- silicone glue;
- silicone sealant;
- self-tapping screws with a press washer;
- screwdriver.
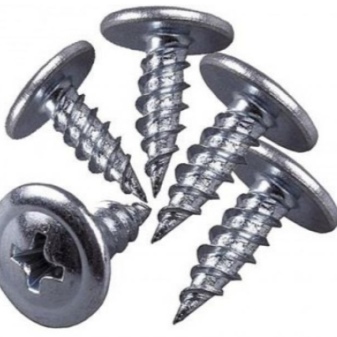
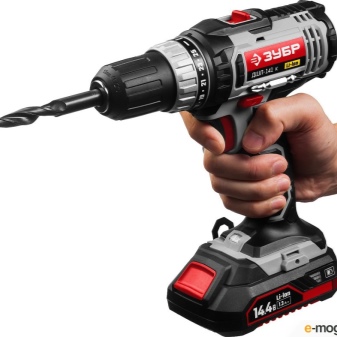
Since the "master flush" will have to be fixed to the corrugated sheet, then a model with reinforcing aluminum inserts on the base is chosen.
- First, the top is cut from the cone, depending on the size of the chimney. The roof diameter should be 20% smaller than the pipe diameter. This will ensure a snug fit.
- Then the penetration is pulled over the pipe. To facilitate sliding, it is moistened or washed in advance. If suddenly the hole turns out to be larger than necessary, the rat cuff can be pulled off on the pipe with a metal clamp.
- Reinforcing aluminum should be bent in advance in order to properly fit the profile of the corrugated board.
- Next, glue the base to the roof surface with silicone glue and press down to grab. Then secure with self-tapping screws.
- At the end of the work, it is necessary to coat all joints with silicone sealant (pipe and base) in order to increase the waterproofing properties. At the same time, the "master flush" itself remains mobile, which will allow maintaining tightness during thermal expansion of the pipe or shrinkage of the house.
- If necessary, a protective apron or plate is put on top.
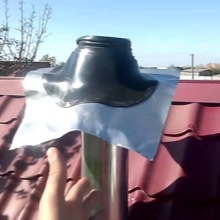
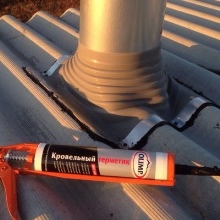
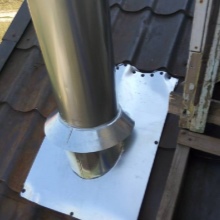
It is important to note that many screws cannot be used. The fact is that any sealant is not eternal and over time will begin to dry out, allow moisture to pass through these holes.
For the same reason, it is better to fix self-tapping screws on the waves of the sheet, and not in the recesses through which rain and melt water flows down.
If heating is carried out with solid fuel, for example, coal, then the smoke temperature can reach 500-600 degrees Celsius. Even silicone cannot withstand such changes. Usually, this problem is encountered with non-insulated chimneys, for example, near baths. The problem is solved by insulating the place of contact:
- for this, a galvanized metal pipe of a larger diameter by 10-15 cm and a height of up to 50 cm is taken;
- the chimney itself is wrapped in refractory material, then the resulting box is put on top;
- at the edges it is tightened with steel clamps;
- now you can install the "master flash".
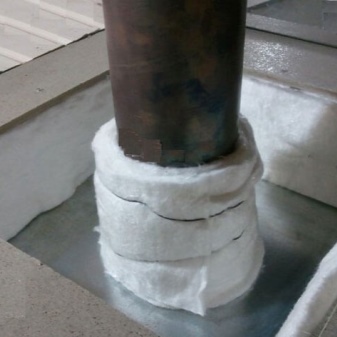
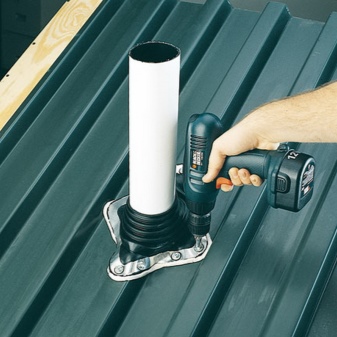
Insulation will protect against high temperatures. The algorithm for attaching to the bath is similar.
Recommendations
- For flat roofs, any master flush with a wide, compacted base is suitable. But for corrugated board, it is always better to choose a more flexible one, with reinforcing elements along the perimeter of the fold due to the high edges of the sheet. A tight base will be more difficult to bend and therefore more difficult to secure.
- For roofs with a 45-degree slope, a roof with a round and square flange is suitable. For roofs with a slope of 60 degrees, it is recommended to choose penetrations with an elastic base, a much larger area, for a better installation.
- If there is no corner "master flush" on sale, corresponding to the angle of inclination of the roof slope, then you can purchase a straight line, but with a larger base area. Due to the flexibility of the material and the corrugation of the cone, the slope will be invisible.
For information on how to install the "master flash" yourself, see the next video.


The comment was sent successfully.