How to cover the roof with a profiled sheet with your own hands step by step?
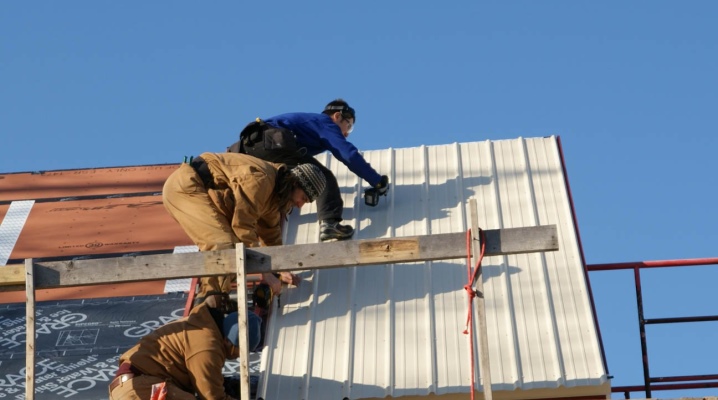
This article describes step by step how to cover the roof with a profiled sheet with your own hands. The characteristics of the installation of additional elements and the laying of sheets are given. It is indicated how to correctly attach the corrugated board, and what safety rules must be observed during work.
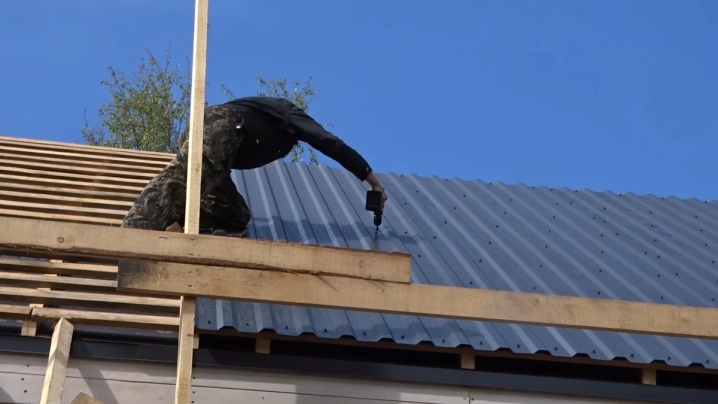
What tools are needed?
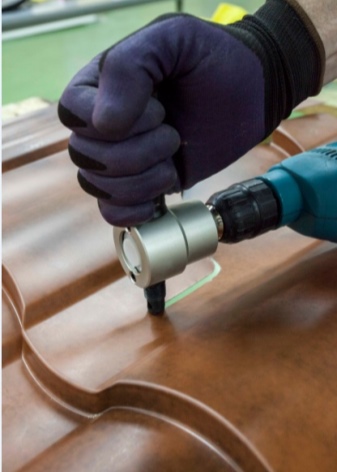
Installing fasteners for roofing sheeting with hands and hand tools is very long, tedious and simply ineffective. Absolutely all professional builders and repairmen use another means - special devices. It will not be a mistake to believe that in private practice, too, they will be the best choice. It is advisable to use an electric drill without adjusting the torque.
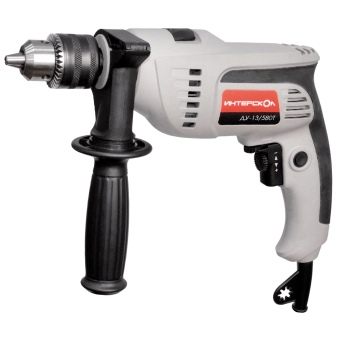
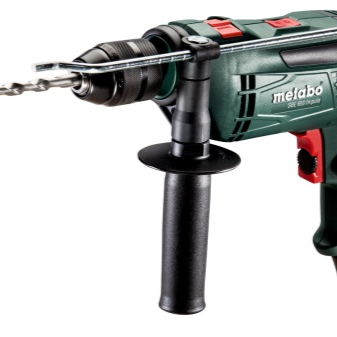
The rotational speed of the screwdriver chuck (if used) should not exceed 1500 rpm.
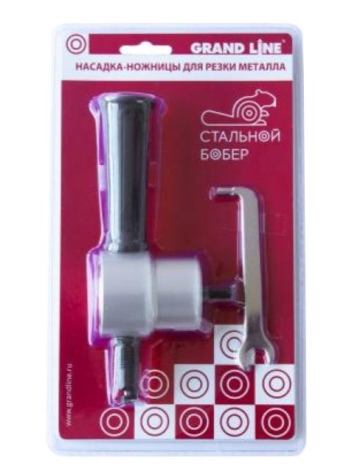
In some cases, steel beaver drill bits are used. The cut should be done with hydraulic rather than manual shears. Then there will be less wear and tear and the risk of violation of the geometry of the products, the cuts will be smoother. The installation of the lathing is carried out using those tools that allow you to fasten the selected type of hardware. But before attaching the corrugated board to the roof, it should still be correctly ordered.
Material selection
Choosing the right corrugated board simply by its appearance is an idea so seductive, so meaningless. All knowledgeable people unequivocally assess, first of all, the rigidity of the material used. It is she who speaks about how durable and reliable it turns out to be. And it is most convenient to judge the rigidity by the height of the profiles. The larger it is, the stronger (but also more expensive) the material will be.
Of course, it is better to choose for the house those sheets that correspond in length and width to individual elements of the roof or are multiples of them. But this is not always possible, therefore, in many cases, the most correct solution is to use the closest to the most suitable option available.
It is not recommended to take a sheet that is too thick: it will put strong pressure on the rafters and walls, and no increased strength can justify this problem. The front layer deserves special attention: from very cheap, but short-lived galvanizing to expensive and long-lasting plastisol and pural.
As for the marking of the "wall", "bearing" and so on of the profiled sheet, this is not too important. The ability to withstand the resulting loads and the overall weight of the material play a much more important role. Their suitability for roofing works in a particular case depends on them. It is undesirable to buy finishing corrugated board in small firms and shops; it is more correct to contact the manufacturers directly.
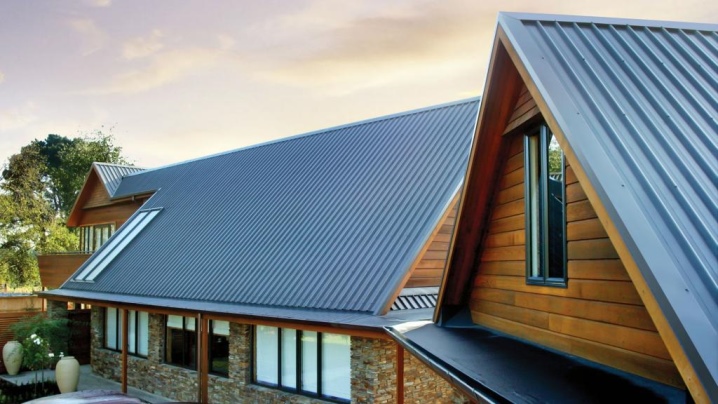
If the sheets are coated with zinc, you need to look at the quality certificate to see which processing method was used, and how much zinc was applied.
Payment
It is a mistake to believe that it is not so difficult to calculate the number of professional sheets. The necessary parameters are entered into online calculators and an addition of 10-15% for own and production defects. Then it turns out that there is either not enough material, or, on the contrary, there is a lot. This is because it is normal to calculate the need for a professional sheet differently. All calculations on calculators - whether ordinary or online - are inevitably approximate.
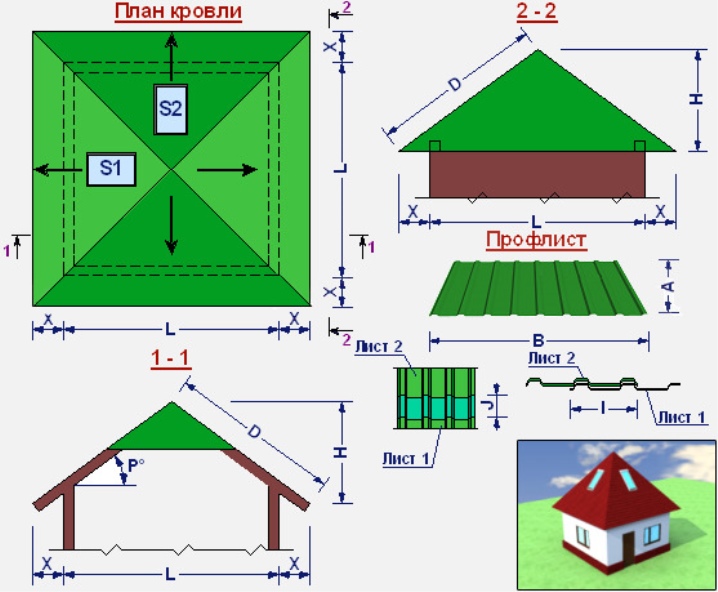
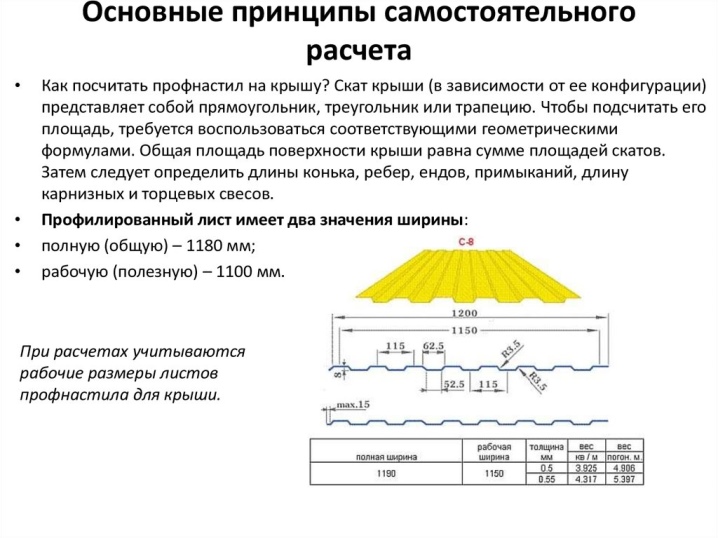
Therefore, it is highly advisable to contact a specialist. This is useful even if the geometry seems simple, and there are no kinks, violations and deviations from the usual form. It is also necessary to take into account the size of the wave for the selected type of sheets. The more valleys, the higher the probability of errors, and the more waste appears, even with accurate calculations and flawless work. In order for the same calculators to give a forecast that is closer to reality, it is necessary to indicate not the total, but only the working dimension of each sheet.
Laying steps
Base and waterproofing
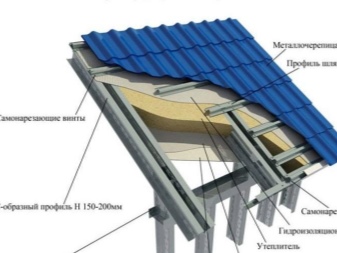
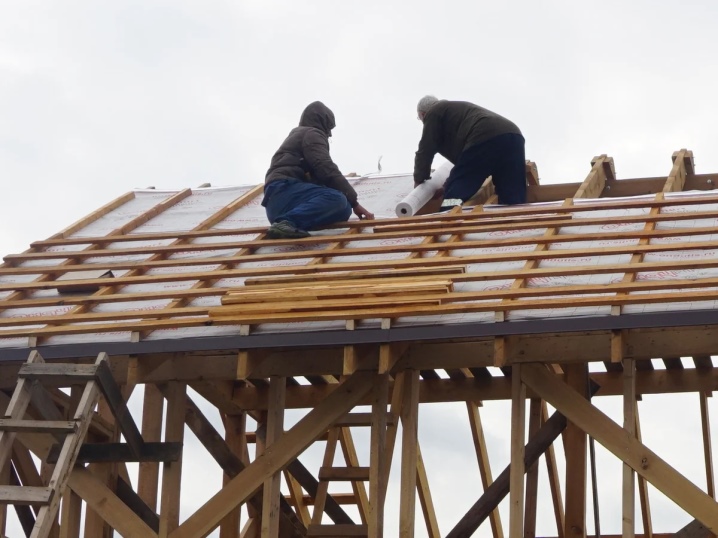
Even in areas with a relatively calm climate by Russian standards, it would be very rash to cover the roof with a profiled sheet with your own hands without waterproofing work. Pretty soon, this generally hardy material may fail, and even then it will only be left to bitterly regret his act, about wasted money and time. Boards must be treated with an antiseptic. To make repairs correctly, waterproofing and vapor barrier films are additionally used. It is the film materials, in view of their special convenience, that should be preferred over all other options.
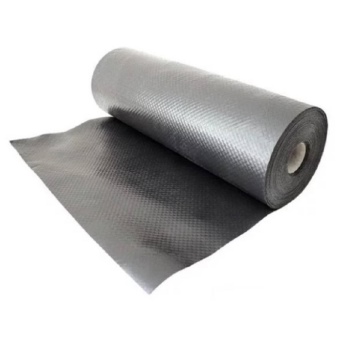
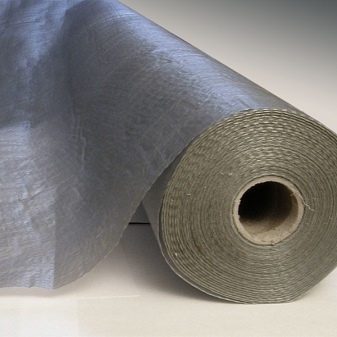
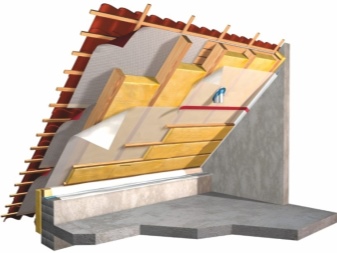
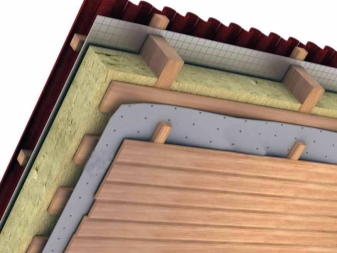
All heaters should be covered with a waterproofing layer, even those that are not too afraid of moisture. This makes it safer and safer. The choice of an expensive membrane or a simple barrier film depends solely on the construction or renovation budget. With a skillful approach, you can count on a stable water protection service for many years. Be sure to also look at which side to put the vapor barrier: it is an error with this moment that often responds with unpleasant consequences.
Completions and end boards
The number of additions, without which it is impossible to characterize the procedure for arranging a roof from a profiled sheet, include:
-
droppers;
-
ridge strips (responsible for protecting the skate);
-
end strips or boards;
-
cornice strips;
-
indoor and outdoor corners;
-
additions of ends;
-
snow arrestors (preventing the avalanche collapse of accumulated snow drifts).
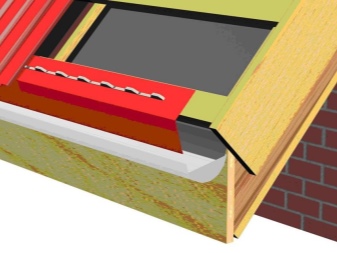
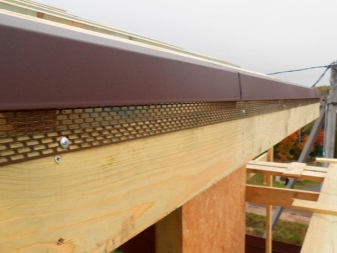
Fastening the drip is made primarily in comparison with other elements of the add-on. It absolutely lies down on any private house where a drainage system is not provided. Endows are mounted exclusively after treatment with an antiseptic mixture. The cornice strips can be either straight or curved. The choice of a particular design scheme is primarily associated with the preferences of the owners themselves.
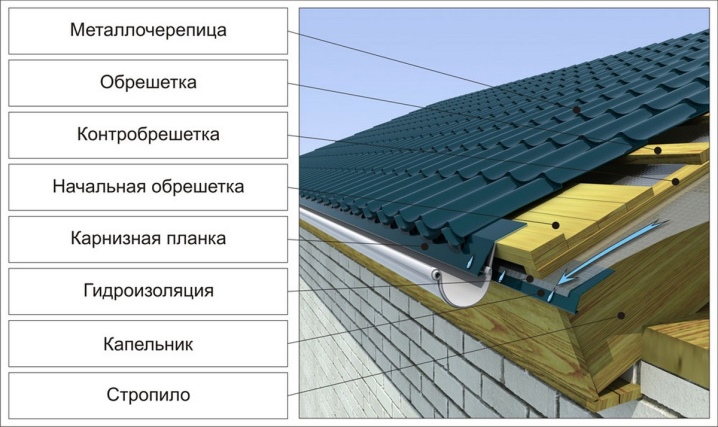
Cornice strips are mounted using self-tapping screws or special shaped nails. The width of such an element should be slightly larger than that of the cornice itself. Despite the reliable cover, the tree on it is supposed to be impregnated with antiseptics. Practice shows that ignoring this rule only turns into additional problems.
Important: the protective film must be removed from the metal; leaving it means not only not providing "increased protection", but also creating additional problems.
Endowments are placed only after checking the accuracy of the geometry. The slightest mistakes and distortions are unacceptable. Wooden parts are treated with an antiseptic. Under the valley, as well as under the corrugated board itself, a waterproofing layer is mounted. The lower bar is placed from the bottom up.
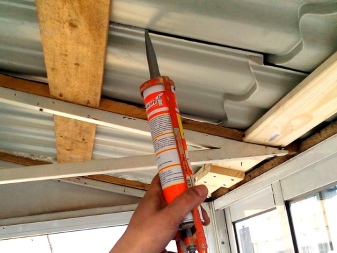
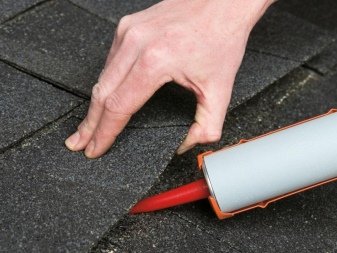
In this case, the size of the overlap is 10-20 cm. Any points of contact with other parts are covered with sealant. Only after that do they proceed to the installation of the upper bar. Installation is carried out strictly with roofing screws, which have a special rubber gasket. All areas where additional leaks are likely are again treated with sealants.
Installation of sheets
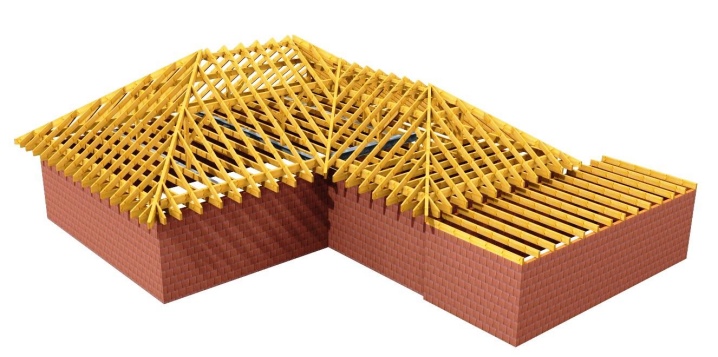
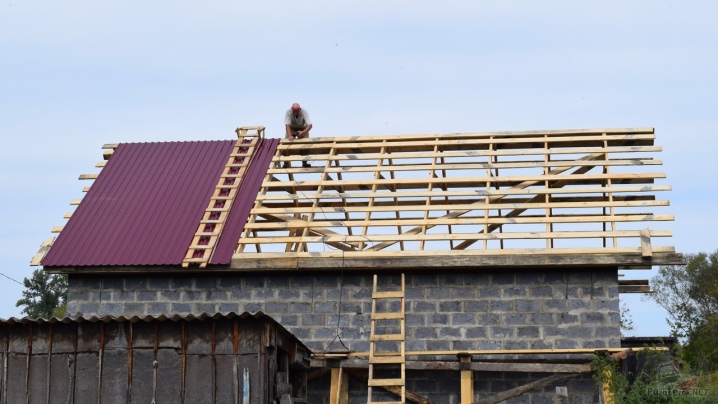
Before laying the corrugated board, it must first be lifted onto the roof. And this should be done as carefully as possible: although the metal seems strong, its damage is very likely.Roofs of any kind, regardless of the number of slopes and their slope, should be covered from the end in a clearly selected direction. Hip roofs are equipped from the middle longitudinal axes of all hips. In order for the first sheet to lie flat, and the subsequent ones also do not deviate from the required geometry, you need:
-
attach them all at first to one hardware;
-
align horizontally along a strong cord pre-stretched along the eaves;
-
and only then put the roofing elements completely.
The three-block installation method is recommended for profiled sheets that are not equipped with capillary grooves. If they are present, the four-block installation technology is preferable. The three-block scheme is as follows:
-
put a couple of sheets on the first row;
-
trim them strictly along the cornice;
-
temporarily fixed;
-
lay out the first sheet on the second level;
-
fasten the entire block completely;
-
mount the following sheets in a checkerboard pattern.
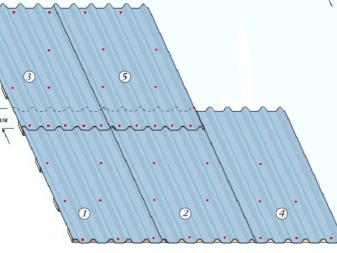
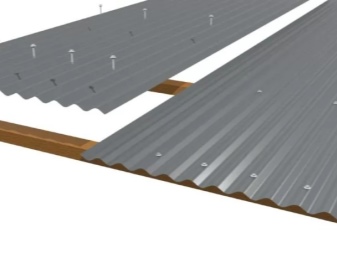
The four-tiered approach implies that they will be installed in stages:
-
1st part of 1st tier;
-
1st part of the 2nd tier;
-
the second sheets of both tiers (then, after checking, they will have to be screwed onto the screws completely, and then go to the next same layout block).
To do everything correctly, you also need to carefully connect all the sheets together. It makes no sense to set a certain universal standard for overlap: in each specific case, it is determined by the characteristics of the roof and material. The overlapping of the extreme wave is unacceptable for any type of connection. It is advisable to put thin profiled sheets on a solid crate. Otherwise, there can be no talk of the safety and stable operation of the roof.
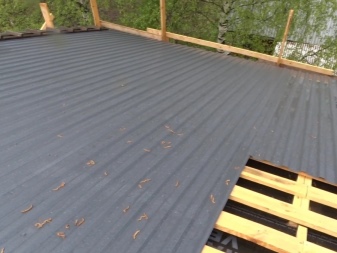
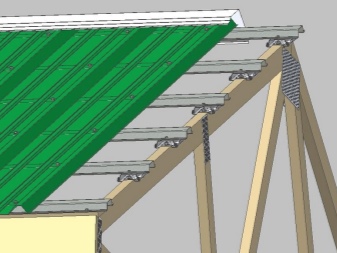
Sometimes you have to design a roof with a slight slope. And in this case, a natural question arises - is it possible to use a covering from profile sheets, in general, or is it better to use a different option. SNiP removes all disputes and discussions on this topic: it clearly states that it is necessary to take a professional sheet only if the slope is 8 degrees or more. In all other cases, the resulting load when the snow cover appears can be fatal. In this case, the instruction says that the step of the crate at the lowest possible slope is 40 cm.
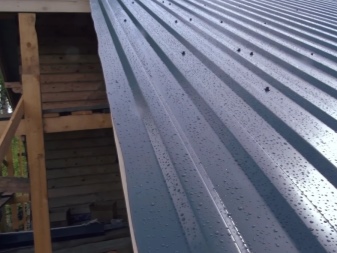
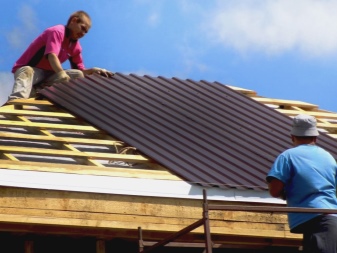
But that's not all. The "8 degree rule" covers only minor outbuildings. In residential buildings, the minimum permissible rate is 10 degrees. As for the practice of professional builders, they undertake to fix and join the corrugated board only on roofs with a slope of at least 12 degrees. Of course, putting it on a flat roof is out of the question.
When filing corrugated board in a private house, it is very important to bypass the chimney. For waterproofing the smoke channel, aluminum flanges are used. The docking block is made of silicone or plain rubber. Brick pipes are sheathed with a layout of clinker bricks. Then a plaster mixture is smeared on it, or moisture-resistant sheet material is attached.
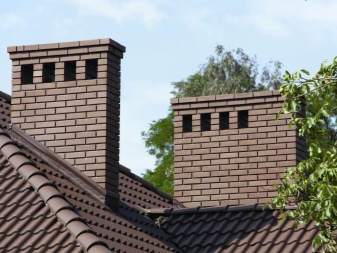
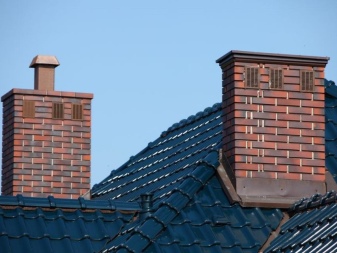
A channel is made in the roof, the size of which is determined by the norms of a fire break. You can even do a little more - there will be no harm, only benefit. The pipe is sheathed, forming a box of the same corrugated board or steel with a zinc layer. The optimal width of the strips is 10 cm. When the roof slope is over 30 degrees, water drainage must be provided, it is better to work this out right away in the project.
Installation of finishing extensions
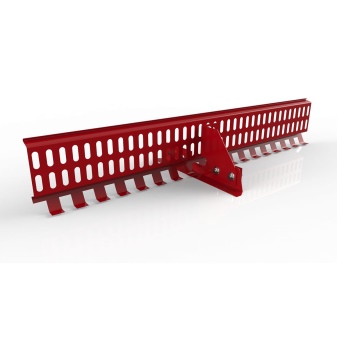
It is quite possible to install a snow holder on your own on a roof made of corrugated board. It is recommended to use its simplest tubular format. It is he who, according to experts, is the most effective. More expensive and sophisticated devices often lose out to this simple device. Fastening is done with simple metal screws.
Recommendation: it is more correct to select a snow holder that matches the color of the base material.Then it will not stand out, and design discrepancies of any kind are also excluded.
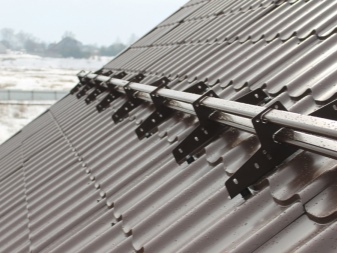
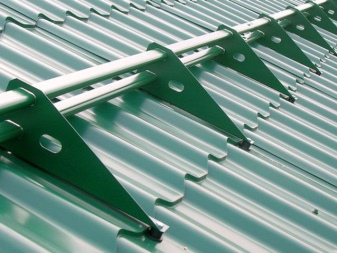
The lower part of the block must be fixed to the cornice. This should be done strictly at the level of the load-bearing wall. It should be borne in mind that devices called snow stops are not designed to hold a large amount of snow, and should be discarded in places with significant precipitation in winter.
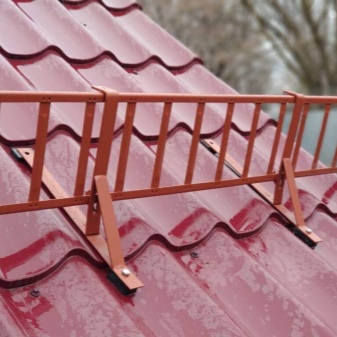
Lattice snow guards have the advantage of blocking even small pieces of ice. However, this solution can only be used on a roof with a high load-bearing capacity. The point is both in the significant mass of the grate itself, and in the fact that quite a lot of snow will accumulate. Plate systems are lightweight and cheap, but they are unable to withstand high pressure and are unsuitable for installation at a slope of more than 30 degrees. The same profiled sheet is taken as the basis of the plates.
Regardless of how things turn out with the choice of the type of sheets and snow holders, it is also very important to fasten the ridge. This is also not the most difficult work that can be done alone, you just need to take into account all the nuances. You can work only after the installation of the entire flooring has been completed. Reliability of fixation is provided by additional bars added to the general crate. Even before attaching the ridge, you need to check the evenness of the bar.
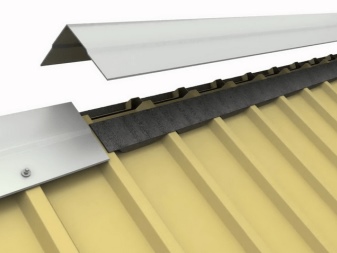
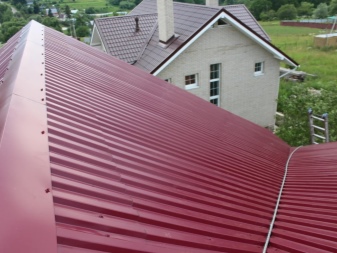
As always, a laser rangefinder will be a faithful assistant in this matter. It is also possible to take the hydro level, but in this case the magnitude of the error is critical: redoing the roof is not like re-gluing wallpaper. They work from one edge of the rib, orienting the laying against the prevailing winds. It is recommended to install the seal on the ridge strip. The necessary ridge elements are placed longitudinally in relation to the rib with an overlap of 15-20 cm.
Possible mistakes
These misses are as follows:
-
incorrect selection of the sheet size;
-
use of self-tapping screws without rubberized plugs;
-
incorrect calculation of loads;
-
illiterate drafting of the project (or even its complete absence);
-
cutting sheets with angle grinders and other abrasive tools;
-
improperly executed lathing (under the corrugated board, it should be different than under a soft roof or slate);
-
rejection of vapor barrier;
-
confusion with the sides of the insulating films (preventing them from performing their functions);
-
violation of the tightness of insulating barriers (when they are punctured or broken through during careless work);
-
lack of insulation;
-
admitting cold bridges;
-
ignoring the arrangement of ventilation under the metal sheet (interfering with the normal exhaust and full circulation of air);
-
too powerful or too weak screwing in the screws;
-
nailing the corrugated board with nails.
Safety engineering
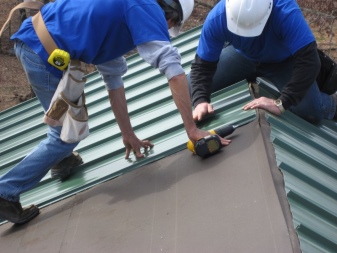
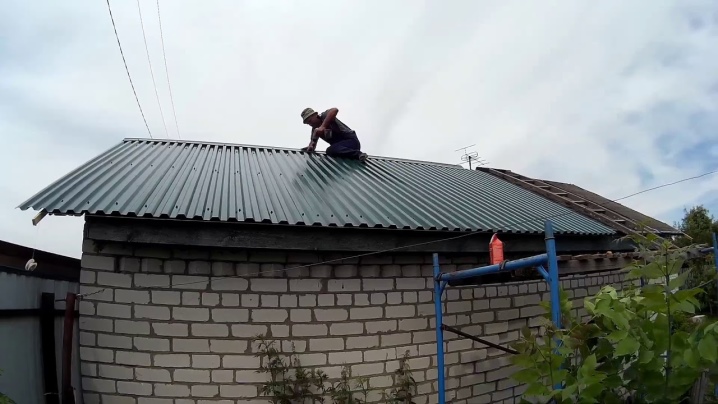
Of course, there can be no talk of any work performance in damp, windy and even more thunderstorm weather. It is worth remembering that the corrugated board has sharp edges. It should be kept only in cloth or other durable gloves. The cut pieces can fly off to the side, so the use of protective goggles is imperative. It is useful to lift the sheets up one at a time to prevent damage to them when they touch each other.
It is not recommended to walk on corrugated board. If it is necessary to step on it, use soft shoes that do not harm the material. It is imperative to tie up and apply protective belts on a high roof. But for obvious reasons, it would be useful to do this even when arranging a roof on a one-story private house. If possible, you should work together, mutually insuring each other.
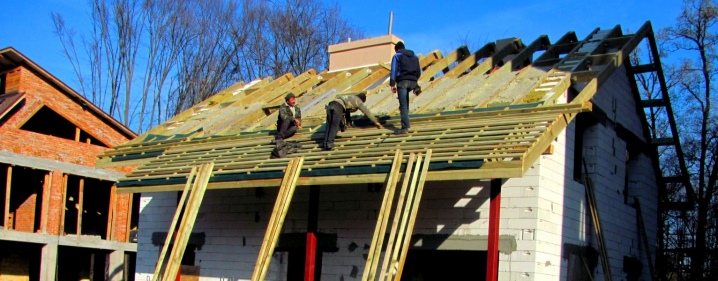
It is strictly forbidden to work on the roof while drunk, in case of any ailment or feeling of unhappiness. Clothes should be strong, tight, and it is very important that they do not snag on anything. All movements should be as free as possible. Care must be taken to ensure that the location of materials and tools does not pose a threat to workers.The stock should be done on the ground, and at the top it is better to keep only what is needed at the moment, in extreme cases for 15-20 minutes of work.
All work that can be done on the ground must be done on the ground. The serviceability of the stairs and their bearing capacity should be constantly monitored. It is useful to clarify in advance the location of all points of entry of electrical wires, their location under the roof. All such places should even be marked with signs so as not to get there with a self-tapping screw or not to get hit for another reason. It is highly undesirable to undertake self-repair of the roof at the age of less than 18 and more than 55 years; the best thing to do then is to spend the money on hiring an outside crew.
With a roof slope of 16-20 degrees, it must be equipped with a railing. When stopping work for lunch, for any other reason (especially at night), you should put all materials down or securely fix them. If you have to work at a height of 5 m or more, it is imperative to use metal stairs with enclosing arcs. If possible, you should avoid working with corrugated board at an air temperature below +10 degrees. It is impossible to work at negative temperatures, in general.
Additionally follows:
-
carefully inspect the entire roof before starting work and after each break in them;
-
carefully monitor every step;
-
de-energize the power tool at any interruption in work;
-
if part of the roof extends beyond its own site, put a fence and warning signs in the danger zone;
-
stop work in fog, poor visibility;
-
monitor the serviceability of the insulation of the wires supplying the power tool.
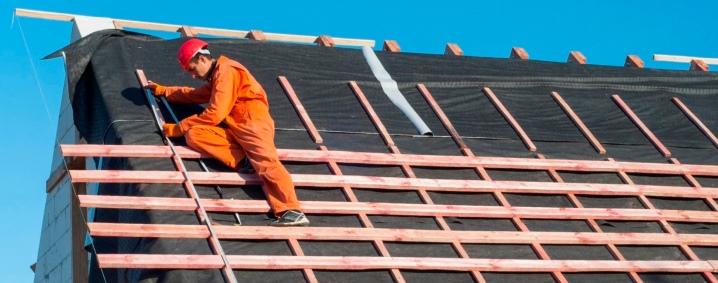
How to cover the roof with your own hands, see the next video.


The comment was sent successfully.