All about connecting a monitor to a set-top box
Television has long been one of the main, if not the main technical means in almost every home. But even the television industry is making big strides forward - digital television, Internet television, various new formats have appeared, which give even more multimedia opportunities. For this reason, technology sometimes does not keep up with progress, and you don't always want to buy a new TV for the sake of some function.
Then you need to try to make a TV using a monitor and a set-top box. Let's try to find out what it is, to understand what it takes to connect a monitor to a set-top box and how to do this using various connectors with our own hands.
How do I check compatibility?
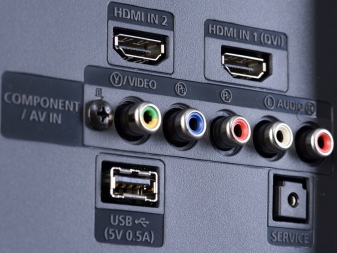
It should be understood that having an LCD monitor from a computer, cables and the TV set-top box itself will not be enough to simply make a device for watching TV. The fact is that all of these elements must be compatible so that they can be connected to each other. The essence of testing will be that you need to check the presence of the appropriate connectors, depending on the type of connection you have chosen on the screen and on the set-top box.
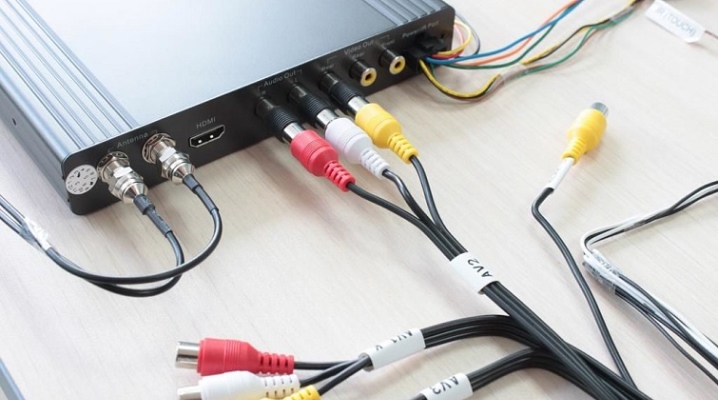
The main problem may be that you have either an old monitor or an old tuner in stock. Because of this, devices can have completely different ports and it will be almost impossible to find even one common one. Then it will be possible to purchase such a thing as an adapter. Usually, with their help, it is possible to connect the monitor to a digital set-top box such as DVB T2. This adapter also allows you to connect SCART and VGA connectors and any others. Naturally, there will be no inconvenience at all if you have a monitor and a receiver that were released in about the same period. Then, with a fairly high probability, we can say that approximately the same connectors will be installed in technology. Therefore, before connecting the tuner to the monitor, you should think about which interfaces you will use to implement the connection: through tulips or something newer.
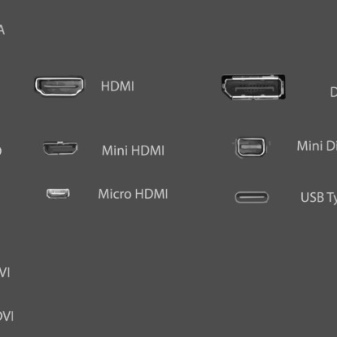
It should be taken into account that not all connectors can simultaneously transmit audio and video. The best option then would be a connector called HDMI. And the easiest way will be to buy in a specific case, if necessary, a computer adapter to connect to a monitor from a PC.
How to connect?
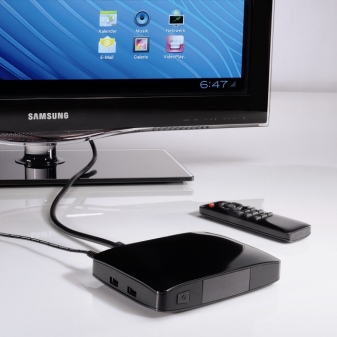
If there is a free PC monitor available, and you just want to buy a set-top box, then you can opt for a hybrid version of the digital tuner that is equipped with HDMI and VGA connectors. If so-called tulips are also present in the design, it is possible to connect speakers there. But then you are really very lucky, because in front of you is a universal solution that is compatible with various types of television equipment. But this does not happen very often.
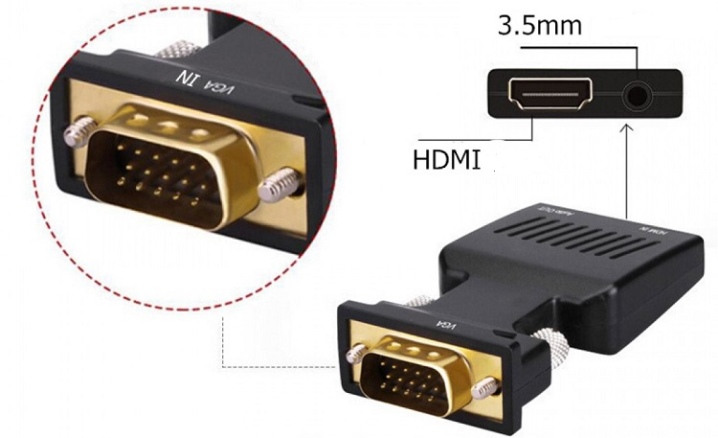
More often, there is a situation when a connection scheme is implemented in practice, where the interfaces do not match. Then you can purchase special adapters, which can be found in any store that specializes in the sale of electronic devices or on Chinese online sites. By the way, even very specific and unexpected combinations of adapters can be found on the latter. And a number of converters are generally full-fledged devices that have a special board inside that requires electricity to work.And others have a different feature - a separate audio signal output using a special additional wire.
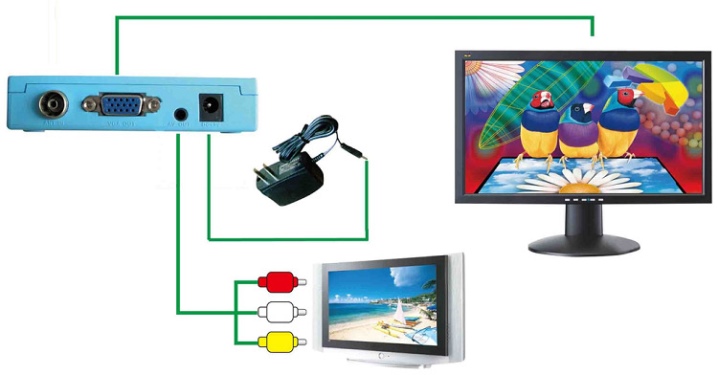
Another method that will allow you to connect a set-top box to a long-standing monitor is the use of YPbPr or SCART jacks, which can work with an analog signal. But then you need to have an AV to VGA signal converter handy. Consideration should also be given to the length of the connection cable. It should be remembered here that the length of the antenna wire has a significant effect on the signal attenuation. And for cables that act as a connection between displays and a T2 tuner, there are certain standards:
- VGA - no more than 300 centimeters;
- DVI - no more than 10 meters;
- HDMI - no more than 500 centimeters.
If, after connecting all cables and connecting the devices to the power grid, the display is empty or an error message appears, this means that one of the devices is not working correctly, or the cable used in any area is not suitable.
VGA
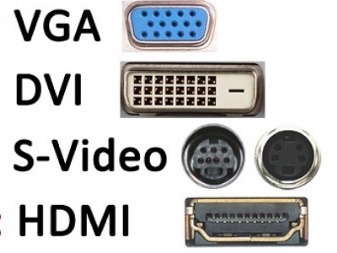
If we talk about the VGA input, then it provides image transmission to the monitor from external devices. Basically, the previously described type of connector was used to connect a monitor to a PC, until it was ousted from the market by newer HDMI and DVI connectors. This type of interface will be in demand among the owners of equipment, which is already seriously outdated. This will be the main advantage of the VGA-connector - compatibility with old equipment models.
HDMI
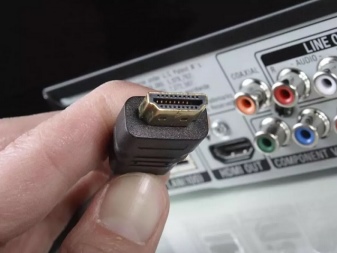
HDMI is the most popular option today. Almost all new devices that are connected with audio and video streams are equipped with it. It maintains the high quality of the transmitted information. Its strong point is that it allows the transmission of not only video, but also sound simultaneously without any delays.

USB
This connector also belongs to the category of multifunctional, because it is installed in equipment of a wide variety of purposes: flash drives, smartphones, MP3 players, cameras and webcams. The data transfer rate in this interface will depend on which version of the interface is used - 2.0, 3.0 or 3.1.
Naturally, the higher the version, the better. Almost all modern versions of receivers have an interface version 3.0, like TVs. True, the interface in question cannot be used to connect a monitor, because there is no possibility of image transmission here. True, you can connect speakers through it.

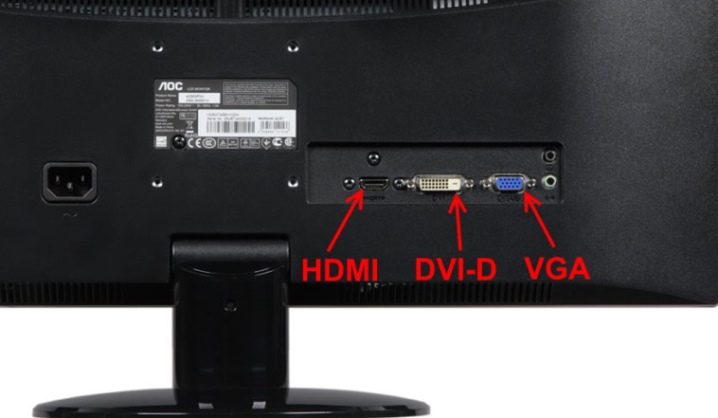
DVI
The DVI-type connector is a slightly modernized version of the VGA standard, but this interface makes it possible to carry out exclusively video transmission. But to transmit sound, you will need an additional cable and connector. Ports such as DVI and HDMI are considered to be mutually compatible, allowing the user to combine them to achieve both audio and video transmission.
Naturally, to implement this task, you will need to use special adapters.
How to setup?
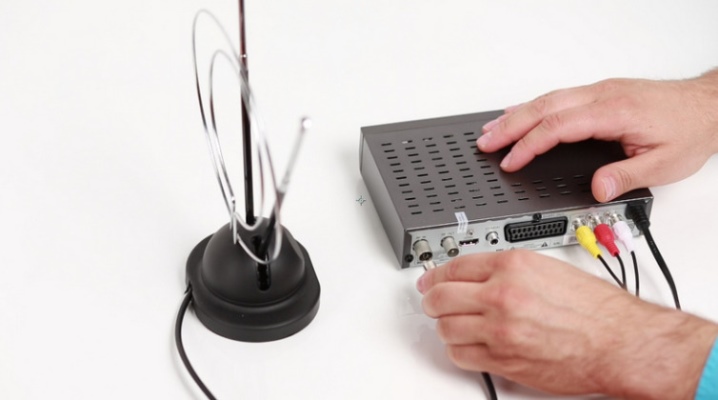
Now let's try to figure out how to set up the connection of a monitor and a set-top box so that you can use them as a TV. Let's consider this process step by step. The first step is to connect the set-top box to a TV-type signal source. This can be done in several ways, depending on the characteristics of the equipment used:
- we connect the purchased external type antenna to the corresponding connector;
- if a Smart set-top box or a cable device is connected, then the Internet cable should be inserted into the Ethernet or LAN connector.
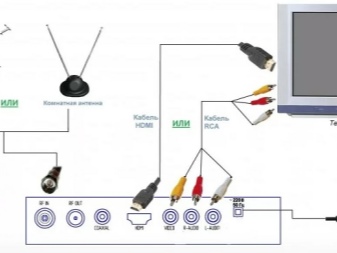
At the next stage, depending on the type of cable used - HDMI, VGA or DVI, you should connect the video outputs of the monitor and the set-top box. If you are connecting an older model monitor, you can use three color cables, and sometimes six. They are also called "tulips".Each cable should be plugged into a connector of the corresponding color.
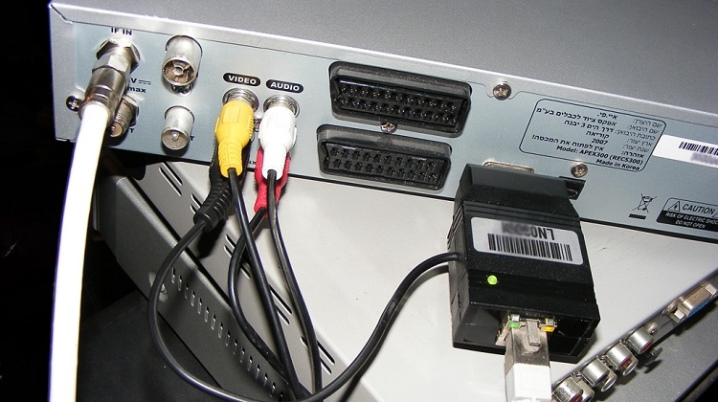
An important point should be mentioned here - in order to realize the capabilities of composite cables, they are connected to a set-top box, which has appropriate connectors. At the third stage, you need to connect the power cable to the set-top box, and then plug it into the power grid. After that, you can see the welcome menu on the monitor display. But further settings are reduced to a specific device model. But generally speaking, we need to select the appropriate TV signal source.
When it is selected, press the OK button to switch the monitor to this mode. You may now see an image, which, however, is highly likely to display incorrectly or flicker. This is fine, as there are some adjustments that need to be made. If there is no image on the monitor, then there are only 2 reasons for this.
The first may be that the monitor simply does not support HDCP. If the compatibility check was skipped or carried out incorrectly, then, with a high degree of probability, this may be the problem.
The second reason may be a malfunction of the adapter or the cable itself. If possible, you can try replacing the cable or connecting to a different monitor. If changing devices helped, then you will need to buy a new cable or use a different monitor. Now let's go directly to the setup so that the device is displayed as correctly as possible. First, open the settings of the set-top box, after which you should find the item "Screen settings". In set-top boxes that run on the Android operating system of various versions, this item is located in the "Settings" section in the "Screen format". If the interface of the set-top box is made in English, then you should find the Display Settings item.
Now you should select the "Refresh rate" item. Typically 50 Hertz is the standard value. But the problem is that it often causes unpleasant flickering or screen flickering. In our case, we need to change this value to 60 Hertz. You should also select "Screen Resolution". You can find out what resolution your monitor has on the box from the device or in the instruction manual. If you do not have them, then you can find the ideal resolution for your display using the elementary selection method. This completes the setup and allows you to enjoy your TV picture on your monitor.
Summing up the above, it should be said that connecting a monitor to a set-top box can be called a fairly simple process that can be carried out even by a technically inexperienced person. True, it is still necessary to have some technical knowledge. We are talking about exactly what connectors, cables and adapters exist.
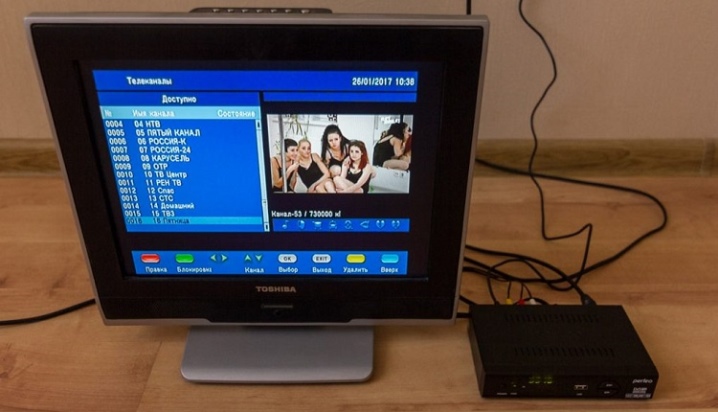
In addition, you should know which connection interfaces the equipment supports, what you have available, understand the settings and features of the existing equipment. In this case, it will be possible to connect any set-top box to almost any monitor, whenever it is released, without any special problems and time expenditures.
For information on how to connect a digital set-top box to a monitor, see the following video.


The comment was sent successfully.