How to connect a printer to a laptop without an installation disc?
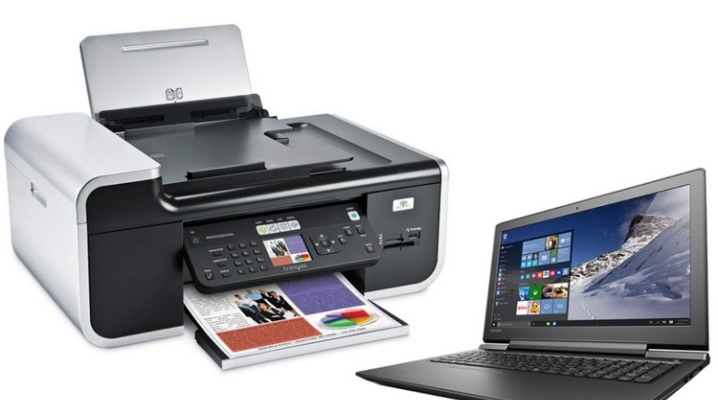
If a user has become the happy owner of a new peripheral device bought in a hypermarket or online store, it is highly likely that he will be able to cope with the connection work at home in a matter of minutes. But when you buy a used device, and the optical media with the software is lost, the question arises of how to pair the laptop with the printer. It won't work without the required driver.
We connect using a USB cable
Let's consider the options for connecting the printer to a laptop using the USB port, depending on the operating system used.
On Mac OS X
Before proceeding with the required actions to connect office equipment to the laptop, you need to find out if you can connect the purchased printer to a device running Mac OS X.
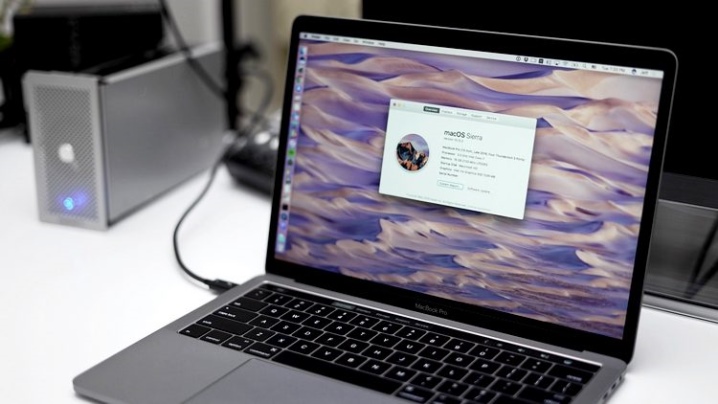
To answer this simple question, it will be enough to open the instructions and read the necessary section. Another way is to use the Internet and find out technical information about the model of the device.
If the attached instructions say that it is possible to connect office equipment to a laptop with Mac OS X, you should prepare a workplace - place the printing device next to the laptop (the USB cable supplied by the manufacturer is usually short).
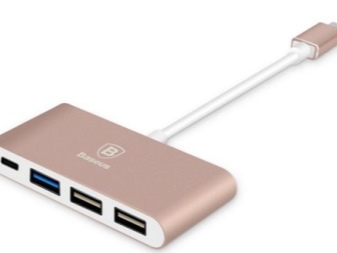
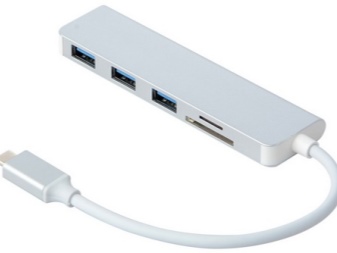
Besides, a special USB-USB-C adapter may be required, as there are no USB ports in some laptop models running Mac OS X.
To install and connect a peripheral device, you need to pair it: insert one end of the cable into the printer, and the other into the corresponding socket of the gadget. The ports are located on the side or back of the devices. When both machines are properly connected, press the printer's power button with a distinctive icon.
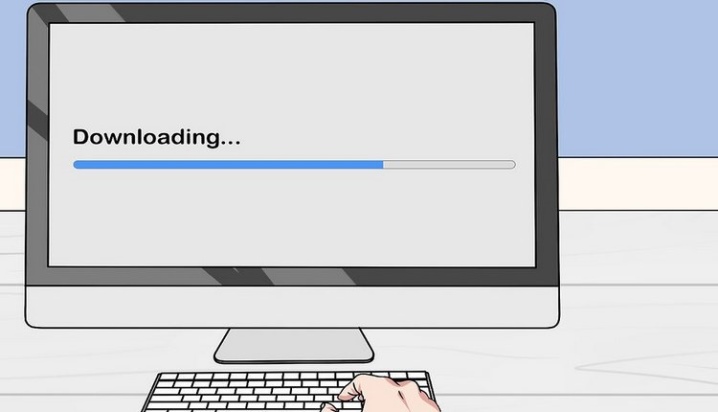
In most cases, the operating system finds the printing device itself. The user will only be prompted to install the printer, that is, to confirm the installation request. Then you need to follow the instructions of the computer so that the process ends correctly. The last step is to print a test page.
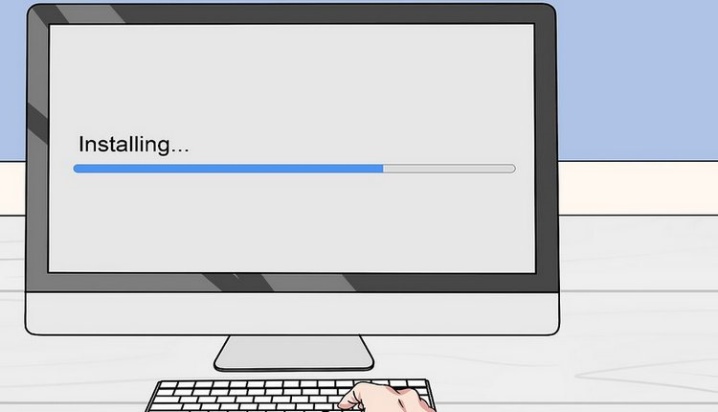
This will happen if the software required for the printer is already loaded on the laptop. In most examples, a peripheral device prompts you to install a driver during pairing. If the optical media with the software is on the table, it simplifies the task.
However, you should consider the following connection options:
- when there is no installation disk;
- in the laptop model, the drive is not provided by the manufacturer.
In such cases, you need to find the required driver, which is very easy to do. First, you need to find out the model of the printing device. It is indicated in the instructions or on the front of the device.
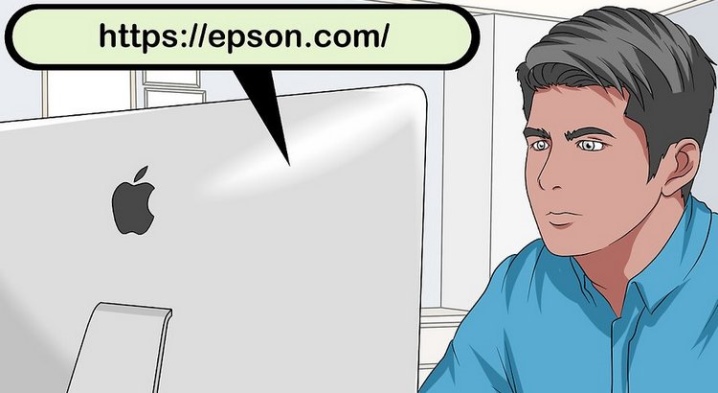
Next, use the search engines: enter the full name of the printer in the address bar and go to the manufacturer's website, where, in the appropriate sections related to software, select the required driver and download it to your desktop. When the download is complete, the driver will need to be installed by following the steps in the software installation process. The final step is to print a test page.
On Windows
Steps for connecting office equipment to a laptop running a Windows operating system in general, they are similar and differ only in nuances. First you need to connect both devices with a special USB cable. It usually comes with a printing device. Then plug the printer and laptop into an electrical outlet. It is better to use a power filter here to protect the equipment from breakdowns during voltage surges.
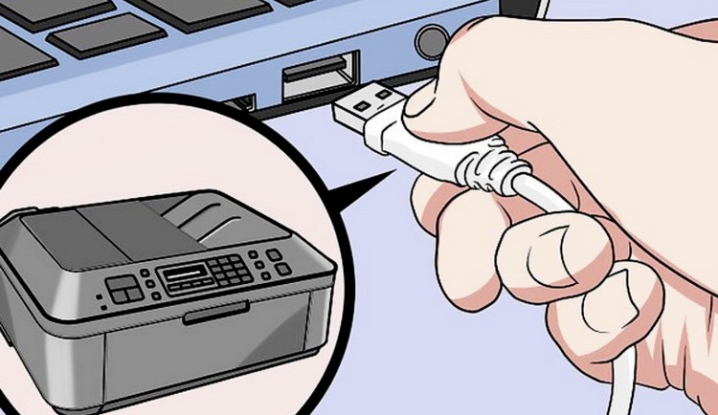
When everything is ready, you need to turn on the power button of the peripheral. It is located at the top, side or back. After that, the computer must itself determine the printer and offer to install the software. There are times that he found the device, but nothing can be printed. In this case you need to force the software to be installed.
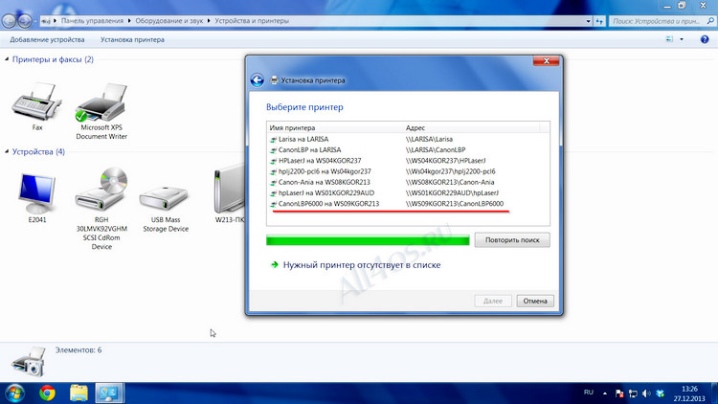
If the required optical media with the driver is present, insert the disc into the drive and run the installation file. The installation procedure will go through automatically. The user will periodically only have to confirm the actions.
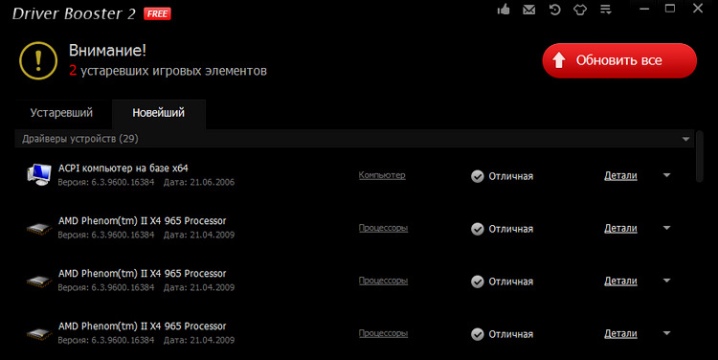
When there is no software, you have to look for it yourself, and this can be done on the website of the manufacturer of the printing device. Enter the model of the device in the address bar of the browser, go to the appropriate section, download the driver to the desktop and install. You can use special programs to find and install software, such as Driver Booster. He will actually perform the necessary actions without the participation of the user.
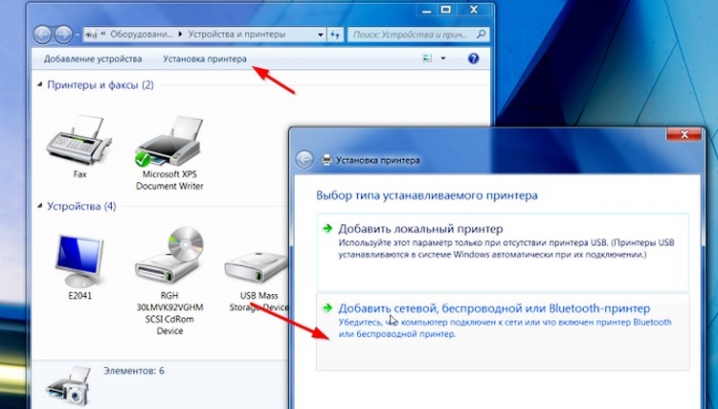
If the laptop does not see the device, you can try to restart it, connect the USB cable to another port, go to the control panel, where in the "Devices and Printers" section, click on the "Add Printer" tab, and then follow the instructions of the installer.
But in any case, the driver will need to be installed.... It is impossible to set up printing without downloading software to the operating system.
Electrical connection
The laptop and peripheral device must be plugged into a 220 volt network before starting work. To protect both devices from damage due to power surges, it is advisable to use a special power filter.
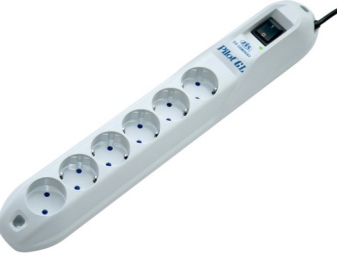
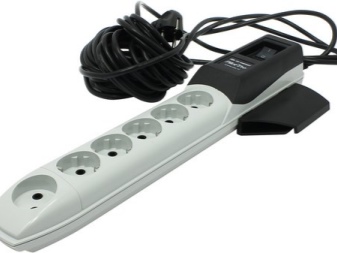
These electrical appliances are sold separately, are inexpensive, but vary. You should not skimp on a surge protector, as reliable operation of your computer and printer depends on its quality. Some of the leaders of these products are Pilot devices.
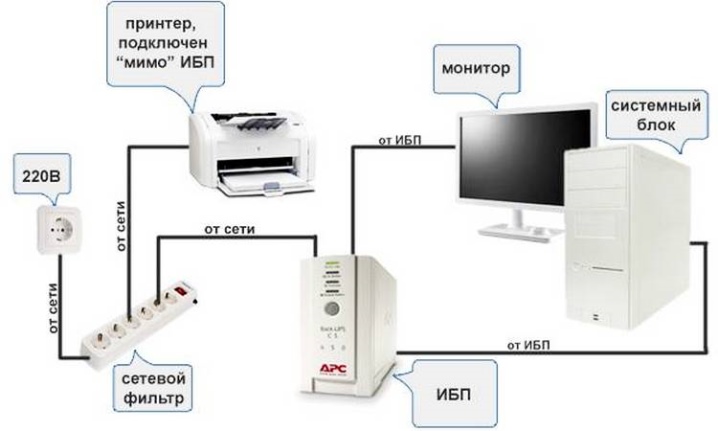
Connect the laptop and printer to the surge protector, and it to the outlet. Activate the switch if required. It is located next to the power filter outlets. Office equipment on the back cover can have the same toggle switch. Then try to make the settings as indicated above.
How to connect without wire?
The printer can be operated without a dedicated USB cable. This method is suitable if the cord is lost or is no longer usable. In this case, a wireless connection is established. Let's look at how to set up such a pairing.
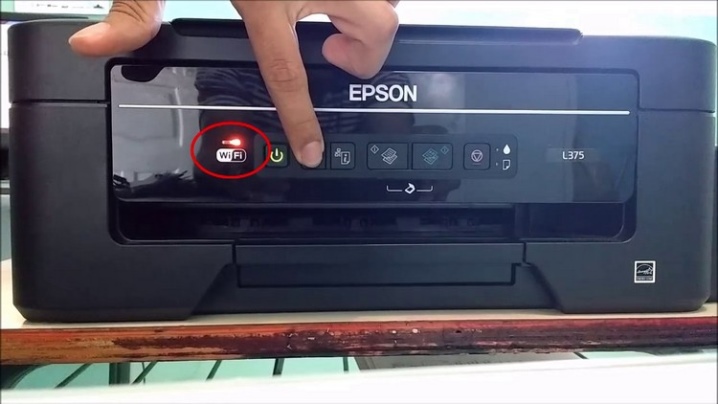
First, you need to make sure that the printing machine supports the key function. To do this, you should find a button with a characteristic Wi-Fi logo. If it is present, it makes sense to proceed with the next steps.
The easiest way is to use the special application supplied with the peripheral. After installing the program, you need to follow the advice of the installer. If one is not available, you will have to connect the printer manually.
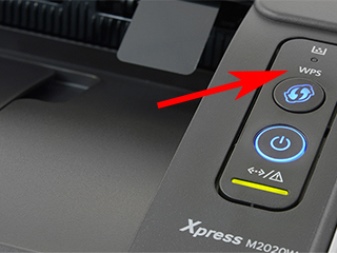
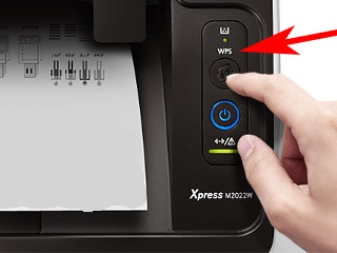
Another pairing method is to use the built-in WPS resources. This function must be supported by the printer and router. You can find out the details from the instructions. If the connection via Wi-Fi is real, you need to proceed with the next steps according to the following algorithm.
- Type 192.168.1.1 or 192.168.0.1 in the address bar of your browser.
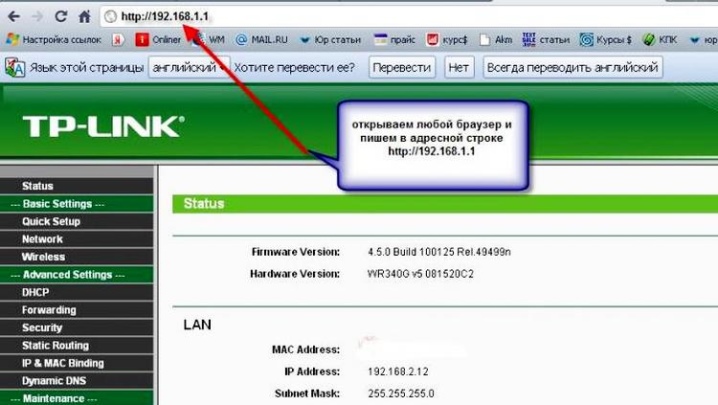
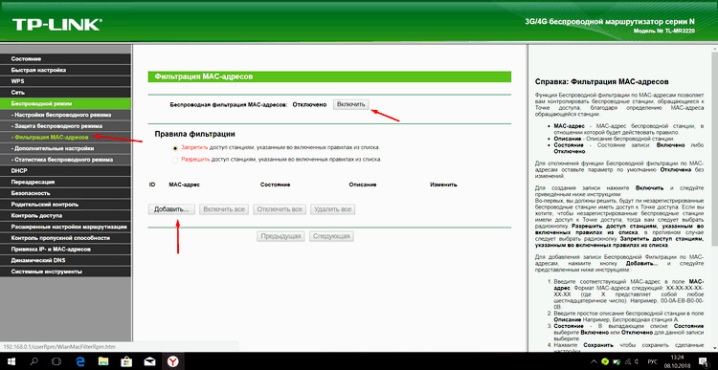
- Log in to the router interface, to the Device PIN section and enter the above value - any of the two to choose from. Disable MAC filter.
- Press the WPS button on the office equipment. Wait until the Wi-Fi network is detected.
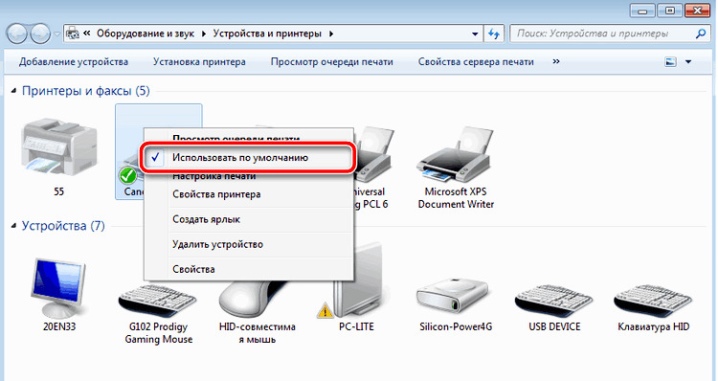
The last step is to go to the "Printers and Faxes" section through the control panel and check the box next to "Use as default".
Installing Drivers
After connecting the devices - a laptop and a printer - with a USB cable, the operating system can detect the printing device, but it will not yet be possible to print documents at this stage. Driver installation is required.
It is important to list the most common ways to find and install software.
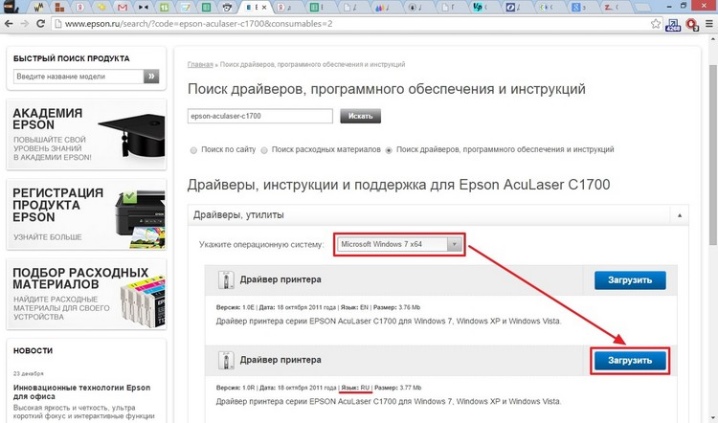
- Independent software search. Enter the full name of the printer into the address bar of the browser, go to the manufacturer's website and download the required driver from the corresponding section.
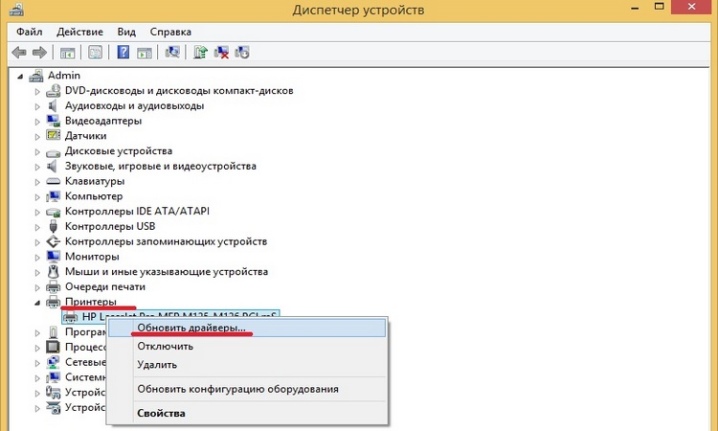
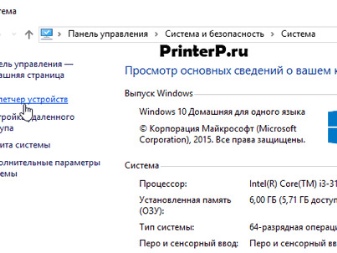
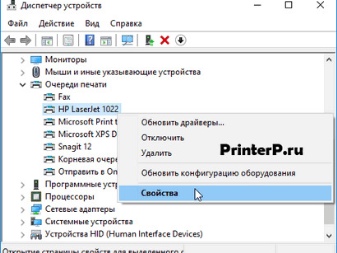
- If office equipment is present in the OS list (you can check it through the path "Computer" ⇒ "Properties" ⇒ "Device Manager"), this simplifies the problem. In the list that opens, you need to find "Printer", select the line, right-click and click "Update driver".
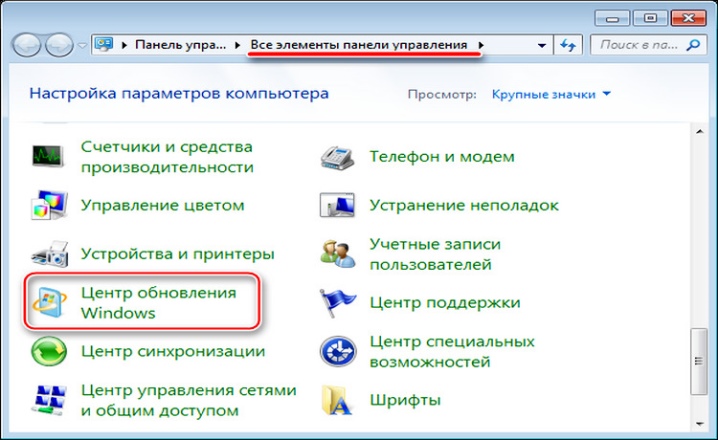
- Another method, but it doesn't always work, especially with newer printers. Open "Control Panel", go to "Windows Update" and update the system.
There is another way to set up a peripheral for printing. It is one of the most common and simplest, which is often used by most office workers. Here you need to download a third-party application, for example, Driver Genius.
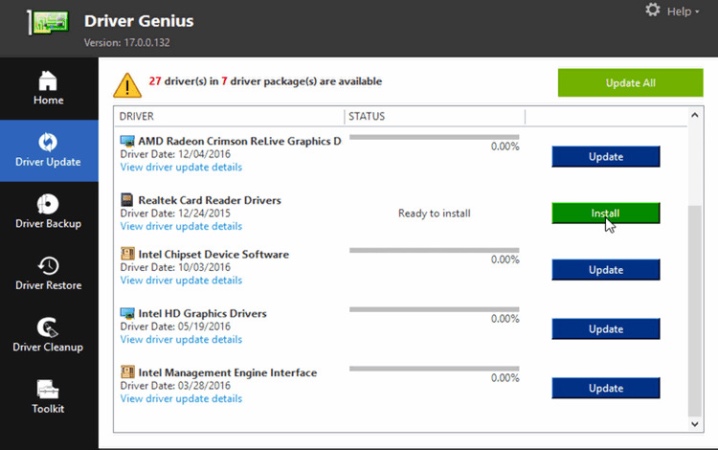
Run the installation file and wait for the driver installation process to complete.
Recommendations
In general, connecting a printing device to a laptop boils down to three rules:
- pairing a printer and a laptop using a USB cable;
- software installation;
- print setup.
In order for the peripheral to work, you must first carefully read the instructions, and only then proceed with the sequential steps.
If your printer is legacy and no longer supported by the manufacturer, you can find the software you need from third-party resources. To simplify the problem, you need to go to the "Device Manager", highlight the line "Printer".
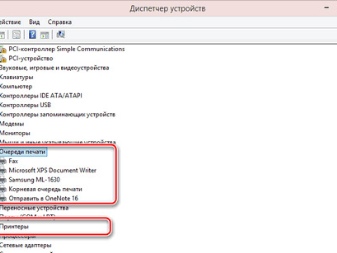
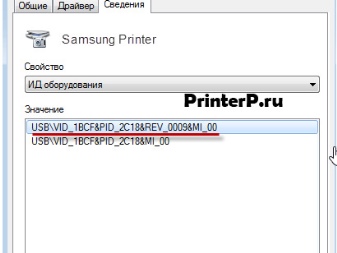
Next, you should click "Properties / Information", open the drop-down list "Device Description" and select the line "Equipment ID". Copy the entire first or second value to the address bar of the browser. Find the driver you need.
If a user bought office equipment from his hands without an installation disc (or forgot to put the optical drive in the box), you can find the required driver without the help of specialists. It is enough to accurately follow the recommendations described above, after which the printer will definitely work.
For information on how to install a printer on a computer without a disk, see the video below.


The comment was sent successfully.