Why does the printer print crookedly and how to fix it?
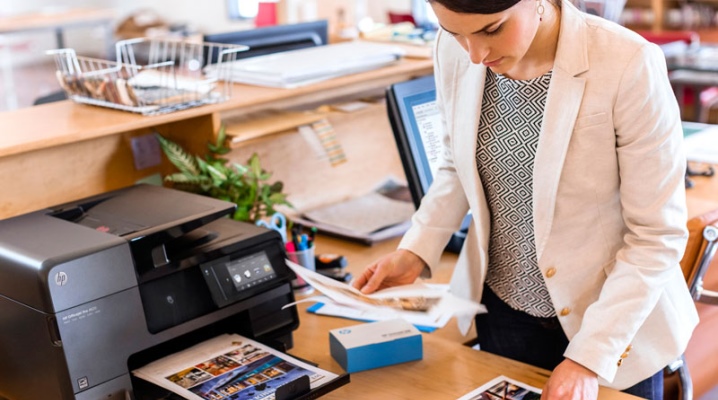
Every user has come across a crooked printer print. This is one of the common problems. The image or printed text is not aligned with each other or with the page margins. The probable causes of malfunctions, their solutions and tips for operation will be discussed below.
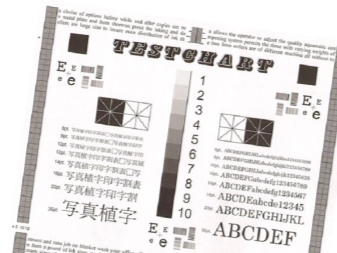
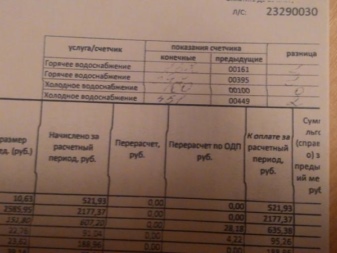
Causes
The printer began to print crookedly images, text, or tables. There are a number of reasons for this. Here is some of them.
- Incorrect placement of paper in the compartment. This may happen the first time you use the device.
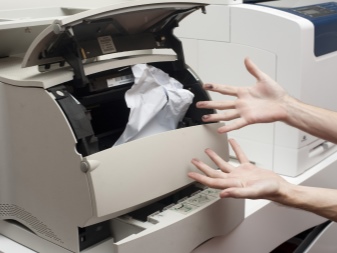
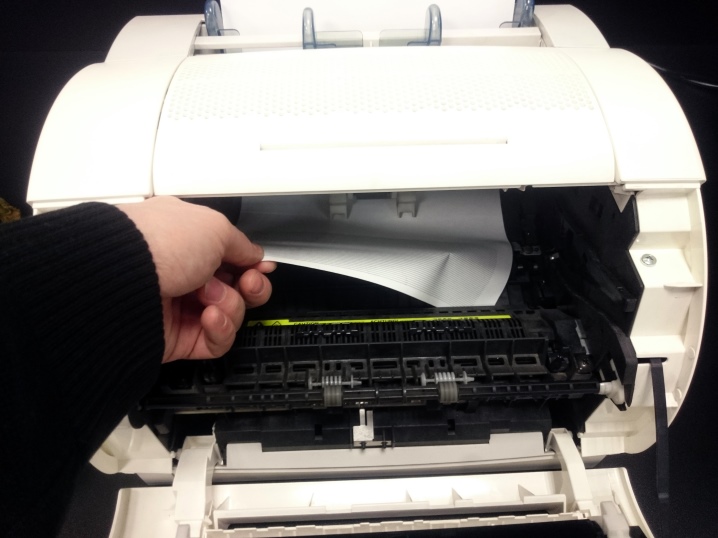
- Jammed sheet or other object. Paper jams occur frequently. With such a defect, the sheet broaching roller and other mechanisms stop working. Impossible to print. If the printer works but prints crookedly, it could be a small piece of paper or a very small object.
- Inappropriate paper size. This is due to incorrectly set print settings.
- Dried ink contamination of the ink cartridges will result in the printer's printing curve.
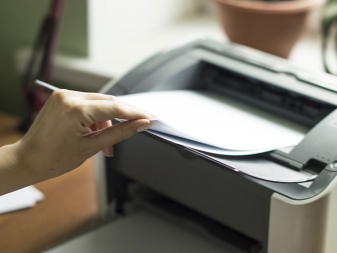
It should be added that the incorrect operation of the printheads can also lead to a printing curve.
All of these defects are encountered by laser, inkjet printers or MFPs.
However, there are methods that can help solve the problem on almost all devices.
What to do?
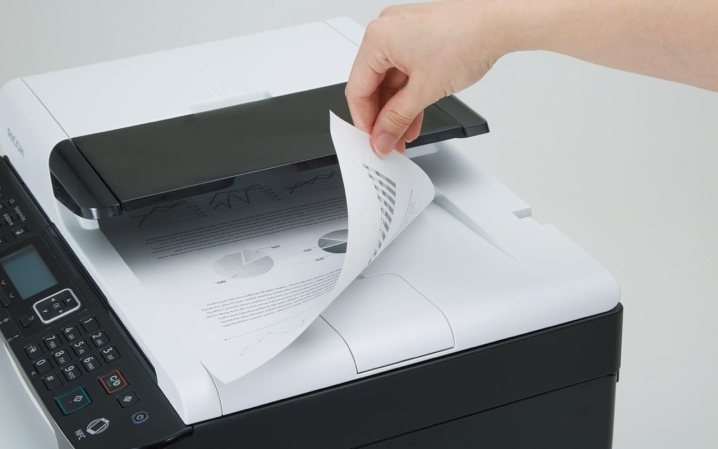
First, you should consider a solution to commonplace problems. Make sure the paper is set correctly before printing. For even printing, the sheets are loaded exactly along the guide, then the movable bar is pressed against the paper.
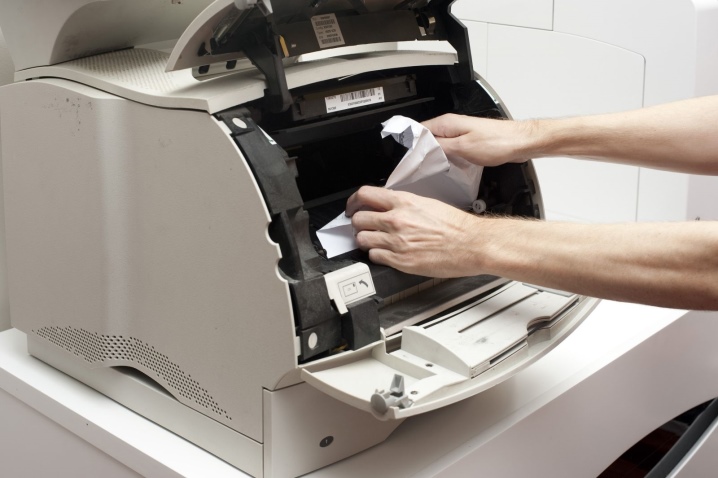
If the device has jammed a sheet, or a foreign object has got into the mechanisms, it is necessary to open the cover, inspect the parts - and get out the jammed sheet or object.
In order to correct a crooked print, you need to set the correct settings for a particular sheet size. The algorithm of actions consists of several steps.
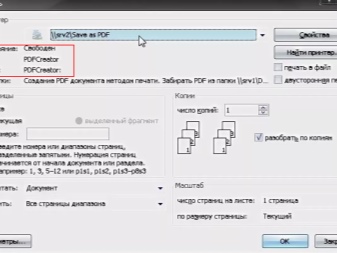
- Open the main menu, select "File" and then "Print".
- Click on "Printer" and select the name of the device.
- Open "Properties".
- A window will pop up, where the item "Paper size" will be displayed. If there is no such item, you must click "Advanced" in the lower right part of the tab.
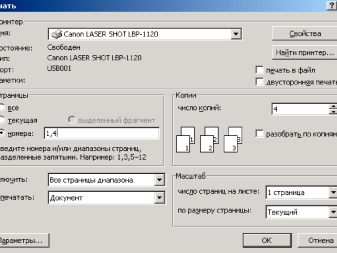
Use only paper suitable for the device. For example, your printer model may not support a particular type of paper. As a result, various problems such as crooked printing, distortion and other defects occur.
If the printheads are not working correctly, software alignment is performed.
The solution is elementary. You just need to follow this procedure:
- open "Start", select the "Settings" section;
- open "Devices" and click on "Printers and scanners" using the panel on the left;
- left-click on the printer name;
- select the "Management" section and click on the "Printer Properties" item;
- a window will open, after which you need to open the "Service" section;
- run the Align Printhead Analysis.
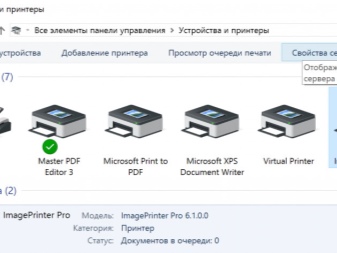
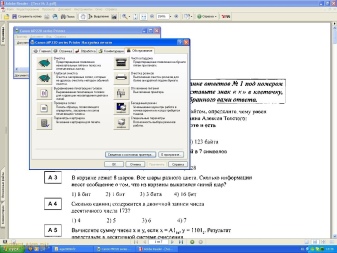
It is recommended that you familiarize yourself with the procedure before proceeding. After starting, a notification will appear where you need to wait for the operation to complete. Then the printer will issue the finished sheet, and a window with a form will pop up on the screen. It must be filled in according to the instructions.
This will be followed by a second alignment of the sheet and a window with a form for filling. It is recommended to follow the same steps, marking the fields with more visible stripes.
Turning on the night mode will help to correct the crooked print. For this you need:
- use the beginning of the previous instruction and go to the section "Printer Properties";
- select "Silent mode" from the "Service" section;
- customize the mode as you like.
This method provides a smoother grip on the paper, which reduces the likelihood of chewing on the sheet.
Removing dried ink from the cartridge will help solve the problem of curvature when printing.
First, you need to make sure the ink tanks have ink. Next, cleaning is performed through the computer program:
- open the device maintenance program;
- in Maintenance Tasks, open the Printer Operations section and launch the HP Toolbox Utility;
- a window will open where you need to click on the item "Device Services" and select "Cleaning cartridges".
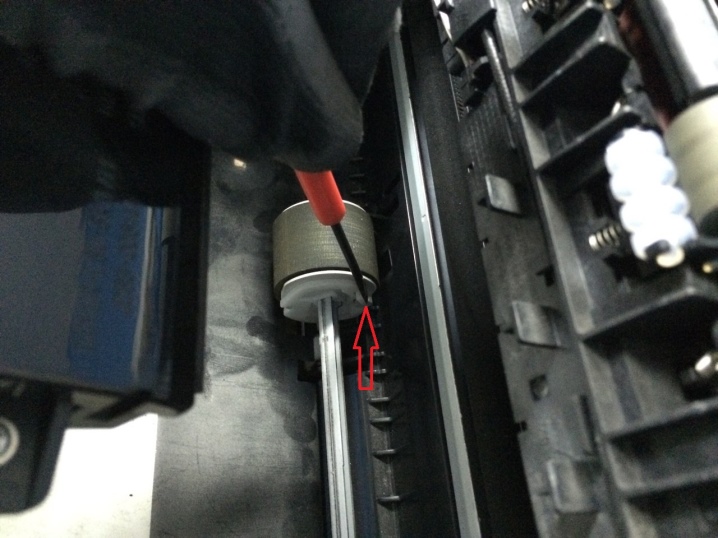
Other causes of a print curve could be incorrect driver settings or wear on the pickup roller. In this case, the settings can be changed manually in a few minutes, and the video can be purchased at any computer hardware store.
Operating tips
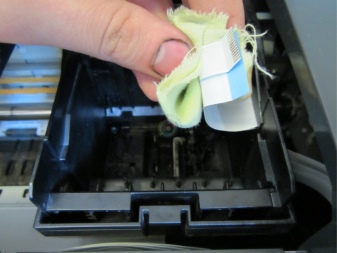
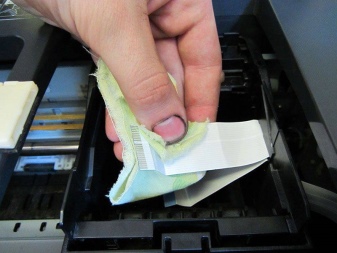
In order to avoid the described problems, it is necessary to use the printer correctly. It is also recommended to timely clean the internal mechanisms. Dust, small particles of paint - all this settles on the internal components and leads to incorrect operation. The device should be cleaned independently. Before the procedure, unplug the printer and remove the cover.
Particular attention is paid to the pallet, the positioning tape and the cartridge head.
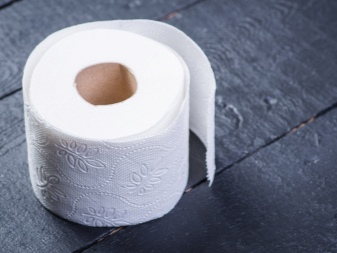
The positioning tape should be cleaned gently with your hand. You can use toilet paper and water for cleaning.

In order not to face various defects during printing in the future, you need to use the device for its intended purpose. For printing, purchase only the type of paper that matches the printer model. You can find out by going to the manufacturer's website.
If the device does not know how to work with any kind of paper, then initially the print will be curved, with distorted text or patterns.
Curvature of the seal is far from uncommon. It is possible to fix the problem by resorting to various methods, after finding out the cause. Correct operation of the printer depends on the correct operation and timely cleaning of the printing mechanisms.
What to do if the printer prints crookedly, see below.


The comment was sent successfully.