How to connect a printer to a laptop via Wi-Fi?
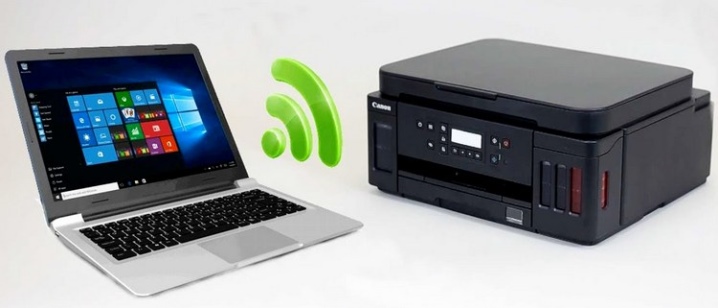
Various types of office equipment have long and tightly entered our daily life. Printers are especially in demand. Today, anyone who has this miracle technique at home can safely print any materials for themselves without visiting specialized institutions. but many users have difficulty connecting the printer to a laptop via a Wi-Fi network... Let's figure out how to do it right. Fortunately, for Windows 7 and later users, the connection methods are almost identical.
Wi-Fi hotspot connection
There are 2 easy ways to connect your printer to your laptop via Wi-Fi:
- LAN connection;
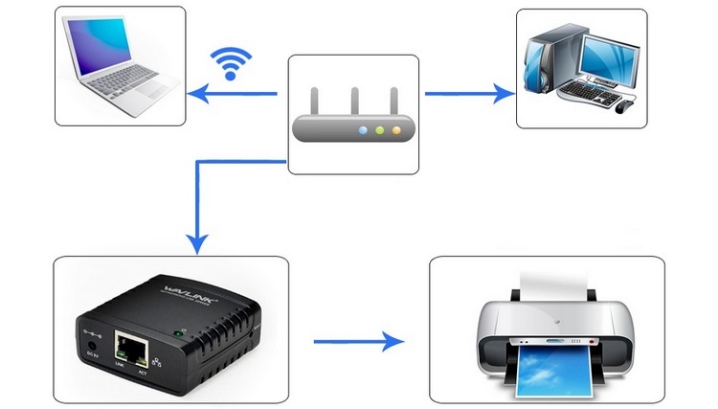
- through a Wi-Fi router.
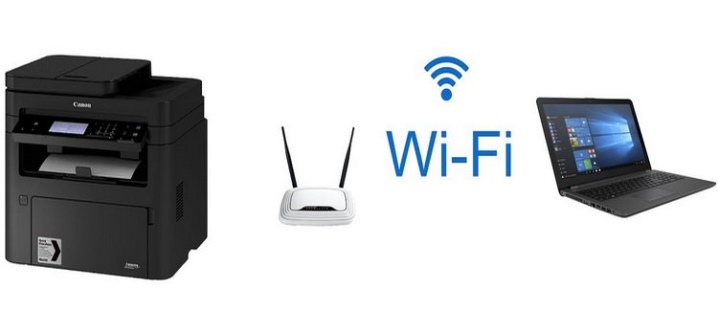
Let's analyze each of them separately.
Local network
To use the printer in the future, you must connect it to the wireless network first. This can be done using the following algorithm of actions.
- Reset printer settings to factory settings. Unfortunately, it is impossible to give more precise instructions, since this process is individual for each model. Therefore, you will have to read the operating instructions for this technical device.
- Now follow the instructions to set the basic settings for your printer.
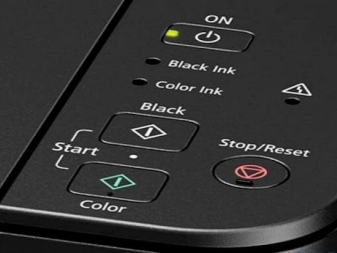
- The Wi-Fi light on the printer panel should turn green.
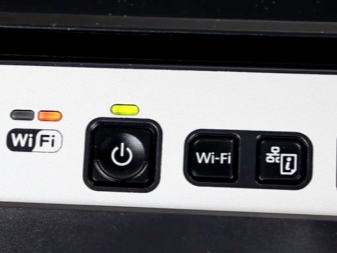
The next thing to do is connect your laptop to this network.
- In the lower right corner of the screen, right-click on the Wi-Fi network icon.
- Now you need to select the name of the printer from the list of available connections and connect.
- Usually, with the standard settings of the printer and connection, a password is not required, but if the system nevertheless asks you to specify it, then you can find the code in the user manual (or it was previously set by the user).
- It remains only to wait for the operating system to install all the necessary drivers on the new device, after which it will be ready for use. If the installation of the drivers does not start automatically, you can always install them manually using the included disk or a special program.
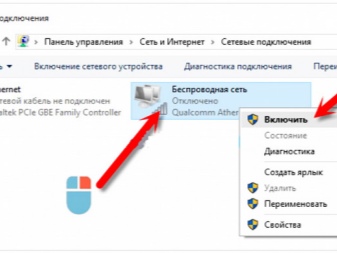
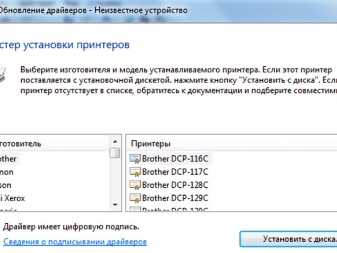
As you can see, connecting in this way is not only quite simple, but also does not require any wired connections at all.
Minus you can name the fact that you will have to break the Wi-Fi connection to the Internet every now and then if it is only used to connect a printer.
Through a router
Consider now a connection method that avoids switching between wireless networks every time you need to use the printer. It is considered an even easier way than the previous one.
To establish this connection, you will need to use the wireless installation wizard, which is built into the operating system of each laptop.

However, before doing this, be sure to make sure your printer can connect to other devices using this wizard. If the operating instructions indicate that the device supports WEP and WPA encryption, it means that you will definitely be able to establish a connection.
- The first step is to go to the printer settings and select "Network". A list of all wireless networks available for connection will appear.
- Select the desired Wi-Fi network.
- Enter the network encryption key (password).
The device is now connected to the wireless network.The advantage of this method is that you can use the printer from any device connected to the same network, be it a smartphone, SmartTV or personal computer.
How do I share print?
To share your printer's use, first you will have to connect the printing device to the laptop using a regular USB cable.
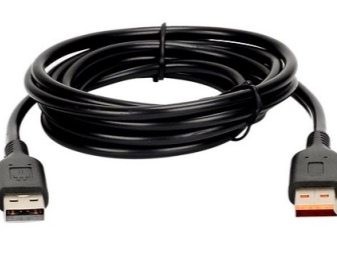
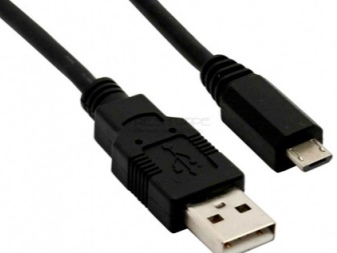
This method can be useful when it is possible to connect the printer to your home PC using a wired connection. However, you also need to connect your laptop to the network.
After making sure the printer is wired, you can start setting it up... To do this, go to the "Control Panel" through the "Start" menu and select "Devices and Printers".
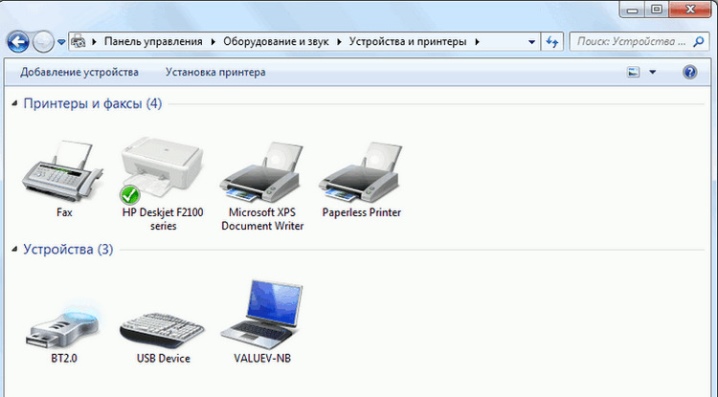
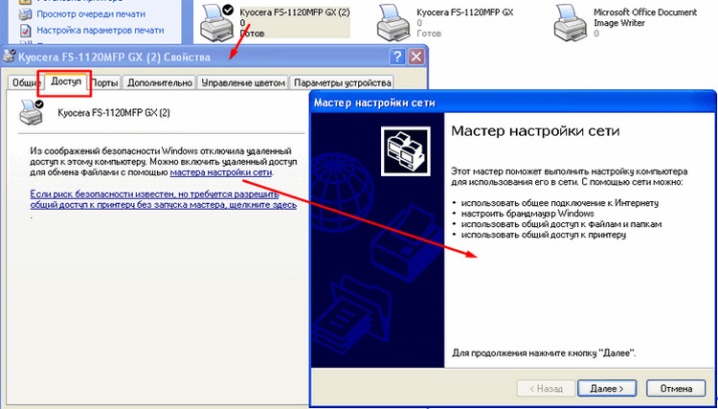
Now from the list of available devices select an existing printer, and then right-click on it. In the list that opens, click "Printer Properties".
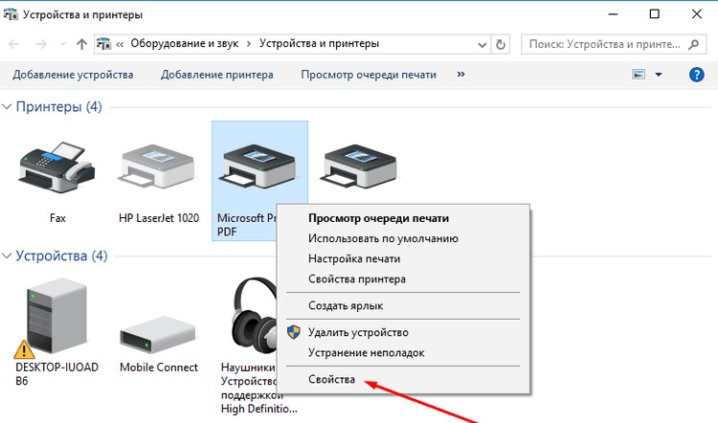
Here we are only interested in Access tab, and more specifically - the item "Sharing this printer"... Make sure there is a check mark next to it, and in the field below the network name for the printer is set.
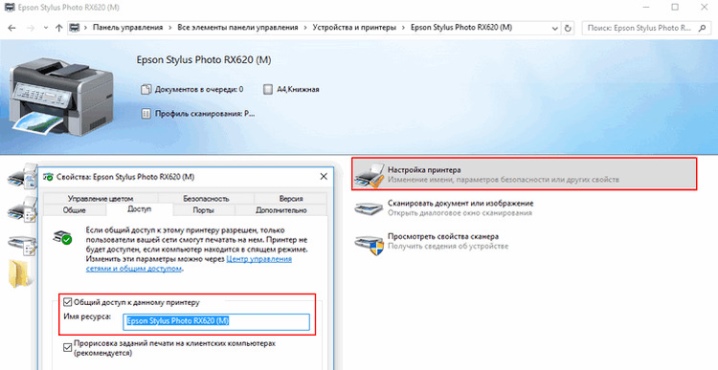
After saving these settings, you can unplug the USB cable and test the functionality. Go to "Devices and Printers" again and click "Add Printer". In the window that opens, from the two available items, select "Add a network, wireless or Bluetooth printer". After that, a list of all available devices will appear in the window.
Note that the name of the printer in this list will be the same as it was assigned when it was shared.
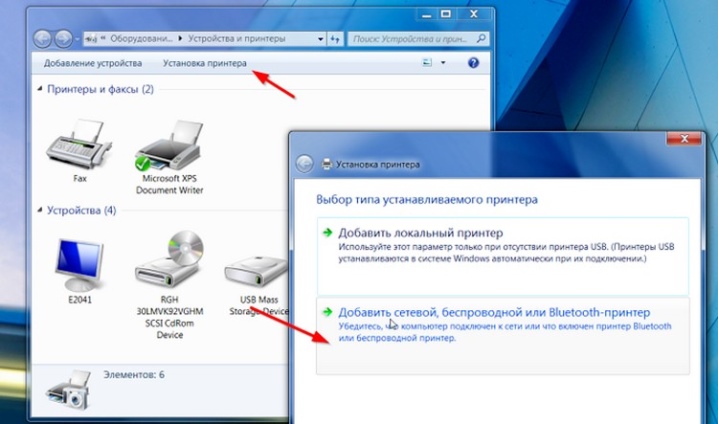
Select it from the list and click "Next". Now it remains to wait for the completion of the setup and make a test print. The device is now fully available for all existing laptops and computers.
Operating tips
Unfortunately, you won't be able to connect a regular home printer to a computer or laptop via a wireless connection. The fact is that such simple models do not support this type of connection, so you have to be limited to a USB connection.
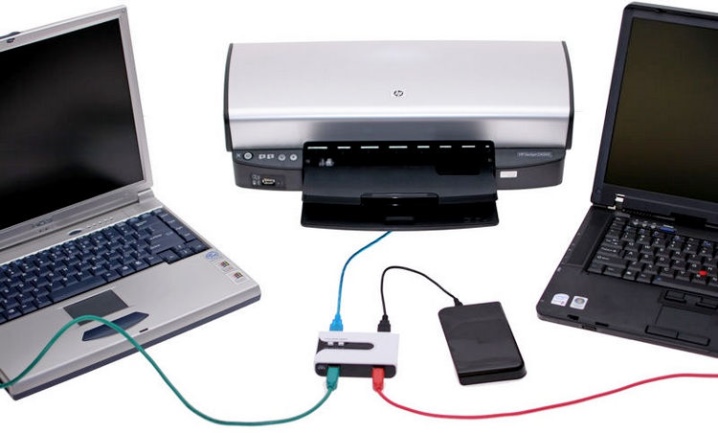
Before you start printing any important documents, you need to make sure that the printer is configured. Otherwise, you will have to configure it yourself. In this case, it follows pay special attention to indents from the edges of the sheet, scaling of text, images and other similar parameters.
If you need to print images that were taken from Internet resources, you need to pay attention to their size. It must be at least 1440x720 pixels, otherwise the picture is not too clear (as if blurry).

Fortunately, the process of printing with a printer connected with a cable or wirelessly is no different, so you just need to click on the "Print" button and check that the future material is displayed correctly.
Possible problems
Sometimes there may be some problem or error when connecting wirelessly. Let's analyze the main ones, as well as ways of solving them.
Do not worry and panic if you failed to establish a stable connection the first time, and in cases when the laptop does not see the device. Most likely, this is due to some simple software errors or user inattention.

Here is a list of classic connection problems and how to fix them.
- If the printer is connected, but printing is not performed, the reason may lie in the incorrect installation of the drivers or their incompatibility with the current version of the operating system. Try uninstalling and reinstalling the device driver. If that doesn't help, download an older version of the same software.
- The router may not support this hardware model. In this case, the problem cannot be fixed. Only the purchase of a new printer that supports this type of connection will help.
- The wireless settings on the laptop are incorrect.To resolve this issue, try removing the wireless network and then re-adding and reconnecting the wireless network.
- Incorrect hardware settings. In this case, it is recommended to reset the printer to factory defaults and then reconnect.
Connecting a printer to a laptop is not as difficult as it might seem. Plus, being able to connect them wirelessly will eliminate the web of cables and attachment to the same place.
You can work from anywhere in the home without having to return to the printer every time you need to print something.
You can learn more about how to connect a printer to a laptop via Wi-Fi in the following video.


The comment was sent successfully.