How to connect two computers to one printer?
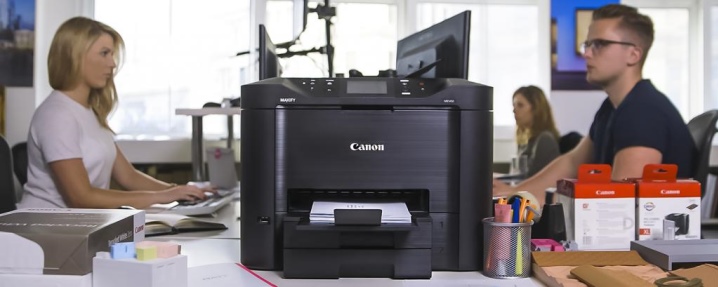
If you have several personal computers or laptops, it is often necessary to connect them to a peripheral device. This approach is due, among other things, to a real opportunity to reduce the cost of purchasing office equipment. In some situations, the answer to the question of how to interface two or more computers with one printer or MFP becomes relevant. Naturally, such manipulations have a whole list of features.
Peculiarities
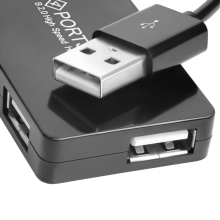
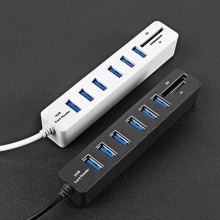
If you needed to connect two computers or laptops to one printer, then all possible ways to solve such a problem should be considered. The classic version of connecting 2 or more PCs to 1 printing or multifunctional device involves the use of a local network. An alternative would be to use USB and LTP hubs... In addition, you can install Data SWIYCH - a device with a manual switch.

To understand which technology will be the best option in each specific case, you need to objectively assess available opportunities. In this case, the key will be the answers to the following important questions:
- whether a computer or laptop is part of a local network;
- connection between PCs is carried out directly or through a router;
- whether a router is available and what kind of connectors it is equipped with;
- what methods of equipment pairing are provided by the printer and MFP device.
It is worth noting that you can find both positive and negative reviews about each of the available equipment connection schemes on the Network. At the same time, users evaluate the advantages and disadvantages of each method differently, classifying them according to the principle “from simple to complex”. But in any case, before implementing each of the options, you will need to install the printing device itself using the appropriate specialized software.
Connection methods
Today, there are 3 ways to connect more than one PC to a printer and multifunction device. It is about using special adapters (tees and splitters) and routers, as well as the method of setting up sharing within a local network. According to reviews and statistics, these options are now the most common. The user who wants to combine the specified samples of office equipment into one system has only choose the optimal connection scheme, Review the instructions and take the steps to take.
Wired
Initially, it should be noted that the printer interface is not designed to process data coming in parallel from two or more pieces of equipment. In other words, the printing device is focused on interaction with one personal computer.
It is this point that should be taken into account when interfacing several units of office equipment in one system.
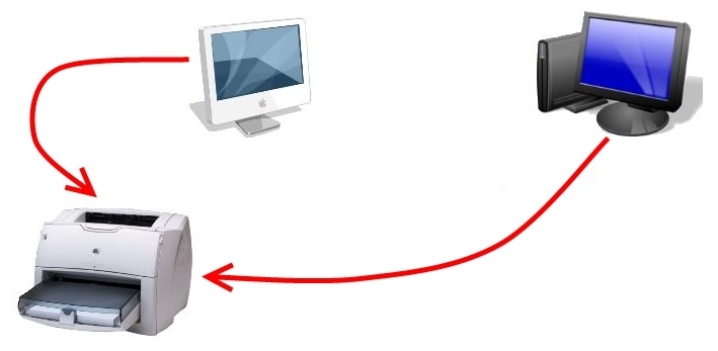
If there is no opportunity or desire to connect equipment via a local network, then two alternative options become relevant, namely:
- installation of LTP or USB hub;
- manual switching of a printing device from one PC to another through the corresponding ports.
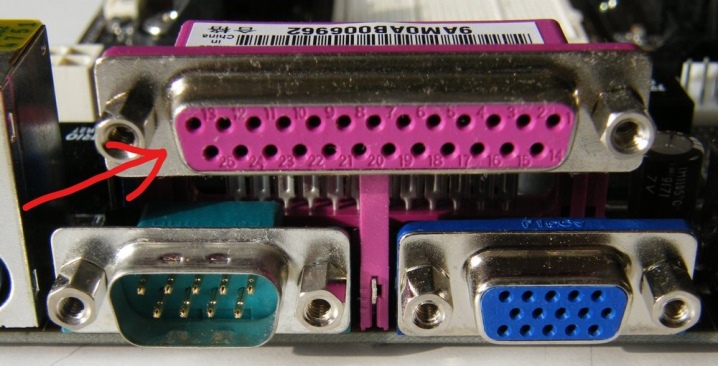
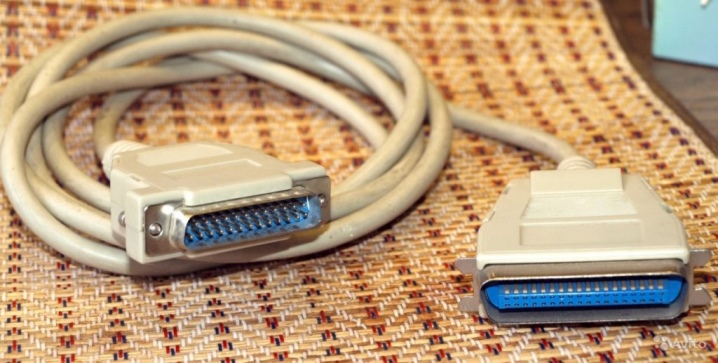
It is worth considering that such methods have both advantages and significant disadvantages.... First of all, it should be noted that frequent port switching will lead to its rather rapid failure. In addition, the cost of high-quality hubs is commensurate with the prices of printers and MFPs belonging to the budget category. An equally important point will be the length of the connecting cables, which, in accordance with the instructions, should not exceed 1.6 meters.
Taking into account all of the above, we can conclude that connecting devices in this way is relevant:
- in situations where office equipment is rarely used;
- in the absence of the possibility of forming a network for one reason or another.
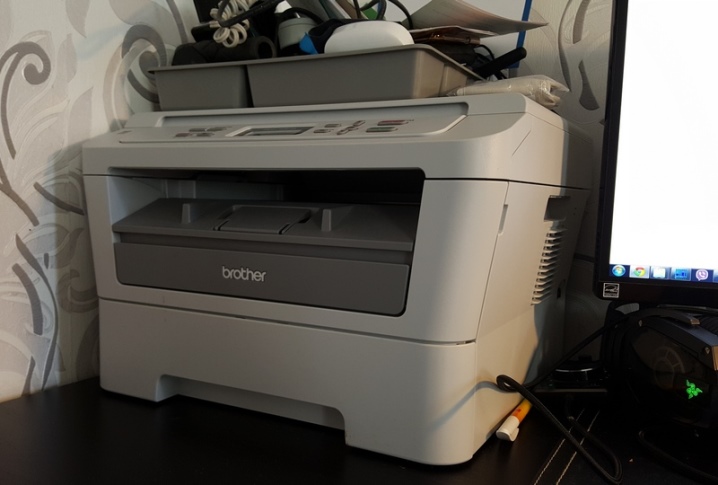
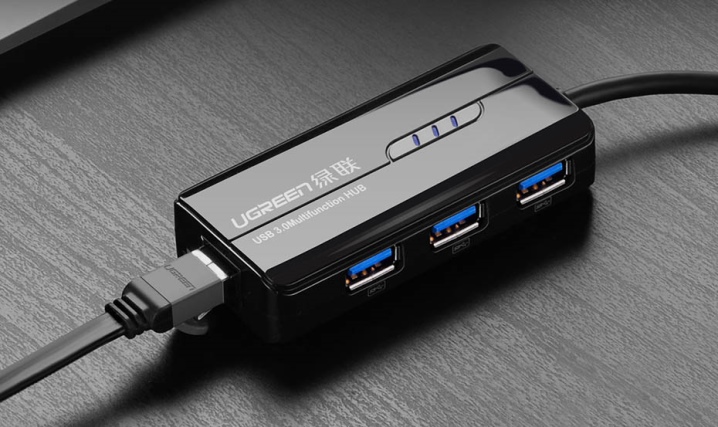
Special products are now available on the market. USB Hubs, with which you can connect multiple PCs or laptops to one port. However, the financial side of the issue will be a significant disadvantage. At the same time, creating a network for two PCs will not require significant costs.
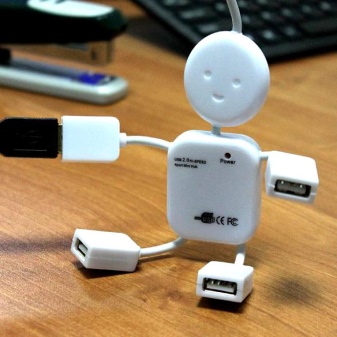
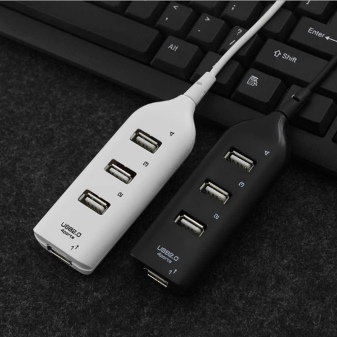
But, despite all the nuances, the described method remains relevant, on the basis of which it is worth considering the features of the work of the mentioned hubs. They provide signal transfer from one equipment to another, similar to a single printer connection.
It should be noted that this method of communication is most suitable for one workplace equipped with two computers, provided that the data is effectively protected.
Taking into account all the technical features and performance indicators of special devices, the following points can be highlighted:
- USB hub is the best option if the equipment complex is used primarily for printing documents and photos;
- LTP more focused on printing complex and large-sized images.
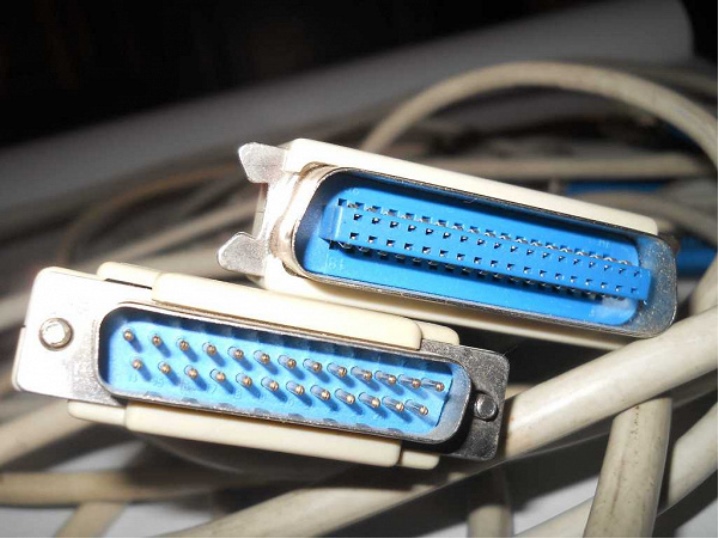
LTP is a high-speed interface widely and successfully used in professional printing. This also applies to the processing of documents with complex gradient fills.
Wireless
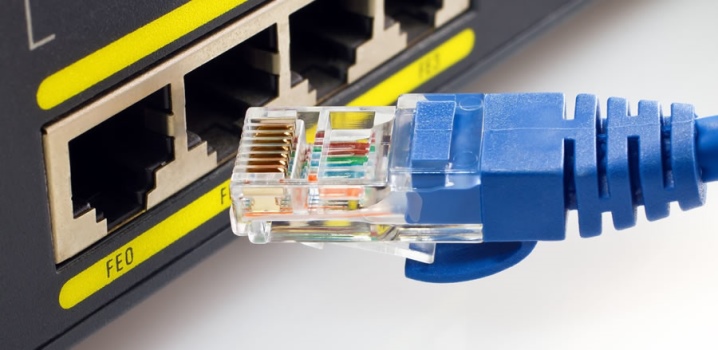
The most simple and at the same time the most accessible and technically competent way of connection can be safely called the use of Ethernet. It is important to consider that this option provides certain settings, including the operating system of computers interfaced with the printer or MFP. When connecting several pieces of equipment remotely, the OS must be at least XP version. This is due to the need to detect the network connection in automatic mode.
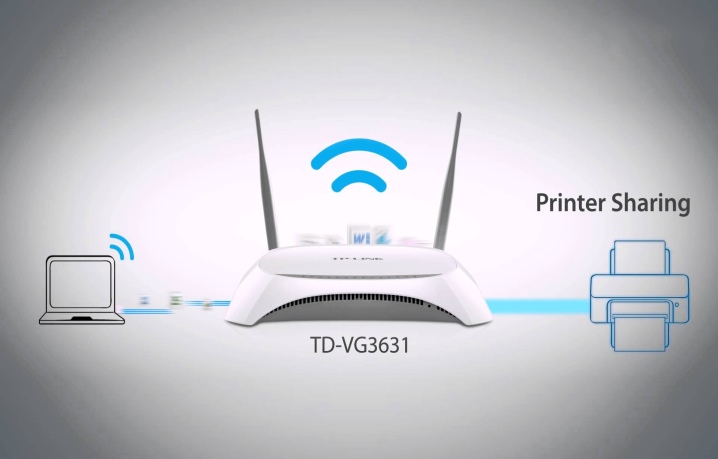
The use of print servers, which can be standalone or integrated, as well as wired and wireless devices. They provide a fairly reliable and stable interaction of equipment for printing with a PC via Wi-Fi. At the preparation stage, the server is powered from the mains and connected to an operating router. In parallel, you need to connect the printer itself to the gadget.
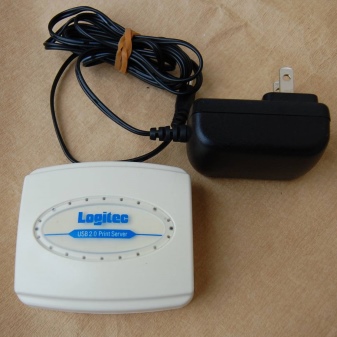
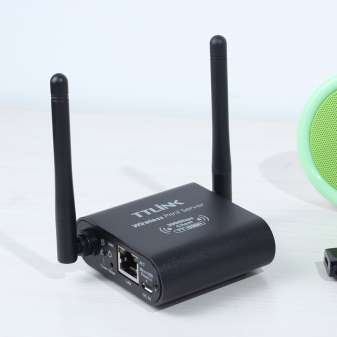
To configure the print server of the popular TP-Link brand, you need:
- open an Internet browser and enter the IP address in the address bar, which can be found in the attached manufacturer's instructions;
- in the appeared working window, type "Admin", leaving the password unchanged and click "Login";
- in the menu that appears on the server itself, use the active "Setup" button;
- after adjusting the necessary parameters, it remains only to click on "Save & Restart", that is, "Save and restart".
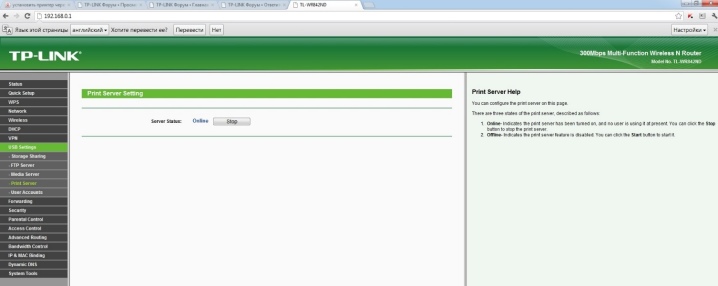
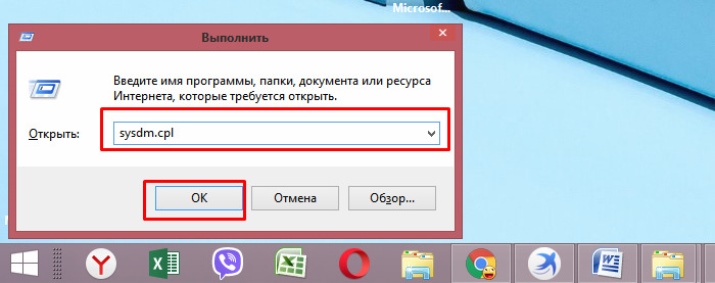
The next important step will be adding an installed print server to a computer or laptop. This algorithm involves the following steps:
- Use the combination "Win + R" and typing "Control printers" in the window that appears, click "OK".
- Click Add Printer and select Add Local Printer.
- Go to the section for creating a new port and select "Standard TCP / IP Port" from the list.
- Register IP devices and confirm actions using the active "Next" button. It is important to uncheck the box next to the line “Poll the printer”.
- Go to "Special" and select the parameters section.
- Perform the transition according to the scheme "LRP" - "Parameters" - "lp1" and, having checked the item "Allowed counting of bytes in LPR", confirm your actions.
- Select a connected printer from the list or install its drivers.
- Send a test page to print and click "Finish".
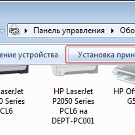
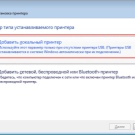
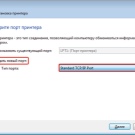
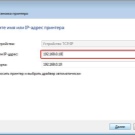
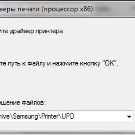
After all the above manipulations, the printing device will be displayed on the computer, and it can be used for its intended purpose. To operate the printer and MFP in conjunction with several PCs on each of them, you will have to repeat the above steps.
The main disadvantage of this connection method is the incomplete compatibility of the server and the peripheral itself.
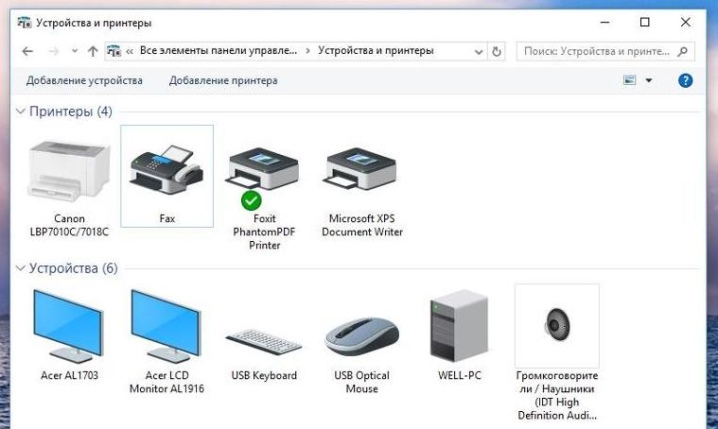
Setting up the printer
After pairing the computers with each other within the local network, you should proceed to the next stage, during which you will need to configure the software and the entire system, including the printing device. First of all, you need to create a homegroup by following these steps:
- Go to the "Start" menu and select "Connection". Find the item that displays all connections and select the option for the local network.
- Go to the properties section of this item. In the window that opens, select "Internet Protocol TCP / IP".
- Edit the network parameters by going to the properties menu.
- Register in the fields the IP addresses specified in the instructions.
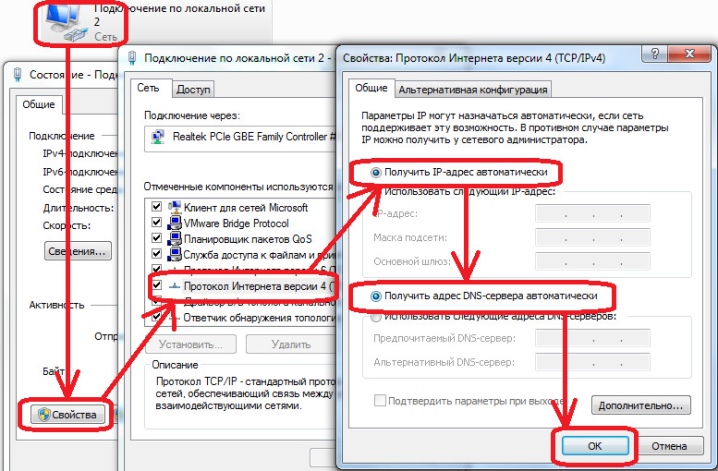
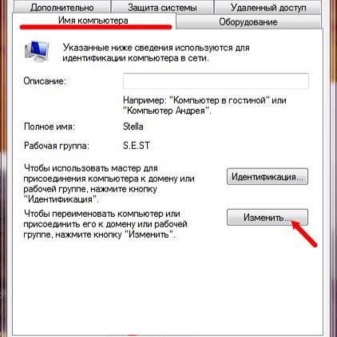
Next step - this is the creation of a working group, which will include all devices connected to each other. The algorithm of actions provides for the following manipulations:
- open the "My Computer" menu and go to the properties of the operating system;
- in the "Computer name" section, use the "Change" option;
- in the appeared empty field, register the name of the PC and confirm your actions;
- restart the device;
- repeat all the above steps with the second computer, assigning it a different name.
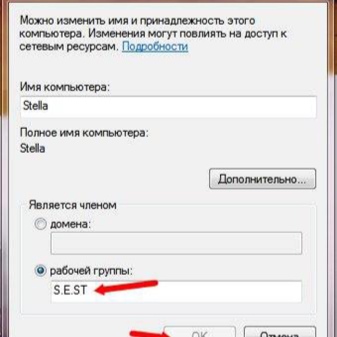
After the local network is created, you can go directly to the settings of the printer itself... You should first install it on one of the elements of this network. Then you need to do the following:
- After turning on the computer or laptop on which the printing device was previously installed, open the "Start" menu.
- Go to the tab displaying the list of available printers, and find the desired model of office equipment, with which the PCs are interfaced within the local network.
- Open the menu of a peripheral device by clicking on its icon with the right mouse button and selecting the section with the properties of the device.
- Go to the "Access" menu, where you should select the item responsible for providing access to the installed and connected printer. If necessary, here the user can change the name of the equipment for printing.
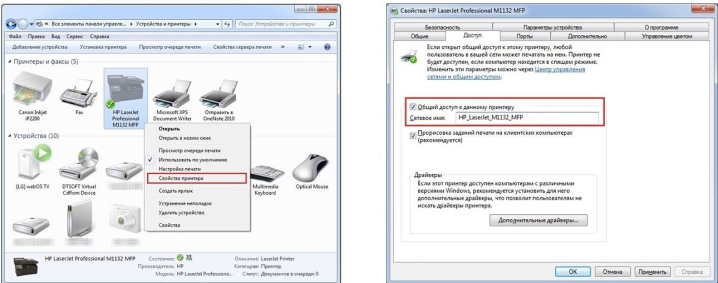
The next step will require set up a second personal computer. This process looks like this:
- first, repeat the above steps until you go to the "Printers and Faxes" section;
- call up an additional working window in which you should select the section responsible for the installation of office equipment of the described type;
- click on the "Next" button and go to the network printer section;
- by going to the overview of available office equipment, select the device installed on the main computer of the local network.
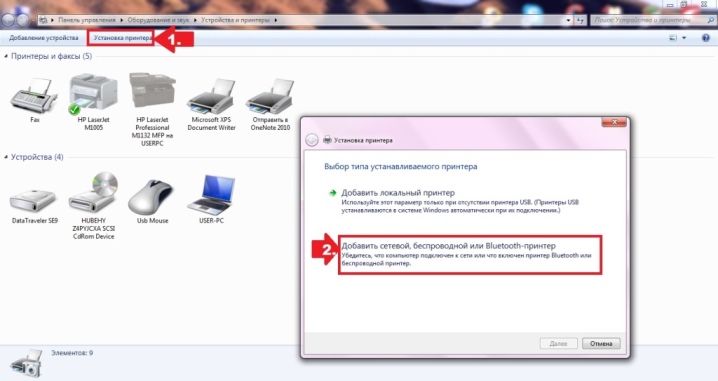
As a result of such operations, the necessary software will be automatically installed on the second PC.
With all of these steps, you can make one printer or multifunction device available to multiple PCs that are part of the same network. At the same time, it is important to remember some of the nuances. On the one hand, the printer will be able to receive and process jobs from two computers at once. However, on the other hand, it is not recommended to send documents or images for printing in parallel, since in such cases so-called freezes are possible.
Recommendations
In the process of analyzing used to connect several PCs to one printing device, you must first pay attention to the most important factors. When choosing a suitable scheme, it is worth considering the following points:
- the presence of a local network, especially the pairing and interaction of its elements;
- the presence of a Wi-Fi router and its design features;
- what kind of connection options are available.
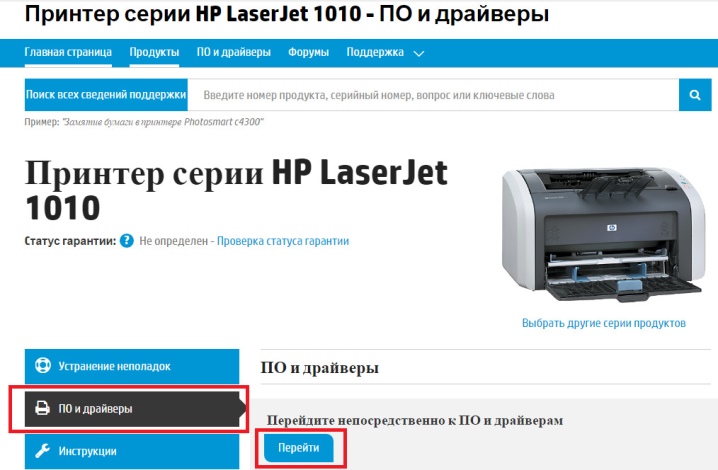
Regardless of the selected connection method, the printer itself must be installed on one of the PCs in the network. It is important to install the latest workable version of the corresponding software (drivers). Now you can find software on the Internet for almost all models of printers and MFPs.
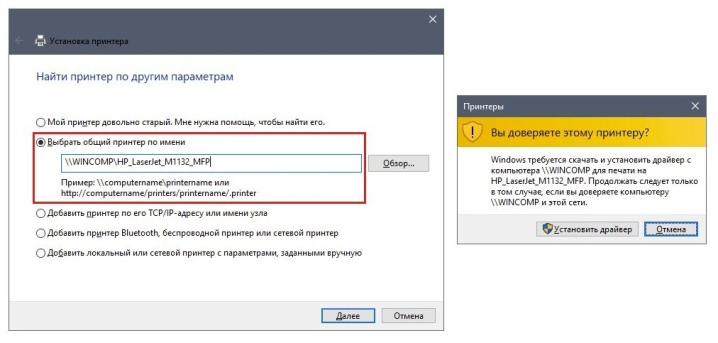
In some situations, a peripheral device may be "invisible" after installation and connection. To fix the problem during the search process, you will need to use the "The required printer is missing" menu item and find the device by its name and IP of the main PC.
A clear and detailed connection of the printer to the public access on a local network is presented in the following video.


The comment was sent successfully.