What can be done from a printer?
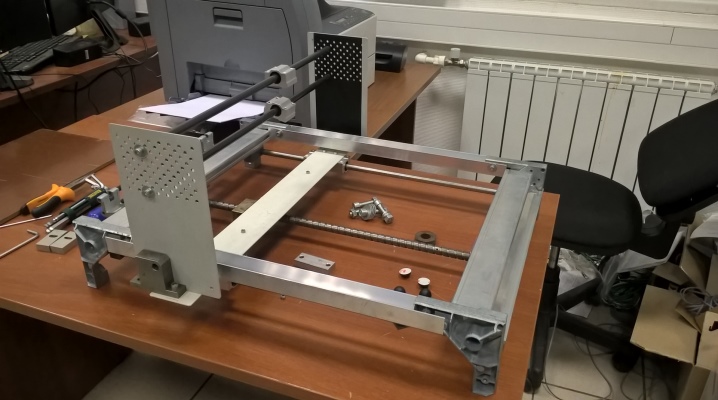
Most people have a printer at home or at work. This device is currently in demand, so if it breaks down, you need to quickly repair it or find a replacement for it. This article will discuss what useful things in the household can be made from a non-working printer with your own hands, if it is suddenly impossible to repair it.
How to make a CNC machine?
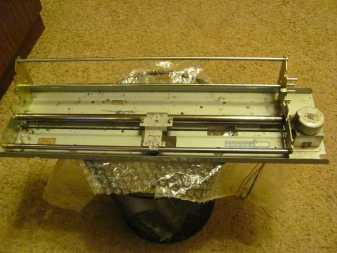
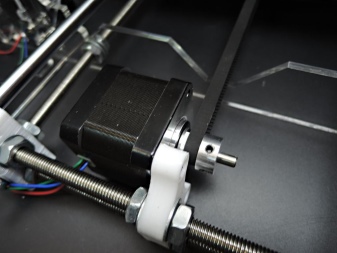
To do this, remove the following items from the broken equipment:
- steel guide;
- stepper motors;
- slide head assembly;
- toothed drive belt;
- Limit switches.
You also need such tools and materials:
- hacksaw;
- electric drill;
- bearings;
- self-tapping screws;
- duralumin corners;
- hairpins;
- side cutters;
- file;
- bolts;
- vice;
- pliers;
- screwdriver.
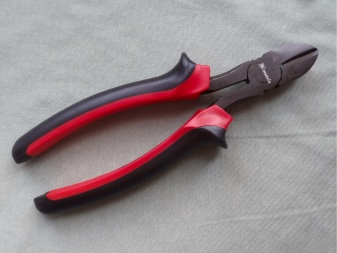
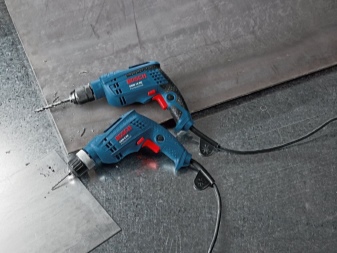
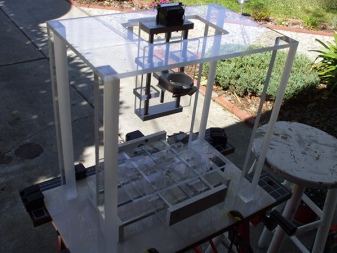
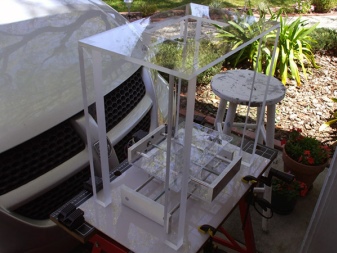
Next, we follow the plan below. First of all, you need to make several walls of plywood: the side elements should have dimensions of 370x370 mm, the front wall - 90x340 mm, the back - 340x370 mm. The walls must then be fastened together. For this reason, holes should be made in them in advance for self-tapping screws. This will require an electric drill. Passages must be made 6 mm from the edge.
We use duralumin corners as guides (Y-axis). It is necessary to make a 2 mm tongue for mounting the corners to the sides of the case. 3 cm should be retreated from the bottom. They should be screwed through the center of the plywood with self-tapping screws. The corners (14 cm) will be used to create the work surface. We put bearing 608 on the bolts from below.
Next, we open the window for the engine - the distance should be 5 cm from the bottom (Y-axis). Additionally, it is worth opening a 7 mm diameter window in the front of the housing for the propeller bearing.
The travel screw itself is easily made from the stud. It can be connected to the motor using a homemade clutch.
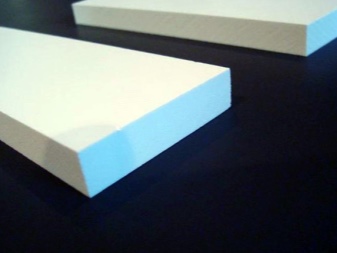
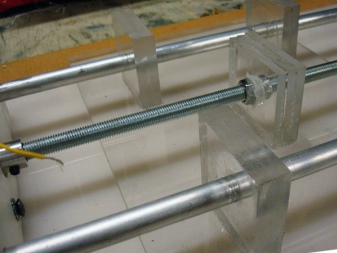
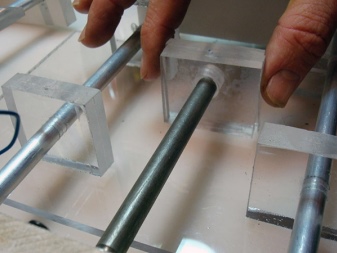
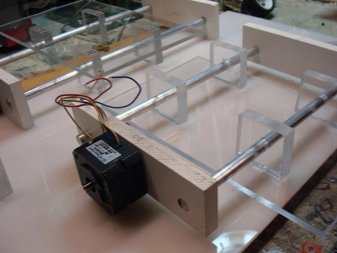
Now you need to find an M8 nut and make windows in it with a cross section of 2.5 mm. We will use steel guides on the X-axis (they can be removed from the printer body). Carriages must be put on the axial components - they should be taken there.
The base (Z axis) is made of plywood sheet No. 6. We glue all plywood elements with PVA glue. Additionally, we manufacture a stroke nut. Instead of a shaft in the CNC machine, we install a dremel with a holder from the bracket. In the lower part, we open a hole with a diameter of 19 mm for a dremel. We fix the bracket to the Z-axis (base) using a self-tapping screw.
The supports to be used on the Z-axis should be made of 15x9 cm plywood. The top and bottom should be 5x9 cm.
We open the windows under the guides. The final stage is the assembly of the Z axis with the bracket, after which it must be mounted in the body of our homemade equipment.
Other interesting ideas
In addition to the CNC machine, the old printer is quite often used for other purposes. Below are some ideas.
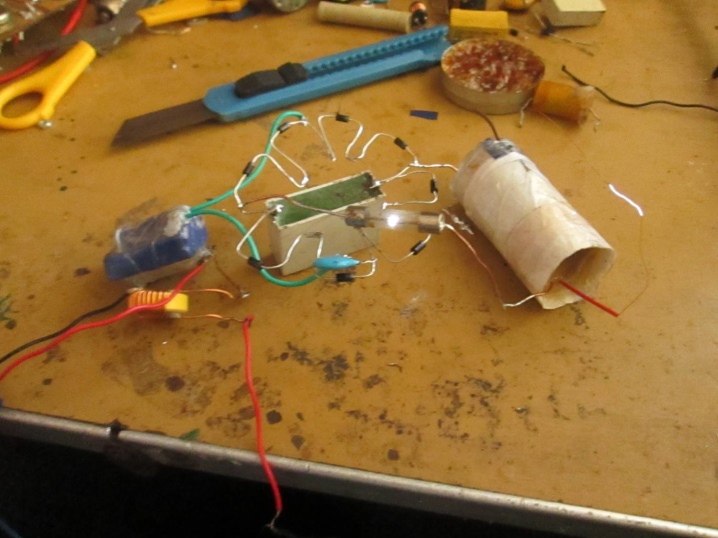
- Shocker. This device can be obtained from a small board that includes high voltage converters. However, without knowing the basics of electronics, such a device is practically impossible to make. This little gadget can be carried in a keychain as a keyring.
- Wind generator. Due to the presence of rather powerful motor elements in the printers, which can be removed from there, the craftsmen are building a rather interesting device - a wind generator. It is enough to connect the blades to them, and you can get electricity.
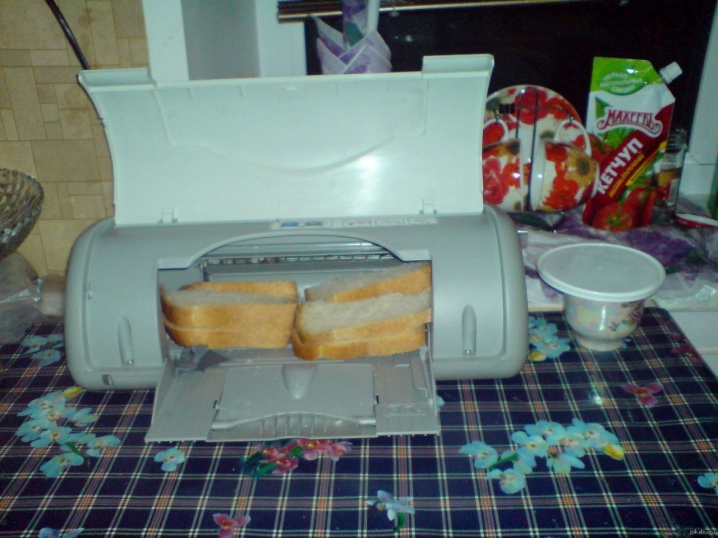
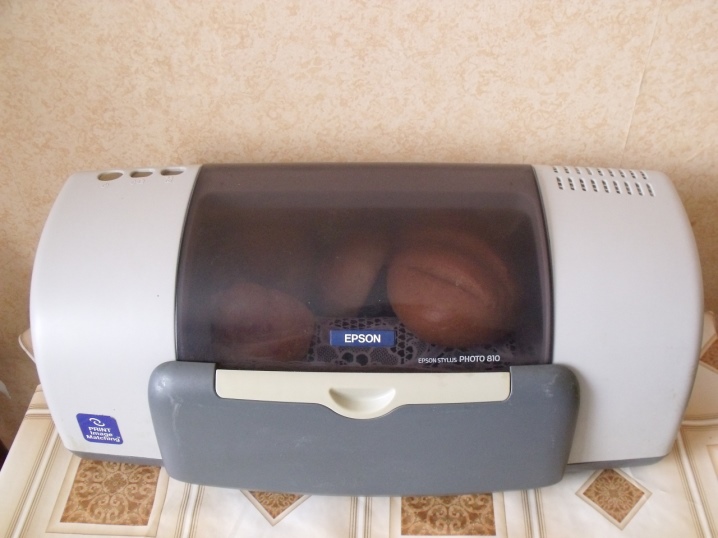
- Mini-bar or bread box. In this case, the entire inside of the printer is removed, and the outside is covered with a cloth. The resulting creativity can be used as you like, for example, as a small bar or bread bin.
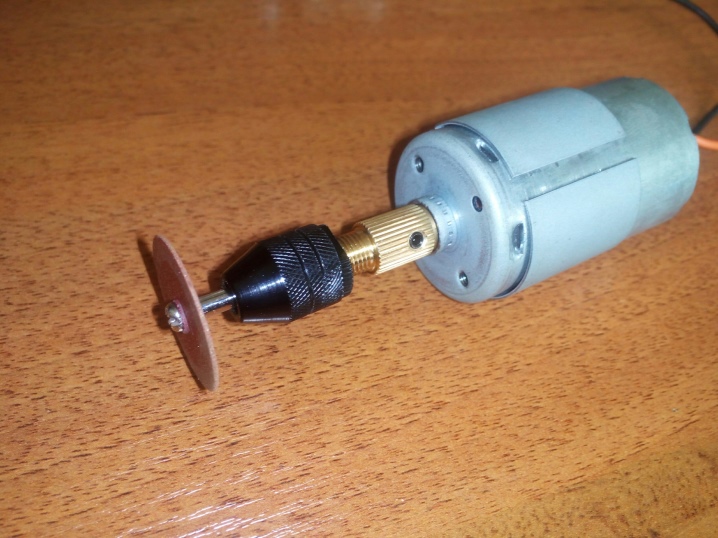
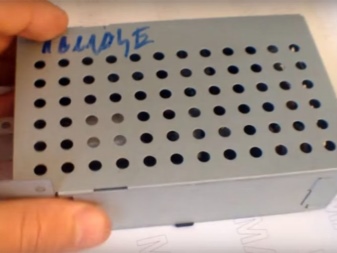
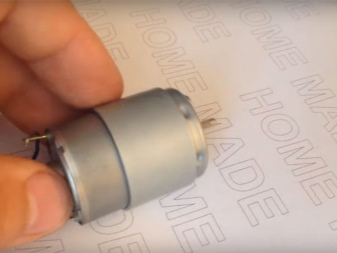
- Mini drill. To create this equipment, it is worth pulling out parts such as a small motor and a power supply unit from an idle printer - without them you will not succeed. Additionally, you need to buy a nozzle in the store, which should be mounted on the motor, and a mini-button installed on the drill. Next, you need to study a master class on creating a mini drill.
Master Class
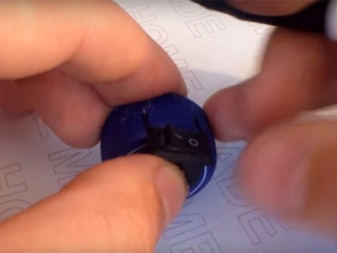
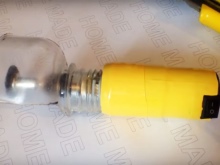
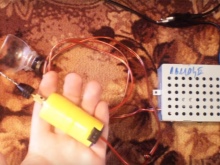
Below is a plan of action that must be followed in order to manufacture equipment such as a mini drill. First of all, you need to find a regular plastic bottle cap. You need to make a hole in it for the switch, as shown in the photo. Another hole must be opened for power. Then we thread the contact, one end must be soldered to the motor, and the other with a break (the switch will be located in it). The plug should be fixed with glue on the motor.
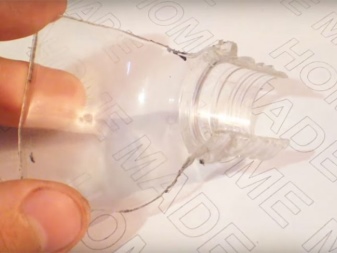
Such mini-equipment needs protection - it is human safety that cannot be ignored. To do this, from a simple transparent plastic bottle, you need to cut a piece 6 cm long (including the neck), as shown in the photo. The edges need to be melted with a lighter for strength. You will need a few neodymium magnets and glue them inside the neck.
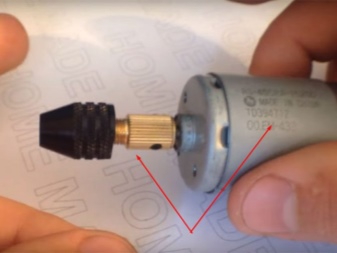
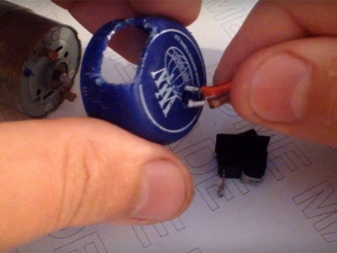
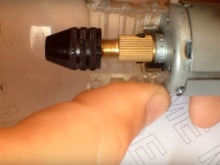
We put on protection on the case - it will be held by magnets. Now you need to compress everything with heat shrinkage - this can be done with an open fire. We connect the switch. To do this, the ends of the wire must be soldered to the switch. We connect to an energy source - a power supply by soldering. The mini drill is ready and can be used with a variety of attachments.
Recommendations
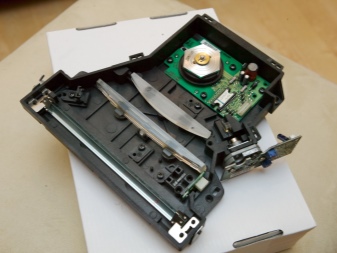
Along with conventional printers, equipment such as copiers, laser printers and MFPs are often beyond repair. There are quite a few interesting elements here that can be really applied in the future. Below is a list of the most significant details:
- stepper motor - can be removed from scanners and laser printers;
- sponges and inking element - found in cartridges;
- 24 V power supply unit - MFP;
- smd-transistors, quartz resonators - boards;
- laser - laser printers;
- heating element - laser printer;
- thermal fuse - laser printer.

How to make a mini drill from an old printer, see below.


The comment was sent successfully.