HP Printer Repair
In the modern world, repairing printers is not a cheap pleasure, so some users decide to do the repair themselves.
Diagnostics
Before repairing the printer, it is necessary to diagnose it. Moreover the diagnostic principle of an inkjet printer is different from that of a laser... Only after identifying the cause of the breakdown can you assume exactly how to repair the printer.
Inkjet
If the machine periodically "jams" the paper during use, emits extraneous sounds, such as clicks, or gives an error due to which a particular file cannot be printed, then there are serious problems with the printer that must be eliminated immediately... In this case, the problem may be in the revolution counter or pendulum mechanism, which are already worn out and require replacement.
If a red button or several buttons flash on the panel at the same time, this indicates that the resource of the container in which the waste ink accumulates has already been exhausted, and this part also needs to be replaced. Second the cause may be a malfunction of the rev counter... Some printer models may generate an error if the head of the machine is clogged or worn out.
Sometimes the error occurs when the ink simply does not reach the drum, so to make sure that the problem is in the counter or pendulum mechanism, you need to check if the printer is using the ink correctly.
Sometimes this happens when the user does not use the original cartridge, but an analogue, therefore, due to incompatibility, such problems arise.
Laser
Clicks and strange hums in laser printers, as well as in inkjet printers, should alert the user, as this indicates a certain malfunction. In this case, the problem may be a broken roller or tray. Pay special attention to the tray, as even minor damage, such as small deformation, can affect the operation of the printer..
In the event of a breakdown of the roller, you will either have to deal with the immediate elimination of the problem, or immediately change it to a new one. Otherwise (if you continue to use the device), you may encounter a host of other problems.
If the buttons on the panel are constantly blinking, the device itself gives an error and refuses to perform its functions, or it simply stopped turning on normally, then there can be many reasons for this.
One of the first is poor contact with the consumable, so the printer cannot print the file. Sometimes this can be caused by problems with the electronics, for example, an element has burned out or a certain area has undergone deformation.


Be sure to check if there is a foreign object jammed between the paper and the roller.... For example, suppose you wanted to print a file on the back of an already used sheet, but you didn't notice the paperclip. This reason for the breakdown is the most commonplace, it is worth checking this option just in case.
If when printing, the printer tears the paper or "chews" it, then the problem is probably the fuser... In this case, to eliminate it, it will be necessary to replace parts such as bushings, thermal film, rubber shaft. If the situation leaves much to be desired even after these manipulations, then all that remains is to completely replace the stove.

If the image starts to fade gradually or is blurry after printing, then the problem is in the fuser. But if after printing the image is not erased or smeared, then the malfunction must be looked for in the optics of the device.


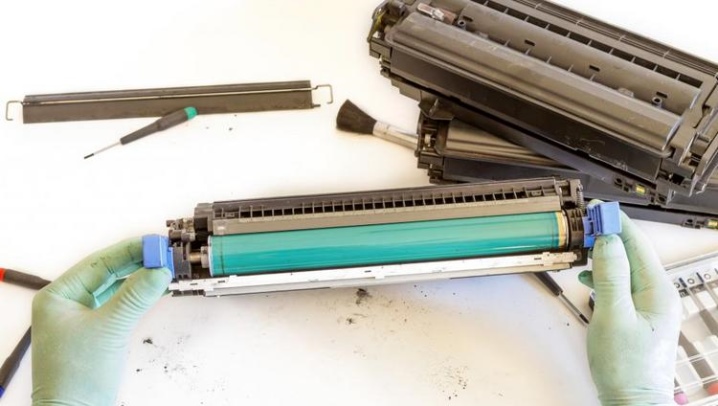
The thermal film or photo roll is damaged if you find scratches or other imperfections on the paper after printing. A similar effect can occur when the drum unit is worn out.
Required tools
To repair the device with your own hands, you will need:
- crosshead screwdriver;
- flat screwdriver;
- long screwdriver;
- pliers;
- forceps;
- tweezers;
- Lantern;
- soldering iron.


These tools are essential when repairing the printer yourself. In hardware stores, you can often find whole sets of cases designed to eliminate all problems, and many of them can come in handy.
How to repair?
HP printers can be repaired at home, whether they are black and white or color.
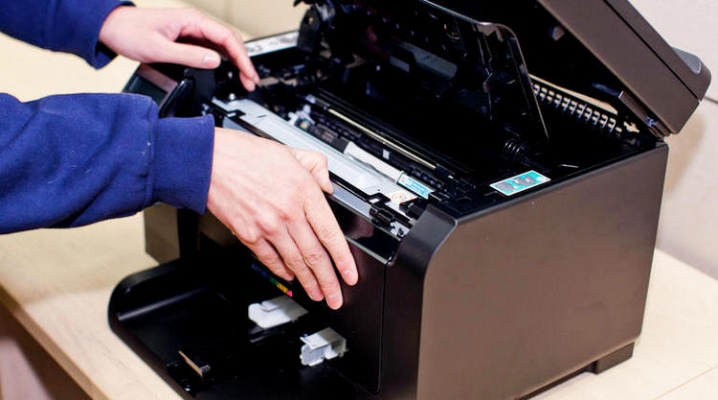
In the event that you have problems with the device due to internal contamination, then you need to do the following:
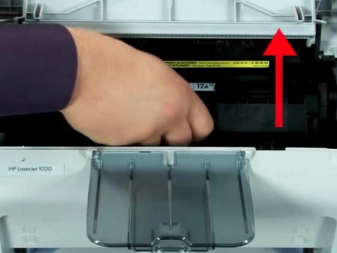
- first you need to unscrew the back cover of the printer;
- get to the roller and remove the ruler;
- the ruler is thoroughly washed under running warm water, wiped off with a dry sponge and left until it dries completely;
- then you can install the ruler yourself.


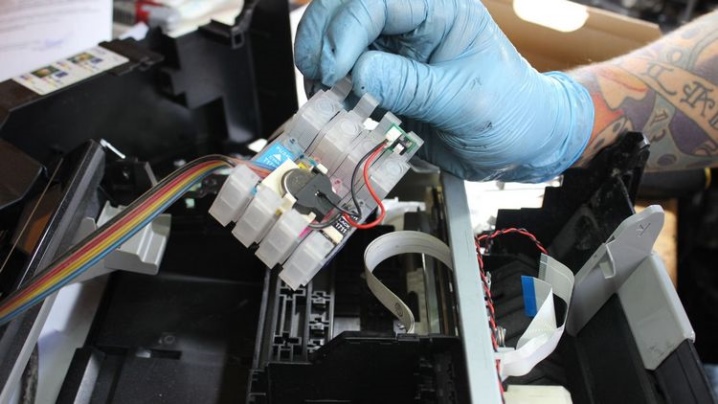
If it comes to repairing the head, it is better to leave this venture right away., since if the mechanism has ceased to function normally, then it will not be possible to fix the breakdown with your own hands. In order for the head to work again with high quality, it is necessary to take the device to a service center.
Remember that it is not recommended to clean the elements of the device with alcohol, as this will only aggravate the situation.

If the carriage is not caught in the teeth, the motor will be wasted, which will not have the best effect on the functioning of the printer. In this case, the problem is the bad condition of the tensioning belt. The first step is to check its condition. The situation can be resolved by tensioning the spring on the bracket, since, as a rule, it has a weak fixation. However, if the fixation is quite strong, but the problem has not gone anywhere, then a replacement must be made.

Carriage problems are the easiest to fix at home... This does not even require unwinding the printer. One of the elements associated with the carriage in the device is a transparent ruler, the efficiency of the carriage depends on the degree of its contamination. That's why it is necessary to turn off the printer, remove the case and check the ruler. If it is very dusty, then remove, rinse under running warm water and let dry.
However, before removing the ruler, be sure to remember exactly what position it was in, otherwise you yourself will create problems for yourself.

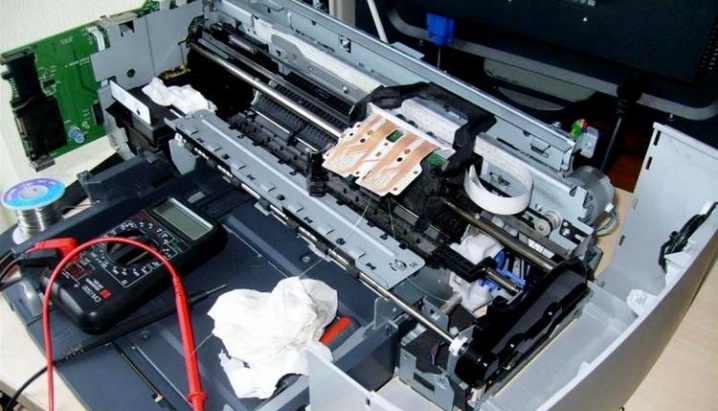
If the carriage moves in jerks, then this can also be corrected at home.... The reason lies in the imbalance of the printing mechanism, which is a rather serious breakdown. You will need to completely disassemble the device, removing all the mechanisms from it in sequence. Even the smallest element needs a thorough cleaning, so it is better to use a brush. Then, when the mechanisms are dry, you need to wipe them with a cotton pad or dry sponge, and then reassemble.
Care Tips
Most of the breakdowns occur due to the accumulation of dirt inside the device, therefore, periodically it is necessary to ensure that all the necessary elements are kept clean.
Sometimes, in order for the ink to be evenly distributed in the roller, you need to take out the cartridge and shake it a littleotherwise, ink will accumulate in the middle, resulting in less bright print around the edges.

Basic principles of caring for printers:
- it is necessary to monitor the indicators of humidity and air temperatureas this can also adversely affect the condition of the printer;
- pay a lot of attention to the "weak" points of the apparatus - small and fragile parts;
- watch the print head, which also has its own resource, and it may end at the most unexpected moment;
- the carriage shaft should be periodically wiped with a soft and dry clothso that it does not get clogged;
- monitor fans and filtersso that they do not overheat, otherwise the print quality may decrease, and the printer itself may break;
- necessary keep track of the paper you are going to print the file onso that there are no foreign objects such as paper clips on it.


Thus, in order to prevent serious damage, it is necessary to treat the device with care, listen to every unusual sound and act immediately if any malfunctions occur, otherwise the problem can only worsen.
See the video below for how to replace transparencies in HP printers.


The comment was sent successfully.