How and how to clean an Epson printer?

The printer has long become one of the devices without which no office worker or student can imagine their life. But, like any technique, the printer can fail at some point. And there are many reasons why this can happen. It is very easy to eliminate some even at home, and in some it is impossible to do without the intervention of a specialist.
This article will address a problem in which an Epson inkjet printer just needs to be cleaned with your own hands so that it can continue to work.
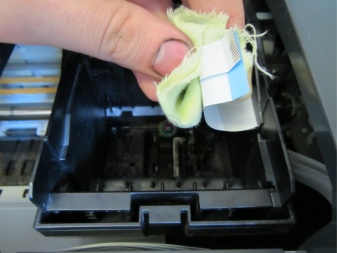

When is cleaning required?
So, let's start with the fact that you need to understand when exactly you need to clean a device such as an Epson printer or any other. Even when used correctly, you shouldn't think that all elements will always work great. If the use of consumables is not always possible to control, then malfunctions in the printing equipment will begin sooner or later. A blockage in the printer head can occur in the following cases:
- dry ink in the print head;
- the ink supply mechanism has broken;
- clogged special channels through which ink is supplied to the device;
- the ink supply level for printing has increased.
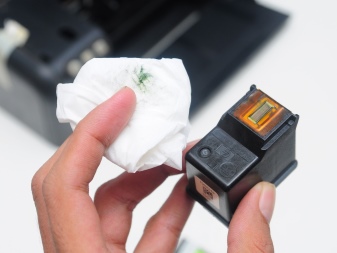
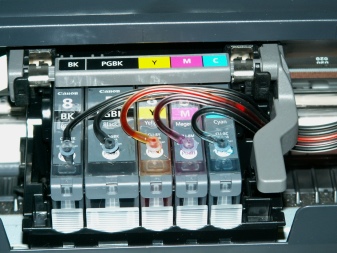
To solve the problem with head clogging, printer manufacturers have come up with a special program to monitor its operation, which will help solve the problem through a computer.
And if we talk specifically about cleaning, then there are two ways to clean the printer:
- manually;
- programmatically.

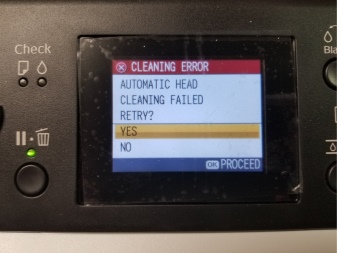
What to prepare?
So, in order to clean the printer and rinse the device, you need some components.
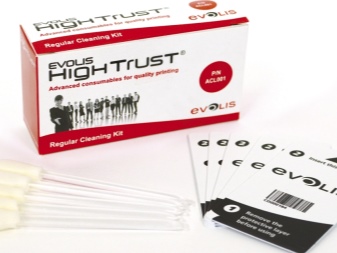
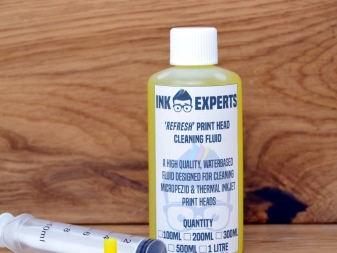
- Specially manufactured flushing fluid from the manufacturer. This composition will be very effective, because it allows cleaning in the shortest possible time.
- Special rubberized sponge called kappa. It has a porous structure, which allows the liquid to get to the print head as quickly as possible.
- Throw away flat-bottomed dishes. For these purposes, you can use disposable plates or food containers.
How to clean?
Now let's try to figure out exactly how you can clean your Epson printer. Let's consider this process on different models of printers. Besides, we will find out how you can clean the print head, and how you can rinse other elements.

Head
If you need to directly clean the head and clean the nozzles for printing, as well as clean the nozzles, then you can use a universal method that is suitable for all printer models without exception.
Typically an indication that this needs to be done is to print in stripes. This indicates that there is a problem with the print head.

It is either clogged or the paint has dried on it. Here you can use software cleaning, or physical.
First, we check the print quality. If the defects are not too pronounced, then you can use the physical cleaning option.
- We release access to the mouth guard. To do this, start the printer and after the carriage begins to move, pull out the power plug from the network so that the movable carriage moves to the side.
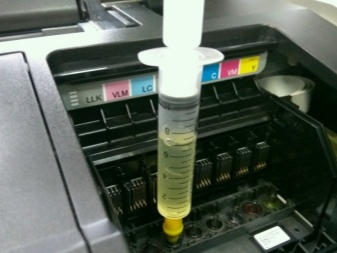
- The mouthguard should now be sprayed with flushing agent until the housing is full. It is best to do this with a syringe and it is important not to pour too much of the compound so that it does not leak from the print head into the printer.
- Leave the printer in this state for 12 hours.

After the specified time period has passed, the flushing liquid should be removed. This is done by returning the carriage to its normal position, turning on the printing device and initiating a self-cleaning procedure for the print head.
If, for some reason, the above actions did not bring the expected results, then the procedure should be repeated several more times.
Now you need to print an A4 sheet in any program. At the same time, press the button and clean the nozzles, which will also help remove ink residues in the printer.

Other elements
If we talk about cleaning the nozzles, then you will need to have the following items on hand:
- glue like "Moment";
- alcohol-based window cleaner;
- plastic strip;
- microfiber cloth.


The complexity of this process is not great, and anyone can do it. The main thing is to be as careful as possible. First, we connect the printer to the network and wait for the moment when the print head moves to the center, after which we turn off the device from the outlet. Now you need to move the head back and change the diaper parameters.
Cut off a piece of plastic so that it is slightly larger than the diaper.

By the same principle, we cut off a piece of microfiber, having previously cut off the corners, as a result of which an octagon should be obtained.
Now glue is applied to the edges of the plastic and the edges of the fabric are folded over from the back. We spray the cleaning agent onto the resulting device and give it a little time to soak well with it. To clean the Epson printer pads, place a soaked microfiber on it. While supporting the plastic, slide the print head in different directions several times. After that, it should be left on the fabric for about 7-8 hours. When the specified time has elapsed, remove the cloth and connect the printer. You can then try to print the document.

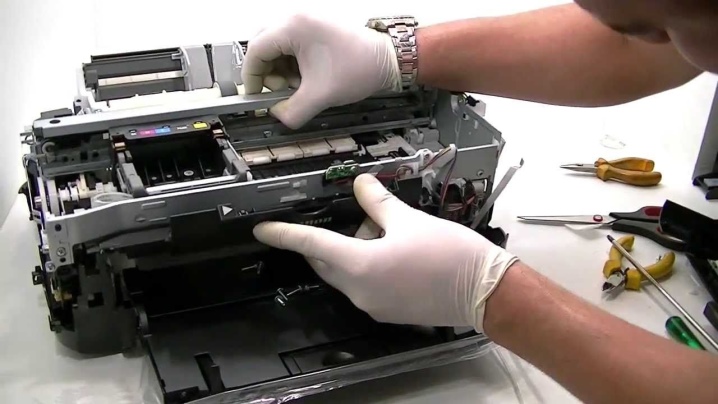
Another method of cleaning the printer head and some of its parts is called "Sandwich". The essence of this method is to soak the internal elements of the printer in a special chemical composition. We are talking about the use of detergents for cleaning windows and mirrors. Before starting such cleaning, it is also required to dismantle the cartridges, remove the rollers and the pump. For a while, we put the mentioned elements in the specified solution so that the remnants of dried paint lag behind their surface. After that, we take them out, wipe them dry with a special cloth, set them carefully in place and try to print.

Software cleaning
If we talk about software cleaning, then this type of cleaning of the Epson printer can be used initially if the resulting image when printing is pale or there are no dots on it. This can be done using a special utility from Epson called Head Cleaning. Cleaning can also be carried out using the keys located in the device control area.
At first, it will not be superfluous to use a program called Nozzle Check, which will make it possible to clean the nozzles.

If this does not improve the print, then it will definitely become clear that cleaning is needed.
If it was decided to use Head Cleaning, then you should make sure that there are no errors on the corresponding indicatorsand that the transport lock is locked.
Right-click on the printer icon on the taskbar and select Head Cleaning. If it is missing, then it should be added. Once the application has been launched, follow the on-screen instructions.
If this operation has been carried out three times, and the print quality has not improved, then you should start the enhanced cleaning from the device driver window. After that, we still clean the nozzles, and if necessary, clean the print head again.
If the above steps do not help, then you should contact a specialist.
We will also consider the option of performing software cleaning using the keys on the control area of the device. First, make sure that the indicators are not active, which indicates errors, and that the transport lock is not in the locked position. After that, press and hold the service key for 3 seconds. The printer should start cleaning the print head. This will be indicated by a blinking power indicator.
After it stops flashing, print a nozzle check pattern to make sure the print head is clean.
As you can see, every user can clean the Epson printer. The main thing is to clearly understand your actions and have the necessary materials at hand. Also, the cleaning process may differ slightly depending on the model of the device that is available.

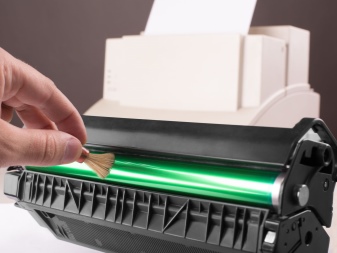
How to clean the print head of your Epson printer, see below.


The comment was sent successfully.