How to make a garage oven from a gas cylinder?
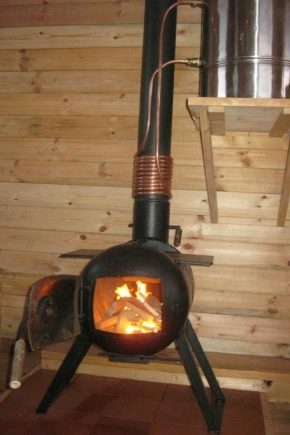
Everyone knows from their own experience how uncomfortable it is in winter in a garage without heating. In addition to insulating walls, roofs, floors and ceilings, the classic option for generating heat in the garage is a stove.
Usually this is a very common unit of the "stove-stove" type, welded from pieces of pipes or used bodies of gas cylinders.
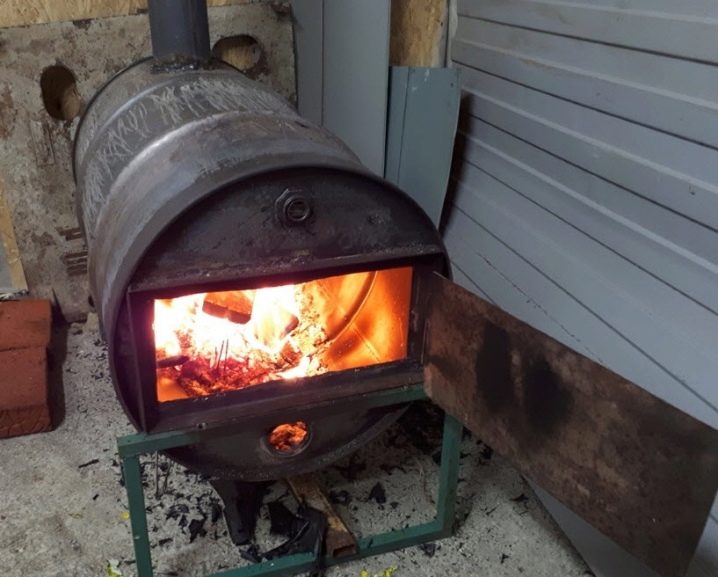
Gas cylinder oven: pros and cons
There are many other options: welded from sheet iron, stacked from bricks, and so on. But today we are interested in the most common and functional option - a stove converted from a gas cylinder, since the price tag of a finished cast-iron or steel plate in a store is not suitable for everyone.
Self-production of "potbelly stove" from a gas cylinder - the most economical and efficient garage heating tool.
There can be many options for fuel for "burzhuekas": coal, mining, combustible mixtures, but basically they are natural materials - wood.
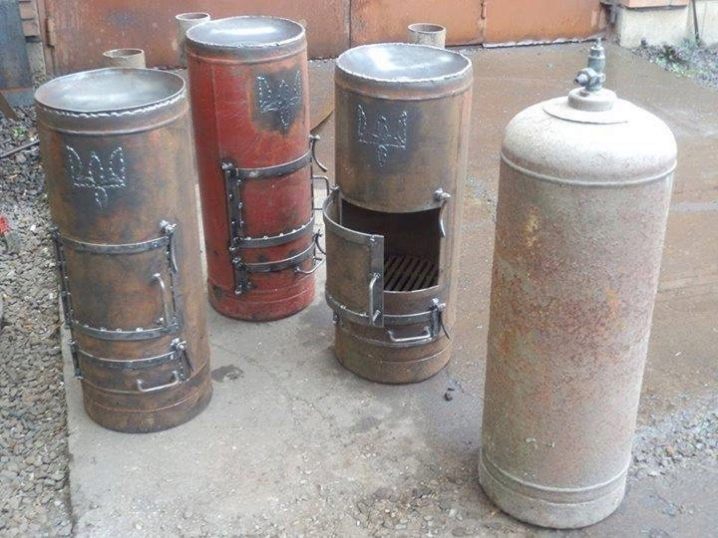
Calculation of parameters: drawings and recommendations
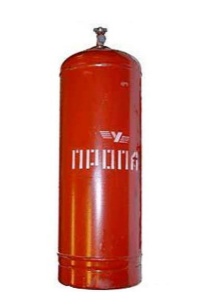
You should start with the selection of source material. A 50 liter gas bottle is ideal.
Its dimensions: 300 mm in diameter, 850 mm in height with a 4 mm metal wall.
These cylinders are commonly used in a wide variety of applications, from stove fuels to industrial applications.
The main parameters and features of the manufacture of the stove:
- the chimney is usually made from a pipe with a cross section of 100-125 mm with a wall of 3-4 mm;
- position it vertically, possibly with a slight deviation, at 25-350;
- the firebox and ash pan are equipped with doors that must be locked to improve heat transfer during fuel combustion and for fire prevention purposes, in addition, the doors are used to regulate the air supply;
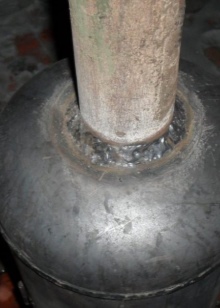
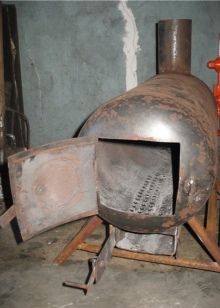
- it is important that the firebox must have sufficient depth for firewood of a convenient size;
- grates are needed for storing fuel and separating ash and coal during the combustion process;
- it is better to weld them from the most durable and heat-resistant material, for example, from reinforcing bars with a thickness of 12-15 mm;
- their length must correspond to the inner diameter of the cylinder body; this grille usually has a mesh or a gap with a pitch of 10-15 mm;
- in order for your "potbelly stove" to heat and heat properly on wood, it is built according to the principle of an ordinary wood-burning stove.
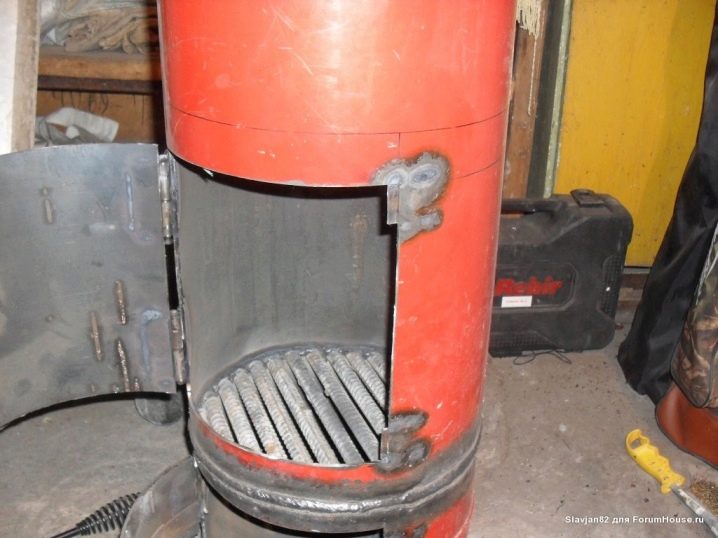
DIY construction
Let's consider a rough diagram.
- The firebox and ash pan are separated by a grate made of refractory material.
- Firewood is laid on it and set on fire. As the combustion progresses, soot and coals are poured into the ash pan.
- The blower is an important element of the furnace. For better combustion of firewood, the furnace needs a constant supply of air, for which holes are made.
- An alternative way to provide the combustion process with oxygen is to open the furnace door from time to time.
- Combustion products are removed using a chimney. If it is laid incorrectly, the opposite effect can be achieved - instead of smoke, a significant part of the heat will go through the chimney, and smoke will be created in the room. Consequently, an unreasonable amount of firewood will be wasted, which will lead to low efficiency.
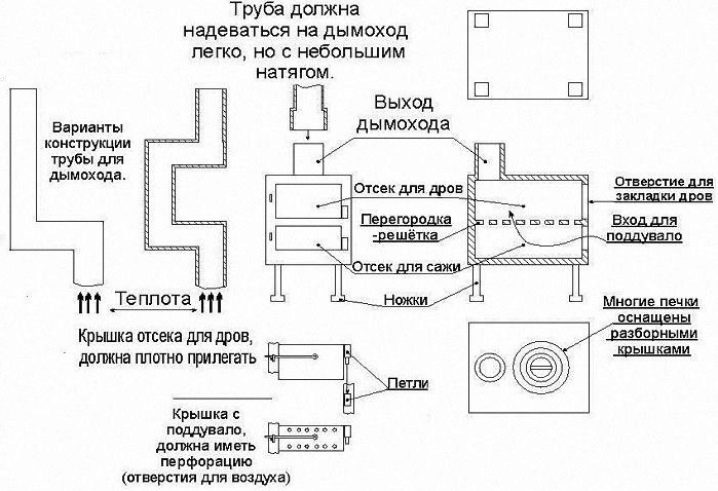
How does it work?
The operating principle of our stove:
- combustion air is supplied through the blower into the furnace;
- fuel burns out in whole or in part;
- through the chimney, the combustion products are drawn into the atmosphere by natural draft;
- it is possible to regulate the process of constant combustion with the desired heat transfer by ensuring continuous combustion;
- the process is regulated by opening / closing the door of the blower or view.


Materials (edit)
To make the stove, prepare the following materials:
- a sheet of metal for the ash pan and hob, if the stove is located horizontally;
- chimney pipe (preferably with two elbows);
- materials for fixing grates and supports;
- oven doors.

Instruments
To work you will need:
- welding machine;
- grinder;
- welding electrodes;
- hammer;
- tape measure, centimeter tape;
- chisel;
- pliers;
- (electric drill;
- brush with metal bristles for stripping;
- chalk pencil.


Preparatory work
Before proceeding directly to the manufacture of the stove, you need to prepare the cylinder for work.
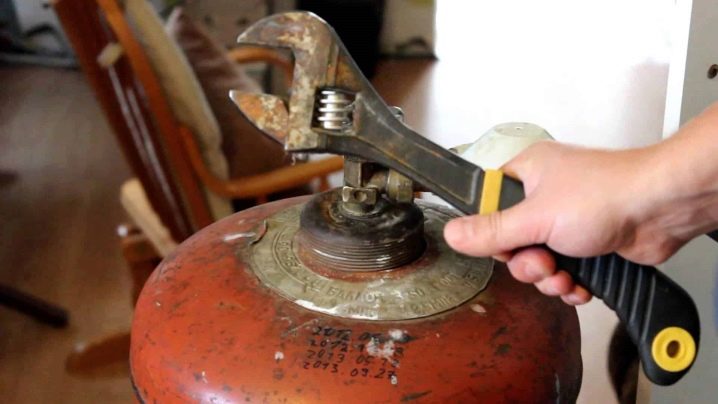
- We get rid of the contents of the cylinder by completely opening the valve.
- When the gas stops emitting hiss, in addition, observing all safety measures, the cylinder can be slightly warmed up.
- Mercaptan perfume (odorant) - does not have the most pleasant smell, so you need to get rid of it. One way is to completely fill the container with an acidic liquid (bleach, cleaning agents, and the like) for a while.
- Clean the inner surface of the cylinder with a 10% NaCl soda solution.
Making a stove from a gas cylinder with your own hands
At the same time, it is necessary to select the orientation of the stove position (horizontal or vertical).
The difference between these options is in the purpose of use.
- A horizontally placed stove is usually more used for cooking.
- A vertically located stove - for heating due to greater traction and space saving.
For the second reason, this option is more often used in capital garages.

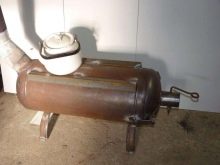
Production of a horizontal version:
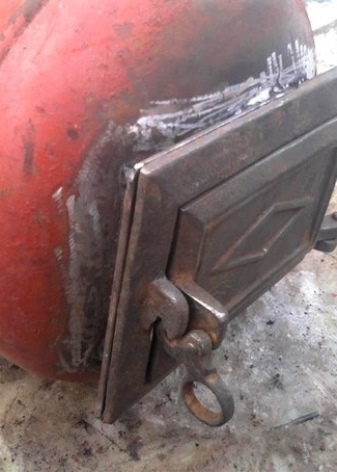
- the upper part, where the valve is located, is cut off from the cylinder to install the door (the photo shows another option, where instead of cutting off the upper part, a ready-made cast-iron door is used);
- holes for the grate are drilled in the wall of the cylinder, or fasteners are welded inside for arranging a removable grate;
- supports / legs / runners and the like are attached from below;
- if the grate is drilled in the cylinder body, an ash pan made of sheet metal is attached from below;
- an adapter for the chimney is welded in the wall of the cylinder as close to the bottom as possible;
- the chimney pipe must necessarily contain the so-called "elbow".

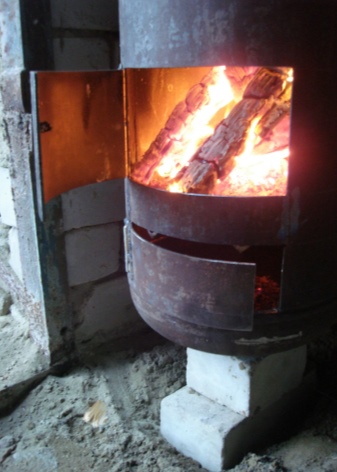
Vertical version production:
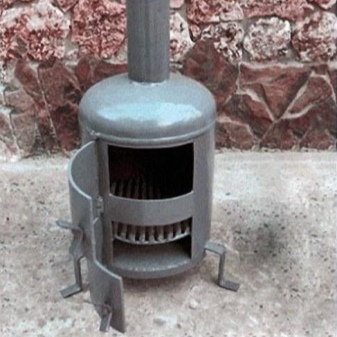
- the valve is cut off, and a 10-15 cm chimney pipe is welded in its place;
- a hole is made 5-7 cm above the bottom for a blower;
- another 5-7 cm recede from it and an opening for the door is cut out;
- inside the container, in the opening between them, a grate is inserted, or fasteners for a removable grate are welded;
- install doors with latches and supports / poles / runners.

Features of operation, cleaning and repair
Here are some useful tips for the correct and economical operation of the stove.
- The stove is installed 20-30 cm from the surface on which it stands. This is the optimal space for heating the room.
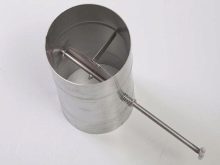
- It is recommended to install a shut-off damper (view) in the chimney to save firewood by decreasing / increasing natural draft.
- You can create a variant of the radiator by welding metal strips / plates to increase the heating area of the oven walls at a distance of 5-7 mm.
- It is not necessary to paint the stove, but if the aesthetic appearance is important, only heat-resistant paint should be used.
- The stove must certainly have a concrete / brick / metal support under it for fire safety purposes.

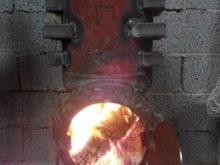
- It is advisable to clean the chimney 1-2 times a year before and after the heating season. To reduce heat loss, the chimney is sometimes insulated with non-combustible materials.
- All joints of the chimney must be made as tight as possible, at least - they must not let harmful combustion products and smoke into the garage.
- A prefabricated chimney is the optimal solution. The beginning of the assembly must be carried out from its outer part, and not from the potbelly stove. In this case, it will be more convenient to dismantle it for maintenance, cleaning or repair.
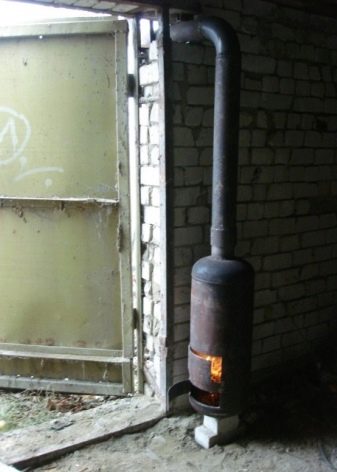
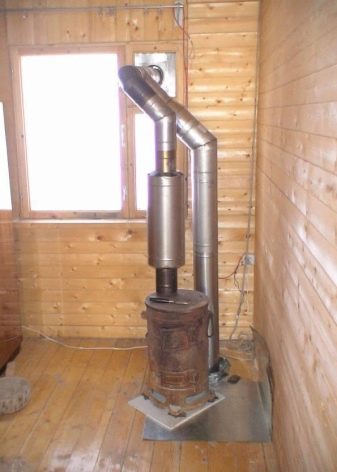
- In a brick or concrete garage, the minimum distance to the wall is not specified. But in any case, everything that is not fireproof must be at least half a meter from the furnace body.
- If the interior finishing of the floor, walls or ceiling of the garage is made of combustible materials, the floor must be covered with a sheet of non-combustible material. It should protrude from the firebox by 700-800 mm, the adjacent walls are covered with a non-combustible substance to a height that exceeds the dimensions of the stove by at least half a meter.
The following video will clearly show you how to make the most convenient and functional version of a potbelly stove from a gas cylinder.










The comment was sent successfully.