How to make a garage from a profiled sheet with your own hands?
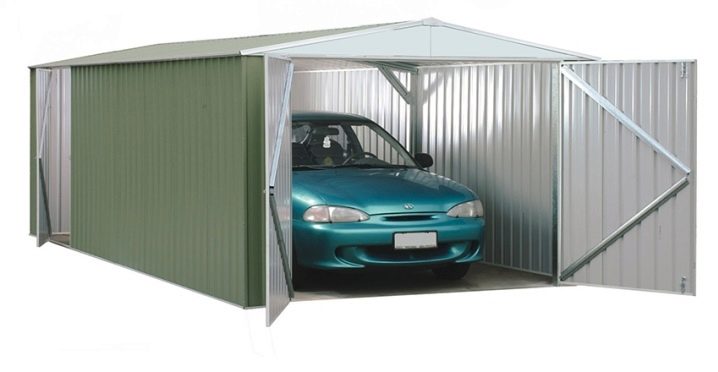
If you are tired of paying for parking and storing replacement tires at home, it is advisable to build a garage in such a situation. It can be constructed quite quickly and relatively inexpensively using a profiled sheet.
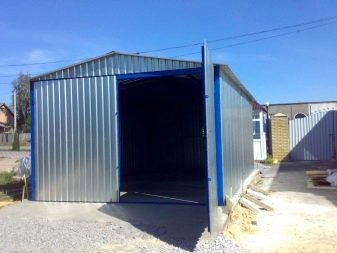
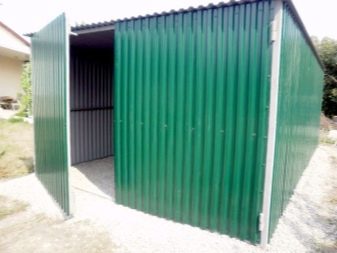
Peculiarities
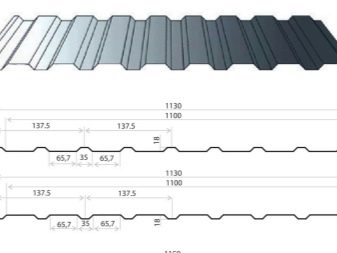
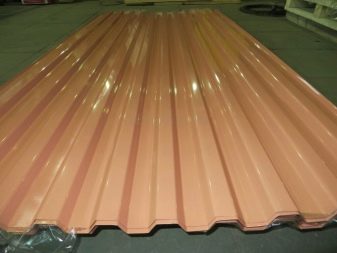
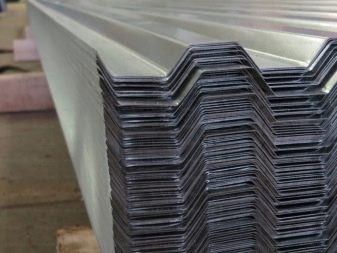
Profiled sheet is much lighter and thinner than profiled flooring, this is important if you do not have a construction assistant. For walls, a sheet of grade C18, C 21 is better suited, the letter means mounting on the wall, and the number means the height of the wave in centimeters. It is also possible to use NS for these purposes - a load-bearing galvanized wall sheet or an option with a polymer or aluminum coating. The height of the wave indicates the reliability of withstanding the bearing load, with a greater wave height, the distance between the frame parts is greater.
A flexible thin sheet needs a strong frame base.
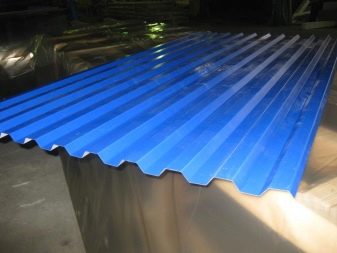
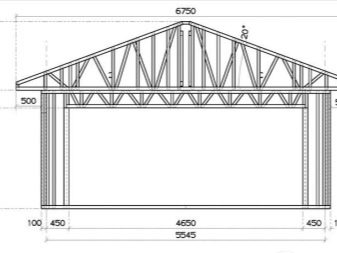
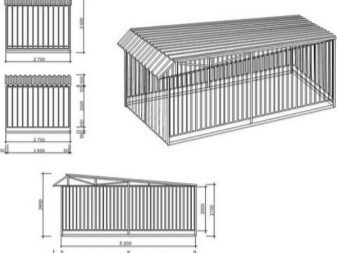
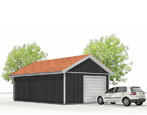
When you have decided on the material, you need to choose the desired design, taking into account the financial capabilities, the size of the site, the dimensions and the number of cars. The garage can be built for one or more cars with a shed or gable roof, with hinged, sliding or lifting gates, with or without doors in the gates. Less expensive and easier to build is a garage for one car with a shed roof and two swing gates without a door.
There are various ready-made drawings with designs for the future structure.
Advantages and disadvantages
Buying a profiled sheet is relatively cheap, it does not require additional processing (priming, painting, grinding). The construction of such a garage will make it possible to reduce the cost of the foundation by saving on concrete or its components, if you prepare the concrete yourself.
Profiled sheet is non-flammable, flexible, easy to manufacture, has a long service life of up to 40 years and a beautiful appearance. The disadvantage of the sheet is that it is easy to damage it mechanically, and this can cause corrosive processes, and a garage made of such a material is not reliably protected from intruders entering. The metal has good thermal conductivity, the profiled sheet heats up and cools quickly, which causes discomfort when being in the room, but this drawback can be eliminated by insulating the garage.
Preparation
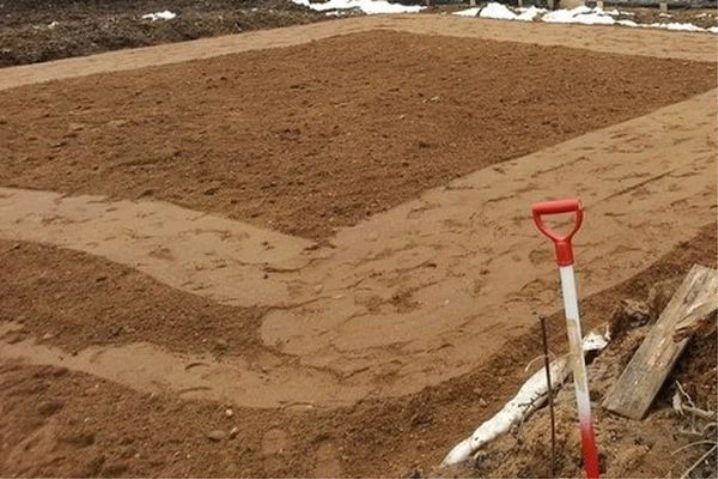
The construction of a garage in a private house or in the country must begin with determining its location. It should be convenient for entry, located not far from the house, no closer than 1 m from the neighboring site, 6 m from other buildings, 5 m from the red line (earth and underground engineering networks) and 3 m from the artificial reservoir (if any). Construction begins with the preparation of a site for the foundation, it should be as even as possible.
Having chosen a site, you need to decide on the size and design of the garage, make a drawing of it.
The type of foundation will depend on this.
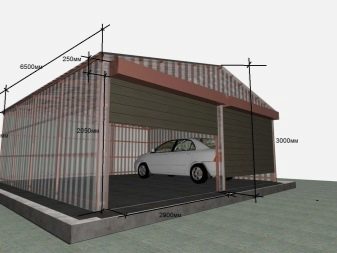
First you need to measure the plot, then you need to decide for how many cars you plan to use the garage for, and what you want to place in it besides cars. Do not forget to provide a place for shelving where you can store tools, spare parts and a replacement set of rubber discs. The optimal height of the garage is 2.5 meters, the width is equal to the size of the car with the addition of one meter, and the length of the garage is also calculated.
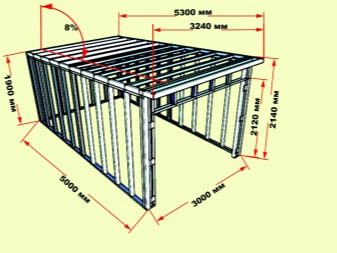
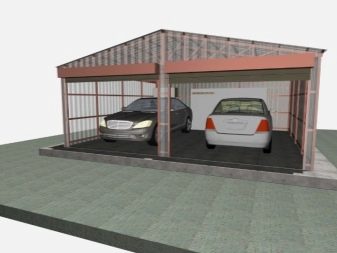
If space permits, add another meter, because over time you can change the car, purchase dimensional tools and accessories. For two cars, the length of the garage should be calculated according to the largest car, and plan a distance of at least 80 centimeters between them. If the width of the site does not allow you to put cars next to each other, you will have to make the garage longer for 2 cars, although this is not very convenient.
Foundation
Having provided for all the nuances, you can mark the site for the foundation, starting the process with land work. A metal-profile garage is lightweight even with insulation.
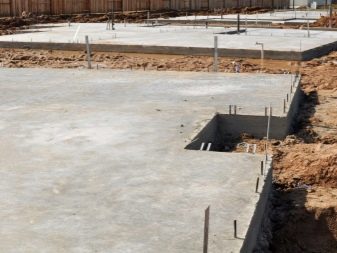
On a pre-leveled site, depressions are made of 20-30 cm, depending on the foundation:
- a strip foundation 25-30 cm wide is placed around the perimeter of the garage;
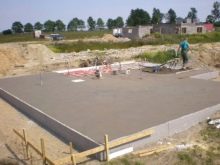
- a monolithic slab, which will be the floor in the garage, corresponds to its size;
- for vertical racks of the frame, a depth of up to 60 cm and a width of 30x30 cm is created;
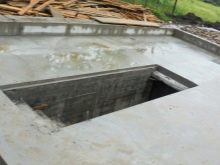
- for a viewing pit, cellar, or both of these sections (if you plan to do them), do not forget to take into account the depth of the groundwater.

Having carried out earthworks, you can make a calculation of the materials required for the manufacture of the foundation:
- sand;
- crushed stone;
- formwork material;
- fittings;
- wire;
- concrete or its components (cement M 400 or M 500, sand, crushed stone).
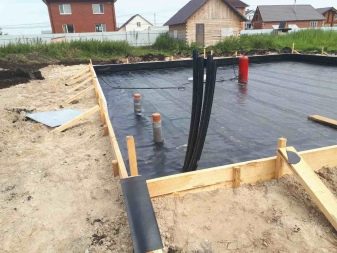
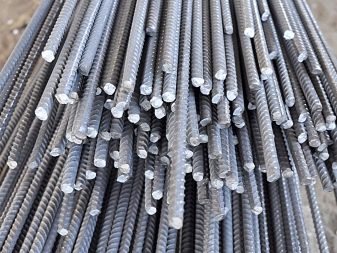
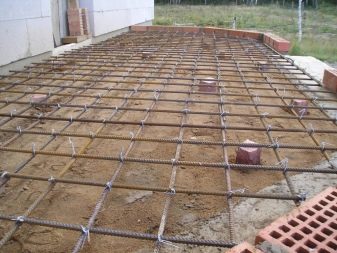
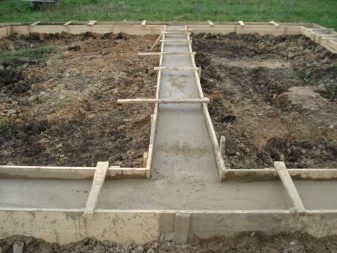
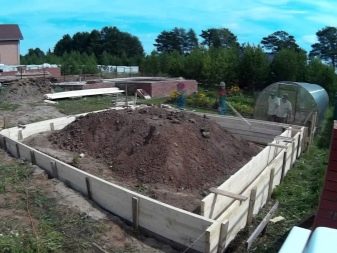
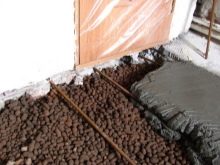
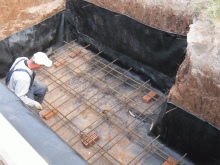
Racks with spacers welded to them, treated in the lower part against corrosion, are installed in the places prepared for them strictly vertically, covered with stone or large rubble. Sand is poured into the rest of the foundation depressions, and then - crushed stone, everything is compacted, you can add water to compact the sand. Formwork 20 cm high is made from planks or other available material and fixed with bars. To prevent corrosive metal processes, 10-12 mm of reinforcement, tied together with steel wire or welded at a distance of 15-20 cm, are placed in the formwork on the bricks.
The foundation is poured with concrete M 400, it can be bought ready-made (this will speed up and facilitate the work).
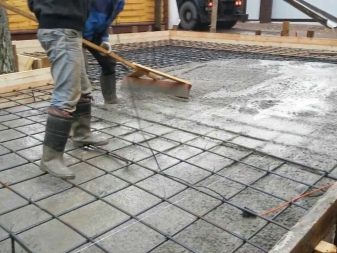
It is possible to carry out work on the foundation after the concrete has completely hardened, which takes from 5 to 30 days, depending on the weather.
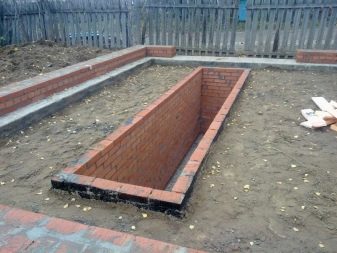
Arrangement of a cellar or a viewing pit begins with the fact that the bottom is covered with sand, waterproofing is installed, walls are made of fired red brick or concrete, depending on your preferences. If you will be storing potatoes in the cellar, it is better not to concrete the floors, as this impairs its preservation. Decorate the edges of the pit with a corner, make not only a sealed, but also an insulated hatch for the cellar.
How to make a wireframe?
You can buy a ready-made frame and assemble it, or you can make it yourself.
To make the frame you will need:
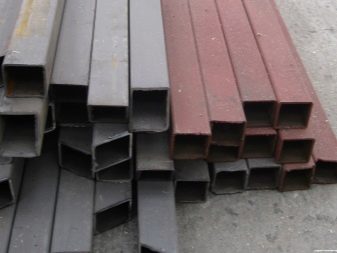
- profiled pipes for racks 80x40 with a thickness of 3 mm;
- for strapping 60x40, you can use a steel corner of at least 50 mm of the same thickness;
- self-tapping screws;
- Bulgarian;
- metal welding machine;
- screwdriver.
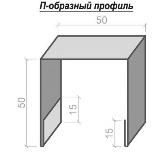
If you do not have a welding machine, or you do not know how to use it, it is better to use a U-shaped galvanized profile with a width of at least 50x50. It is cut to size and assembled with bolts.
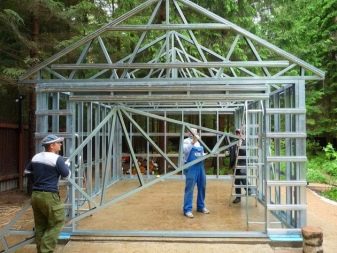
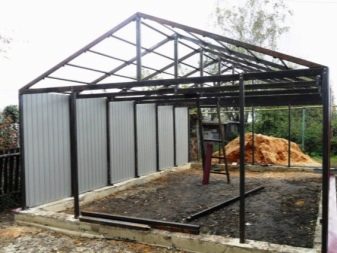
The frame can be made of a wooden bar with a minimum size of 80x80, if this material is more affordable or cheaper for you. Do not forget to treat it with a remedy against the effects of fire, rot, wood pests, mold. For racks and roof purlins, in order to save money, you can use a material with a section of 40x40 with a thickness of 2 mm, if a specialist is engaged in welding. It is more difficult for beginners to cook such thin material.
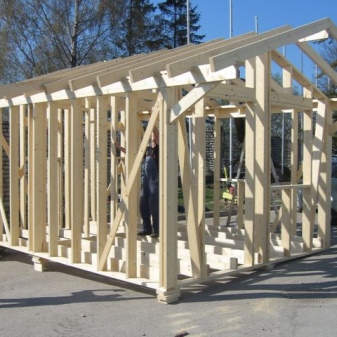
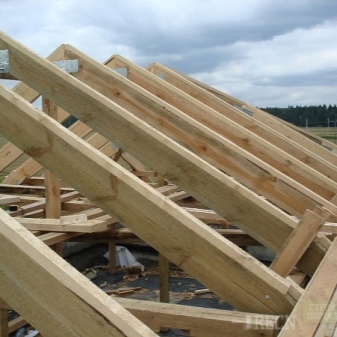
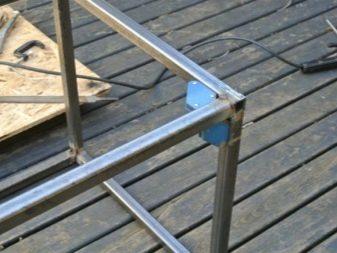
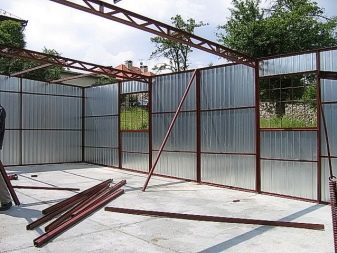
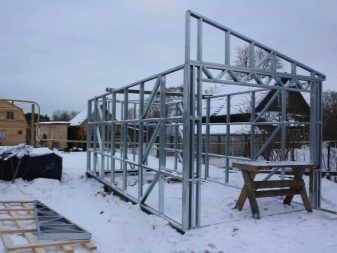
Using the dimensions of the drawing, you need to cut pipes, corners, galvanized profile. The beam is attached horizontally to the foundation, it is better, of course, to weld to the racks previously concreted into the foundation around the entire perimeter. Then, strictly vertically, at the same distance from each other, intermediate posts are attached, while it is necessary to leave space for the gate.The distance between the horizontal lintels should be 50 to 60 cm so that the last lintel is the base for the roof. Now the frame has sufficient strength and rigidity, and you can start making the base for the roof.
Garage installation
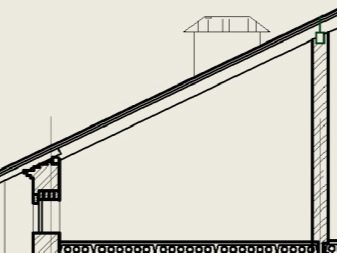
Inexperienced builders are advised to make a pitched roof for the garage, it is easier to manufacture, but some nuances must be taken into account. A pitched roof can be made in width, but the higher side must be turned in the wind, and in length towards the rear wall of the garage. The slope of the slope is most often 15 degrees, which provides snow and water flow. In regions where there are often strong winds, the slope should not be more than 35 degrees, otherwise the wind resistance is greatly reduced.
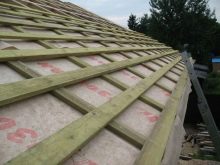
For a pitched roof, crossbeams are located at the desired angle from one wall to another, a crate is fixed between them, which will be the frame.
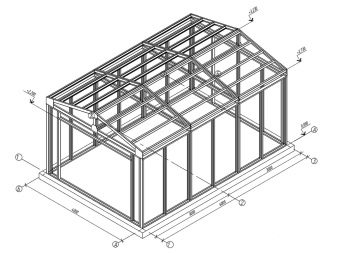
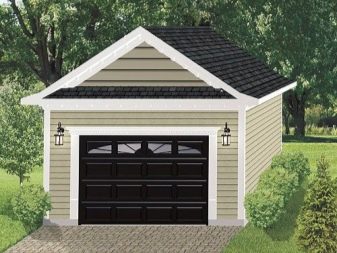
A gable roof also has its advantages and disadvantages. The roof looks more interesting, more reliable, stronger, it is better ventilated, it can be used as an attic, but the structure will be more difficult to manufacture and will cost more. In climatic zones where a lot of snow falls, it is better to use a gable roof with a slope angle of 20 degrees during construction. The frame for it is easier to cook on the ground, it is important to mark the first rafter shape in the form of an isosceles triangle and strengthen it with jumpers.
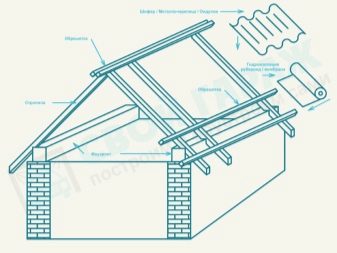
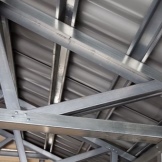
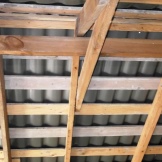
As crossbars for the roof frame, you can also use an iron corner, profiled pipes, a U-shaped galvanized profile, a wooden bar treated with a fire, rot, wood pest, and mold agent. The roof sheathed with a metal profile is light, and if the slope of the slope is correctly made, it will not have an additional load from climatic precipitation.
Next, a frame for the gate is constructed, a corner is cut into parts of the size we need at an angle of 45 degrees, the frame is welded and then reinforced with corners, metal plates are welded in the right places for locks and locks. One part of the hinge should be welded to the supporting pillars of the frame, the frame should be attached to them, the places for attaching the second part of the hinge should be marked and also welded. For sliding gates, a roller mechanism is mounted, for lifting gates - a lever-hinged mechanism, and if possible, it is better to mount automation.
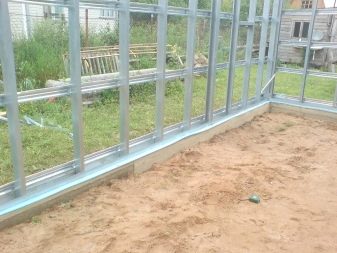
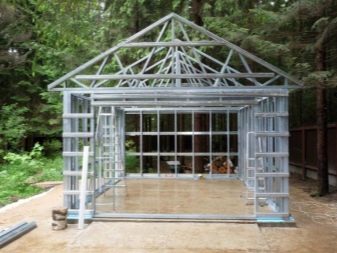
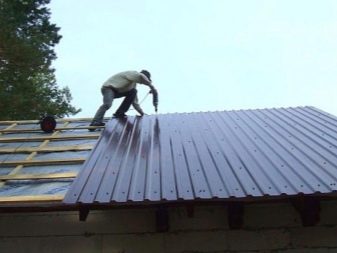
If the concrete is frozen, it is possible to cover the garage with profiled sheet, otherwise both the frame and the sheet will be twisted. If the dimensions of your garage do not correspond to the standard sheet parameters, it is better to order the product of the size, color and quality you need from the manufacturer. This will greatly facilitate and speed up your work, and the cuts will be processed at the factory. Otherwise, you will need additional tools: metal scissors and an electric jigsaw.
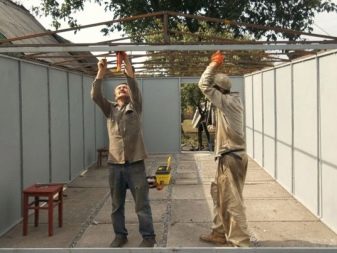
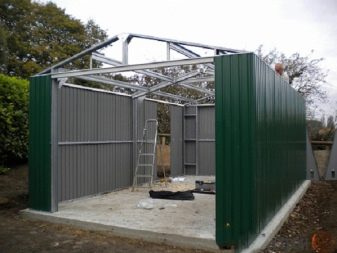
Correctly fasten the profiled sheet vertically with the sheets overlapping each other in one wave. This will ensure better water flow. You need to start fixing the sheets from the top corner, then their sharp edges will not stick out.
For fastening, roofing screws are used, they will protect the sheets from corrosion and water ingress thanks to a rubber washer, which is a seal. They fix each wave from below and from above at a distance of at least half a meter and always at the junction of two sheets.
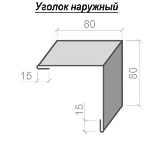
Special corners are attached to the corners of the garage every 25 centimeters.
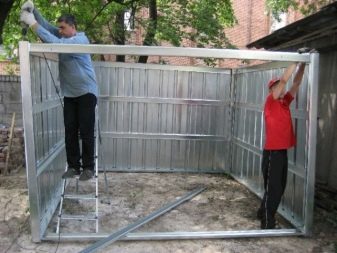
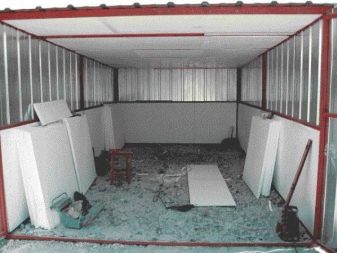
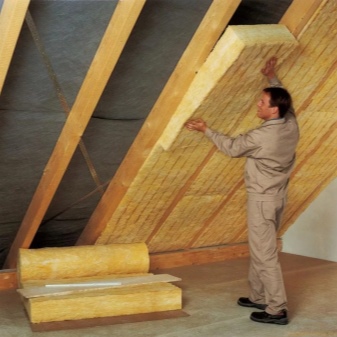
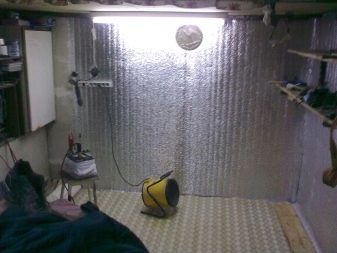
If you want to make an insulated garage, the building area will decrease. For insulation inside the garage, you can use mineral wool, expanded polystyrene (foam), sprayed polyurethane foam. It is easier to work with polystyrene - 40 mm thick will save you from the summer heat and winter cold. The material will enter between the existing racks if their size is 1 meter, and will save on raw materials for insulation from steam (vapor barrier membrane).
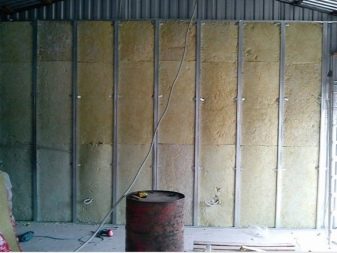
For insulation with mineral wool, you will need to make a crate of boards or a galvanized profile along the width of the smaller wool size by 2 cm, then you will not need to fix it. Before installing a layer of cotton wool, it is necessary to fix the vapor barrier membrane, install the cotton wool in the crate and again close it with a film, this will protect the cotton wool from condensation. Make another 3cm thick crate across the crate, it will fix the insulation, will serve for ventilation, and on it you will attach the selected skin made of moisture-resistant plywood, OSB, GVL, GSP.
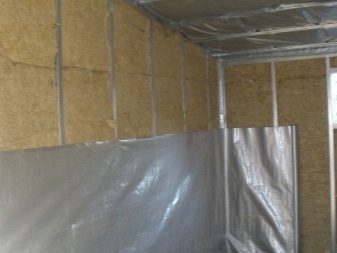
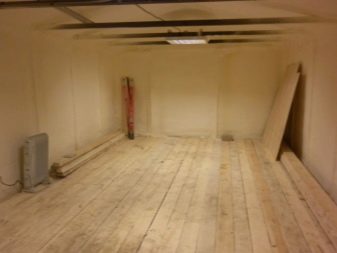
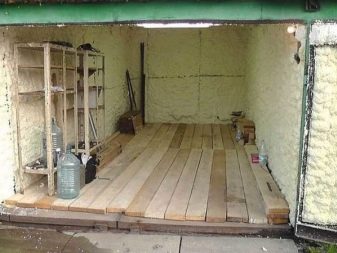
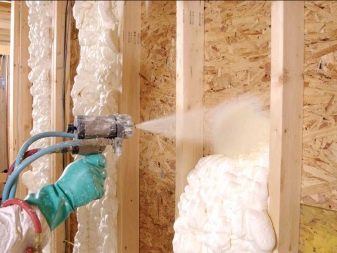
It is much easier to insulate the garage with sprayed polyurethane foam, for its application you do not need any crate, films, fasteners, it adheres perfectly to all surfaces. To use this substance, special equipment and certain skills are required, which will increase the cost of insulation.
Roof
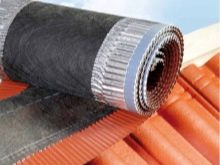
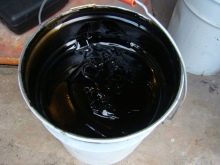
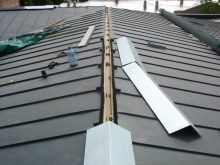
For the roof, it is recommended to choose a profiled flooring or a sheet of grade "K", for a gable roof you will need a ridge, a sealing tape, bitumen mastic, elements for a drain. Initially, a drain is installed, you can make it yourself by bending the metal sheets at an angle. To install it, hooks are attached to the lower edge of the roof, and the gutter fits into them.
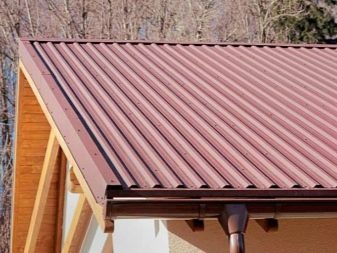
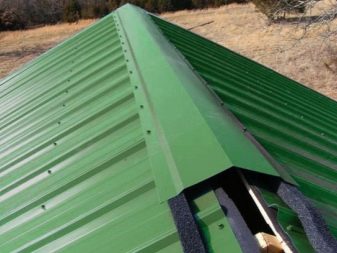
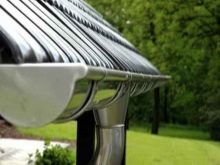
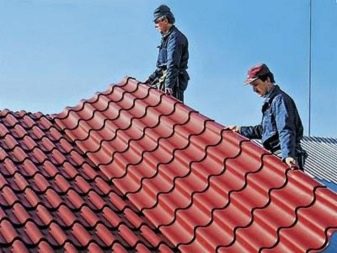
When laying the roof, leave a cornice 25-30 centimeters, the sheets should overlap each other by 2 waves or 20 cm and provide maximum precipitation flow. If your roof is not very long, then it is better to order sheets according to its size. If you have to lay several rows, then start from the bottom row and lay the material on it, overlapping the next one by 20 cm. Do not forget to fix wind strips for protection around the entire perimeter, and ridge elements on the gable roof.
Fasten the self-tapping screws on the roof every 3-4 waves into the groove.
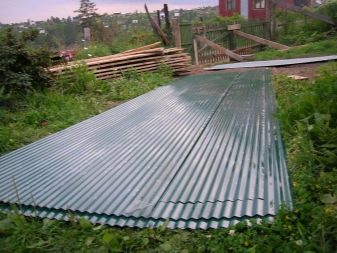
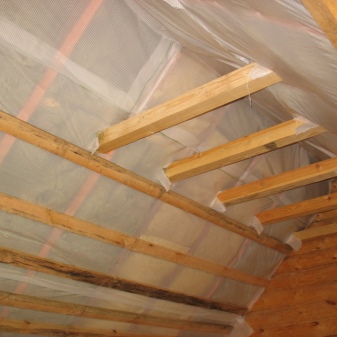
In an insulated garage, the roof should also be insulated by fixing the logs from the boards, and placing a membrane film on them. Then the insulation of your choice is applied, the roll sealant is applied on top and, last of all, the corrugated board.
Tips & Tricks
In order for the process of self-creation of a garage from a professional sheet to pass at the highest level, it is worth listening to the advice of professionals in the construction industry.
The most important recommendations include the following:
- Observe safety precautions during work, especially at height.
- If the groundwater level is above 2.5 meters, you should not make a viewing hole or a cellar, you can try to install a caisson.
- It is better to prepare the site for the garage and concreting in the warm season, and assembling the frame and especially laying the profiled flooring - in calm weather.
- When the garage is located in a low-lying area, make a drainage ditch along the garage, the ebb tide of half a meter from the slopes away from the garage will save the garage from moisture. It will also be convenient to walk on them.
- For processing that part of the metal that will be deepened into the soil and cement, it is better to use bitumen mastic.
- When pouring a monolithic foundation, it is recommended to use a masonry wire mesh, deepening it by 2-3 cm into the newly poured concrete, it will exclude the formation of cracks in it.
- It is easier to weld the frame frames on a flat, solid surface; for this, the material is cut to the desired size, spread out, the parts are fastened together with welding magnets and the joints are welded.
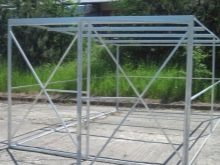
- Position the racks at the frame so that you do not have to add intermediate supports for attaching profiled sheets and for insulation, if, of course, you will insulate the garage.
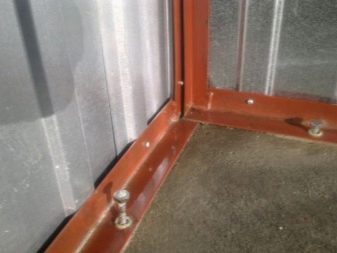
- If no frame racks, pins or metal plates have been installed in the foundation, the lower frame strips can be anchored to the foundation with anchor bolts.
- When fastening the roof bolt, be careful, it is very important not to push it, otherwise the protection of the profile sheet may be damaged. And if you do not tighten it, water will flow.
- The ridge for a gable roof is made 2 meters long, install it in the same way as the roof - with a 20 centimeter overlap. Fastening is carried out with roofing bolts every 20 centimeters, the joints are covered with bitumen mastic or roofing sealants.
- When fixing the membrane film, put it on top of each other and fasten it with double-sided tape, it is more convenient to fix it with a stapler on the staples.
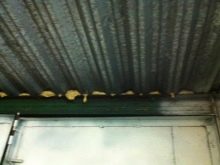
- Seal the joints of the roofing and wall profiled sheet with polyurethane foam and overhangs (you can make them yourself from a profile or other metal), you can buy sealing strips in the shape of a sheet wave or universal.
- When interior decoration of the garage, do not use drywall, since it is not recommended to heat the garage all the time, this has a bad effect on the condition of the car, and such material is highly hygroscopic.
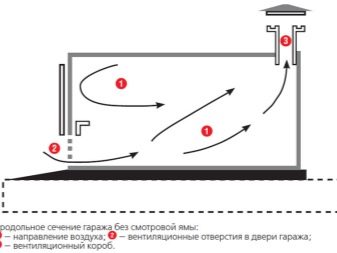
- Don't forget to ventilate your garage. It is easier to install grates at the top and bottom of the side walls.
See the next video for more on this.








The comment was sent successfully.