How to make a Bluetooth speaker with your own hands?
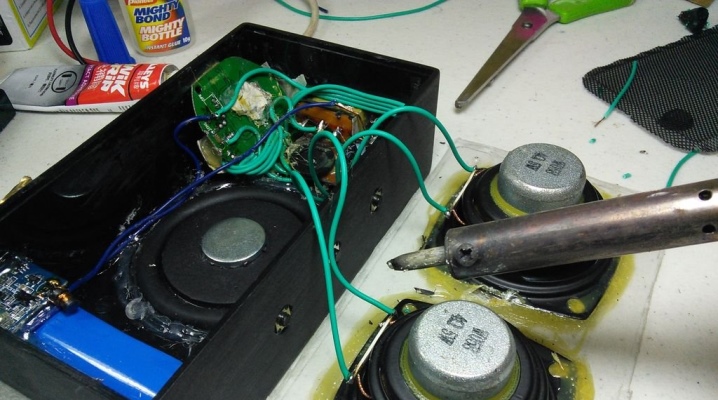
The market today offers a variety of speakers, including wireless ones. Cheap ones (for several hundred rubles) do not differ in special quality, since the electronics in them are the most short-lived, often breaks down without having worked for several months. High-quality ones do not have sufficient power output, despite the service life of up to several years.
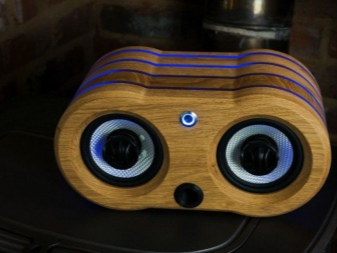
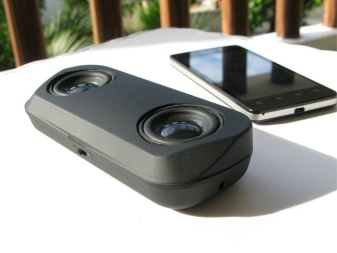
Tools and materials
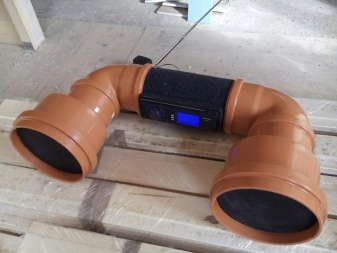
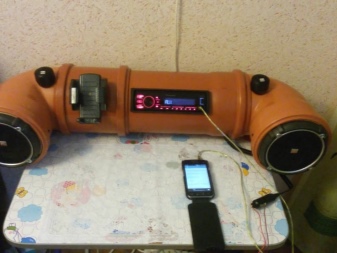
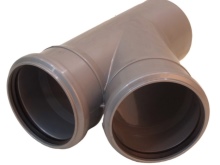
A Bluetooth speaker can be made from any old spare parts. Round models with the speaker facing up are made from scrap materials. Any plastic pipe with an internal diameter of a few centimeters or more will serve as the walls of the body of a round standing model. Even a sewer pipe is used - the main thing is to install a speaker of suitable dimensions, which will not fall to the bottom of such a structure.
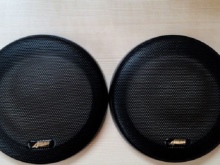
Another option is headphones for gamers that have served their life: they are often thrown away after 10 years, when the electrodynamic heads in them "sprinkle".
The membrane does not last forever - it cracks over the years, and the voice coils can burn out. But the headphone case is large enough to accommodate a wide-band "buzzer" that reproduces sounds from several hundred hertz to 20 kilohertz.
In addition to consumables for the body, you need bolts and / or self-tapping screws. In the case of bolts, you will need a spring washer and nuts for them. As a glue - "superglue" of the "Second" type, which dries up literally in a matter of seconds. "Moment-1" is also suitable - it is universal. To make the bottom part, you also need a couple of plugs. Both the pipe and plugs are purchased at any building store or supermarket that sells building materials, electrics and plumbing.

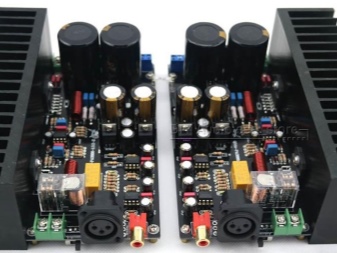
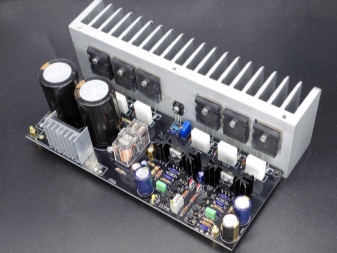
Electronic component - Bluetooth module, for example, model BLK-MD-SPK-B. It costs about $ 10 on Aliexpress. You need a 3.5 mm jack and plug, multi-colored wires, a switch. The amplifier board for the selected speaker is assembled independently - on the basis of any of the microcircuits with an output power from 1 to 10 W. There are hundreds of models of ready-made audio power amplifiers on the electronic parts market.
Of the tools you need: a drill, flat and Phillips screwdrivers, a low-power 20-40 W soldering iron. A more powerful soldering iron can overheat the thin and small leads of radioelements. The fact is that any semiconductor radio components (diodes, transistors, microcircuits), when overheated, receive a thermal breakdown and turn into something like a piece of wire or a low-resistance resistor - absolutely useless in building active functional units and blocks of equipment.
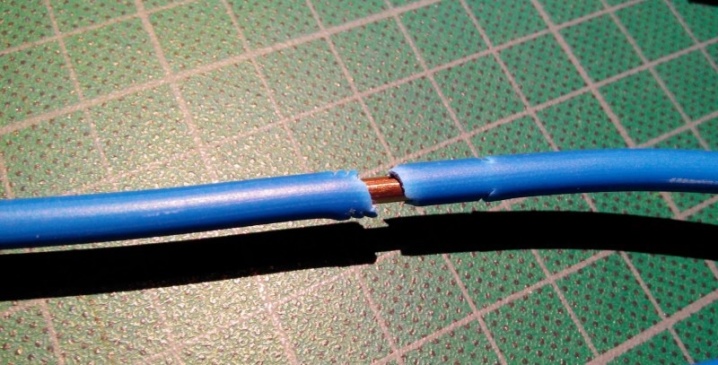
Soldering requires rosin, solder and soldering flux. Insulation of individual live parts is performed with electrical tape, multilayer coating with wear-resistant varnish, and paraffin filling. Hinged wire joints also protect insulating tubes - the outer sheath from thicker wires and cables, cut across, not along.
Manufacturing
A Bluetooth device differs from a regular speaker by the presence of a corresponding wireless module.
It takes up additional space and requires a separate battery or external adapter to power it.
In the latter case, the Bluetooth speaker loses the convenience of transportation - it will need additional power. The process of making a Bluetooth speaker with your own hands includes such moments.
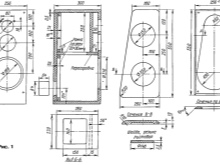
- Manufacturing of a body according to a drawing, which will fit all functional units... Saw the edges according to the drawing, drill and saw through all the technological holes, gaps.
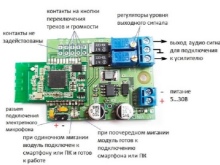
- Assembly of boards amplifier and Bluetooth module, battery and USB charging board.
- Assembly finished parts of the device.
After assembling the case, first install the battery.
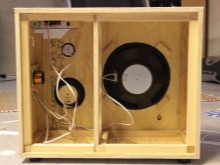
Capacious battery connection
The battery capacity should ideally be up to several ampere-hours. The ideal option is to build in 2-3 cells, the capacity of each of them reaches 2-3 A. It is possible to find on the radio market or in the service center used batteries from smartphones and tablets, the controller in which is calibrated and undercharges (or recharges) them. Batteries from such devices are often used as an internal power source for fully refurbished smartphones. Do the following.
- On the bottom (or back, if the speaker is not round), try on how a single battery will be located - or prefabricated, from several elements, a battery.
- Solder the power wires to it... Temporarily insulate them with thicker wire or cable insulation to avoid short circuits.
- Glue the battery to the bottom or the back of the cabinet with hot or quick-drying glue.
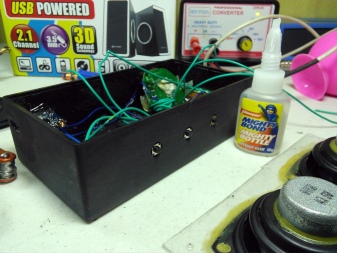
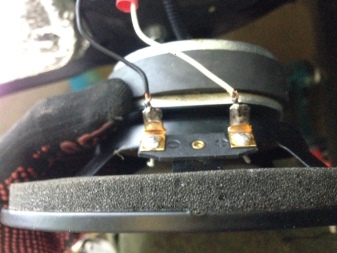
The battery is ready to connect to other devices. Then follow the next steps.
- Solder the wires to the USB module recharge.
- To a pre-prepared case, in which a hole for a plug-in USB-plug is cut, glue the module itself on hot glue or sealant... It is undesirable to use hard glue - if cracked over time, it can damage multilayer boards. Make sure the jack is facing the rectangular hole - the USB plug will fit easily.
- Connect the output of the USB module to the battery input, respecting the polarity.
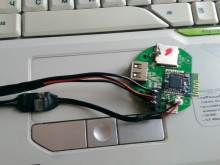
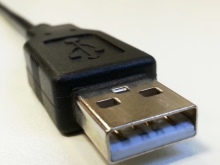
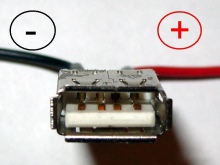
To test the recharge, switch on the recharge of the battery for a few seconds or a minute. For this, use the USB port of your PC or "charger" from your smartphone.
The LED on the USB-module board will light up, indicating that recharging is in progress and the module is connected correctly. The microcircuit of the module converts the voltage of 4.8 ... 6 volts into the 4.2 V required for the battery, which will not allow the battery to be completely discharged. To prevent a complete discharge of the battery during operation, you will need a reverse module that converts a voltage of 2.5 ... 4.2 V into a voltage of 5 V, which is necessary for the operation of the Bluetooth module. Do the following.
- Solder the wires to the reverse module - a pair of wires for input and output.
- Connect the battery wires to the input wires of the reverse module, observing the polarity.... Leave a power break for the switch - it connects in series.
- Insert the switch itself into the desired hole and place it on the hot melt glue... For reliability, it is fixed from the ends with screws or self-tapping screws.
- Plug the switch into the power break, soldering its leads to the required wires.
- Verify the reverse power module turns on and off - when the module is operating, a separate LED should light up on it.
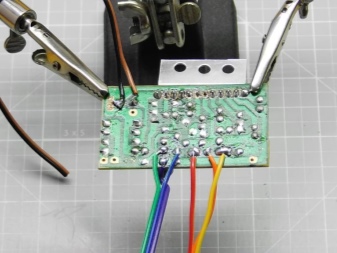
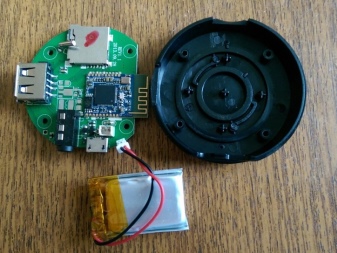
The result will be the appearance of 5 V voltage when the power is turned on from the switch. The module provides a load of up to 500 ... 600 milliamperes without a noticeable "subsidence" according to these five volts. Then follow the next steps.
- Insulate all solder joints with adhesive sealant or tape. Chinese modules from AliExpress, especially the cheapest ones, burn out at the slightest short circuit at the output - be careful not to let this happen.
- Place the reverse power module on the sealant.
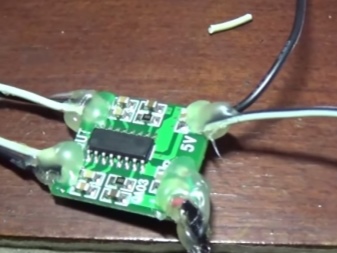
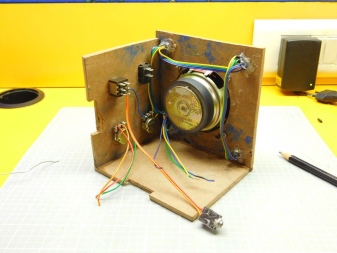
The first part - the assembly of the power interface (power block) is completed. The functional unit boards are securely fixed. It's time to install the amplifier and wireless module.
Soldering the amplifier contacts
Select the location where the amplifier is installed. This is a much heavier radio board due to the presence of a massive microcircuit and a large (almost fist-sized) radiator. It must be fixed, in contrast to light, almost weightless power modules, more reliable - so that it does not shift and fall on the rest of the electronics. Do the following.
- Place the amplifier board so that one side (board) rests on the bottom wall of the case. The second fulcrum (radiator) rests on another wall (for example, one of the sidewalls).
- Solder wires to input, output and power.
- Mount the mini-jack input connector (3.5 mm) - it will make the speaker more fully functional (AUX input). Solder three wires to it ("left", "right" and "common").
- Connect the wires of the connector to the stereo input of the amplifier, observing the markings.
- Supply power from the reverse module to the amplifier input.
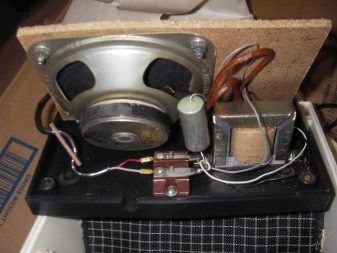
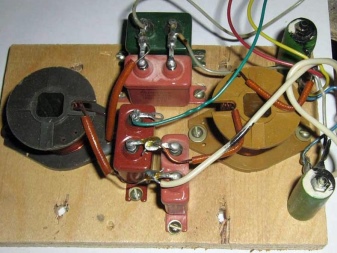
However, you are unlikely to power a powerful (2 or more watts) amplifier from a 5-volt source. A separate petal (or other) power connector is required to supply voltage, for example, 12 volts.
Or it will be the installation of a separate module that turns 5 volts into 12-19 volts. The last step is accompanied by significant losses for heat dissipation of microcontrollers for power supply - up to 40% efficiency is lost in terms of watt-hours (or volt-amperes) consumed from the battery.
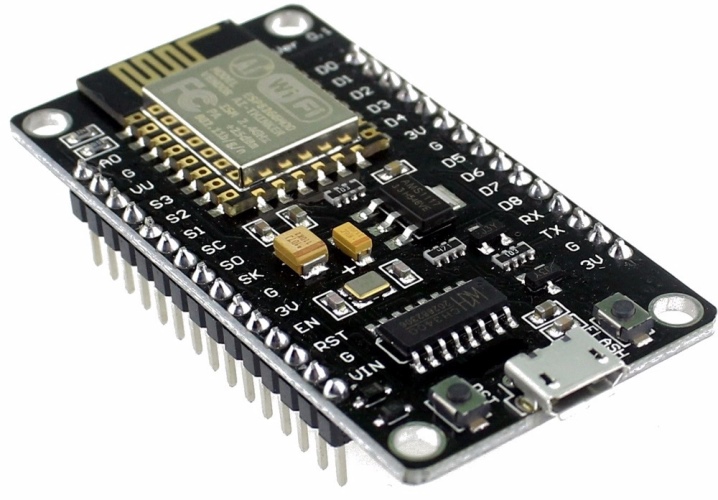
A powerful amplifier will turn a mobile (portable) wireless speaker into a stationary or transportable (by car). Mobility will be only partial: any gadget is connected via Bluetooth - but the speaker cannot be carried or cycled without a powerful PowerBank device for laptops or an additional battery. It is better to use it locally (at home, in the country, in the office or in a car). Follow the steps below to connect the Bluetooth module.
- Decide where the wireless module will be located.
- Solder wires to it - for power supply and for output.
- If the module board does not have a strip antenna (separate track) - solder a piece of wire to the terminal marked for the antenna output.
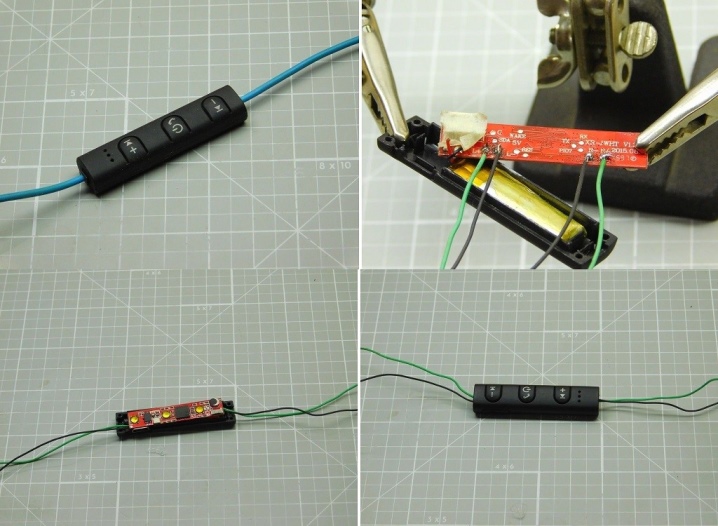
The Bluetooth radio operates at frequencies of the order of 2.4 GHz. The wavelength of this range is 12.5 cm. The “three-quarter” pin is more efficient than ¼ of the wavelength. ¾ the wavelength for Bluetooth communication is 94 mm, which will give a reliable coverage within a radius of 10-15 m. The audio output of the module is connected immediately to the amplifier input. It already includes a preamplifier that produces several units or tens of milliwatts, sufficient to "swing" the stages of the main amplifier. Follow the steps below.
- Connect the audio output of the Bluetooth module to the input of the main amplifier.
- Connect the power of the Bluetooth module from the reverse power board.
- Insulate all solder joints securely.
- Glue the Bluetooth module to the desired location inside the speaker.
- Position the antenna pin vertically if possible.
Place the main board of the amplifier in the previously prepared place and also glue it. Assemble the main body parts together with the mounted electronics. If the column is square, then it is better to fix its walls at the outer corners, this will help to quickly disassemble it in the event of a breakdown. Follow the steps below to install and connect the speaker.
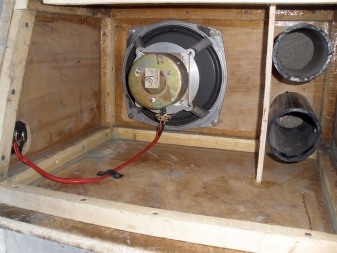
- Place the speaker in the pre-sawn gap.
- If the speaker has "ears" - screw it to the edge of the case, in which direction it will face the listener.
- Solder the wires from the amplifier output to the speaker terminals.
- Close the column by setting the last, sixth side of it.
Completely assemble the speaker and start trying out the sound.
Functional check
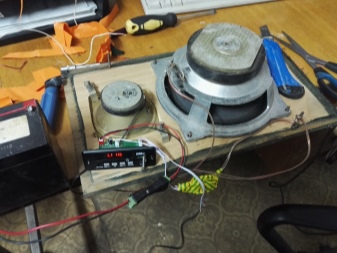
Turn on the power from the switch. According to the block diagram, the amplifier and the Bluetooth module will work. If the amplifier is powered from a separate connector, connect, for example, an adapter from a laptop that outputs 12 or 19 V (depending on what is the spread of the supply voltage for the amplifying board).
Some modules search for Bluetooth devices automatically. The device is available to detect it from computers and gadgets. Select your module that appears in the list of found on your smartphone, tablet or laptop - it is specifically signed. For example, the same BLK-MD-SPK-B board can give out the network name, for example, "BLK_MD" (or similar).
Connect to it from your device. Most often, the password is 0000 (if asked to enter).
Play any soundtrack on your gadget. The column should work. Try the sound volume, sound quality. If the battery "runs out" - recharge it and repeat all the steps to test the operation of the column. Move as far away from it as possible until the sound of the audio stream from the gadget begins to be interrupted - this is how its distance is checked, from which you can listen to music, play games or communicate on the device.
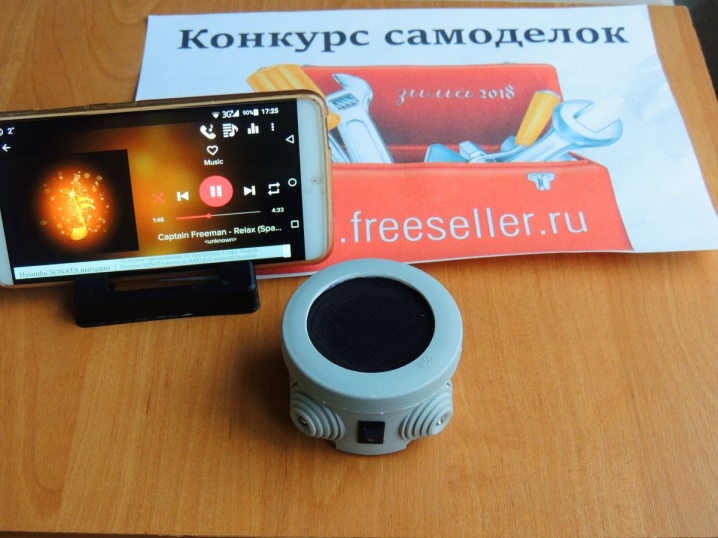
Build process
Assembly begins already at the stage of electrical work.
- It is more convenient to first connect the top, bottom and side faces.
- Then the electronics and battery are installed and connected.
- Next, the back wall is installed.
- After testing the electronics, the speaker is connected, the sound and overall performance of the device are checked.
- Finally, the speaker with the front wall is put in place, the speaker is finally closed.
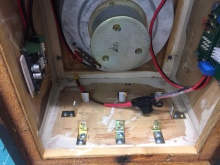
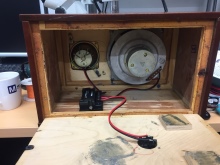

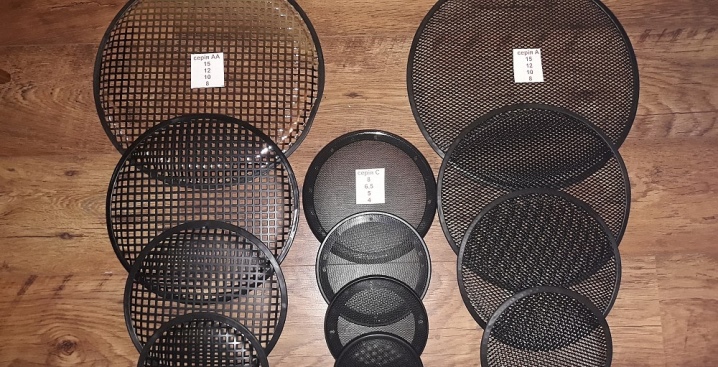
After making sure that the column is working properly, decorate it with a special tape, synthetic wallpaper or fabric. It is recommended to install a metal mesh or grill on the speaker side - it protects the diffuser from accidental poking movements.
Recommendations
Also keep in mind the following.
- Observe electrical safety when observing installation and test work. More than 12 V voltage will not allow working with wet hands.
- The assembled column is not used in frost, high humidity and near a source of acid vapors. Otherwise, corrosion will "eat up" the metal parts in a few years, and the column will fail.
- Connect the electronic modules correctly, insulate all connections securely. Pole reversal, overvoltage and shorting of the outputs will instantly burn them. Do not use alternating current to power them.
Compliance with all the recommendations will reward you with a homemade column, trouble-free for more than a dozen years.
How to make a Bluetooth speaker with your own hands, see below.


The comment was sent successfully.