How and from what to make a speaker with your own hands?
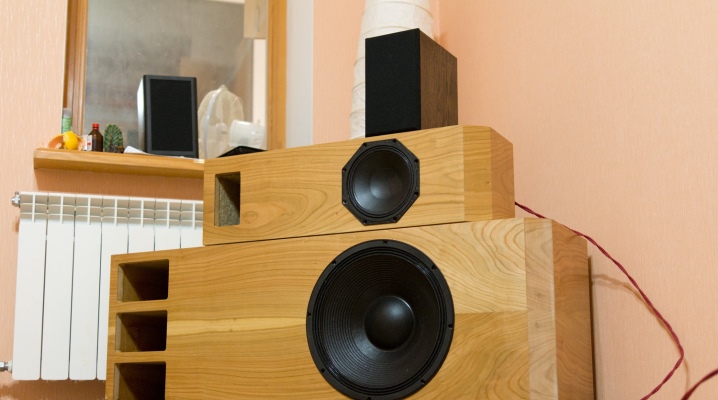
The built-in low-power amplifier with "beepers" is not enough. Sometimes you want much more from the "smartphone" sound. That's what amplified speakers are for. And how and from what to make an acoustic column with your own hands?
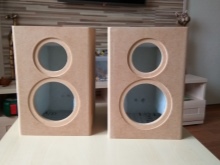
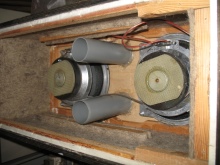
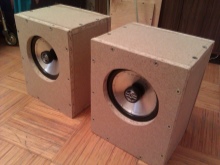
Column device
The simplest floor-standing speaker is a box or box in which one full-range or several narrow-range speakers are located. No crossover is required for one speaker. Two or more - are consistent in the spectrum (sub-band) of audio frequencies. To improve the low-frequency response, the column is equipped with a bass reflex - a channel with a circular cross-section, into which the lowest frequencies are re-reflected.
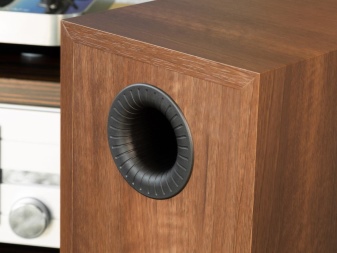
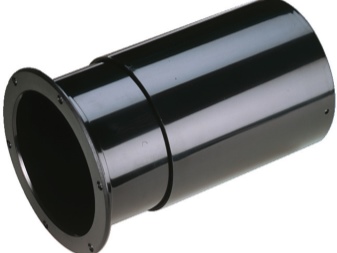
In addition to the speakers, crossover filter and bass reflex, the active speaker contains an amplifier and a power supply for it, located in a closed compartment at the rear.
One of the stereo speakers is active (it contains an amplifier, a power supply and an output for another speaker). The second is passive (driven). Instead of a detachable cord, a wireless connection via Bluetooth is organized between the speakers - this allows you to take the speaker to any corner of the room without pulling a wire between it and the second.

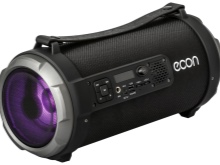
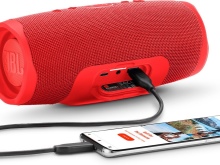
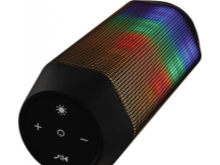
Portable speakers, in addition to communication via Bluetooth, are equipped with a device for reading data from flash drives and memory cards, a simple FM receiver with a scanning setting, an LED strip with color music (or a matrix with a creeping line) and a number of other functions. They are often equipped with a carrying handle.
What can be made of?
At home, the speaker cabinet is made of almost anything. The following are used:
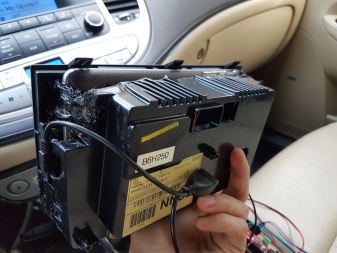
- a case from a failed car radio;
- a case from a glowing cube in which the backlight has burned out;
- the "egg" column is made of paper rolled in many layers and impregnated with glue (for example, epoxy);
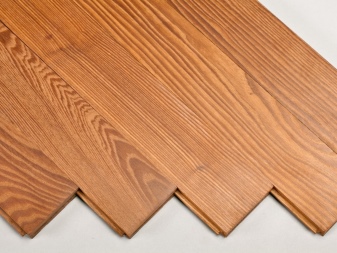
- remnants of laminate or parquet - after the floor has been re-paved;
- Chipboard, MDF material, fiberboard, natural wood;
- for portable speakers, a PVC (or polypropylene) pipe of the largest diameter is suitable - like that used in conducting an interfloor drain channel for bathrooms of the whole house;
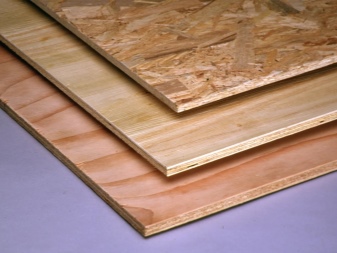
- plywood - be careful when sawing it: it easily chips and cracks, bends over time.
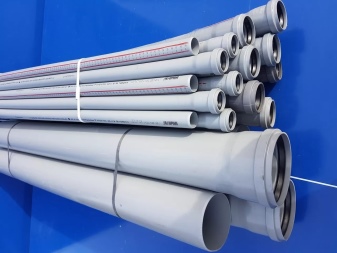
Having decided on the supporting material of the body, take care of the rest of the details and consumables.
What do you need for manufacturing?
In addition to the material from which the case is made, the active speaker needs:
- one broadband, or 2-3 more narrowband speakers;
- ready-made or homemade power supply;
- ready-made or homemade audio power amplifier;
- ordinary wire or cable;
- winding wire;
- plastic pipe of a suitable diameter;
- rosin, solder and soldering flux;
- adhesive sealant;
- epoxy glue or furniture corners.
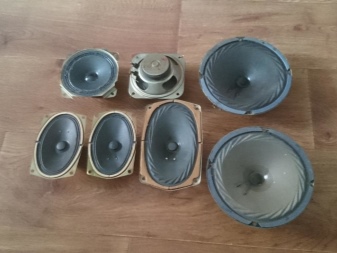
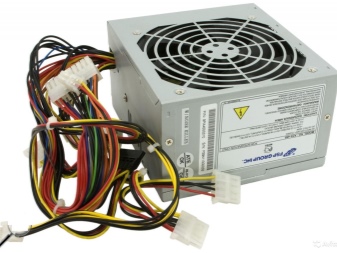

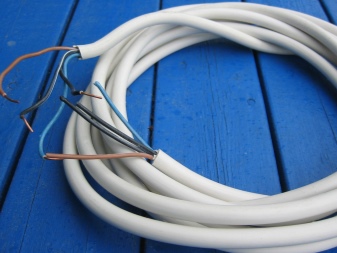
Of the tools you need:
- pliers;
- side cutters;
- flat and curly screwdrivers (a set of screwdrivers is best suited);
- hacksaw for wood;
- file or chisel;
- hand drill and drill set.
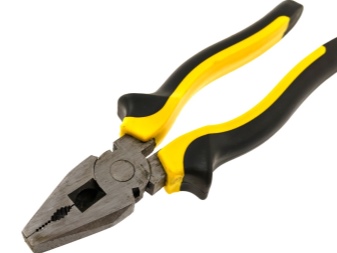

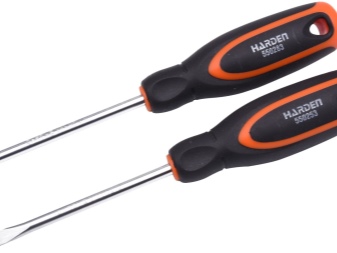

To speed up work, use a power tool: an electric drill, a grinder (you need cutting and grinding wheels for wood), a screwdriver and a jigsaw.
The functions of a drill are also performed by a screwdriver turned on at high speeds.

Stages of work on creation
To make a rectangular or cubic column with your own hands, you will need to correctly make a case (box) in which the electronics are located. To make the case, follow the drawing.
- Mark and saw the board (can be made of lumber) on the prefabricated edges, from which the body is assembled.
- Front panel for speakers (and the bass reflex, if the design provides for it) drill holes around the circumference. Knock out the fragment to be removed from the board drilled in a circle, process the edges with a file or grinder. Insert the speakers (and a piece of bass reflex tube) to check how level they will be there.
- Screw the speakers by their mounting loops to the front edge... Insert a piece of pipe instead of the bass reflex. Seal all gaps with sealant or "Moment-1".
- Assemble the main part of the box: connect the top, bottom, side and back edges to each other using epoxy glue or corners... In the case of using the corners of the gap, it is recommended to seal it with a sealant or plasticine. Some perform sealing using "Moment-1" or epoxy glue - in the latter case, the column will be "indestructible".
- Follow steps 1-4 for the second column... It is more convenient and faster to make both cases on the same days.
- When the main body is ready, cut out the seventh piece of the body - the inner wall separating the power supply and amplifier from the acoustic (sound) compartment. The fact is that the re-reflection of sound from the abundance of sharp edges of details impairs the performance of the speaker at low frequencies. For the case of the second column, a partition is not required - it is passive and does not require a power supply. It is possible that instead of one stereo amplifier, each speaker uses its own mono amplifier. It is up to you to place a common (powerful) power supply unit in one of the columns or to have its own (less powerful) one for each of them.
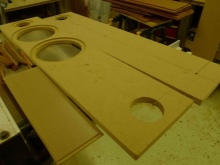
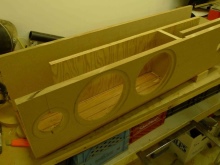
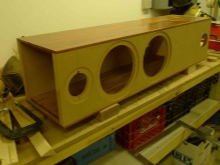
The body has been completed. To mount the electronic component, do the following.
- Attach the amplifier and power supply to the inner divider.
- Connect the power supply and amplifier together - power will be supplied to the amplifier power input.
- Connect a speaker (if there is one) to one of the amplifier outputs. For the second (passive speaker), drill a hole for the audio jack, connect this jack to the second channel of the stereo amplifier.
- Drill a hole for the audio input connector in the back panel, connect the connector inserted into it to the amplifier input.
- Cut out the 220-volt power connector in the back wall, mount this connector in it. Connect the network connector to the input of the power supply.
- Insulate all soldered joints with sealant, hot glue, tape or tape.
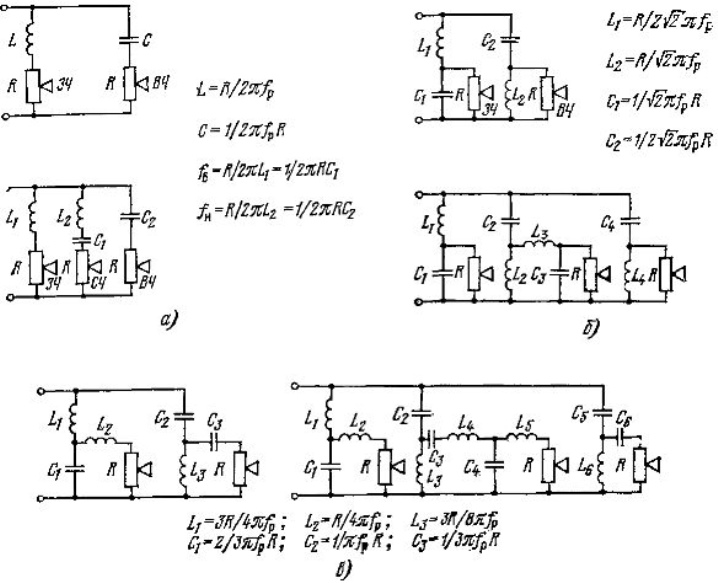
- If there are several speakers, you will need crossover coils and additional capacitors that form oscillatory circuits with the first. Three-way speakers with the help of a filter clearly distinguish between high, middle and low frequencies for different speakers.

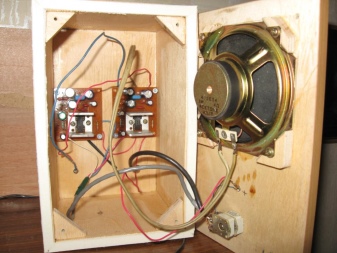
Follow the steps below to make a crossover.
- Saw off a couple of pieces from a plastic pipe of the required diameter. You cannot use a metal-plastic pipe - it will turn the coil into a source of an electromagnetic field, in addition, recalculation and additional measurements of the inductance on a special multimeter will be required.
- Cut and grind side edges for coils.
- Sand the pipe pieces at the bonding points. Glue the bobbins together using hot melt glue, "Moment-1" or epoxy glue. Wait for the glue to dry and harden.
- Based on the description of the column layout, wind the required number of turns of the enamel wire of the corresponding diameter.
- Mount the coils on the baffle or back of the speaker. They are fixed both with an adhesive and with self-tapping screws with washers (each coil is held in three points behind one of the edges). Central fastening with a self-tapping screw or a bolt with a plastic / metal washer larger than the outer diameter of the pipe is also allowed. Such washers are used to suspend household appliances and cabinets on the walls using through pins.
- Connect the coils to the capacitors - according to the diagram in the description. You should get a full-fledged bandpass filter.
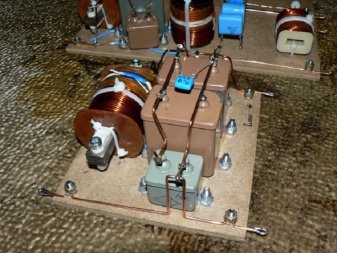
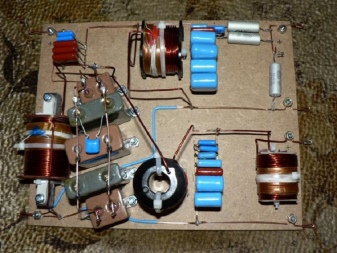
The function of the filter is to highlight the high, middle and low frequencies: the "tweeters", "satellites" and the speaker-subwoofer work accordingly.
This ensures the sound is natural. The number of filters - for high, middle and low frequencies can be equal to the number of speakers (or the number of speakers in a speaker minus one, depending on the circuit).
From paper
It is not as easy to make a column of plain paper as it seems. You will need glue containing a hardener - it is impregnated with the layers of paper. Epoxy is best suited for this - coils and printed circuit boards are often made from it (the material resembles getinax). Do the following.
- For a square column using the template of each of the walls, mark and cut the sheets of paper. In the sheets from which the front edge of the speaker is glued, cut out the holes for the speakers and the bass reflex output. For the rear, there are holes for audio jacks and a power jack.
- Dilute and apply some epoxy glue to the first coat. Glue two layers for each wall and leave to dry.
- The next day, glue the third layers for each of the walls. Add one every day. The interval between stages can be reduced from one day to several hours to speed up the process. But in this case, the quality may suffer. Repeat these steps until the thickness of the walls of the future column reaches at least 1.5 cm. Instead of paper, you can use thick cardboard.
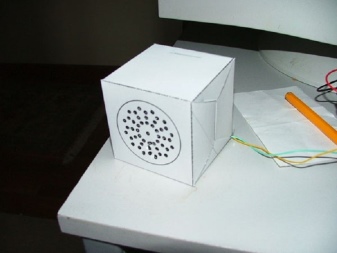
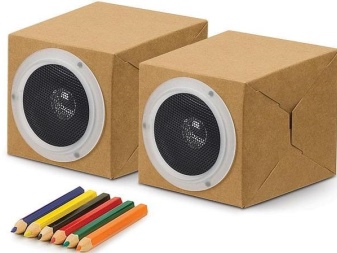
Once the speaker walls are ready, mount and connect the speakers and other parts according to one of the instructions above.
Disadvantage - evenness and accuracy are important when gluing sheets, otherwise the structure will lead to the side. The advantage of the method is the use of paper from old magazines and newspapers, cardboard (except wavy, with voids inside).
The round body will speed up the process: a roll of paper is wound around a piece of pipe with a wide opening, soaking in the direction of travel. Tape the winding start line. The development looks interesting, in which a strip of metal foil plays the role of a voice coil, and a sheet of paper plays the role of a diffuser. Do the following.
- Stick metal tape or double-sided tape with foil onto a sheet of paper. Arrange the coils so that they do not touch.
- Guide the ends of the tape or foil towards the sound source.
- Place a magnet under a sheet of paper, connect the gadget and turn on the music.
You will not get a lot of volume - the amplifier in the gadget is too low in power. Mid and low frequencies will be added to the “rustling” sound. Powerful speakers use a multi-layer design - an electrostatic membrane, designed for high amplifier power.
From the tire
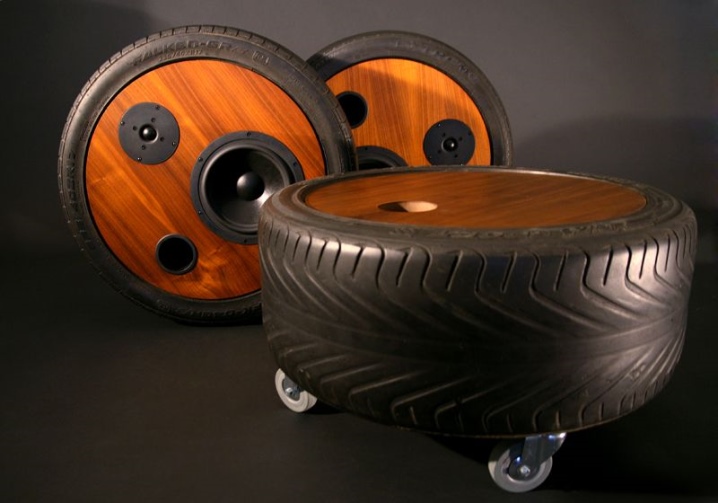
A tire column cannot be compared in terms of agreement and frequency response with branded or homemade rectangular systems. The stiffness of the walls is insufficient - rubber and ebonite damp low frequencies due to excessive elasticity. A stereo music system needs a large speaker - the diameter of it should be fixed in the tire, but not fall inward. The other side of the tire is covered with plywood or a board made of other lumber, placing a power supply and an amplifier on it.

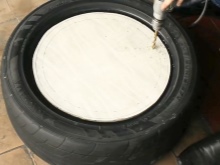

The tire itself should not contain holes, holes - but surface cracks do not affect the sound quality.
The design will be more perfect in execution, part of which on the side of the speaker is closed with a wooden ring cut from the same plywood.The speaker is not fixed on the tire itself, but on a plywood ring, which can be connected to the back, where the plywood blank wall is located, using long through screws or bolts. This column can be rolled on the road. But it contains only one speaker, since it is difficult to place two or more in a flat and confined space. The amplifier, power supply and filters are located on the rear wall.
From the Pringles can
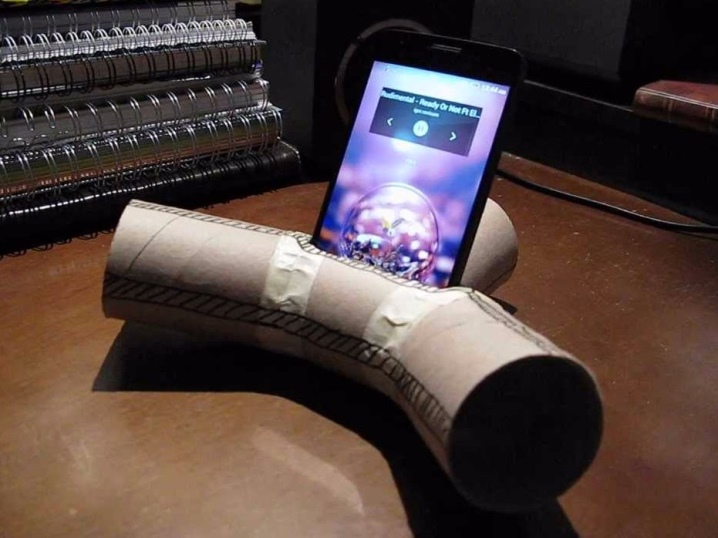
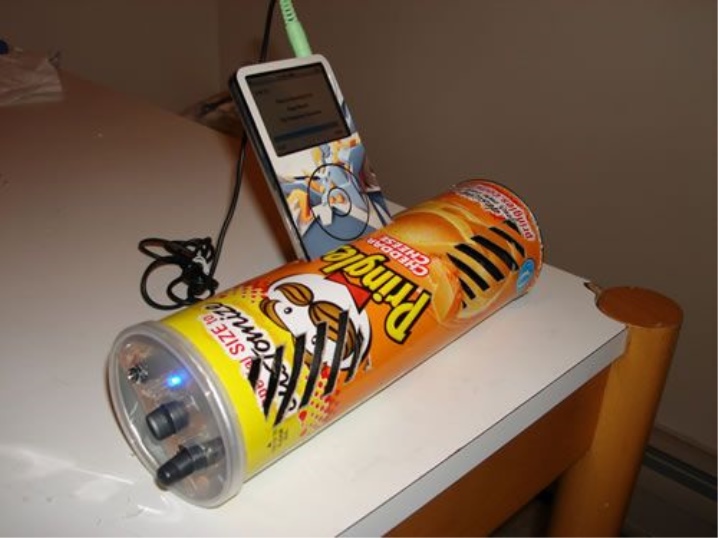
The simplest, but unusual option - aluminum, cardboard, plastic cans and glasses are used as speakers, making slots and inserting a smartphone into them... More "advanced" - place a speaker of a suitable diameter in a can of chips or a glass. The principle of any such speaker is based on the fact that the sound, reflected from the walls, gains additional volume. But without an amplifier and a high-quality speaker, you will not get a good and bright, beautiful sound. Making a speaker with a speaker pointing up from a can of Pringles chips is similar to any design that uses a piece of PVC sewer pipe as the body.
From the bottle
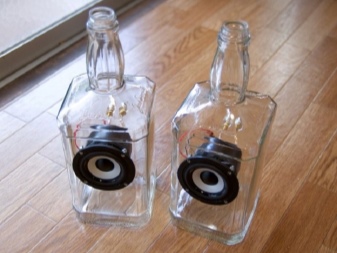
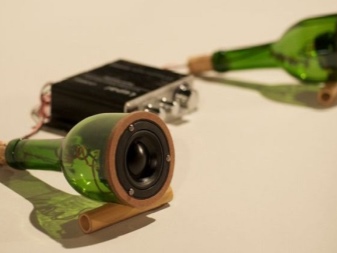
Any plastic or glass bottle will do. Plastic is safer to cut and drill. For glass, diamond drills and a crown will be required, and the process itself is performed under water for the sake of safety. Do the following.
- Use a crown to drill a hole for the speaker in the bottle.
- Drill the mounting holes for the self-tapping screws. The phase inverter will be either an open neck, or holes additionally drilled with a smaller crown for a piece of plastic pipe.
- Pour sealant into the holes, install the speaker with pre-soldered wires. Tighten the screws. You cannot screw them "dry" into the glass - the bottle will crack and fly apart.
Do not use tempered glass bottles - it cannot be processed and will immediately break into small cubic fragments with dull edges.
From headphones
A headphone column is an option in which, instead of a dynamic head, which is not designed for a decent volume at a great distance from the listener, any modern speaker is used. The headphone space is drastically limited to accommodate the amplifier and power supply battery. In such a column, a piece of the same PVC pipe is used. However, when the column is passive, the process is greatly accelerated. The step-by-step instructions are as follows.
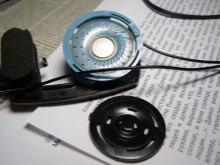
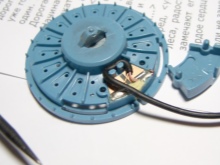
- Disassemble the headphones and remove the heads with membranes from them.
- Insert the speakers in their place. The speaker is chosen as thin and flat as possible.
- Connect the wires that previously supplied RF voltage to the diaphragm heads.
- Secure the speakers with self-tapping screws.
- Close (if possible) the mesh inserts.
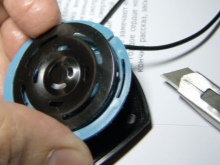
It is possible to turn headphones into speakers if they were initially large enough - they covered the ears completely. If the speakers do not insert completely, do not close, then use an equivalent replacement, manufactured as follows.
- Remove the membrane heads from the headphones.
- Cut holes in the bottom of the plastic or cardboard glass that are slightly smaller in diameter than the heads themselves.
- Insert and glue the membranes.

This option is very easy to manufacture. The disadvantage is that the sound volume is no more than 30 decibels. This sound is comparable to a radio transmitter, it is used in rooms where there is little noise from the outside.
Such acoustics are more comic - they are not designed for professional use. Full-fledged speakers need speakers. If it was not possible to insert small-sized speakers instead of the headphone membranes, the cylindrical structure already familiar to you is suitable as a basis.
- On the back of the headphones, cut a hole for the magnet on the back of the speaker. The hole should be much larger than the magnet itself - only the side supporting structure will remain from the headphone case.The back (outer) wall of the earphone will be cut off completely.
- Glue with hot glue or "Moment-1" the earpiece with a freshly cut piece of PVC pipe.
- Place the power supply (or lithium-ion battery with float controller) and the amplifier inside the pipe. You will get an active column.
- Similarly, make a base for another headphone, place the speaker in it. The result is a passive speaker. In stereos, only one of the speakers is active.
- Remove the audio cord from the passive speaker, solder a standard 3.5mm plug to it.
- Cut into the active speaker the same connector to connect the passive one. Connect one of the amplifier's stereo outputs to it. The second - to the dynamics of the active speaker directly.
- Cut another connector into the active speaker - to connect an external sound source (for example, a smartphone), connect it to the stereo input of the amplifier.
- Plug in the power supply to the input for it on the amplifier.
- Check that all parts and assemblies are securely fastened, close both speakers with a blanking plug.
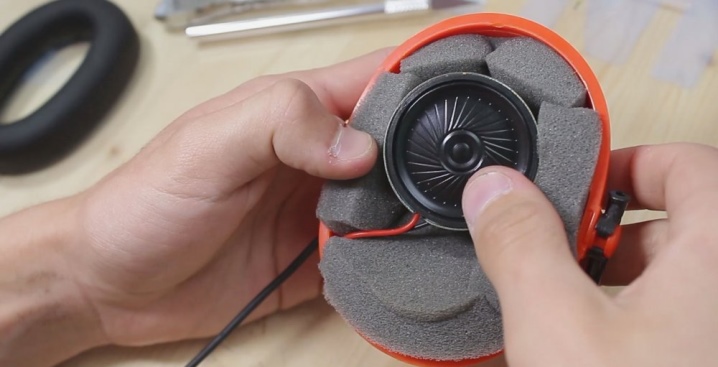
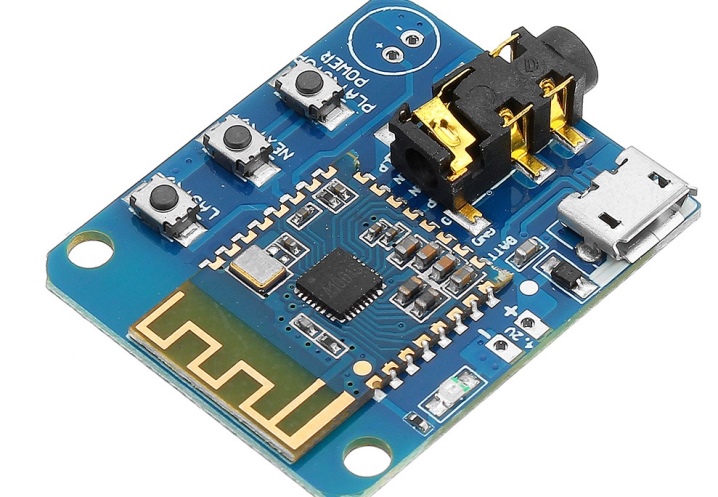
If the speakers are powered by a battery, instead of the power supply, connect the battery to the discharge controller, and the controller itself to the amplifier power terminals. Connect the charge controller to the battery by cutting its connector into the round walls of the active column. If you need a wireless connection, purchase and install a Bluetooth audio card in the active speaker.
Helpful hints
- Before final assembly of the speakers, test their work, namely the sound quality. It must match the calculated one. Perform an acoustic calculation of the room.
- Solder, assemble electronics only with power off: this will prevent its failure if the soldering iron accidentally touches two or more thin leads located nearby.
- You can improve the sound by using a sound labyrinth instead of a phase inverter. Pay attention to the structures in which this maze is. It is made from fragments of a cable box or additional partitions inside.
- It is wiser to take the time and use materials, components for better systems. Whether you are an audiophile or not, good sound quality for a minimum (10 times less) money will pay off with interest. The columns will work for more than a dozen years.
- Choose branded speakers, beware of counterfeits.
- An amplifier, unlike a good subwoofer, costs up to 100 times less. Over the past 20-25 years, UMZCH chips have fallen in price. Choose an amplifier according to the power of the speaker - both it and the speaker should be matched.
- Be sure to fix a massive radiator on the powerful amplifier microcircuit. Otherwise, the amplifier, after working for 40 seconds or a minute, will turn off until the microcircuit cools down to room temperature.
- Fill the free areas on the inside of each column wall with damping material - it will get rid of resonance. The damper is only suitable for speakers without a bass reflex.
- In non-standard columns (from a bottle, a tire, a round box from under anything) a passive radiator - a speaker with two diffusers will help to slightly raise the level of low frequencies.
- If finances permit, use horn speakers: they create the effect of the presence of the listener in the room, and not just transmit high-quality sound. Behind them is a composite audio speaker, where a common low-frequency subwoofer is used - and multichannel satellites are connected to different high-frequency outputs.
- After assembling the column, make its exterior finish - it will fit into the design of the room.
How to make a do-it-yourself speaker system, see below.


The comment was sent successfully.