Installing a water heated towel rail
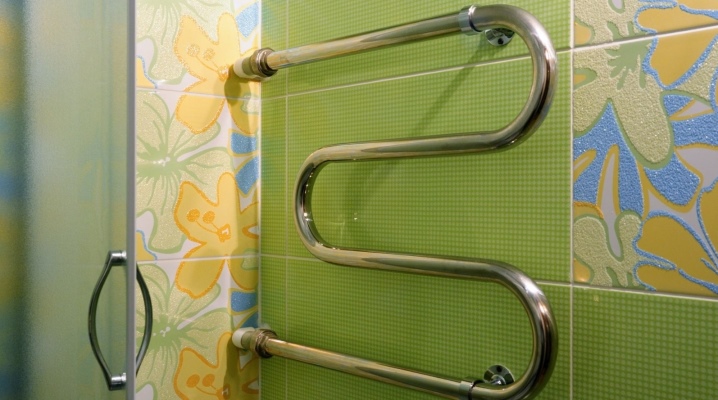
The need to install a water heated towel rail in the bathroom is unlikely to be disputed by anyone. However, you need to know exactly how to properly install a heated towel rail in the bathroom with your own hands. In addition to providing step-by-step instructions, the tools used are also significant here.
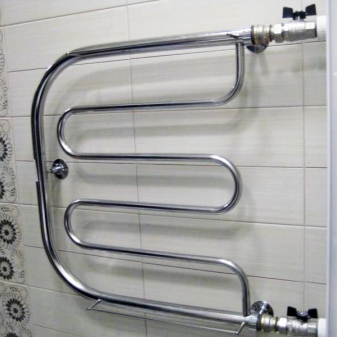
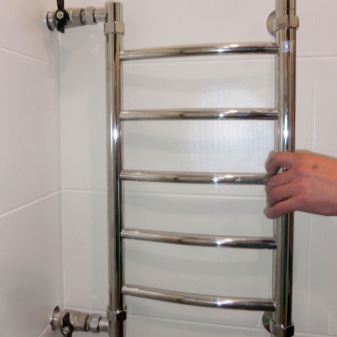
General requirements
It just seems that using a water heated towel rail and preparing for its operation is so simple. In fact, this is a serious and responsible equipment, which must be delivered with great care (in order to avoid additional problems). The basic rules for doing work are as follows:
-
strict adherence to the connection scheme that is provided by the developers (since it has been chosen, it means that the engineers have thought through and calculated everything for it);
-
if you still need to change the connection method, you will have to change all the piping in the room, and sometimes throughout the apartment, and dismantle all the finishing coatings (or work before installing them);
-
strict monitoring of the compliance of plumbing threads;
-
the choice of exactly the kind of equipment that meets the needs (no more and no less);
-
using only fasteners recommended by manufacturers (usually included in the delivery set or completely identical to them);
-
when installing a heated towel rail in an apartment building - turning off the water throughout the riser;
-
accuracy of dismantling;
-
installation in such a way that the doors of cabinets, washing machines are not blocked even partially, so that it is convenient to use them;
-
limitation of the top point of the heated towel rail (no more than 1.7 m above the floor);
-
check for compliance with the interior of the bathroom.
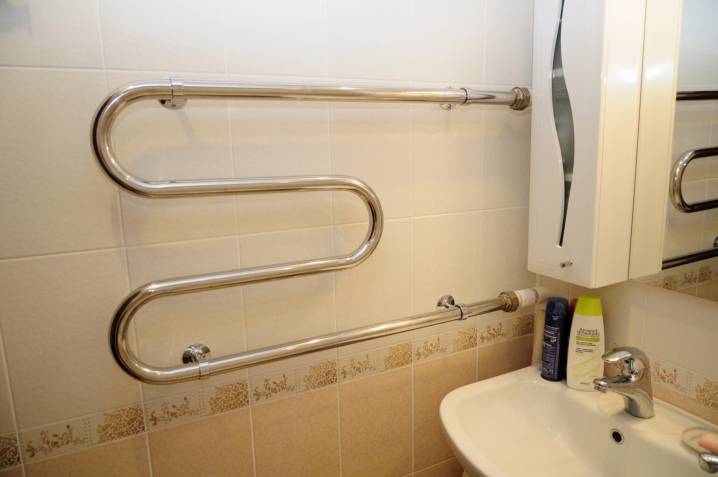
What tools do you need?
It is impossible to say this in advance and in general terms. It is necessary to take into account the features of specific pipelines and drying devices.
Since polypropylene pipes are now the most widespread, a soldering iron is required to connect in most cases.
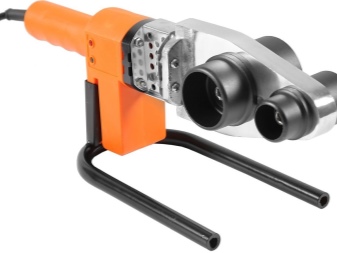
Cutting sections of the track to size is carried out using a special knife for polypropylene. Also useful:
-
Angle grinder;
-
drill;
-
dies;
-
Mayevsky cranes;
-
sealants;
-
sealing devices for connections (the same as in other plumbing work).
Step-by-step installation instructions
You should not be afraid of the difficulties of installing heated towel rails in apartments on your own. Tens of thousands of people successfully carry out such work every year, and then they have no reason for complaints at all. You should start with a careful choice of design. As mentioned, it must match the actual connection you are using. Therefore, it is not recommended to chase design delights.
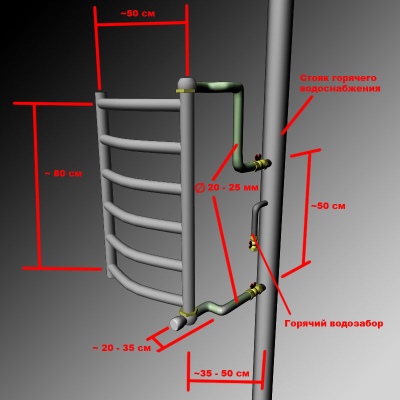
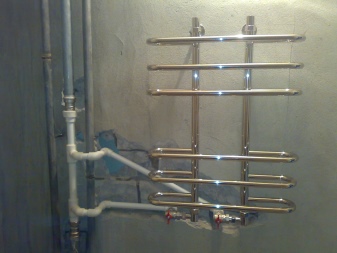
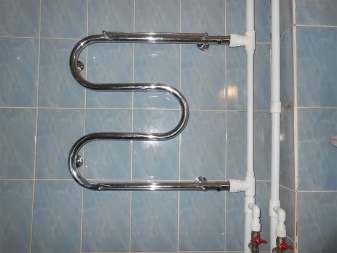
You can connect a dryer in the bathroom with your own hands either to a centralized hot water supply channel or to a heating system. In the first case, the device will always work when hot water is supplied (that is, all year round, with the exception of the prevention period, as well as network failures). In the second - only during the heating period. Connection to the heating network is allowed only when the heating is turned off. The most commonly used connection scheme is using a zigzag pipe.
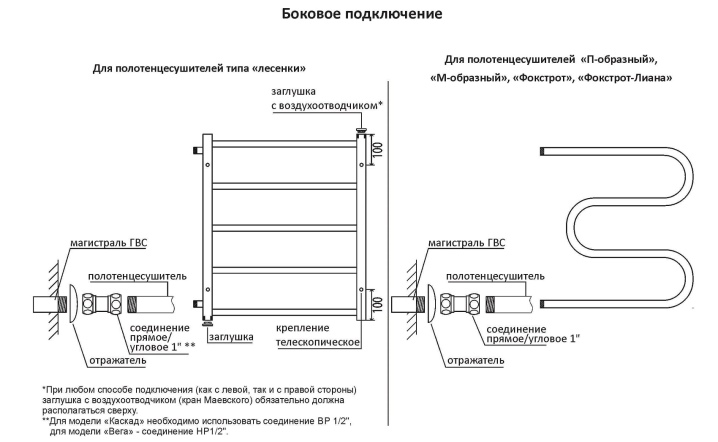
Sometimes old coils were welded onto the riser. In this case, you can cut them off with a grinder. Residual areas are used to create threads.
An important rule: the cut in the riser must be greater in height than the gap separating a pair of dryer nozzles.
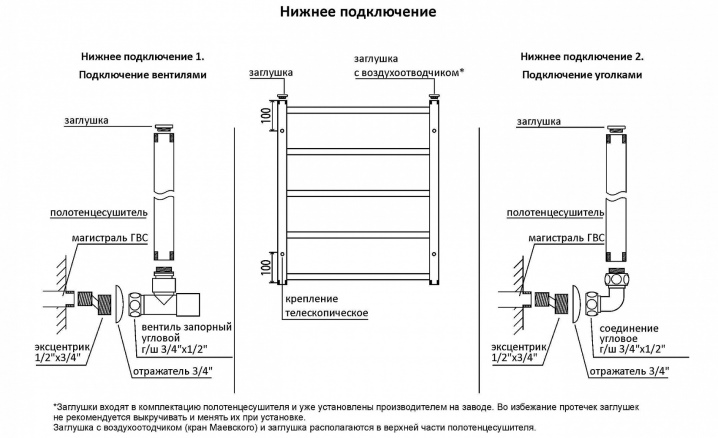
Experts strongly advise not to abandon the installation of bypasses. Both ends of the drying unit are equipped with ball shut-off valves. If necessary, they will allow you to drain the device without blocking the movement of water along the riser.
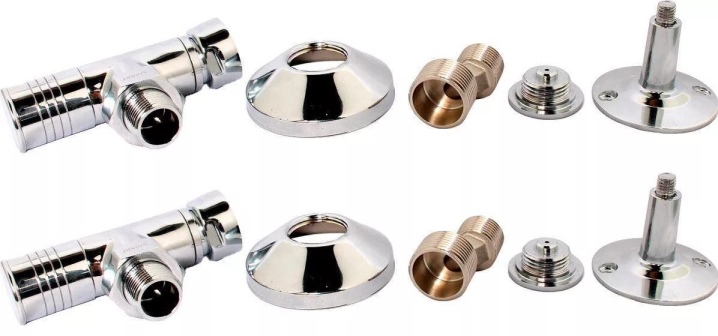
Brackets on the walls are installed according to the markings. Start with the introduction of dowels. The brackets are connected first to the heated towel rail. Then the entire assembly is fixed with screws. Last of all, connect the device to the jumper valves using fittings; contrary to the recommendations of some "experts", it is more correct to seal the joints not with tow, but with fum-tape.
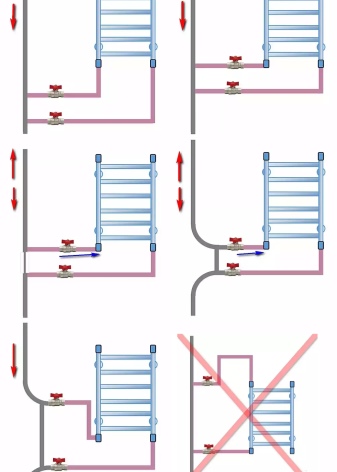
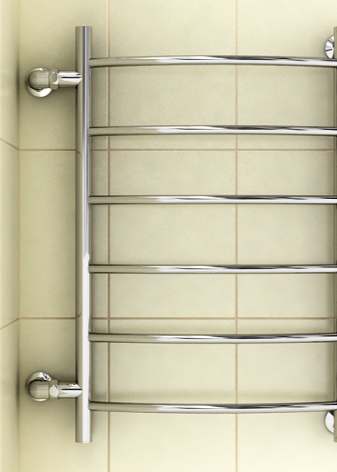
The installation of a heated towel rail in a private house has its own characteristics. There you will not have to coordinate this procedure with neighbors and with the management company. In terms of technology, there is no difference. It is necessary to follow the same universal rules and schemes as in urban housing. The nice thing is that you can put shut-off valves in any convenient place - this will not affect the neighbors in any way.
For more information on how to connect a water heated towel rail, see the video below.


The comment was sent successfully.