All about installing a heated towel rail
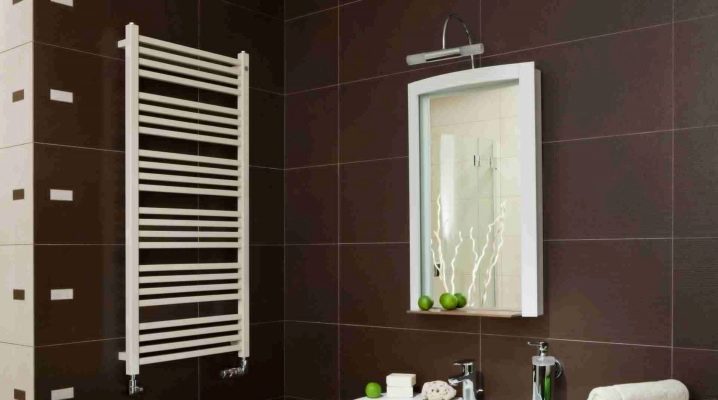
A heated towel rail in the bathroom is a subject so familiar to us that there are practically no questions about its use. Up to the point when you need to replace it. Suddenly it turns out that the installation of a heated towel rail and its normal operation are associated with a bunch of nuances that no one thinks about. Let's try to figure them out.
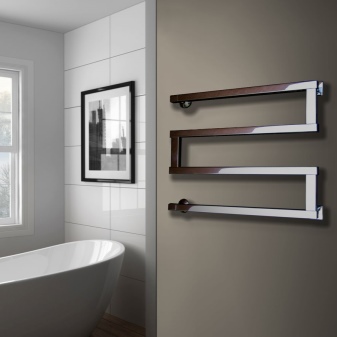
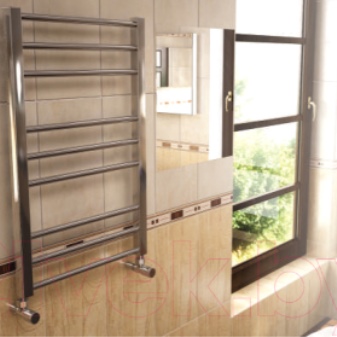
Fundamental rules
The first thing you need to take care of before installing or replacing a heated towel rail is compliance with all SNiP, i.e. building codes. Based on them, the following points can be distinguished, which should not be forgotten:
- on heated towel rails, a water supply cut-off system should be provided;
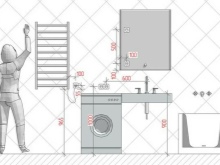
- the heated towel rail must be at least 60 cm away from other plumbing fixtures;
- from the floor to the bottom of the device must be at least 90 cm;
- when installing several heated towel rails, the installation step between them should also be at least 90 cm.
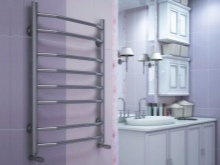
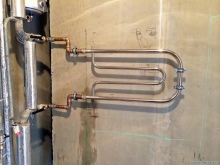
When buying a device, it is imperative to correlate the pressure in the water pipes in your home with that for which the vending device is designed.
The first thing to understand is what to connect the device to. In houses without central water supply, there is only one option - to the heating system. If you have a choice, then you should consider the pros and cons of both options.
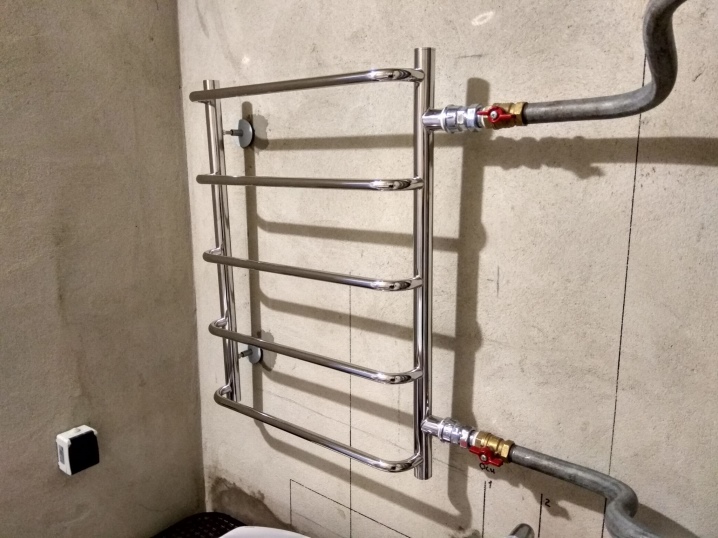
Heating system
Pros:
- connection is possible in houses without central water supply;
- the device combines the functions of a radiator and a heated towel rail;
- easy to connect.
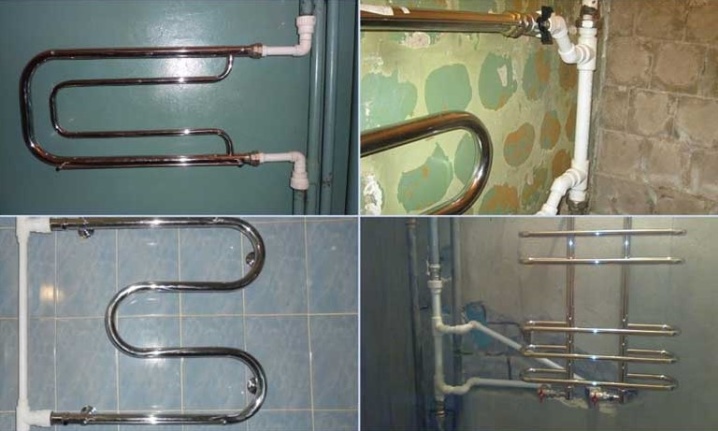
Minuses:
- does not work when the heating is off;
- can "overheat" the room.
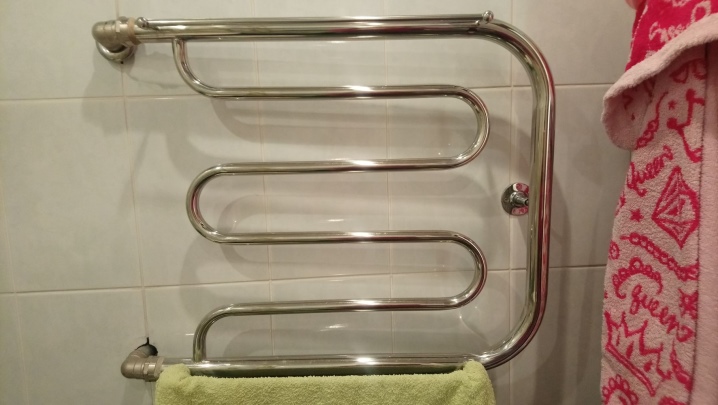
Hot water system
Pros:
- you can adjust the operation of the device;
- operates all year round.
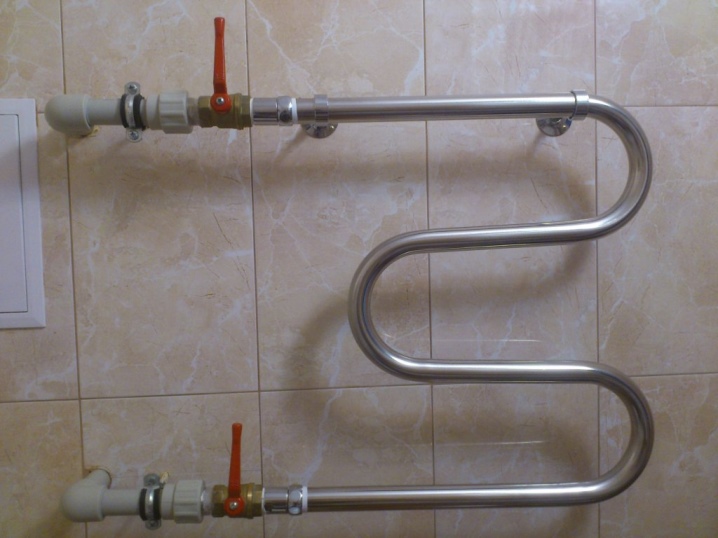
Minuses:
- not available everywhere;
- more difficult to install.
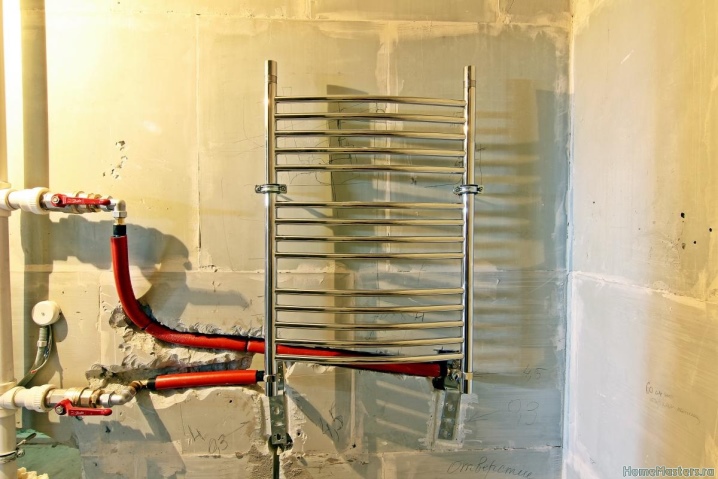
Decide in advance on the type of heated towel rail. In addition to the type of fastening and heating, they differ in their appearance:
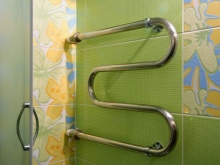
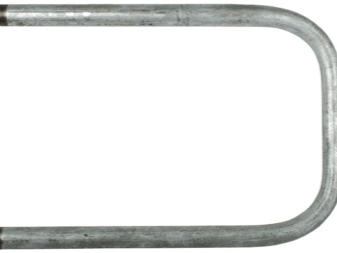
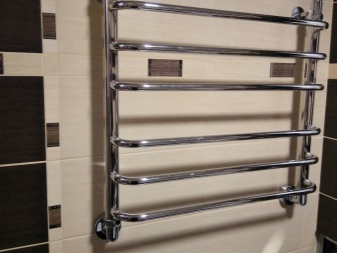
- coils - the most familiar, classic type of device, familiar to many from childhood;
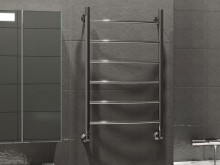
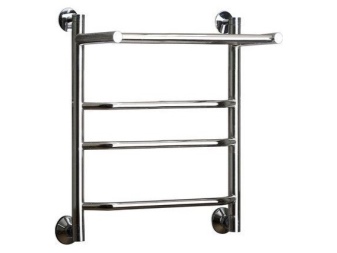
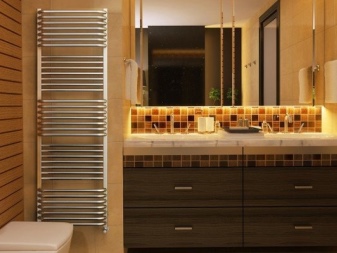
- ladders - relatively new, but very convenient format for drying clothes;
- corner heated towel rails - a variation of the ladder that takes up less space and allows you to efficiently use the space of small bathrooms.
The devices also differ in the material from which they are made.
- Aluminum - the most economical models that transmit heat well.
- Steel - heavier, more expensive than aluminum, but also more reliable, especially if made of stainless steel. Masters are wary of black steel options.
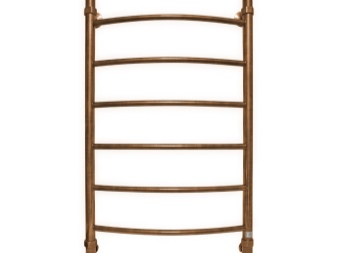
- Copper - have excellent heat transfer and an interesting, albeit specific, appearance.
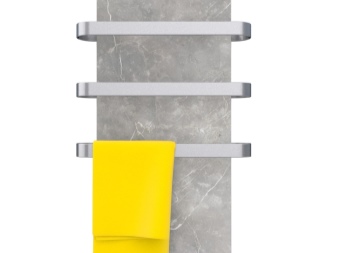
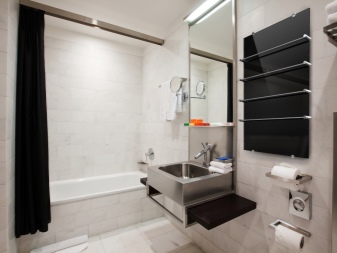
- Ceramic - an option that has appeared on the market recently. The most expensive, but both in design and in characteristics are in many ways superior to the rest.
Possible tie-in schemes
There are several acceptable tie-in schemes for heated towel rails. It should be noted right away that the schemes acceptable for connecting the device to the water supply system in private and apartment buildings may differ significantly. So, let's consider the main options for how you can attach a heated towel rail in the bathroom.
A water heated towel rail can be connected in the following ways.
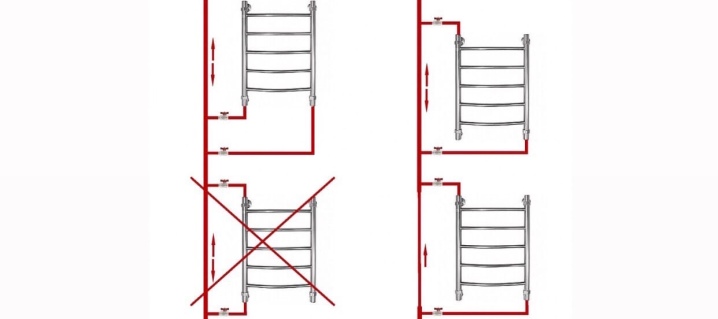
- Floor - this type is suitable for apartments and houses with a large bathroom. With it, it is permissible to use a collapsible system for connecting a heated towel rail to the main pipe. Unfortunately, this type is less efficient.
- Side - when the supply is carried out to the left or right of the riser.
- Diagonal - best suited for those water supply systems that do not have a strong water pressure. Provide good circulation.
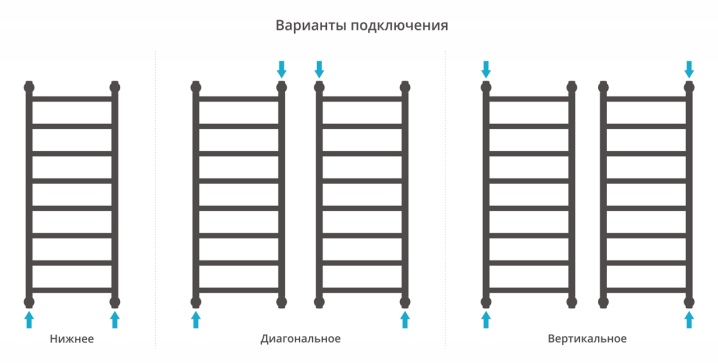
On lateral and diagonal systems, shut-off valves must not be installed on the bypass, since this can affect the circulation in the common riser. The pipe diameter recommended for these types of fastening is 3/4 inch for steel pipes or 25 mm for polypropylene pipes.
Now we will consider the connection paths based on the specific conditions in which it will be performed.
Circulating hot water supply
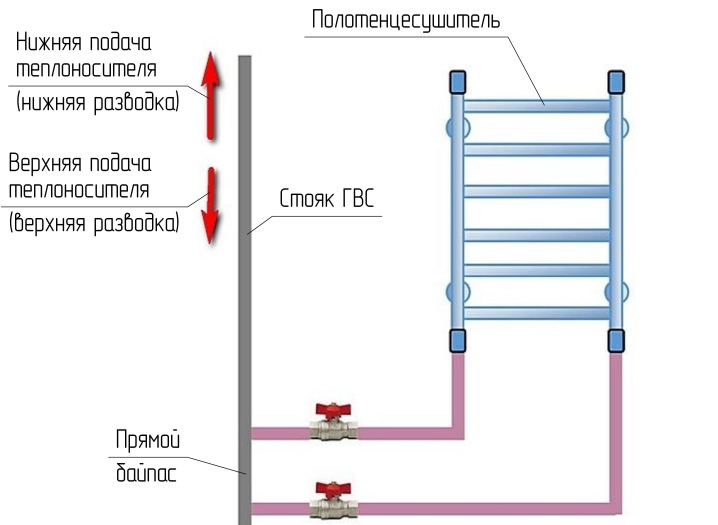
The option described in SP 30.13330.2012. In this situation, heated towel rails must be connected to the supply pipelines. When installing a bypass and shut-off valves, it is allowed to connect to circulation risers.
Dead-end hot water supply
In this case, the connection is made between the hot water supply and the riser, and a shut-off valve is mounted at the input to the dryer.
Private house and boiler room with boiler
The most controversial option, where for different systems for providing a house with hot water, there are different nuances of connecting the coil. But it is through him that we will move on to how you can not connect heated towel rails.
Incorrect wiring diagrams
Most often, questions arise when a boiler is installed in an apartment or house. It is important to remember - connecting the heated towel rail directly to the boiler is highly undesirable! This method will not be able to provide the required heating indicators, since this requires running hot water, and the boiler will not be able to guarantee its constant availability.
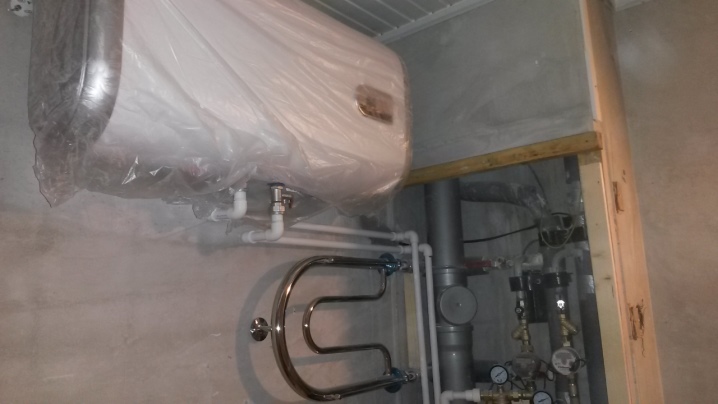
In this case, the connection of the coil is possible only if a gas boiler with a boiler is installed, and there is a constant circulation of water between them.
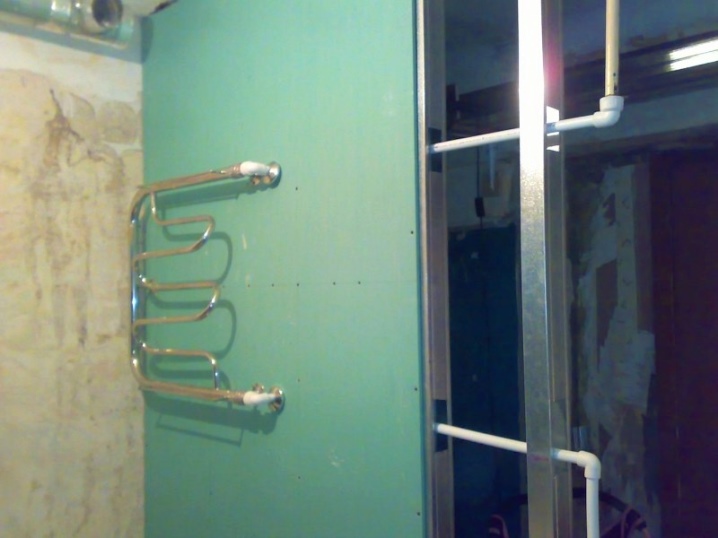
Another mistake is often made in cases where it is necessary to install a heated towel rail on drywall. If you decide to fix the device on a plasterboard wall decorated with tiles, you need to use only special dowels and be extremely careful about the weight and dimensions of the device when choosing it.
Step-by-step installation instructions
It is possible to put a coil with your own hands if you already have experience in plumbing and are confident in your abilities. In this case, below is an instruction with which you can correctly connect the device.
Tools and materials
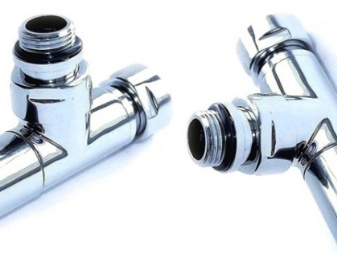
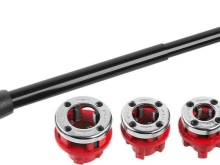
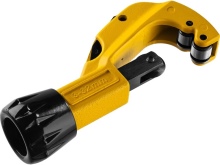
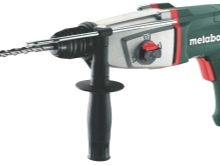
First, let's decide on the necessary set of tools and fasteners. For installation you will need:
- puncher;
- Bulgarian;
- pipe cutter;
- threading tool;
- pipe welding machine or soldering iron;
- pipe wrench;
- adjustable wrench;
- Ball Valves;
- fitting;
- fittings for bypass supply;
- detachable mountings for coils.
The minimum complete set of the coil itself should include:
- the pipe itself;
- adapters;
- gaskets;
- locking knots;
- fasteners.
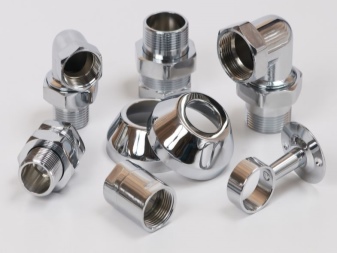
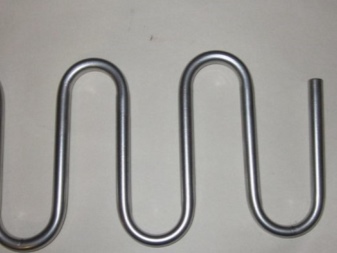
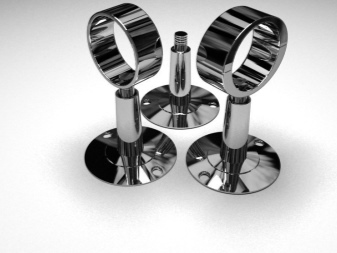
Coil mounts are worth discussing separately. They are of several types.
- One-piece mounts. Monolithic brackets, first attached to the pipe, and then to the wall along with the entire structure. The least convenient option to use.

- Detachable mounts. Fixing system, consisting of 2 elements: the first is attached to the pipe, the second to the wall. This facilitates the installation and dismantling of the structure. The most common and convenient option.
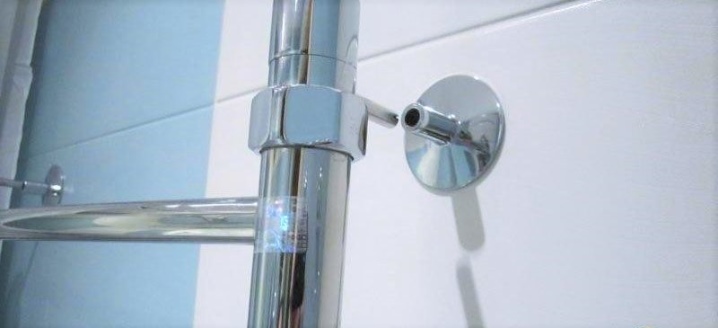
- Telescopic fasteners... An option that allows you to change the distance from the wall to the coil and is used primarily when using electrical models of the device.
Dismantling an old heated towel rail
First you need to remove the old device. Before doing this, be sure to turn off the hot water supply and drain the water from the system.At this stage, it is better to seek help from the ZhEK employees, and not to independently manipulate the hot water riser.
Further, depending on the state of the fasteners, you need to either unscrew the nuts or cut off the coil with a grinder. Take care of containers and rags for cleaning water in advance.
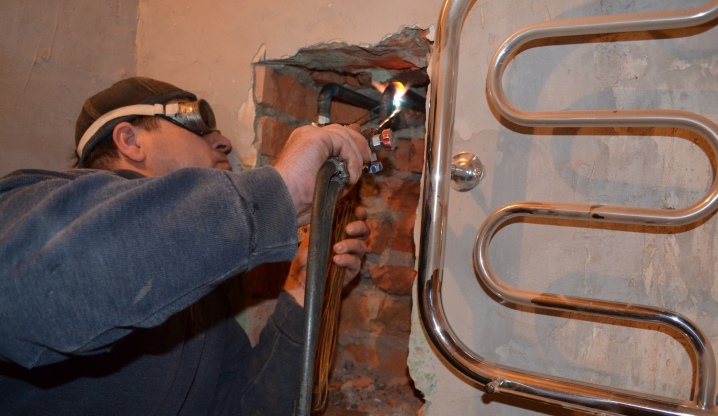
Save some of the old pipe when cutting. A new thread will be made on it.
If the coil was previously absent, it is necessary to choose a place for its installation, and then carry out the manipulations already described above with turning off the water.
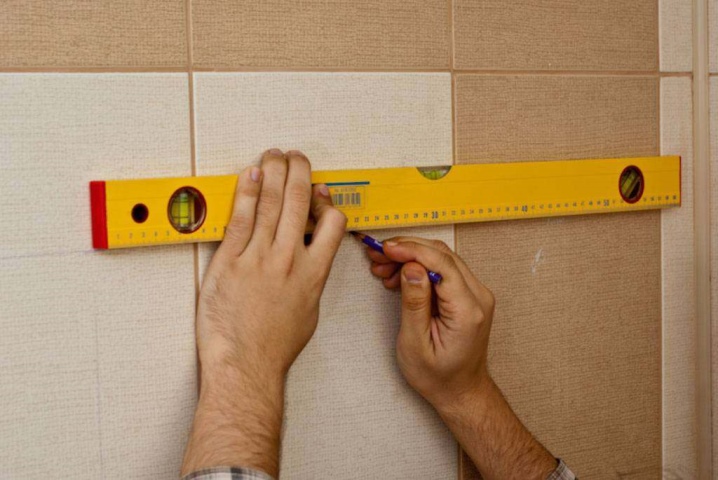
Using the level, mark the coil attachment points as follows:
- draw a horizontal line at the level of the inlet and outlet;
- mark the installation locations of the fasteners.
Installation of bypass and valves
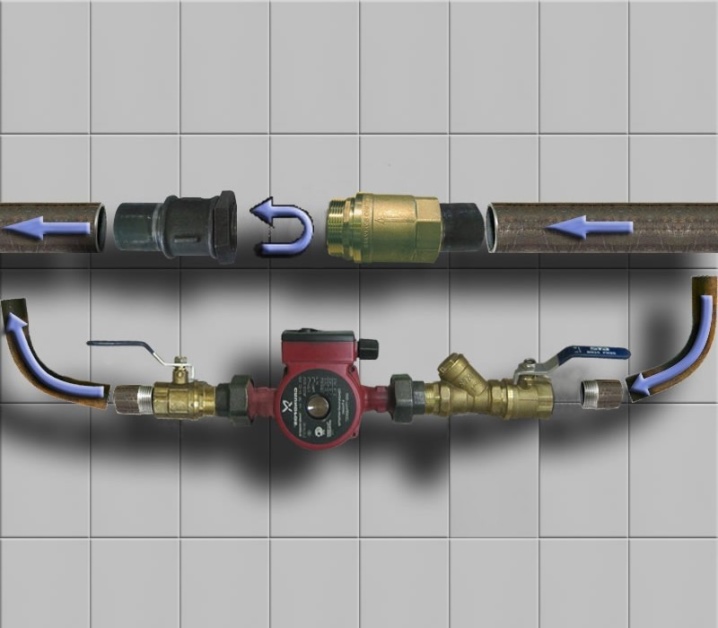
We install taps and bypasses in order to be able, if necessary, to shut off the water supply to the coil and to simplify our life in the future. You need to install bypasses:
- 2 - in the place where pipes are connected to the device;
- 1 - to shut off the flow of water inside the bypass.
Fastening the coil to the wall
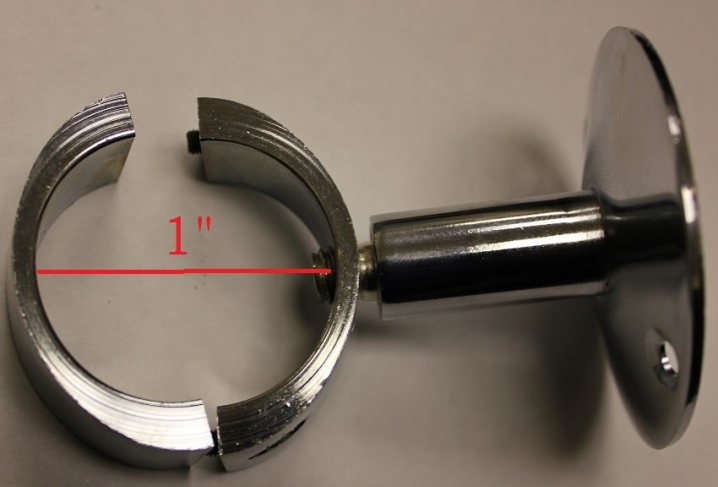
Detachable fasteners, on which a heated towel rail is most often placed, consist of the following parts:
- a shelf at the base of the bracket, with which it is attached to the wall - it is better to choose options designed for 2 self-tapping screws or more;
- bracket leg connecting the shelf and the fixing ring;
- the retaining ring is installed on the coil.
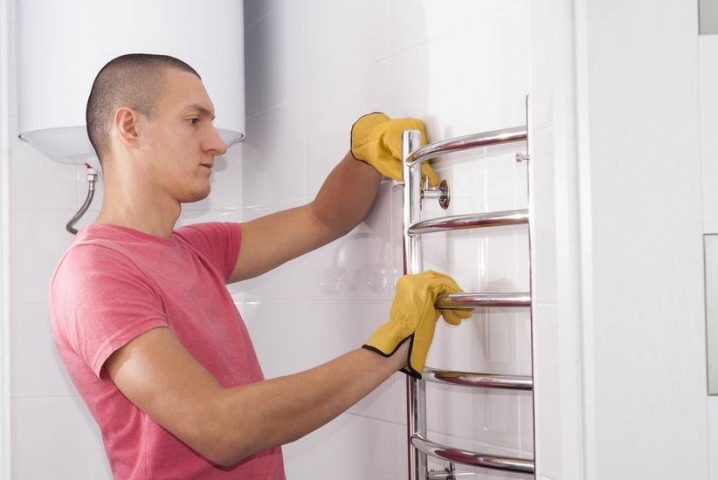
To keep the design beautiful and reliable, select fasteners and methods that are suitable for use in rooms with high levels of humidity. The number of brackets, depending on the coil model, varies from 2 to 6, and even more for especially heavy models.
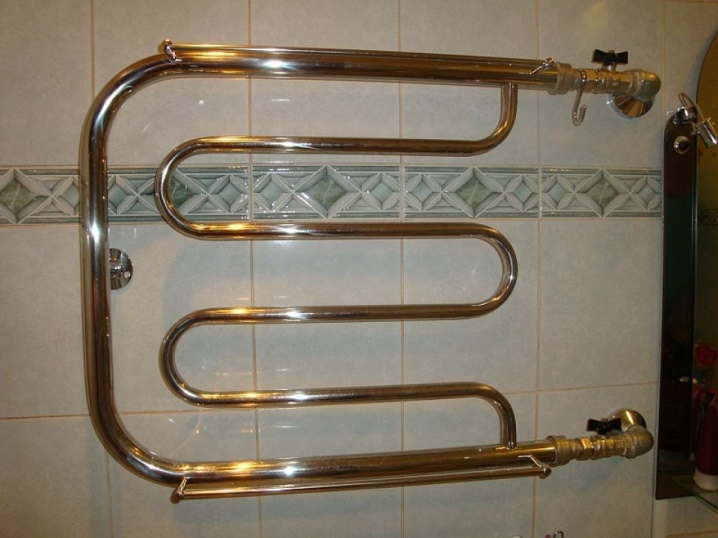
The coil is installed strictly according to the level. After it is fixed, it is required to run the water under low pressure and check for leaks.
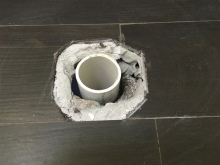
When connected to the floor, a different scheme is used:
- the installation of the device is agreed with the management company;
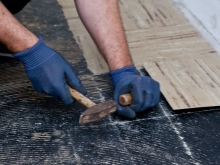
- the floor covering is removed;
- the floor is waterproofed;
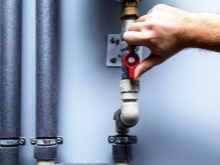
- the water supply is turned off;
- if a wall coil was previously used, all old cut-outs must be repaired;
- after that, new cuts are formed, the distance between the left and right cuts is calculated;
- pipes are placed in a special protected channel;
- all threaded connections are formed;
- the liner does not close tightly - you need a hatch or a removable panel that provides access to it.
All that was said related to water appliances. If you decide to stay on an electric one, then when you install it, your nuances will await you. Yes, you do not have to pair the device with the water supply system, but this does not mean that everything will be simple.
The nuances of installing electrical models
The first thing to worry about is the security of your connection. This requires:
- have an outlet with protection against moisture - if there is no outlet, then you will have to spend time, money and time to install it or bring the cables through the wall to another room;
- there must be a socket at least 70 cm from pipes and plumbing;
- ground all contacts;
- determine which of the bathroom walls is the accumulation of condensation;
- use automatic power off devices.
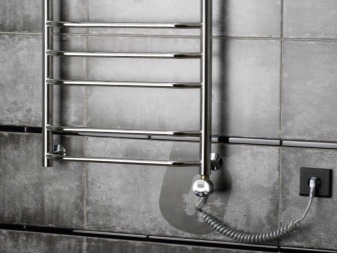
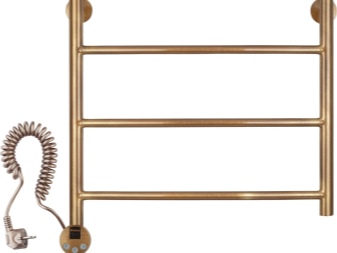
Among other things, it should be remembered that such devices consume quite a lot of electricity.
Heated towel rails with hidden direct connection deserve special mention. When choosing such a model, there is no need to install an outlet, the risk of moisture getting into the connection point is reduced. But the installation of such a device should only be carried out by a specialist.
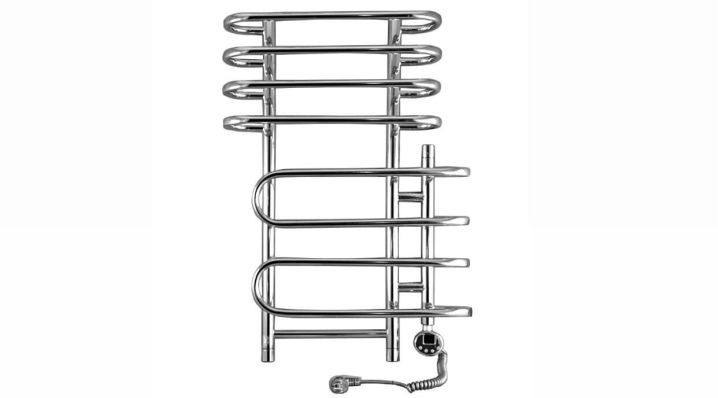
Combined heated towel rails
An interesting version of a heated towel rail is a combined type device. In fact, this is a water heated towel rail, in one of the collectors of which a heating element is installed. This design ensures uninterrupted operation of the device even when heating or hot water is turned off.
Useful Tips
- When choosing, always correlate the dimensions of the appliance and the bathroom, as well as the diameter of the pipes.
- When buying, do not forget about your passport and warranty card.
- Of the materials, preference should be given to stainless steel or chrome-plated brass. Black steel options are best avoided as they are more expensive, rust faster and have a higher risk of leakage.
- If a high price tag is acceptable for you and design is important, pay attention to ceramic models.
- Please note that installing seam pipes increases the risk of leakage.
- After fixing the device, never forget to test run. It will help you avoid a lot of problems.
- If you are not sure of your abilities, entrust the installation to specialists. This will save you and your neighbors from problems.
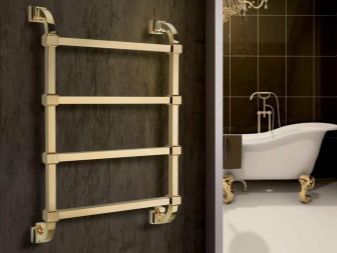
Follow all the rules for installing the device, follow the tips for choosing it, and then the heated towel rail will become not only a useful part of your bathroom, but also its decoration. But the main thing is that it will last a long time and will not cause you problems.
For more information on installing a heated towel rail, see the video below.


The comment was sent successfully.