DIY methods of making candlesticks
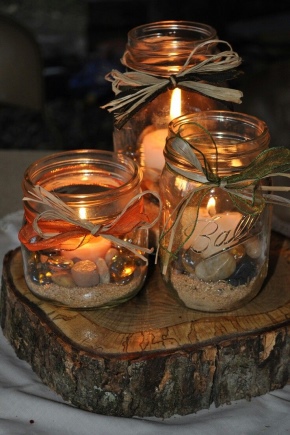
Using beautiful candlesticks with colorful candles is an easy and fairly budgetary way to quickly transform a room and give it a cozy atmosphere. Despite the huge number of products in stores, an increasing number of people prefer to create this decorative element with their own hands.
How to make wooden candlesticks?
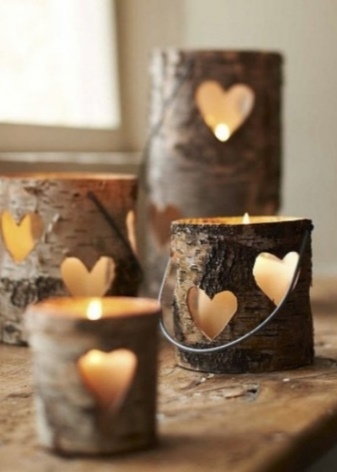
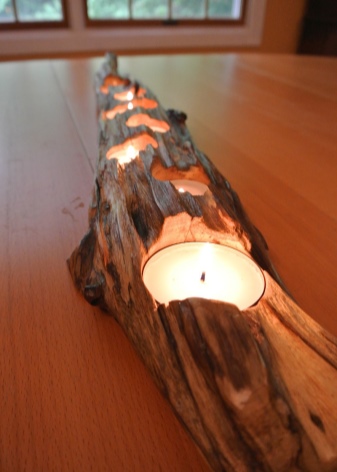
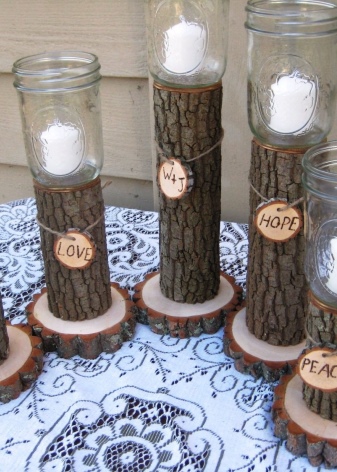
It is easy to make a candlestick from wood cuts with your own hands at home. It should be mentioned that the workpiece itself looks extremely stylish and is often used in the interior in its "natural" form. Environmentally friendly material suitable for any style, looks good both in everyday use and at festive feasts. The finished structure can be of any size, and can be located almost anywhere.
Finally, you cannot do without a saw cut candlestick when implementing such trendy trends as scandi and minimalism.
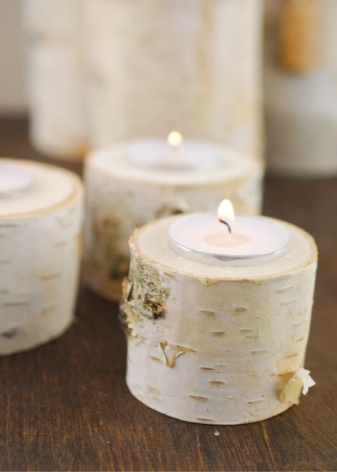
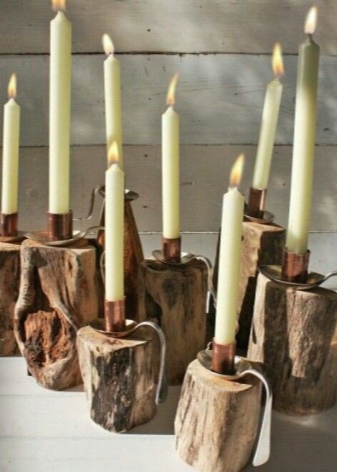
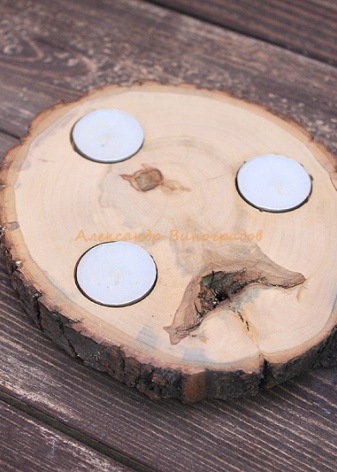
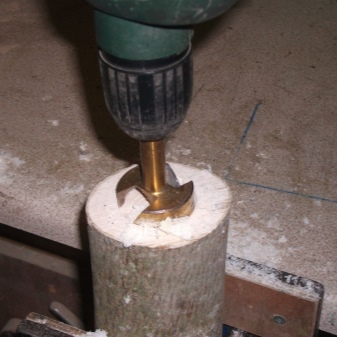
You can create a wooden blank with your own hands, or you can buy it ready-made in a specialized production, in a florist shop or in a hand-made goods store. The advantage of a purchased saw cut is that it is usually processed in such a way that no cracks or chips are left. It is not necessary to make an additional indentation for the candle if the "tablet" model is planned. If you want to make the structure more stable or have a longer service life, then a hole must be drilled inside. Both the diameter of the recess and the type of drill are determined independently, but experts recommend giving preference to the Forstner drill.
When making a candlestick from a saw cut, it is not necessary to be limited to one element - you can create a complete composition using circles of different diameters from different types of wood.
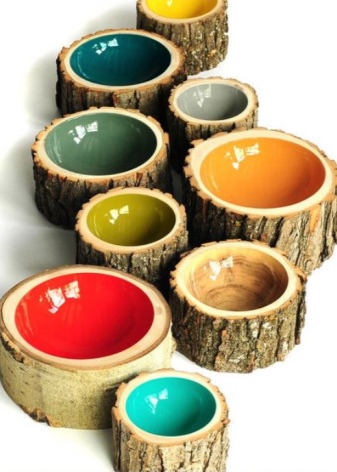
No less popular is the manufacture of a candle holder from a wooden bar. The blank (optional) can be replaced with a piece of wood or a board of suitable dimensions. The model turns out to be quite versatile and, again, suitable for most stylistic decisions. The block used must be dry, fairly wide and (ideally) planed. By the way, unplanned work is also possible, but only if the existing interior allows it.
The creation of recesses is carried out using a drill and drill of the required diameter and type. In addition, for quality workmanship, you will need a pencil with a tape measure, a square and a brush, a hammer, a saw, stain and gloves to protect your hands. The work begins with the fact that a fragment of the required size is separated from the bar. If the candlestick is to stand on the table, then it should be made taller, and if just on the shelf, then lower. When several candles need to be placed in one structure, you will need to first draw a diagram on which to mark the same gaps between individual elements.
A suitable block must be sanded with ordinary sandpaper, after which the existing scheme is transferred to it. It is important not to forget about the required indents from the edges of the structure. Next, using a drill, round holes of a diameter suitable for the selected candles are drilled in the tree.If the style requires it, then the finished structure can be artificially aged, for example, by making a few slight dents with a hammer.
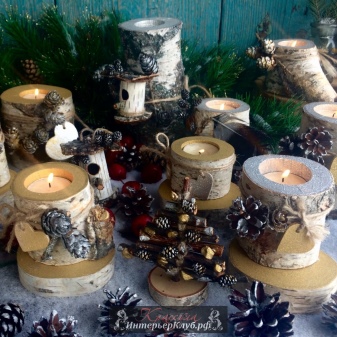
For staining, one layer of stain will be enough - this will add the necessary brightness to the decor, and preserve the beautiful texture of the wood. Before using the candlestick, it will take time to dry.
How to create from a bottle?
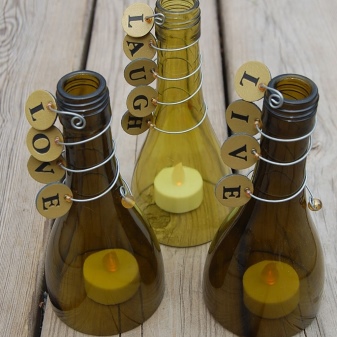
Almost any item can be used to make a candlestick, even an ordinary plastic or glass bottle. Of course, in the first case, a homemade item will look too cheap, and therefore more suitable for a one-time informal use: on a barbecue or a summer cottage picnic. To transform the bottle, you need to cut off the neck and place a candle inside. If we talk about a glass bottle, for example a wine bottle, then such a stand turns out to be of much higher quality and with proper decor, suitable even for gifts to loved ones. Beforehand, it will be important to choose an elegant shape and not to confuse it with color.
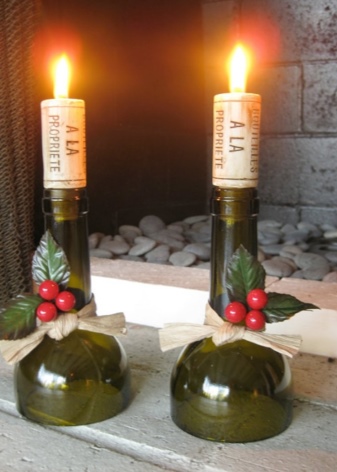
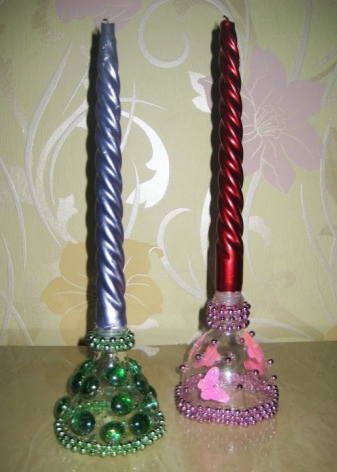
There are several ways to transform a regular bottle into a work of art. In the first case, you will need nail polish remover or a similar solution, as well as cotton threads. The thread is well soaked in the solution and wrapped around the bottle. Further, it is set on fire, and the bottle rotates in such a way that the fire moves along its entire surface. After the thread burns out, the bottle must be immersed in boiling water for 3 minutes, and why transfer it to cold water. The temperature jump will lead to the appearance of a crack in the desired location.
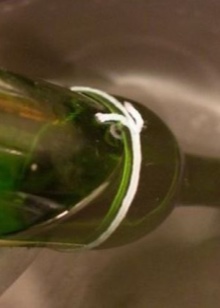
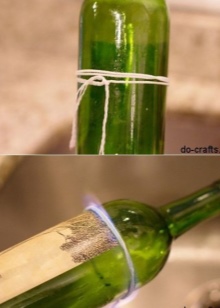
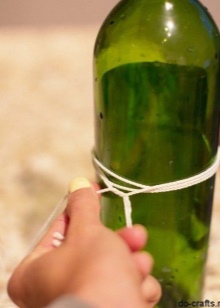
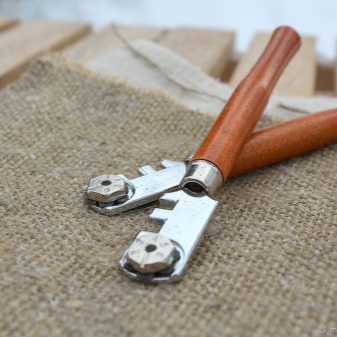
In the second case, the neck of the bottle is removed using a suitable drill or glass cutter. For convenience, you can put on a hair elastic on the neck, and then work out the line with a tool. Next, the incision is fired, again sent to boiling water and cold. After the appearance of a split, the edges are processed with sandpaper. To make the cut better, it is recommended to combine fine and coarse grains. The candle is either inserted naturally or is placed inside the bottle when the wick is first inserted and then melted paraffin is poured. Lace, ribbons, rhinestones, coniferous branches or other materials are suitable for decorating a glass candlestick.
Manufacturing of metal candlesticks
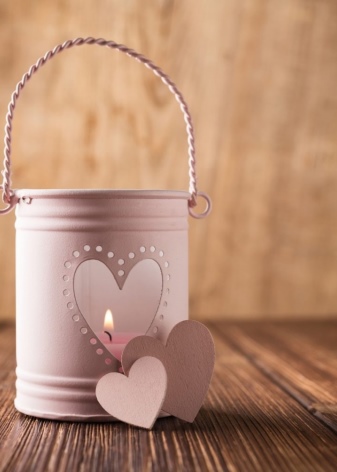
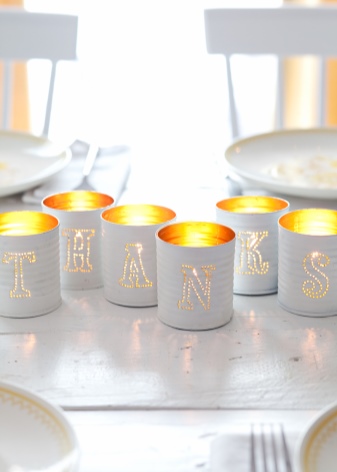
Forged candlesticks have always been very popular, but at home, without special skills, it is quite difficult to make a decorative element out of metal. However, a cute and practical little thing can be made from an ordinary tin can. A container made of coffee, paint or other substance that is durable is suitable. In addition to the blank, you will need a hammer and nails, as well as paint of the desired shade. Having previously created a stencil of the image of interest, it must be pointwise transferred to the jar, and then holes should be created along the contour using a hammer and a nail.
In order not to irritate yourself and those around you with an unpleasant sound, you can fall asleep inside the moistened earth during work. A candlestick with a pattern is covered with spray paint, after drying, you can place a candle inside. If a tin can is used, then it is better to decorate it with acrylic paint, and decorate with the help of volumetric elements: ribbons or lace. Next, wax is poured inside, a wick is inserted.
We make from a can
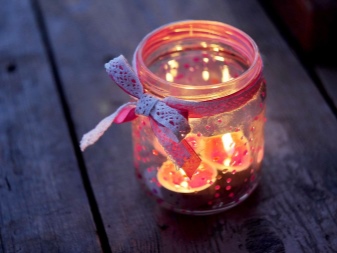
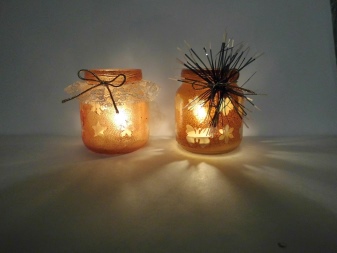
Quite often, candlesticks are created from glass containers, such as baby food jars. Such material is available and very easy to use. In fact, a jar of the desired size only needs to be decorated using a template of a beautiful drawing transferred to the container. As a dye, use black acrylic paint, sold in decorative stores. The sequence of actions can be explained by the example of making a "winter" candlestick.
First of all, the can is cleaned of any stickers and inscriptions, and the surface is additionally wiped with alcohol spray to ensure better adhesion to the coloring material. Next, the template is placed inside the container and secured with tape. After it is circled, the piece of paper can be taken out. By the way, in order not to get the jar dirty once again, you can hold it through a cloth napkin. The drawing is painted over with any colors, but always suitable for glass paint.
It is better to apply the coating in several layers, each time waiting for the previous one to dry. Finally, snowflakes are formed on the jar using a special spray, and the candlestick is sent to dry.
Glass options
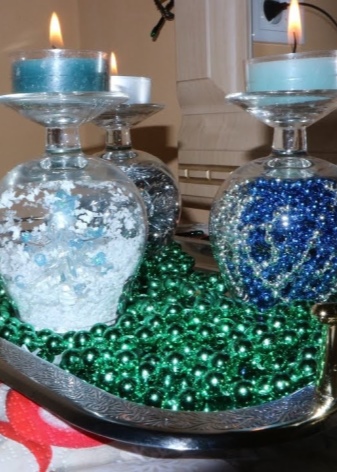
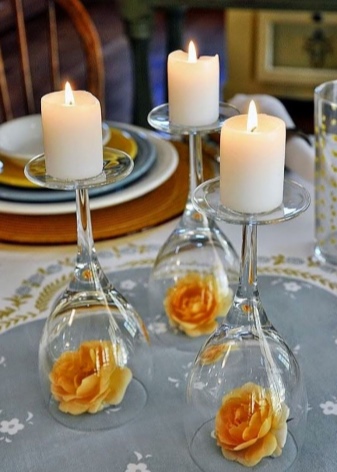
Candlesticks made of glasses are also popular, the decoration of which takes place with the help of patterns from shells. The design looks interesting when the dishes are turned upside down. In this case, a stable candle is placed on the leg, and some decorative elements are placed under the "dome" of the glass: dried flowers or a small figurine. Sometimes a decorated CD is fixed at the base, which makes the candlestick more stable. If the glass is used in the traditional form, then it is more convenient to decorate it from the outside, for example, with beads, rhinestones or fabric elements. The solution looks interesting when liquid is poured inside, various beads are launched there, and a floating candle is left on the surface.
A glass goblet decorated with shells looks spectacular and unusual. The prefabricated composition will be fixed on a glue gun and will consist mainly of mussels or bivalve shells.
Before starting work, it makes sense to treat natural elements with chlorine and, even before gluing, see how best they combine.
other methods
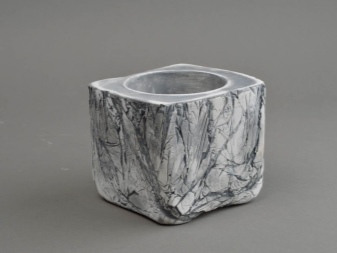
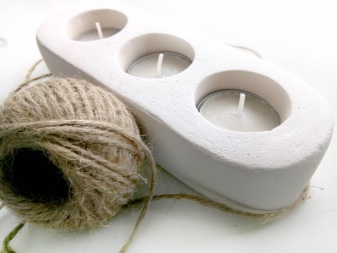
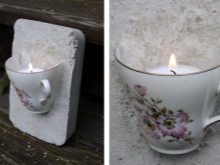
In addition to the main ones mentioned above, there are numerous other methods of making a homemade candlestick from scrap materials. For example, a rather simple master class on creating plaster decor. You just need to pick up a good container, and then fill it with a diluted composition. Once frozen, the material forms a candlestick of the required shape. By the way, you can even pour gypsum into such simple containers as yogurt cups, plastic disposable containers or soda bottles. The powder is diluted according to the instructions and poured into a mold so that there is room for a candle. The finished candlestick is decorated with textile elements or simply covered with paint.
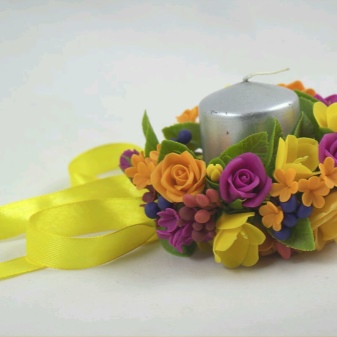
A candlestick made of polymer clay looks quite interesting. This material, however, is not as simple as plaster, and is only suitable for "advanced" users who have experience of interacting with it. Working with clay is the same as with dough, so first of all, the mass will have to be rolled out to a thickness of several millimeters. Next, work takes place with the selected template, and individual parts are sent to dry in the oven or to fresh air. It is necessary to connect them together with the help of PVA glue.
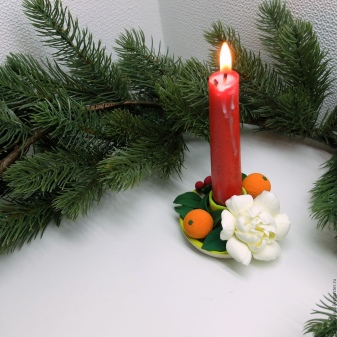
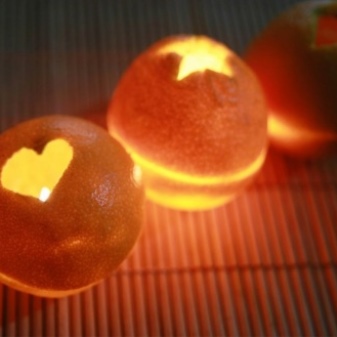
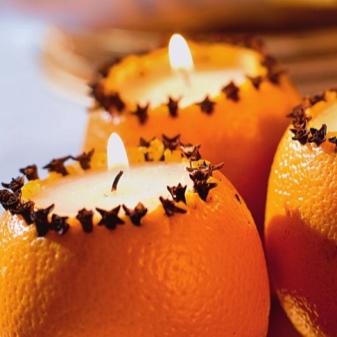
On New Year's holidays, you can not do without an orange candlestick. The easiest way is to gently extract the pulp from the whole or halved citrus, then either place a candle inside, or fill it with wax and insert the wick. It is even easier to wrap a regular thick candle with a strip of citrus peel or place candles-"pills" on dried slices.
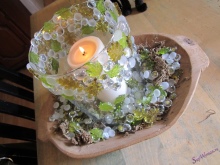
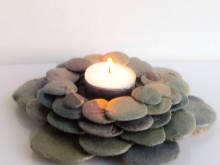
It turns out to be quite simple to use decorative glass stones or sea pebbles. In fact, a glass jar is usually used as a base, the surface of which is covered with pebbles using silicone glue in a checkerboard or free pattern. More skilled craftsmen can try to do without a base and simply fix the stones together. Such a candlestick is perhaps ideal for long candles.
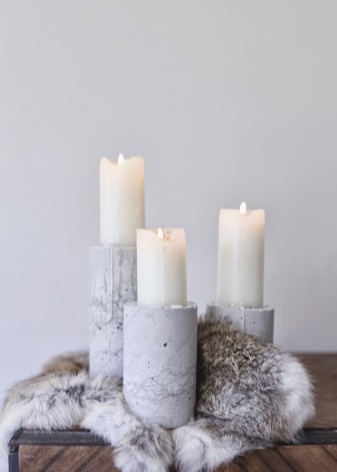
Other interesting options are making a decorative element from concrete, plywood, balusters or cement.
How to make a candlestick with your own hands, see the next master class.


The comment was sent successfully.