How to make the outer corner of the skirting board?
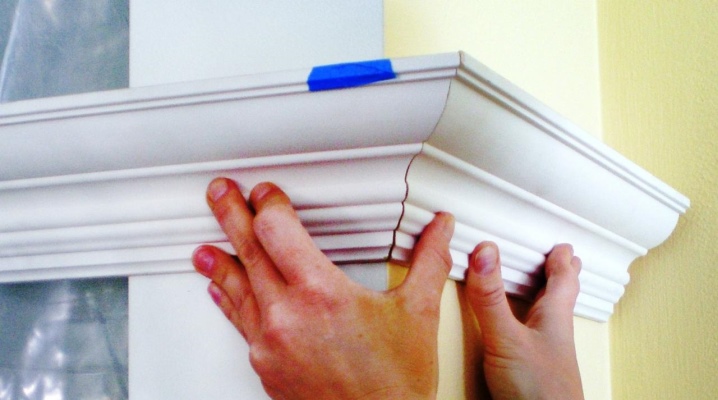
The installation of a ceiling plinth (fillet, baguette or molding) is the final stage of the decorative finishing of the ceiling. The main difficulty here is that if the installation of fillets on straight sections of the walls, as a rule, does not cause difficulties, then aesthetically joining 2 elements located at an angle can be quite troublesome. Especially when the angle measure differs from 90 °. How to correctly execute the corner on the ceiling molding and with the least amount of residues, we will talk in this publication.
Peculiarities
The ceiling plinth is an integral part of the decoration of residential premises, through which the flaws in the finish in the area of the junction of the wall with the ceiling are covered. They are used most often when pasting one of the adjacent surfaces with wallpaper, however, there are options for design solutions with a plinth, when the walls and ceiling are painted.
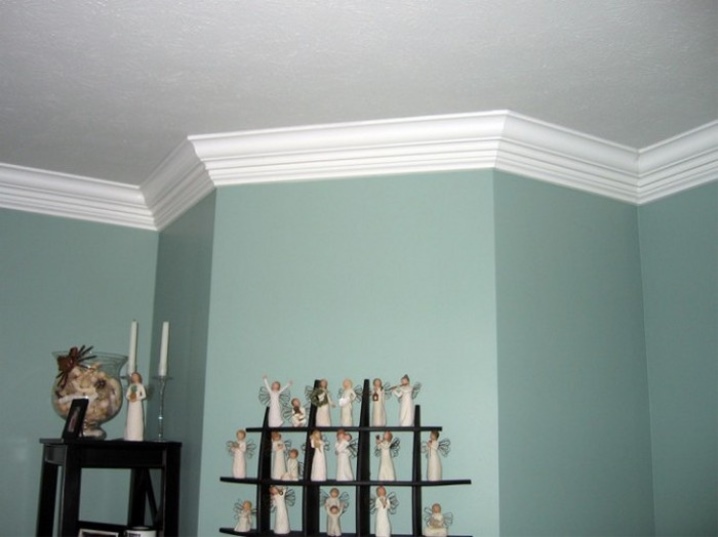
A ceiling molding has two key functions:
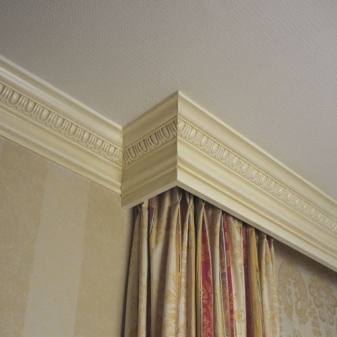
- Decorative. Among the abundance of skirting board varieties, you can always choose an option when the baguette becomes an independent component of wall decoration, a kind of "peppercorn", giving them a fashionable and often original look.
- Aesthetic. When pasting walls or ceilings, sometimes it does not work out beautifully to make a line of conjugation with the adjacent surface. The fillet creates a complete transition from wall to ceiling: attractive and elegant.
What are they made of
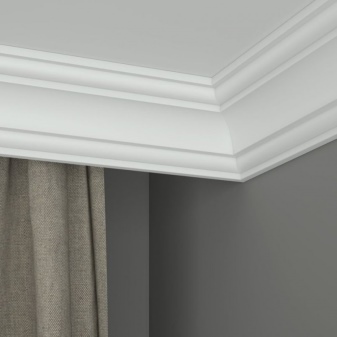
The first skirting boards were made of plaster. Its various elements were cast in specialized forms. Gypsum fillets are still being poured. However, due to the high cost of the product, its high weight and fragility (it is not easy to install), it is almost never used in apartments and individual houses. In this regard, gypsum fillets are cast, as a rule, in small batches for repair and restoration work or elite cottages.
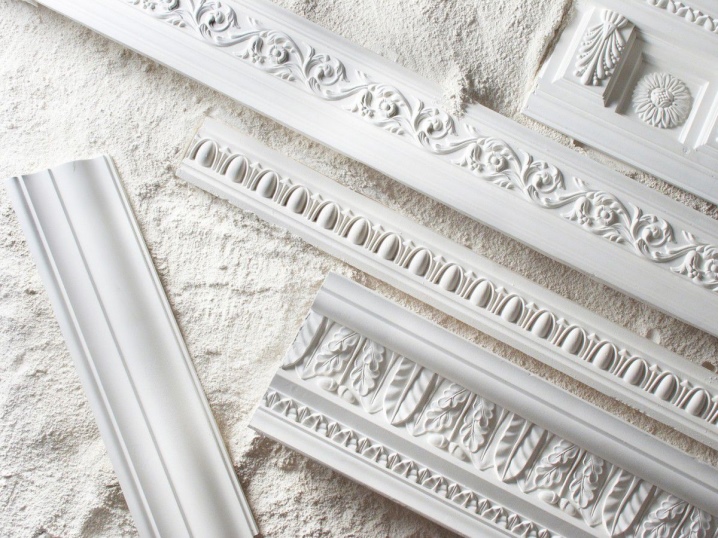
In ordinary living quarters, other materials are practiced:
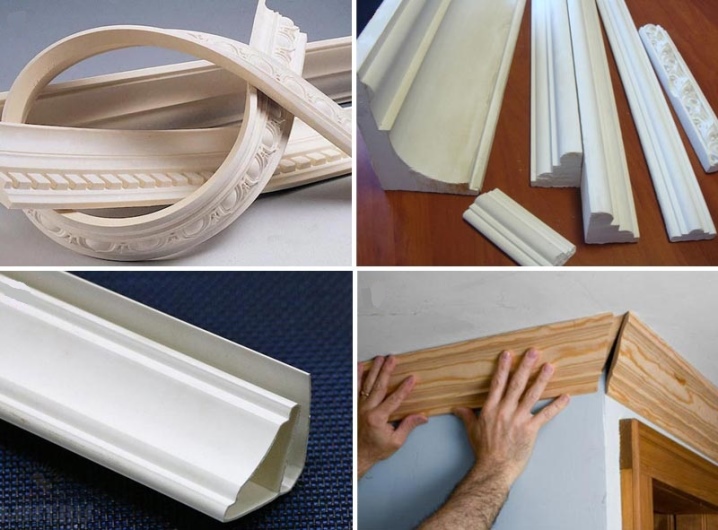
- Styrofoam. This is a very fragile material and must be handled with care. Its plus is its availability for most consumers.
- Polyvinyl chloride (PVC). The cost of products made from it is low, but with it, like with foam, you need to work carefully.
- Extruded (extruded) polystyrene foam. Baguettes made of this material are strong and reliable, their price is higher than that of the previously described products. It is not easy to break them, they do not crumble when cutting.
- Wood. The strongest type of such products is produced from wood.
- Polyurethane. Strong fillets for ceiling surfaces are made from it. They have a big flaw - polyurethane products are difficult to react to temperature fluctuations and are characterized by susceptibility to heat or cold. These features should be taken into account before trimming the ceiling fillet in the corners.
- Rubber. The elastic and soft material is used mainly as an addition to the stretch ceiling - it covers the gap between the canvas and the wall.
How to cut
When installing any of the mentioned types of baguettes, it is extremely important how the corner joint should be made, and for this, the correct trimming of the baguettes should be performed.
Depending on the material from which the ceiling plinth is made, work with products is carried out using specialized devices. So, in particular, sawing fillets from wood should be done using a hacksaw for wood, moreover, with a fine tooth.
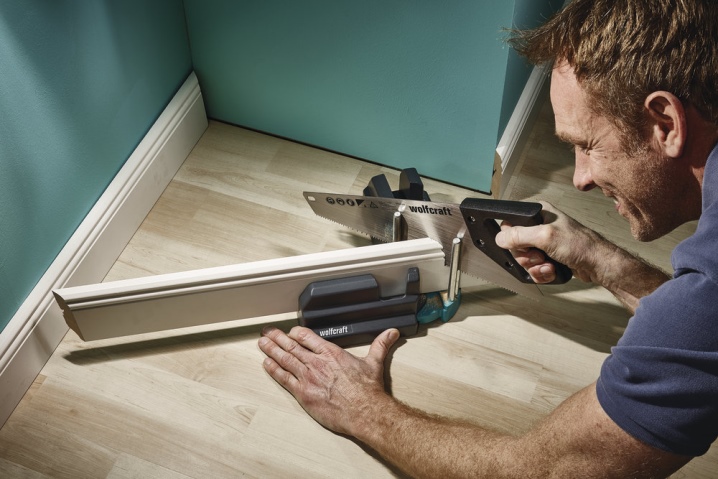
Fillets of other types are cut with saws or metal sheets. As a result, it turns out to make a completely even cut and angle. These canvases, as a rule, are used to work with a miter box.
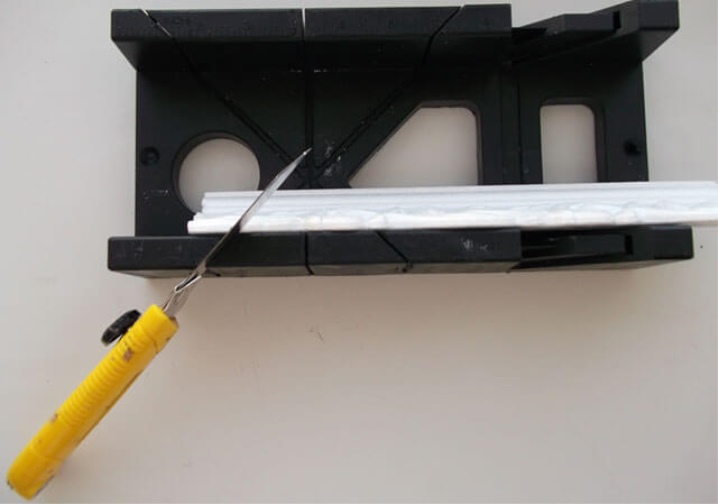
Softer materials, for example, foam baguettes, are cut with an ordinary boxcutter (paper knife) with a fairly sharp blade.
If skirting boards made of polyurethane or polystyrene are cut with a hacksaw, the main thing is not to apply excessive force when pressing, otherwise the material will be deformed.
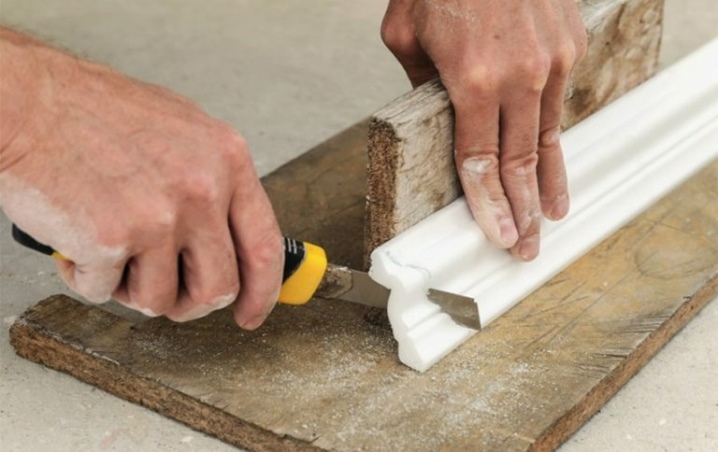
How to make the right angle
Before you start making the outer corner of the ceiling molding with your own hands, you need to make proper calculations and measurements in order to flawlessly cut the part. For this, the distance that the element takes from the corner on the outer surface to the nearest wall is measured.
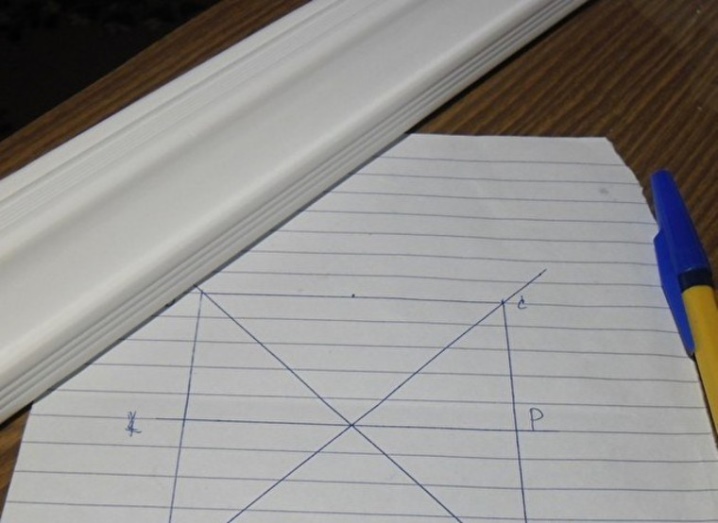
On the opposite part of the baguette, a line is drawn that outlines the required length, while do not forget that its upper surface protrudes slightly outward. Upon completion of measurements and calculations of the outer corner of the ceiling molding, they are taken for further work.
There are several ways to trim the ceiling fillet.
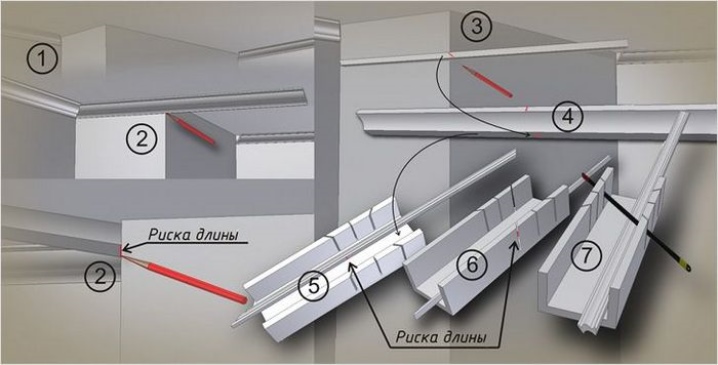
Using a miter box
This device is a small tray with vertical slots, which are intended for a hacksaw. The miter box has special marks at 45 ° and 90 °.
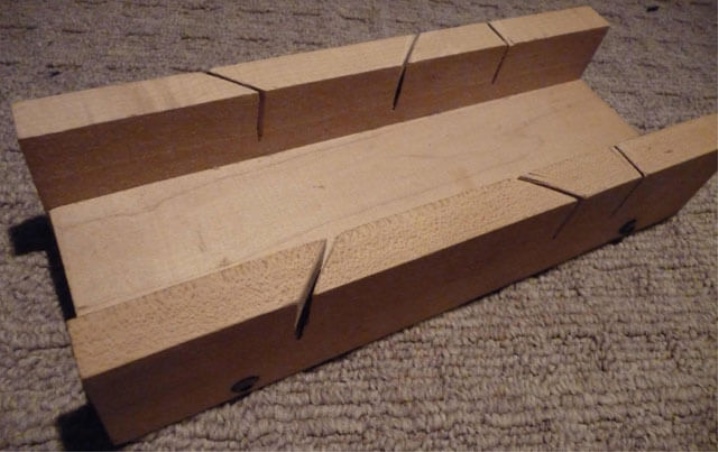
To properly saw the fillet, place it in the miter box and carefully cut the part. Measure the adjacent baguette in the same way as the previous one, leave a margin. Clip in mirror image to the first fillet.
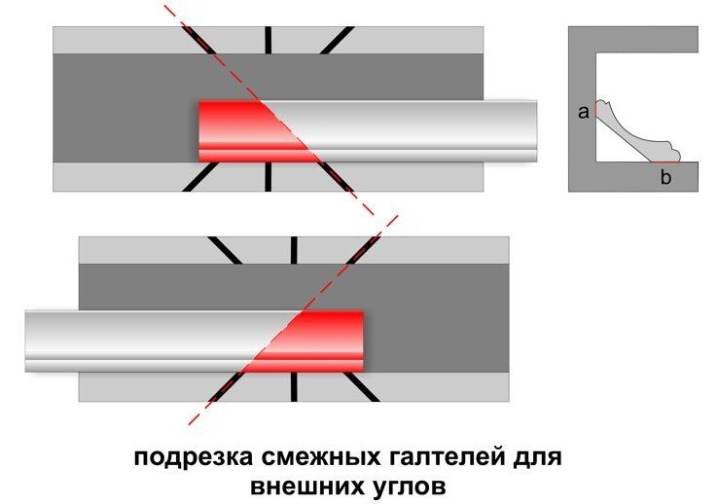
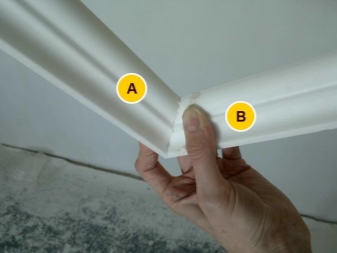
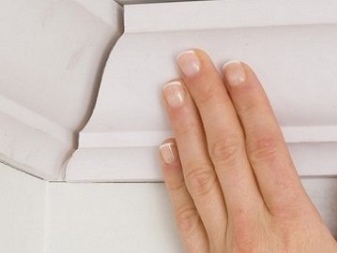
Now you can attach the trimmed fillets to the ceiling and see what happens. The sections of the joints of the elements should be even, not have jags and gaps, closely mate with each other. If this did not happen, do not be upset: an ordinary knife will help you. By means of it, you can trim the edges of the fillet until you get the desired result.
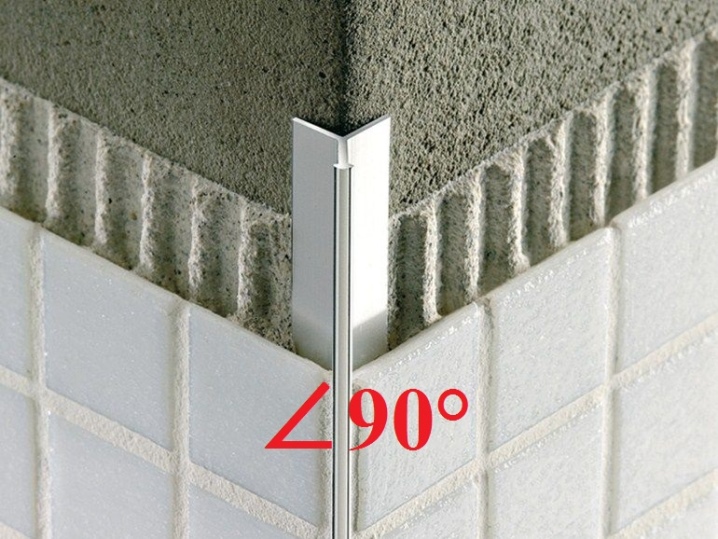
Keep in mind! The procedure for trimming skirting boards using a miter box is only useful when the angle between the walls is 90 °. In a different development of events, it will be necessary to trim manually.
Cutting skirting boards without miter box
If it is not possible to work with the miter box, you need to use a different method. Before making a corner on the ceiling fillet, you need to practice. You can use the remains of products from past work.
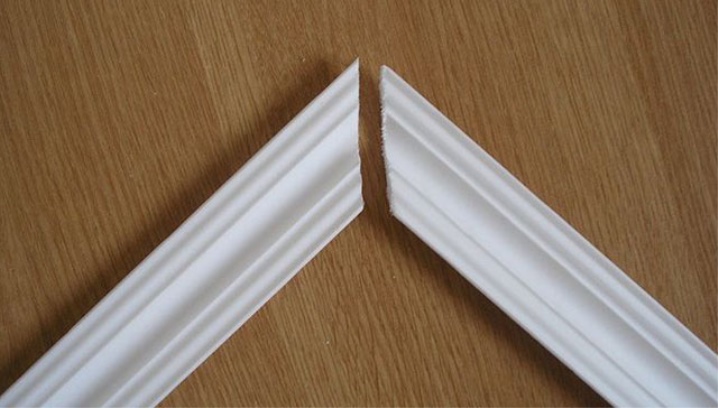
If you believe the experts, then cutting a baguette without using a miter box is the most accurate, since it makes it possible to more accurately and accurately outline the angle being formed. With this technique, it is more comfortable to make the inner corner of the ceiling fillet.
The manual method also has drawbacks - it is not easy to keep a polyurethane or wooden plinth in weight during measurements.
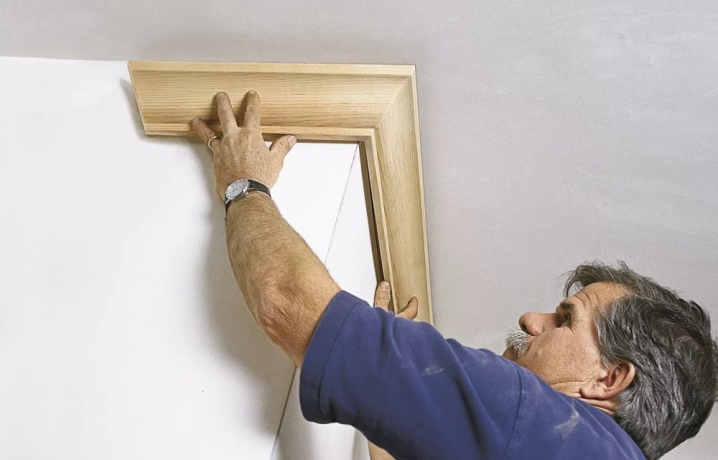
Here is the chronology of operations:
- With pre-prepared tools, two blanks are cut at an angle of 90 °.
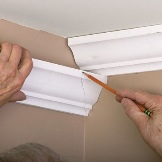
- After that, the product is attached to the ceiling in such a way that it rests with a cut against the wall, which is located vertically with fillets. With a pencil, fillet silhouette lines are made directly on the ceiling.
- They do the same with the neighboring plank - put it to the ceiling, and draw a line with a pencil.
- After that, you should carefully examine the resulting drawing. The intersection of the lines will be the place where you need to cut the baguette. Better to be on the safe side. To do this, once again put both baguettes to the ceiling and mark a place for trimming on them. A line is drawn from this place to the second end of the baguette. Then, in accordance with all the marks applied, the skirting boards are cut.
- At the end of the trimming procedure, they are joined to each other and attached to the ceiling in the place planned for installation.

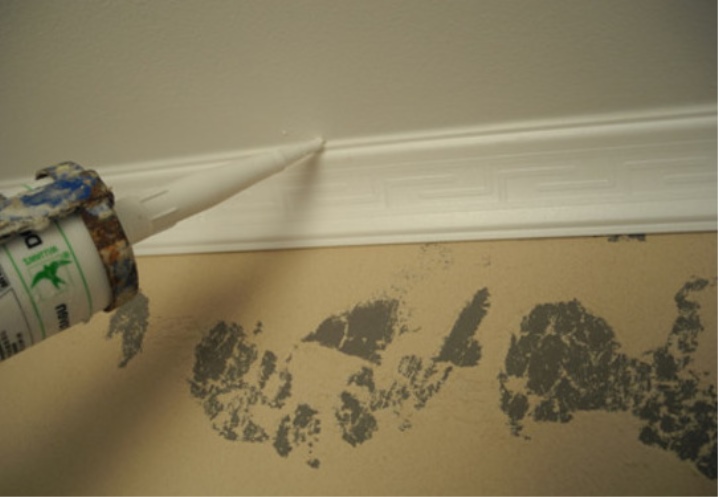
When, when the outer corner looks uneven, there are gaps, gaps or other flaws, there is no need to rush and redo all the work. Putty or sealant will help to eliminate defects. They can fill all the voids accurately and quickly, without spoiling the appearance of the baguette.
With decorative corners
There is another very unsophisticated method to make a correct angle. For polyurethane or foam skirting boards, use factory-made decorative (finishing) corners. They are implemented separately, but are often multifunctional, as they can be applied to most profiles. The main task is to choose the right corner for the width of the skirting board and for the general style so that it does not look too alien.
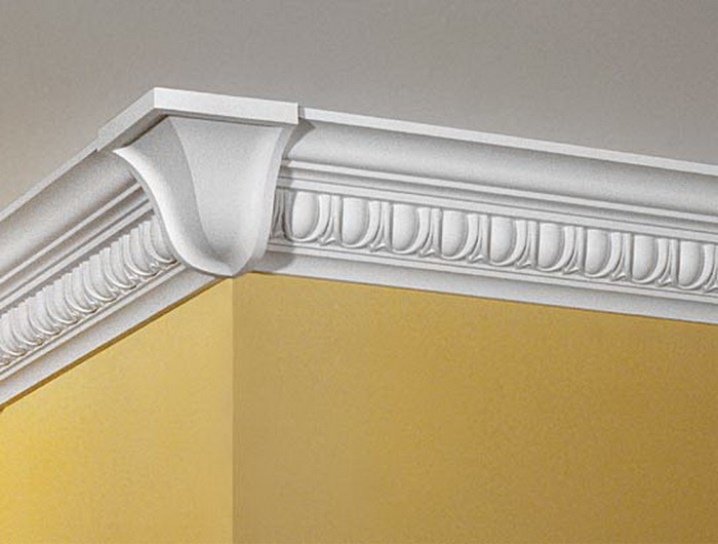
Such products are made from both foam and polyurethane, so it is advisable to buy them together with a basic finish in order to choose not only the pattern and the method of joining, but also the material.
Such details are of several types:
- Corners to which the baguette adjoins end-to-end. This method works well for carefully checked right angles.
- Corners under which the ends of the skirting board are hidden. Such inserts make it possible to form corners that have an error in their verticality.
- Outdoor finishing corners, as a rule, are intended to hide the cuts of the skirting boards.
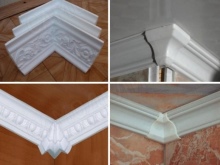
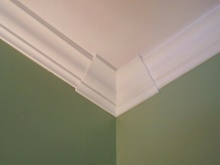
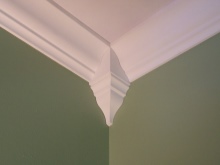
The installation of such parts is simple. At the junction of two walls of the room, the corner is glued first. Before joining fillets with it, the glue must dry completely. Then the fillet cut is leveled and glued end-to-end or run into the recesses on the sides of the decorative corner.
How to join in corners
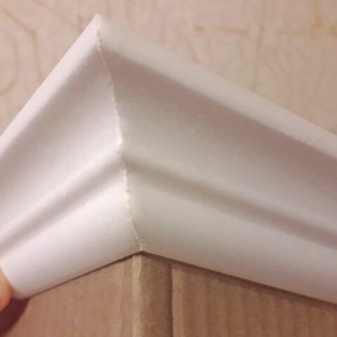
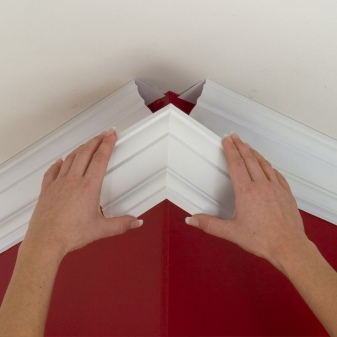
In rooms, the outer corner can be found much less often than the inner one, but it is still desirable to understand how to join the ceiling molding in the outer corners. Cutting it up is easy. First of all, mark the beginning of such a corner. To do this, press the baguette against the wall along the markings, then use a pencil to mark the edge of the corner where you intend to cut off the outer corner. After that, you can take up the process of making the outer corner of the fillet itself.
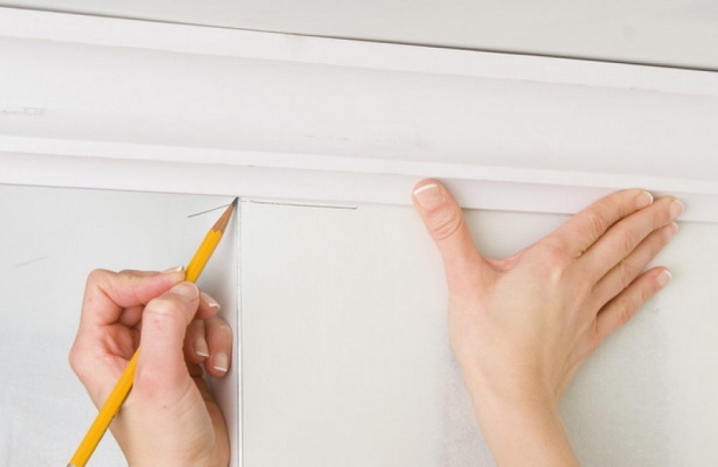
The ceiling and walls in a living space are not always exactly flat. And therefore, when connecting the finishing parts, gaps can form. To join and glue the ceiling molding in the corners, you need to follow some recommendations:
- Before gluing, the details of the materials are tried on to make sure that the cut is correct and that the fragments can be connected.
- Installation starts constantly with corner elements. It is recommended to leave 10-15 centimeters in stock when calculating straight parts so that, if necessary, you can correct the cut.
- An adhesive is applied to the outer ends and to the inner surface. It is not necessary to apply the glue in a thick layer, otherwise it will be necessary to remove its excess. After the fillet is placed in place and lightly pressed down. Setting takes place after 3-5 seconds.
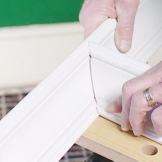
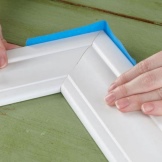
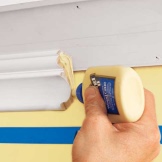
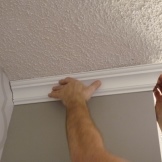
If excess adhesive does appear, they are removed with a damp cloth or sponge.
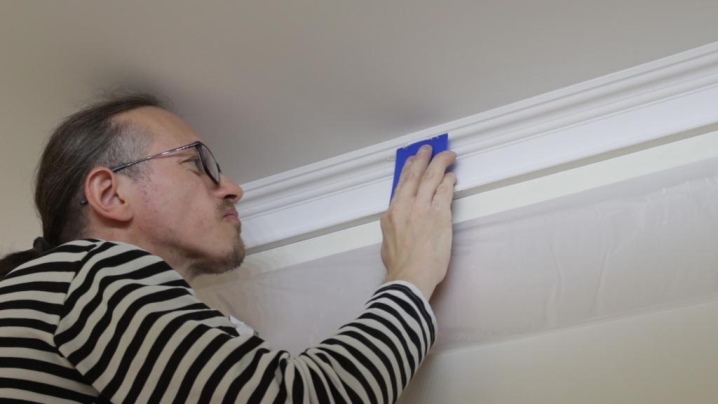
A detailed overview of creating the outer corner of a skirting board without using a miter box is presented in the following video.


The comment was sent successfully.