Die cutting
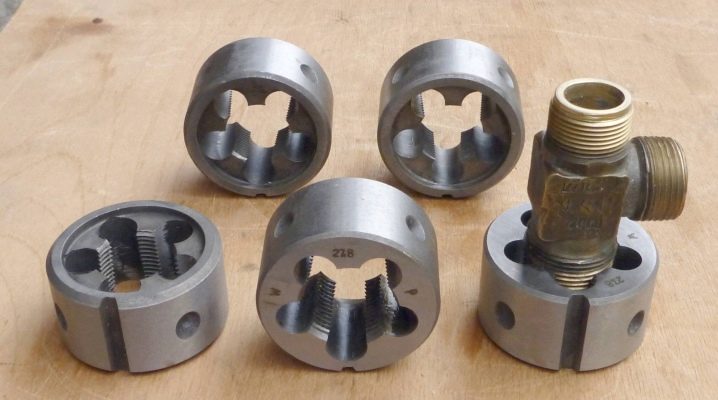
External threading is an operation without which it is difficult to imagine any production of machines, mechanisms or supporting structures. Riveting and spot (or plane) welding are not always appropriate here, which means that screw or bolted connections are still the way out.
Preparation
To prepare for tapping with a die, a female HSS circular cutter, follow a few steps.
- Saw off and align (if necessary) a rod or pipe of a certain length.
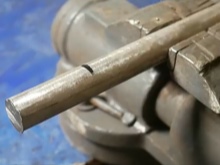
- Grind the edge where you want to cut in the first place in a circle. This will facilitate the rotation of the plate, giving it the desired trajectory of movement. Turning is performed at least a millimeter in length - it has an even bevel in the cut. Perfectly smooth turning is performed on a lathe.
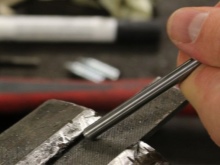
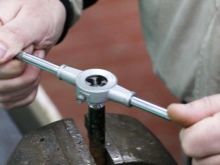
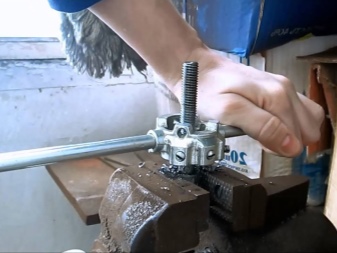
- Clamp a piece of pipe or rod in a locksmith's vice. Ideally, when the tabletop of the workbench, on which they are fixed, is located at the level (or slightly below the level) of the worker's belt. Make sure that the pipe or rod is perpendicular to the ground - according to the laws of physics, this makes it easier to start and control threading.
- Lubricate the internal thread of the die and the pipe (or rod) itself with engine or transmission oil, oil processing.
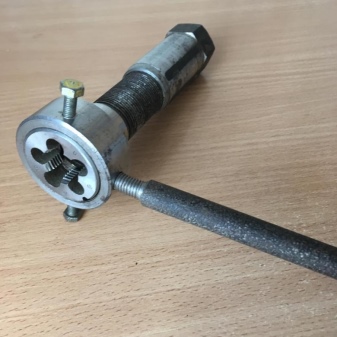
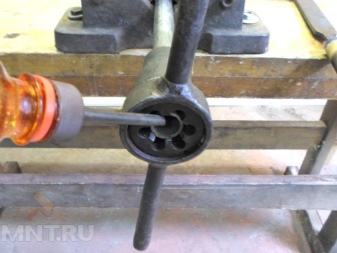
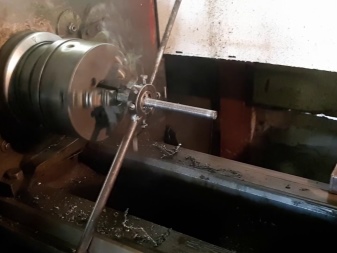
- Screw manual ram holders onto the die, or install it in a low-speed machine. The ideal option would be a lathe with an adapter for a circular (machine) die holder.
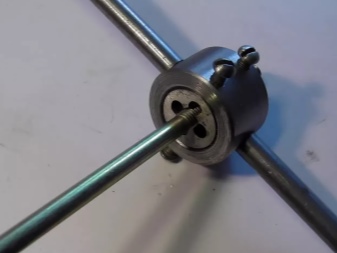
After that, put on the die, and start rotating it around the workpiece.
Technology
Die-cutting is carried out in a calm environment, in a safe place, where the prerequisites for any accidental jerking actions are excluded. A die not installed parallel to the horizon - provided that the pipe or rod is fixed strictly perpendicular - will provide an unsuccessful start of cutting the helical groove around the base to be cut. And although the die will align itself, after passing at least a couple of turns, it is better not to allow this - the first turns will become uneven, and it will be extremely difficult to screw the nut, as well as twist the rod into the massive part prepared for it. The result is a noticeably damaged threaded joint of the workpieces, which does not withstand the maximum weight, bursting and breaking loads, which is declared according to the diameter of the "cut" workpiece, the dimensions of the nuts and the massive part into which this workpiece is subsequently screwed. If the thread is damaged, then the master will grab it and weld it with welding, without which the task was set to do without even before starting work on creating a threaded joint.
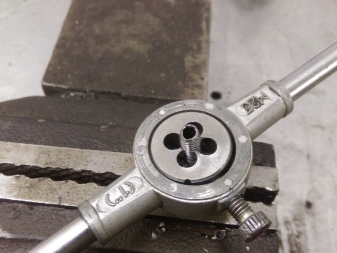
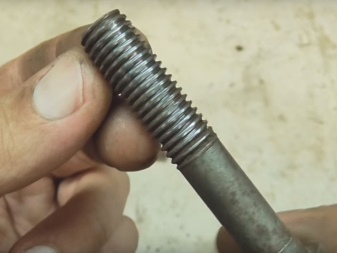
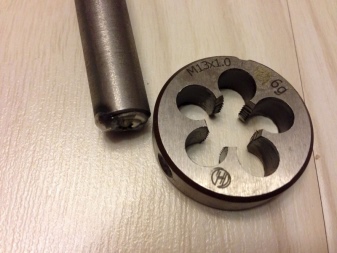
After aligning the die parallel to the ground, rotate it along its own internal thread. A simple die is a tool that comes into contact with the surface of the pipe or rod being cut from four sides along the arcs of a circle, which is the surface of the workpiece on the cross section of the latter. The equidistance of adjacent edges (arcs of this circle) from each other and from the central axis of the pipe / rod (and the tool itself) allows the die to move smoothly, provided that the beginning (the first two turns) is clearly executed.
The right-hand thread is twisted clockwise, the left-hand thread is vice versa.
The first turns are performed very carefully - the alignment of the cutting edges along the groove of the first turn is important, which will enable the rest to follow clearly around the one that served as the "most forward" one. Perform the first rotation of the plate at an angle of up to 90-180 degrees - you need to make sure that the process goes according to plan, the plate does not suddenly curl to one side in any direction. If it is curled up and the threading stops, then grind off the damaged edge by turning, and try re-cutting the same thread. Even for beginners who have never held a die in their hands before, threading quickly becomes a simple process.
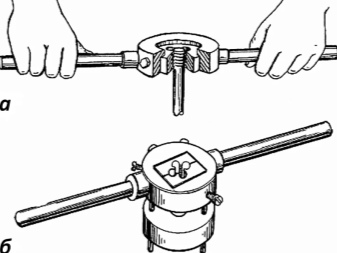
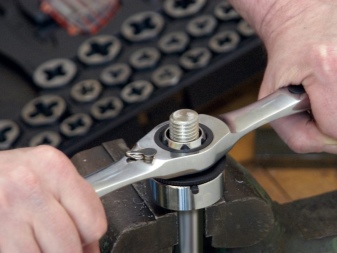
After completing the first half of the turn, continue carefully, periodically returning the die back, against the course of twisting, move it forward at small angles. The technique is as follows: go, for example, 10 degrees forward - pass half of this angular distance (in this case, 5 degrees) back. That is, you need to cut the thread in jerks to prevent overheating of the die and the workpiece - and, as a rule, releasing the hardened high-speed steel from which the cutting tool is made. Periodically remove (screw up) the die and add a few drops of machine oil to it, remove metal shavings from the tool grooves, for which a piece of rags is used.
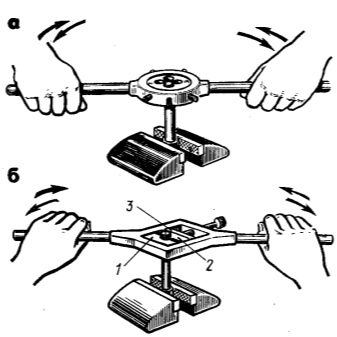
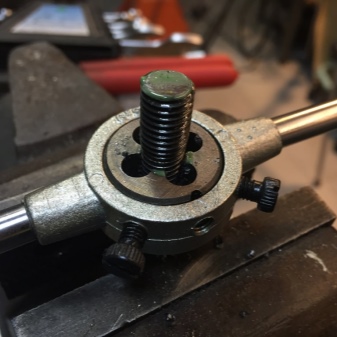
Having cut two turns, you can increase the intensity and amplitude of movements, for example, up to tens of degrees - but do not overdo it: the tool and workpiece must not overheat. If this still happens, take a technological break - both the pipe (rod) and the die should cool down.
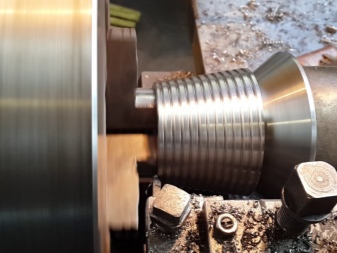
If you are threading on a lathe, then engage a low gear.
An attempt to turn at a high speed at once can damage both the workpiece and the die, and the gearbox (or motor) of the machine itself. Instead of a wrench, beginners insert a suitable analogue of a machine ram holder into the screwdriver, turn on the lowest speed - but before that they fix the screwdriver, for example, in a vice, or with the help of brackets on a specially made elevation (support) installed on the workbench tabletop.
Of course, you can do the opposite - rotate the pipe by clamping it in a lathe (or a rod in a drill / screwdriver), and fix the die in a vice. But such a method will require a serious structure of stops and guides, similar to those used on a milling machine or thickness gauge. Do not create additional difficulties for yourself - this will turn out to be unnecessary costs for you.
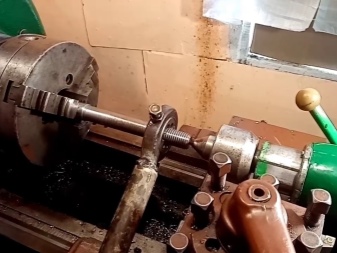
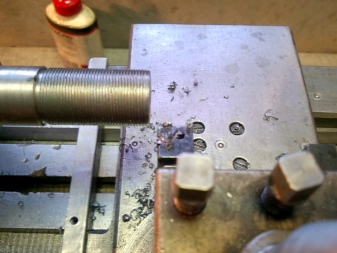
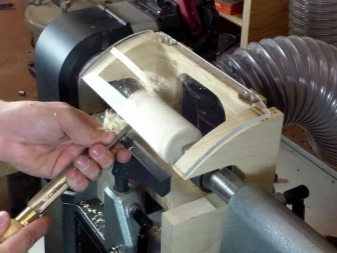
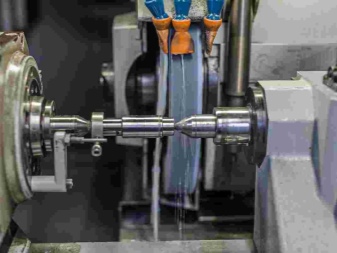
Having cut a thread on one workpiece, proceed to the next. On a factory conveyor, where a constant daily standard for workpieces is needed, for example, a thousand rods per day, a machine is used with cooling the die and other moving mechanisms. Cooling of a tool constantly warming up from friction is carried out, for example, with the help of a technical vacuum cleaner connected to the branch pipe of the working (closed) compartment. You can also design a similar chamber, where, in addition to removing chips that did not have time to adhere to the oil supplied to the point of operation, the temperature of the working die is also reset, for example, from 100 to 150 degrees, which prolongs its service life. The result is neat, even workpieces, just like from the manufacturer. For example, this is the way to end threading for smooth (round) reinforcement studs.
Useful Tips
Do not neglect the lubrication of the die (die) and the workpiece itself.
Remember to remove sawdust (along the thread) from the pipe (or rod) and die, adding a little more oil after that. Dry cutting will lead to rapid tool wear, which will immediately show up as fuzzy threads on new workpieces.
Attempting to place a die on an unsharpened pipe or rod will make it much more difficult to start grooving smoothly and evenly. The quality of the thread can be extremely low.
Use dies with a HSS hardness of at least 60 HRC.
Ideally, get a tool from alloy 63: this hardness is inherent in the most expensive cutters. Using Victory Dies would not be worth it: Victory Alloy processes granite and concrete, not steel. Diamond sputtering on the dies is too expensive, you don't have to cut hardened rods or pipes. Avoid counterfeits made of low-strength steel with a hardness index below 57: such dies quickly deteriorate.
Do not expose the tool to overheating, incandescence.
Do not use a tapered die to thread a normal workpiece. Such a workpiece is turned on a lathe at the angle of the cone, referring to the drawing. Violation of this rule entails breakage of the die and the workpiece itself. The opposite is also true: cutting a tapered workpiece with a conventional cutter will give uneven turns, since the contact area with it is incomplete.
When cutting threads manually using dies with non-standard threads, movements are made at an even smaller angle, and unscrewing the tool and cleaning, lubricating already made turns and cutting edges - more often. The standard thread pitch for M6 is, for example, a groove width of 1 mm, anything larger or smaller requires a special approach.
Next, see the video on how to cut a thread with a die.


The comment was sent successfully.