Planting petunias in the "snail"
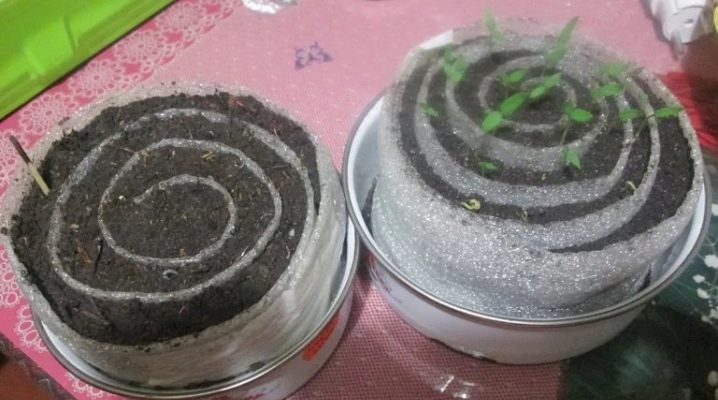
The snail is one way of planting seeds for seedlings. It appeared recently, but many gardeners and flower growers were able to appreciate it. This method is perfect for capricious plants that react sharply to external factors and to the picking procedure. These plants include petunia.
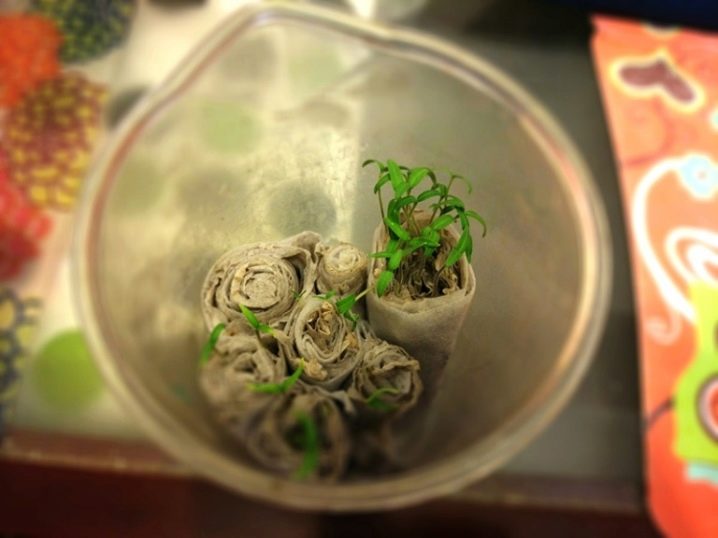
Advantages and disadvantages
The advantages of planting petunia seeds in the "snail" are as follows.
- In such conditions, seedlings can develop up to transplanting to their permanent place, bypassing the picking process.
- Plant roots practically do not intertwine, despite the fact that a common planting is used.
- It is very convenient to take out the plant for subsequent transplantation. To do this, you just need to unwind the "snail".
- "Snail" takes up little space, especially when compared with many cups for individual planting.
- This method provides good germination.
- Simplicity of seedling care.
There are also disadvantages of planting petunia seeds in a "snail":
- too dense planting can contribute to a lack of sunlight for each of the plants;
- there is a risk of developing a weak root system and pulling out seedlings.
Materials and tools for making a snail
You will need:
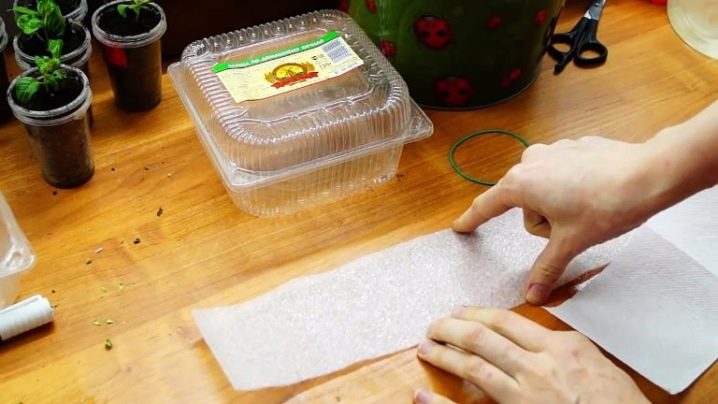
- foam backing, which is usually used when laying laminate;
- toilet paper;
- spray bottle with water;
- petunia flower seeds;
- scissors;
- bank rubber bands or strings to fix the "snail";
- stickers for marking;
- priming.
Landing dates
The timing of sowing petunias for seedlings varies depending on the region, since the climatic conditions in different parts of our country differ very much. You need to focus on the timing of planting petunia seedlings in open ground and the timing of growing seedlings. In outdoor conditions, petunias need warm soil, long daylight hours and no frost. Typically, this period occurs in mid-May, and in the southern regions 2-3 weeks earlier.
In this regard, sowing petunia seeds for seedlings in snails should be done in February or March.
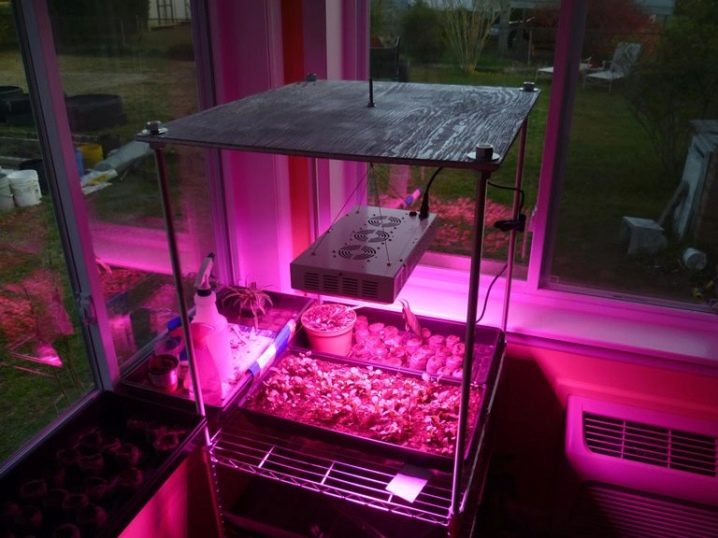
It is allowed to sow seeds for seedlings in January, but only in especially sunny regions. However, in this case, additional illumination with lamps will definitely be needed, since the daylight hours are still very short for the normal development of seedlings.
Soil preparation
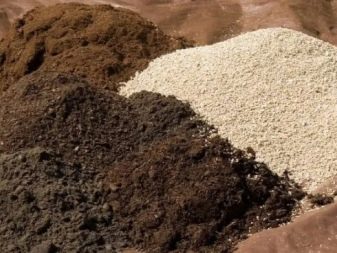
A mixture of garden soil, humus and sand is used as a soil for sowing petunias. Approximate proportions are 1: 1: 2, respectively. A slight deviation from the proportions is allowed, the emphasis is on the looseness and lightness of the substrate. All ingredients are evenly mixed and, if necessary, slightly moistened with water.
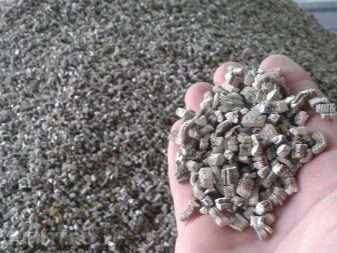
Vermiculite is also used in the soil for planting seed. Is a mineral with a layered structure and excellent moisture absorption. It saturates the soil with minerals necessary for plant nutrition, and, if necessary, gives off moisture.
If you plant petunia in vermiculite, it is advisable to add one part of it to the ground for seedlings. The soil becomes looser and dries more slowly.
Planting seeds in a large "snail"
The landing algorithm looks like this.
- A tape is cut from the backing with scissors, the width of which is equal to the width of the toilet paper used, and the length is approximately 25 cm.
- Then, on top of the backing, a toilet paper tape is laid along the entire length.
- The paper must be dampened with water.The most convenient way to do this is with a spray bottle. If not, you can gently pour from a spoon or smear with a wet brush.
- After that, petunia seeds are laid out on moistened toilet paper. The distance from the upper edge of the "snail" to the placement of the seeds should be about 1 cm. The distance between the seeds is at least 1-2 cm.
- Then soil is laid out on top of the seeds in an even layer. The optimum thickness of the earth layer is 1 cm. In order for the earth not to crumble and it is convenient to roll up the roll, the soil is lightly nailed. If necessary, the soil is wetted.
- A second layer of toilet paper is laid on top of the soil, which is also moistened with water.
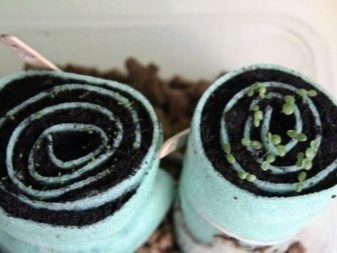
- The resulting multi-layer structure is rolled up and fixed with bank rubber bands or rope.
- The roll is turned over and placed on the pallet so that the seeds are closer to the top edge.
- From above, the "snail" is covered with a bag or plastic wrap.
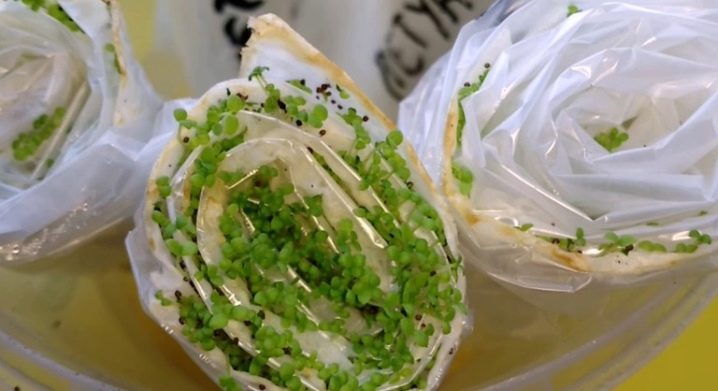
Planting seeds in a small "snail" is almost the same as planting in a large one. The difference is that for a small roll, small pieces of substrate 10x10 cm in size are taken. Usually, it is possible to plant several seeds (from 2 to 5) in such a snail. The resulting mini-snails are installed on a common pallet.
Seedling care
With the beginning of the seed hatching, the bag or film is removed. The snail tray is placed on the windowsill. It is desirable that this is on the south side, and the seedlings receive a full portion of sunlight. In order to grow healthy and strong seedlings, in case of a lack of light, it is recommended to use fluorescent and phytolamps.
Watering the seedlings should be done so that water droplets do not accumulate on the leaves. This can be done from any device with a fine tip, using a pipette, a syringe without a needle, a pear, a teaspoon, or through a drip tray.
If it is decided to dive petunia seedlings from the "snail" into separate glasses, then this should be done when 2-3 pairs of true leaves appear in the plants. On the eve of disembarkation, the "snail" is well spilled with water for easy extraction of seedlings from it. Unroll the roll before removing it.
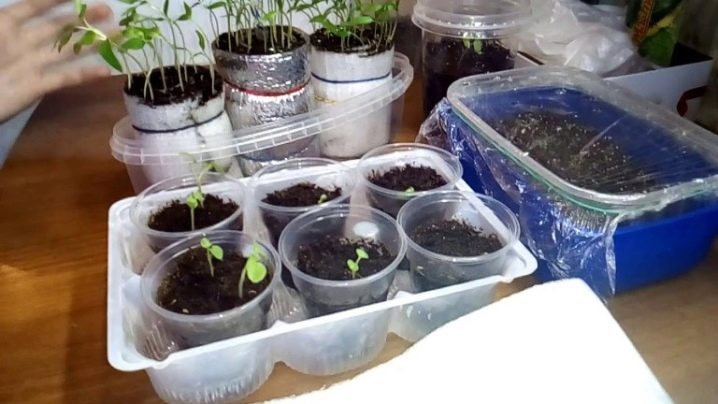
Feeding petunias begins at the stage of the appearance of the first 3-4 true leaves. If a dive was made, then feeding is carried out no earlier than a week later. The first to use nitrogen-containing fertilizers, and after the start of active growth of petunias - potash. In the future, they are alternated. Pinching petunia seedlings will encourage the plant to form new shoots from the leaf axils. As a result, the petunia becomes more lush and voluminous. The procedure is performed with scissors or fingers at the height of the fourth to fifth sheet.
See below for planting petunias in a snail.











The comment was sent successfully.