All about sandbox boats
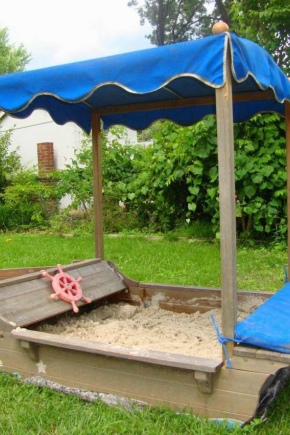
Every parent wants his child to have an interesting and fun time. In summer, playing in the sandbox can bring a lot of fun to the kid.
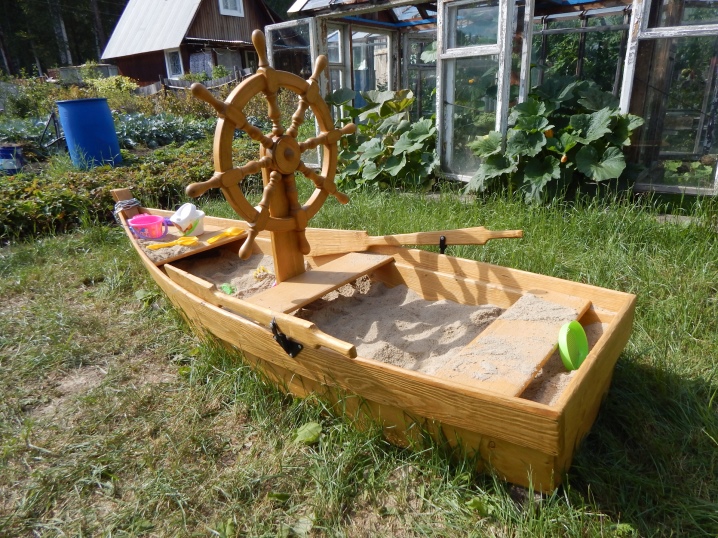
Peculiarities
Who in childhood did not like building sand castles, sculpting different figures using molds? This is a very interesting and rewarding outdoor activity. In addition, experts note that playing with sand has the following positive effects:
- develop fine motor skills;
- improve the child's tactile sensations,
- have an impact on the development of coordination of movements.
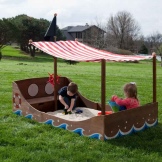
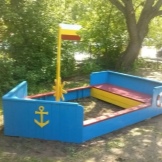
So, you decided to make a children's sandbox on your site. Of course, you can purchase a ready-made version. But if there is an opportunity and desire, why not make a sandbox with your own hands? You will be able to watch with pleasure how a happy child plays in the sandbox that you made for him yourself; moreover, what is done with love serves best. Show your creativity and ingenuity in creating it by choosing the appropriate shape and color.
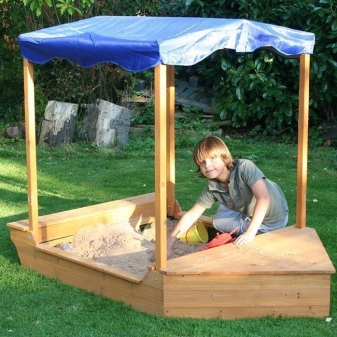
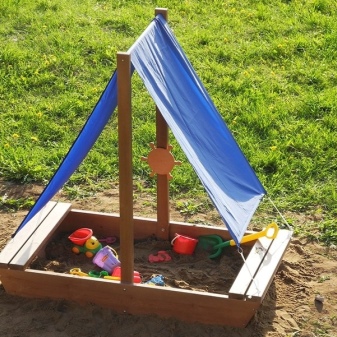
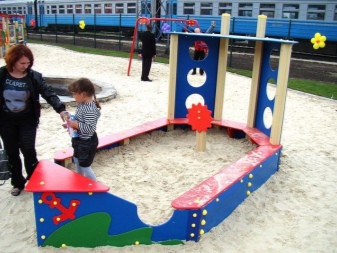
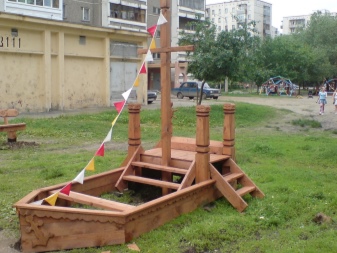
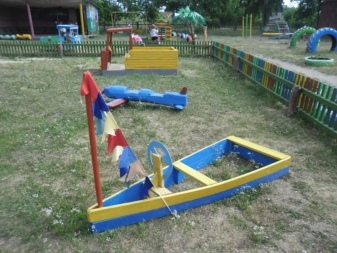
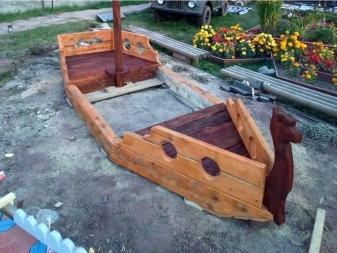
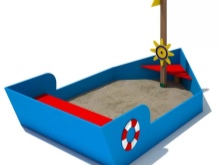
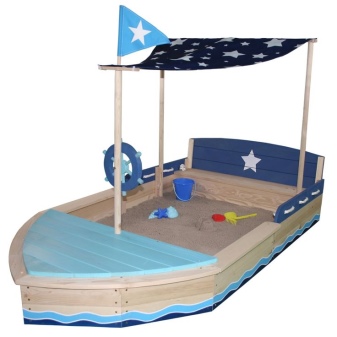
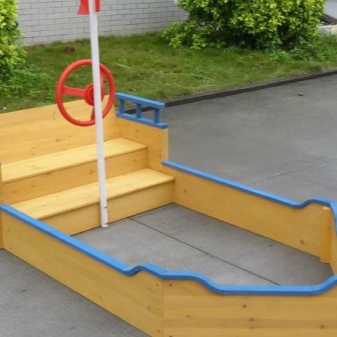
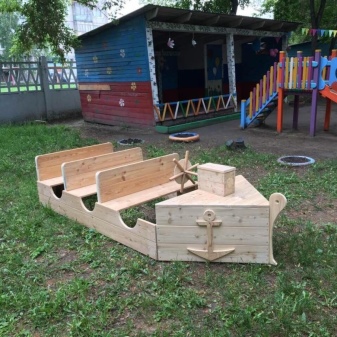
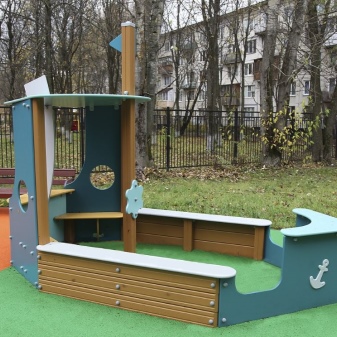
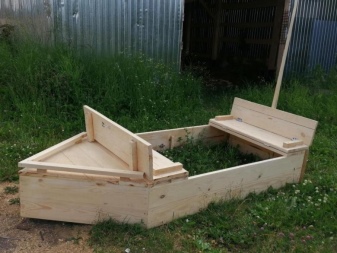
An excellent option for an active and inquisitive child is a sandbox-boat. Such a play area will give the kid the opportunity not only to play with pleasure, but also to fantasize a little: perhaps he will imagine himself as the captain of a pirate ship, or maybe a brave navigator conquering new lands. You can choose your child's favorite colors for his future boat. In addition, the sandbox in the form of a ship will allow you to apply all your skills and abilities to create a suitable blueprint and decoration for the place for games.
Seat selection
Before making a sandbox, you need to choose the right place for it. It needs to be positioned so that a shadow falls on it in the afternoon. Why? It's all about ultraviolet radiation. In the morning, its amount in the light is greater, but the radiation itself is softer - it is for this reason that it is recommended to sunbathe in the morning, and not at other times of the day. With the onset of noon, UV radiation decreases, but becomes much harder.
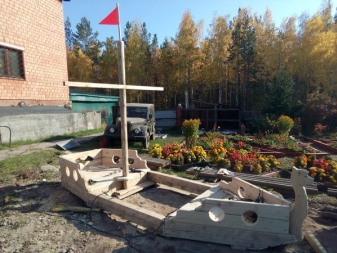
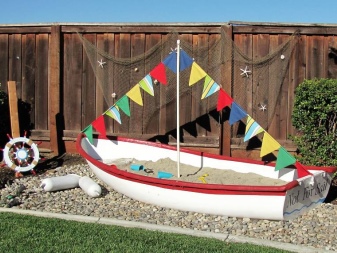
Therefore, for a healthy stay of children in the fresh air, it is necessary to place a sandbox in a shaded place. At the same time, it is better not to install a sandbox under a tree: leaves, litter from trees will constantly fall into it, bird droppings and various insects will fall into it, many of which can be dangerous to children's skin.
In addition, in constant shade, the sand will not dry out after rain. To locate the place where children stay away from insects, and especially from poisonous spiders, it is worth placing a sandbox no closer than 3-4 meters from various reservoirs, decorative fountains, as well as watered beds and bushes - in general, the sandbox should be as far as possible from sources of moisture. In addition, moisture will again adversely affect the condition of the sand. You should not put a sandbox in the corner: there is no movement of fresh air, but a draft for children is also dangerous.
It is also worth mentioning one important point: if the child is very small and you want to let him play in the yard alone, it is better if this place can be viewed from the window of the room where you spend a lot of time.
Drawings and dimensions
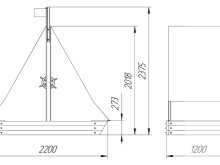
First of all, you need to decide on the scheme - it is necessary in order to carefully plan each stage of work. Step-by-step instructions will help you make a drawing for a sandbox boat. When drawing up a drawing, it is worth considering the dimensions of the planned structure. How to determine the correct size? First, it should be said about the standard sizes that are optimal for most types of children's sandboxes:
- 1.2x1.2x0.22 m;
- 1.5x1.5x0.3 m;
- 1.2x1.5x0.25 m.
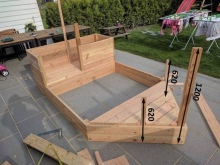
What to consider when choosing a size.
- Children's age. It is necessary that the child can independently step over the side. A kid of two or three years old will not be able to overcome a height of more than 20 centimeters.
- Amount of children. One child will have enough space with standard dimensions 1.2x1.2x0.2 m. Such dimensions are suitable for two small children no older than three years. Two or three children 3-5 years old will feel comfortable in a sandbox with large parameters: 1.7x1.7x0.22-0.30 m.
- The size of the selected area for the construction of the sandbox.
Tools and materials
The most environmentally friendly and optimal option is a wooden sandbox. For construction, polished material should be used to protect the child from splinters. Wooden sandboxes are painted with safe paint that is harmless to children, you can also cover the structure with an insect repellent. It is worth noting that the most suitable, high-quality and durable material for building a sandbox is wood, not plywood or chipboard.
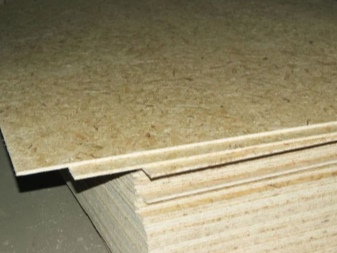
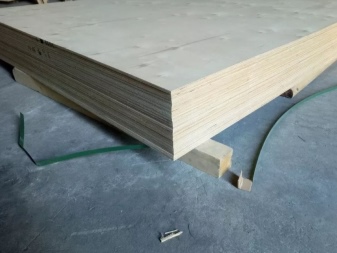
Almost any tree is suitable for building a sandbox, even aspen or alder, which are usually not used in construction. However, it is better to use conifers - they will last much longer, as they are durable and resistant to mold and rot. A material that is definitely not suitable for building a sandbox is birch, which quickly molds in open spaces. To prepare the material, it is necessary to impregnate the parts twice with a water-polymer emulsion.
To create the base, you will need a waterproofing coating. Dense polyethylene can serve as it. In order to calculate the area occupied by it, you need to multiply the length of the sandbox by its width and add 12 centimeters on each side as a reserve to cover the sides.
List of tools that will be needed when building a sandbox:
- shovel;
- jigsaw (hacksaw);
- roulette;
- hammer;
- screwdriver (screwdriver);
- Sander;
- sandpaper;
- paint brushes;
- nails, bolts, nuts, screws.
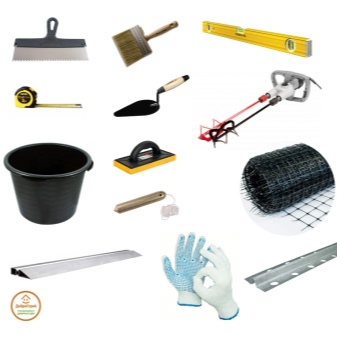
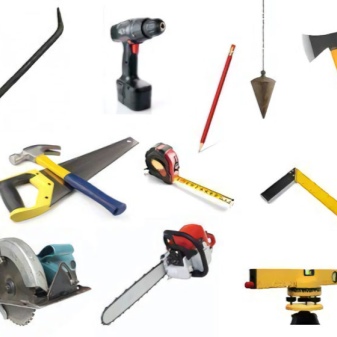
Making a sandbox without the help of specialists is easy - you need the aforementioned tools, materials and desire.
Preparation
There are two types of sandboxes: permanent and seasonal. Permanent sandboxes are in the open air at any time of the year, while seasonal ones are removed with the onset of cold weather. One way or another, the preparation of a site for a future construction is carried out in several stages in the same way.
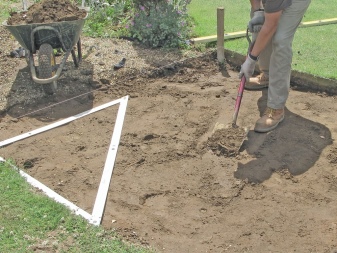
- It is necessary to select a site and remove the top layer of soil or sod by 15-20 centimeters (half a shovel bayonet).
- Level the territory, cover it with sand by 5-6 centimeters, walk around the site with a rake.
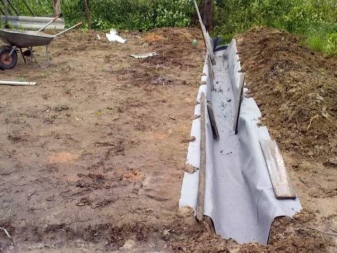
- Cover the site with agrofibre or geotextile with an extension of 30-40 centimeters beyond the contour. This will protect the sandbox from the ingress of plant roots and living creatures from the soil and at the same time release excess moisture from it into the ground.
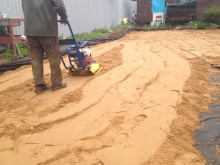
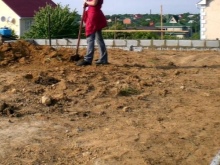
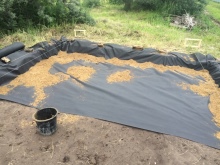
It is also necessary to isolate the sandbox from the ground.
- Fill the trench along the edges of the box with dug soil and tamp it.
- Excess insulation will need to be cut or tucked up. It is worth noting that in a seasonal sandbox, it is better to tuck up excess insulation in order to pull it out and straighten it out in the cold season to preserve the sand.
Assembly
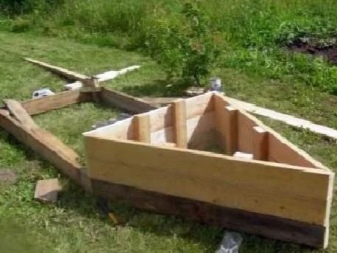
Step-by-step instructions for building a sandbox boat.
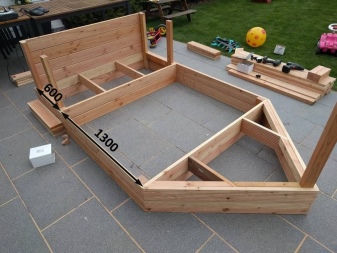
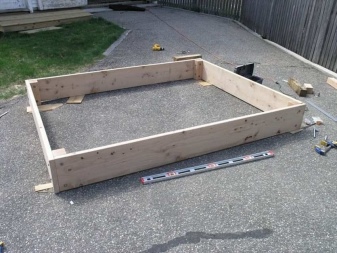
- Install a standard square base and sides.
- Drive a couple of blanks into the ground near one side of the base: you need to attach boards for the "bow" of the ship to them. The "nose" is made in a triangular shape, while its sides should be higher than the main part. Fasten the boards at the corners, hammer in the nails obliquely.
- Make a ladder - a couple of steps along which the child can walk from the sandbox to the "bow" of the boat.
- Sew up the top of the triangle with boards.
- Paint and decorate the ship-style sandbox.
Painting nuances
First of all, it is worth painting the inner walls of the sandbox with white paint. Before painting from the outside, you need to raise it and prop it up with boards so that the result looks more neat. After that, the external parts are also painted with white paint. Think of what other colors you will paint the sandbox in and how: you might want to make it one-color or bright, variegated; paint in stripes, depict geometric shapes or inscriptions, apply images. It all depends on your imagination.
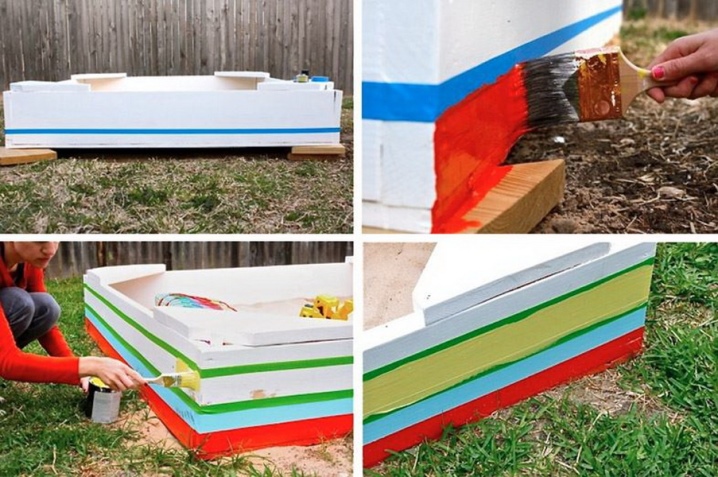
If you decide to paint in even stripes, then use masking tape. When painting, keep in mind that the paint will dry for about 6-8 hours. As soon as the sandbox is dry, it can be varnished - this will make it look even more attractive. After drying, fill in the sand - with standard volumes, it will take about 30 bags.
For information on how to make a sandbox boat with your own hands, see the next video.


The comment was sent successfully.