Do-it-yourself sandbox
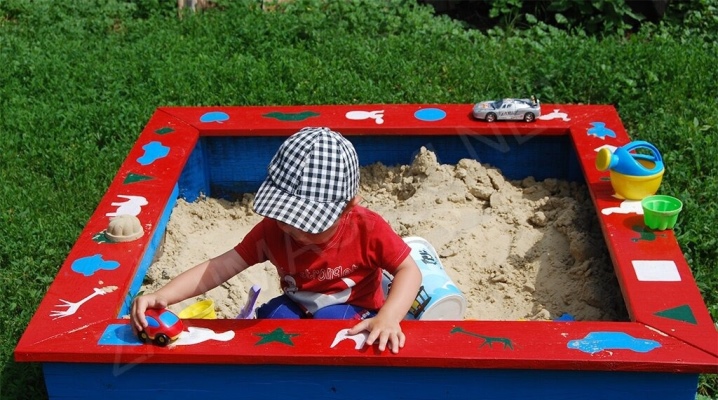
Children of all generations love the sandbox and enjoy tinkering in it, inventing sand cities and their unusual inhabitants. A public sandbox is, of course, not bad, but your own sandbox, built on your own site, is much better. Or you can team up with your neighbors by putting a sandbox in the yard for everyone. And even those who have little idea of the work plan are capable of doing it.
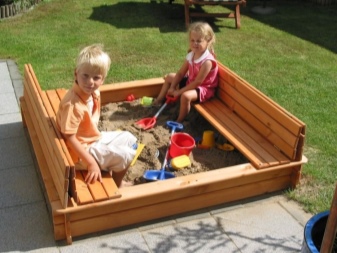

Peculiarities
At the dacha, on a plot outside the city, a children's sandbox is a great option to captivate a child while adults work in the garden or vegetable garden. Working with sand, as you know, does not just keep kids busy - it develops fine motor skills, which is especially important at preschool age. And if there are several guys in the sandbox, the game can drag on for hours.
The requirements for building a sandbox are quite simple, but strict.
- Security. Often, such a playground is built from used materials. In this case, the boards need to be thoroughly cleaned and make sure that the old nails are removed, all irregularities and chips are eliminated.
- Convenience. The design must definitely be well thought out. It is necessary to calculate where the baby will sit, how to hide the place above him (so as not to get sunstroke), where and how to store the play material.
- Hygiene. Such places should be well and quickly cleaned, the sand should not mix with the ground.
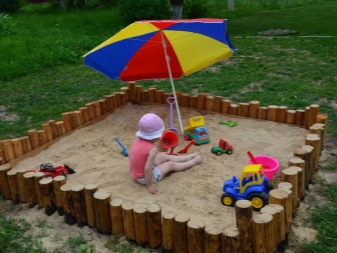
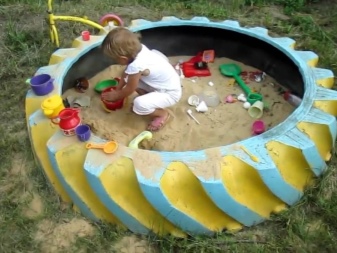
Old Soviet models are not the only ones for an affordable and relatively quick implementation. Previously, sandboxes were built more and more unclosed, which means that they were not protected from the "illegal" entry of cats and dogs, the sand was soaked in the rain, leaves from the nearest trees were brought there. Now sandboxes are built in such a way that all of the listed aggressive design factors are not scary.
It will not be costly or time-consuming to make a cover (not necessarily wooden, it can be made of film and strips), and the sandbox will turn out to be clean, well-groomed, protected.
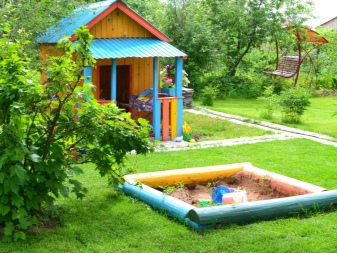
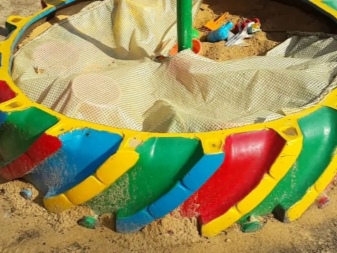
The design of a modern sandbox can also be as new and unexpected as you like. And the very complexity of the design is variable. The first point in the plan for the manufacture of this children's "paradise" is to choose the design option that is most suitable for the site itself, the age of the children at the moment and the near future.
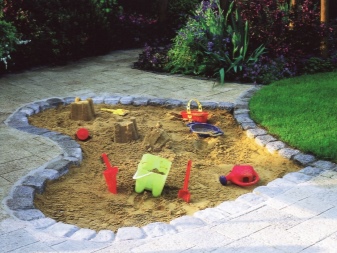
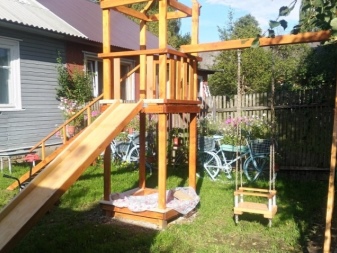
Sandbox options
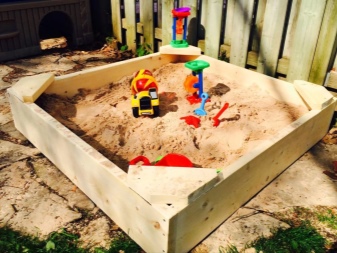
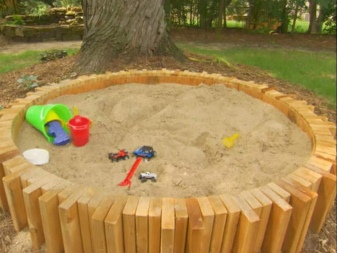
A wooden box filled with sand is the easiest thing to do. But you can go further with more interesting configurations.
Sandboxes are of different types.
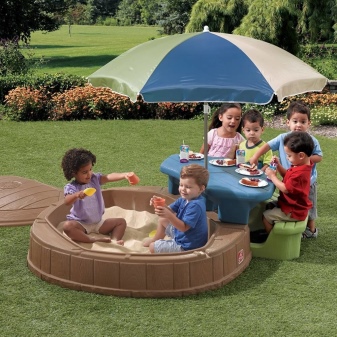
- Transformers. This is not just a sandbox - it is a structure with seats, benches, even a full seating area. Very often you can see predominantly Western examples of this design: one part is a small play terrace or kitchen, the second is a sandbox attached to it. The kitchen option is especially successful, since children prefer to “cook” many dishes from sand using various molds.

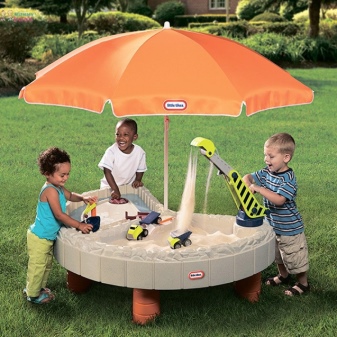
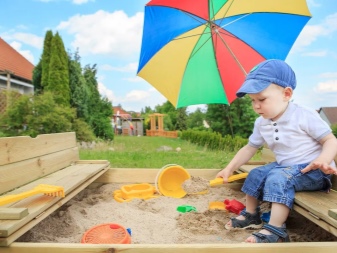
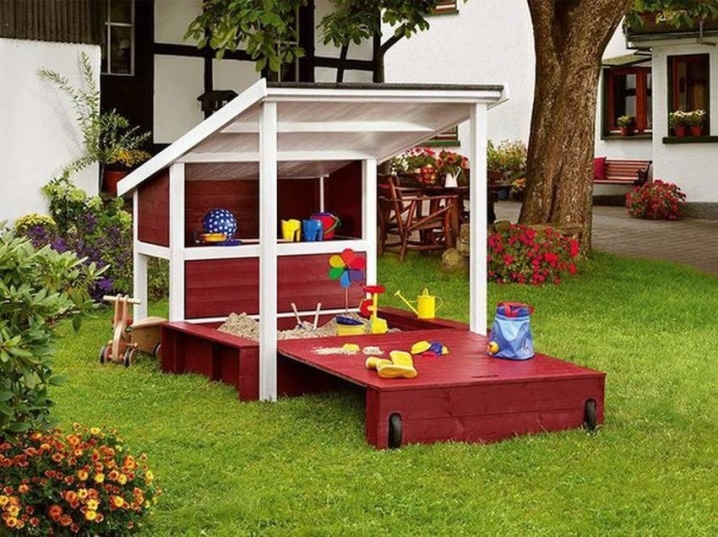
- With roofs or sun awnings. This option is the most competent, because the child is protected from direct exposure to rays. He can safely play in such a place for hours.
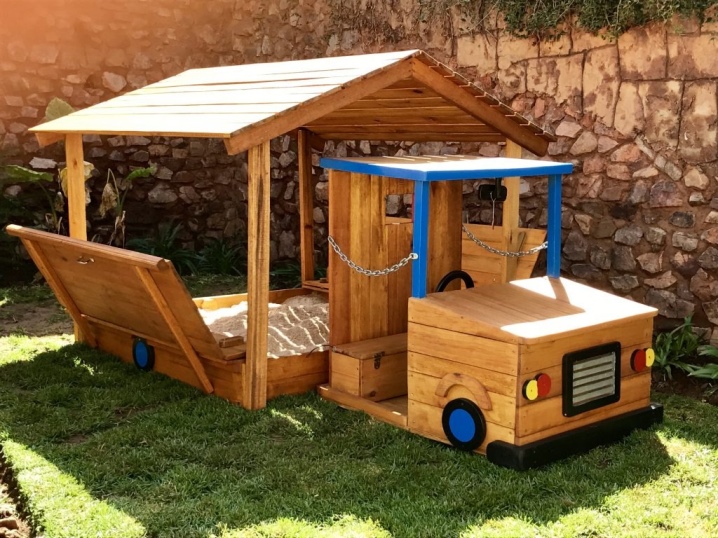
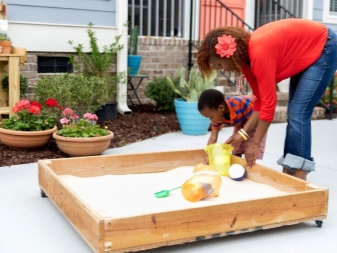
- Portable. This is usually a small structure that can be installed in different places on the site. Often these are plastic sandboxes of a folding nature. They are easy to carry.
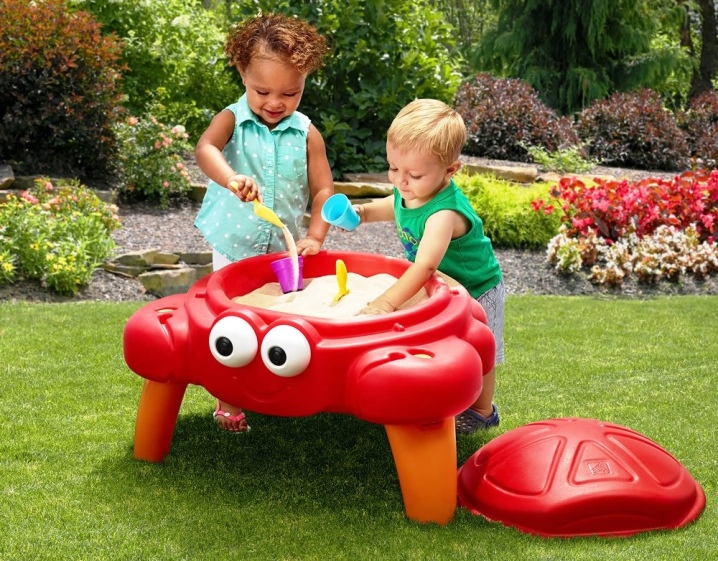
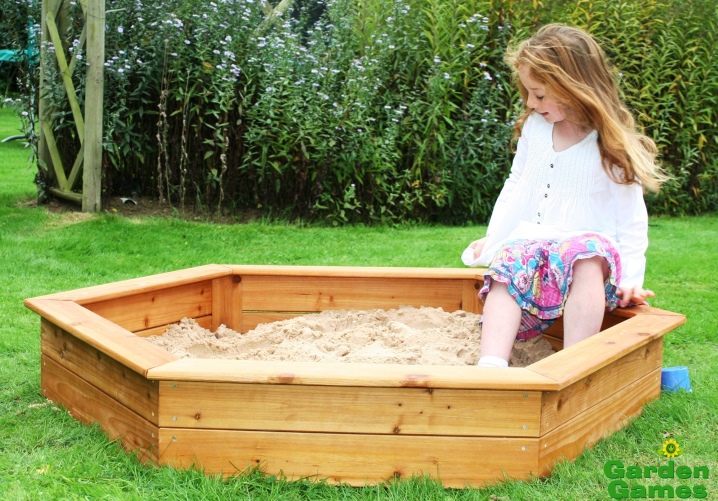
- Hexagonal or hexagonal. It differs from the usual form simply.But this makes it more comfortable - in such a place, more children have the opportunity to sit down while playing.
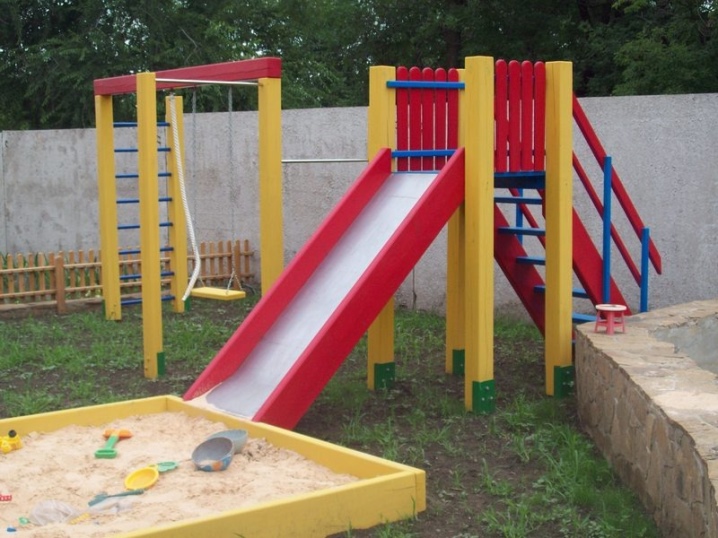
- With a slide. This is a whole game complex: there is where to ride, there is where to dig in the sand. For self-production - the project is not easy, but, of course, you can master it.
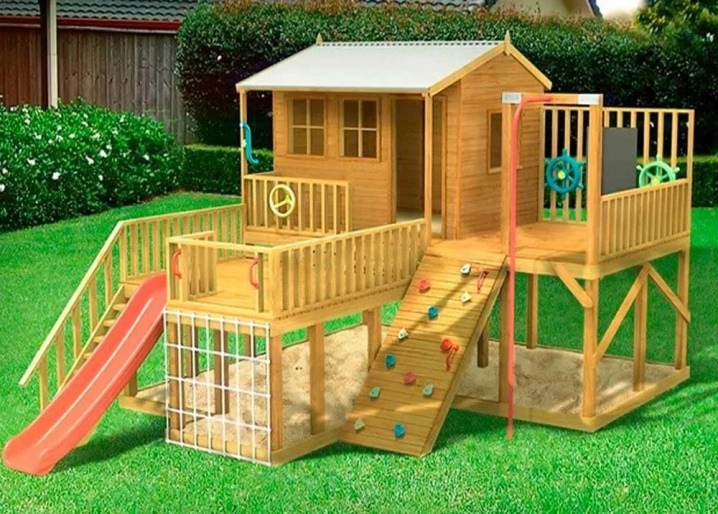
- Two-story. Every child dreams of their own little house in the garden. And parents can make his dream come true. On the second floor there will be a house itself, right under it there is a sandbox (of course, with a roof). Usually a slide is also adapted to such a structure.
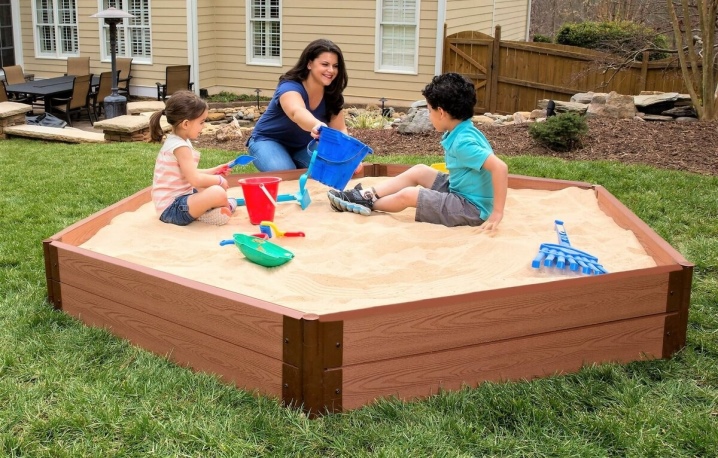
- From decking. An option that has predictably become popular in recent years. These boards are already ready, you can buy them in the building market and construct a stylish and uncomplicated sandbox very quickly.
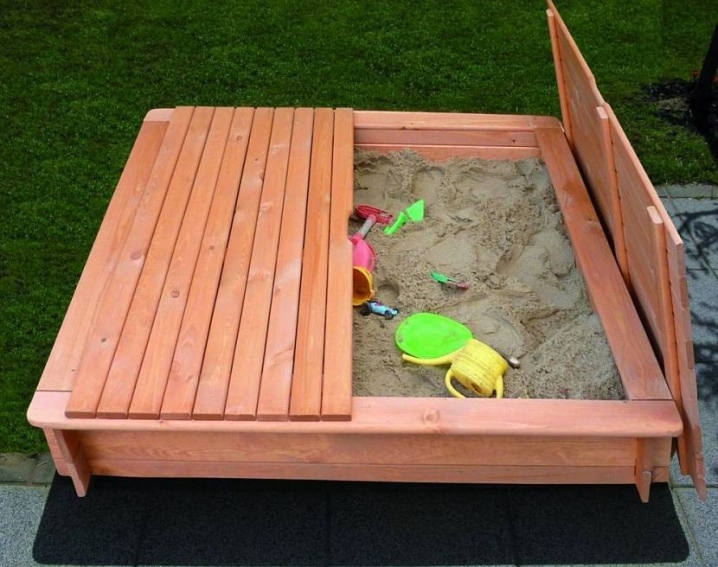
- Runway version. This is a very cool and handy idea. Initially, it is necessary to plan the construction of a large sandbox with a lid. And when this cover closes the sandbox, a whole podium will be formed, a small stage for children's (and not only) family performances. It can be decorated with lights, garden lights, flags.
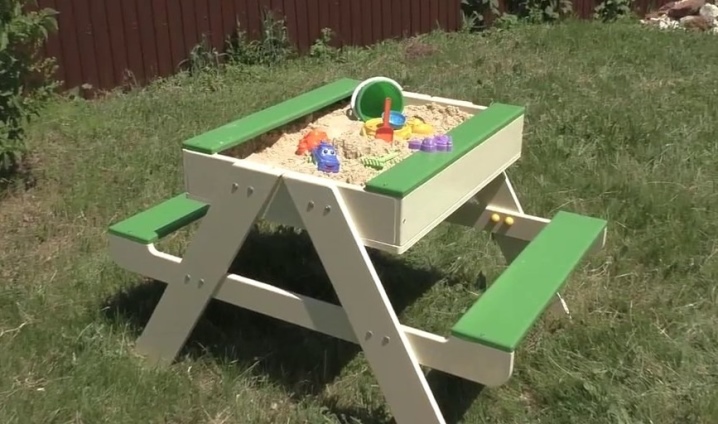
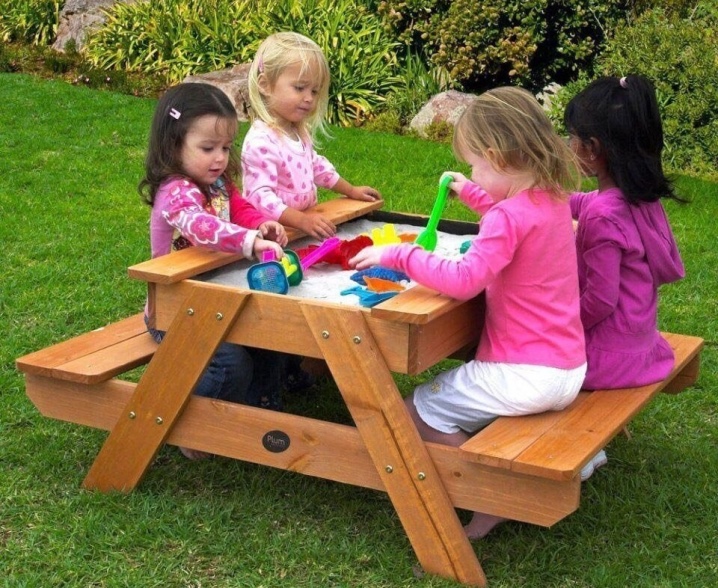
- In the form of a table. This is a very popular option in modern day care centers. The sandbox is like a playing field on the table: children sit on benches and fiddle around on this “sand” table. They do not get tired of squatting, do not get smeared, and adults will gladly join the game.
In a word, there is definitely something to push off from. It remains only to choose the one you like and the available option - and start designing.
Dimensions (edit)
The dimensions depend on the area of the site, the place that can be allocated for the sandbox, the purpose associated with it, and other factors.
You need to focus on standard data.
- Children under 3 years old cannot step over the high side, so 20 cm is the optimal height. If they easily step over this one, you can increase it to 30 cm.
- If one child is going to play, the standard size of an individual sandbox is 1.2 by 1.2 m. It will be small and cozy. If it is assumed that friends will join the guys, the size should be increased to 1.7 m by 1.7 m. The volume of the backfill should be such that the child cannot reach the soil. On the average, 1 ton of sand is spent on the optimal box.
These are the characteristics of a small sandbox. But if it is a complex structure, composite or transformer, the dimensions change.
Materials (edit)
The most common options are pine planks, logs or beams. But metal and plastic are less popular. Sandboxes are also made of bricks, but this is also a far from practical option. The tree is the most environmentally friendly and safe. In modern conditions, it can be a structure made of hemp, lining, decking. And here sandboxes made of plastic bottles and similar improvised means are no longer relevant - they are inferior to wood and do not last so long.
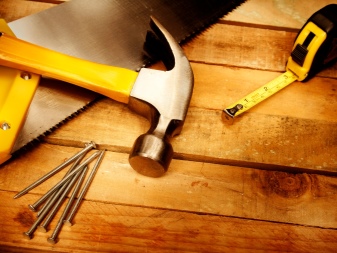
Traditional toolbox (indicative list):
- tape measure, marking rope;
- shovel;
- sand;
- hacksaw and wood screws;
- film to the bottom (it can be replaced with geotextiles);
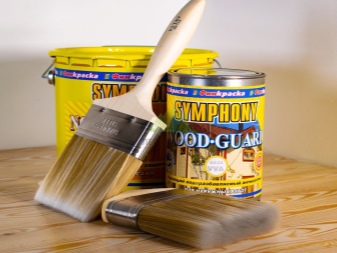
- wood primer, antiseptic impregnation;
- sander (but if you have purchased already polished boards, it will not come in handy);
- finishing paint (acrylic or oil).
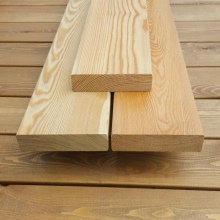
Boards must be properly sanded and primed. It is necessary to process them so that it would be unrealistic to get a splinter during the game.
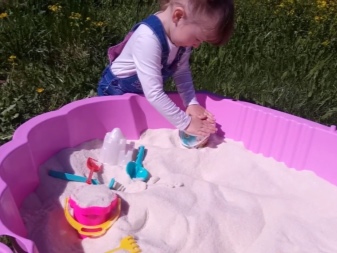
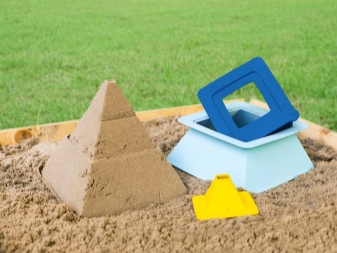
As for the main material - sand, it should be suitable for sculpting, using molds, otherwise children will simply not like it. So, fine white sand looks great, but children do not like it: it gathers dust, obscures the eyes and is useless for sculpting. Quartz sand is also far from ideal - it scratches the skin. The red gully sand will please the players, but since there is a lot of clay in it, the guys will get very dirty.
What should you choose? Medium-grained yellow sand, which is often called river sand. It has less clay than the gully one, and nevertheless it is enough for good sculpting.Grains of this material are non-traumatic, and harmful organisms will not start in it.
Do it yourself: step by step instructions
The algorithm is easier to build. For example, according to the scheme of a simple sandbox for a summer residence.
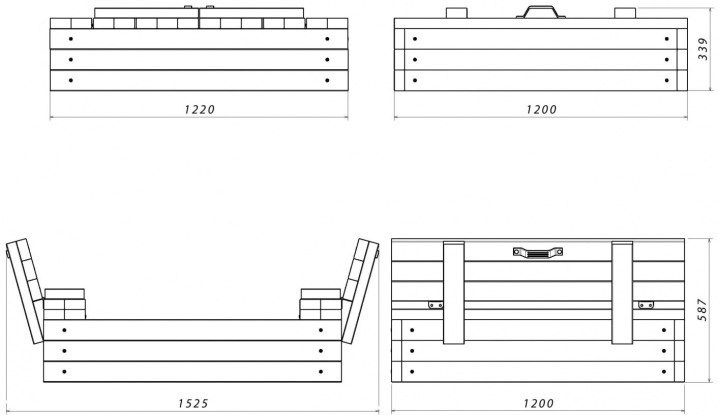
Drawing construction
You can skip this step if you have a visual depiction of the sandbox, project, or building diagram. And, of course, at least minimal experience with materials. In this case, a sketch is more than enough to build a sandbox. But you can go the other way: use the help of numerous online design services. They help not only to calculate the amount of materials, but also to draw up an electronic drawing - a very convenient option.
Manufacturing
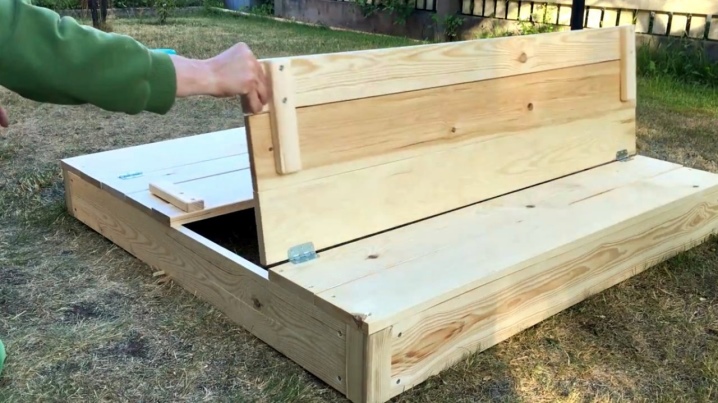
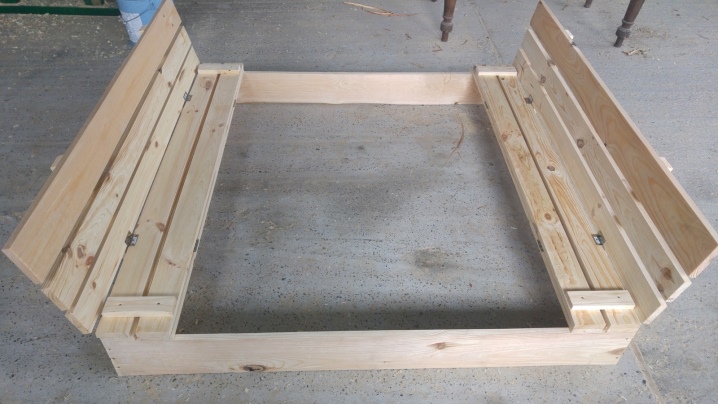
A sandbox with a lid is the most convenient to use. In addition, such a homemade design for children easily turns into benches.
What materials and tools to prepare:
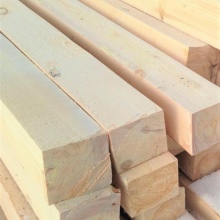
- bars 150x20x3 cm - they will go to the back of the bench, 4 such bars will be required;
- bars 70x5x5 cm - they will go to fasten the wooden elements of the boards, 12 pieces are needed;
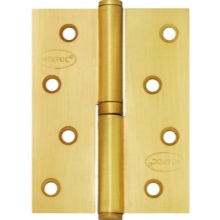
- door metal hinges - only 4;
- boards measuring 150x15x3 cm, which subsequently constitute 4 sides of two boards, that is, only 8 pieces;
- boards measuring 150x17.5x3 cm, of which the lower part and the base of the attachment are made - only 4 elements;
- 4 stops 70x6x3 cm;
- 4 stops 17.5x6x3 cm.
Here's a step-by-step instruction.
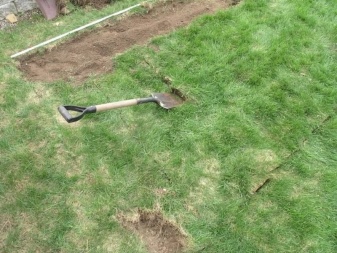
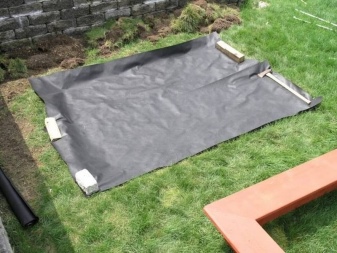
- Site preparation. This is where the work begins. The perimeter of the future sandbox can be marked with pegs. The top layer of soil must be removed. You need to go 25 cm into the ground to make a gravel drainage cushion. The bottom of the formed pit must be leveled and a waterproofing layer made. To do this, put a plastic wrap or geotextile. And so that moisture does not stagnate in the film, drainage holes need to be made there. Along the edges of the excavated pit, it is also necessary to make pits in order to install 9 supports in them.
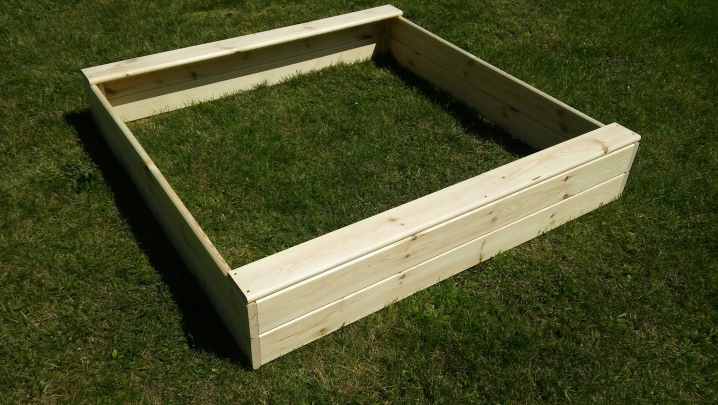
- Frame construction. From paired boards you need to make 4 sides, which are connected by bars. Self-tapping screws are preferable as fasteners. Along the upper edge of the sides, perpendicular additional boards are installed - they will become the basis for the cover. Hinges are attached to these boards, while 30 cm must be retreated from the edge. A couple more boards are attached to the seamy board.
- Back design. On all sides of the constructed frame, 2 planks are placed, which are fixed with self-tapping screws. Then limiters are attached, thrust bars are installed.
Finishing works
All details are sanded (although this is done at the beginning), but you can paint the sandbox at the end of the work. It is also imperative to cover it with an antiseptic.
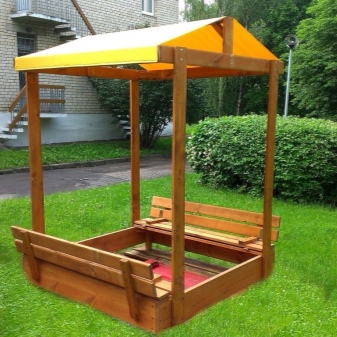
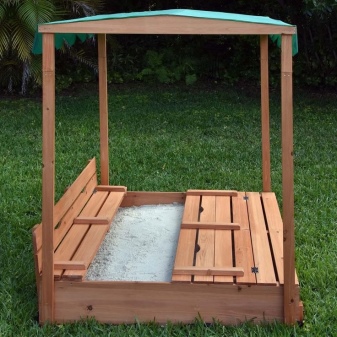
A canopy can be made over the sandbox - this will hide the children from the scorching sun or hide from the rain caught by surprise. For the construction of a simple canopy, you will need to install vertical posts at the corners of the box. The top of the racks is articulated with a common harness. An awning made of such material is installed on the resulting frame, which will not let water through. It is fixed with decorative nails.
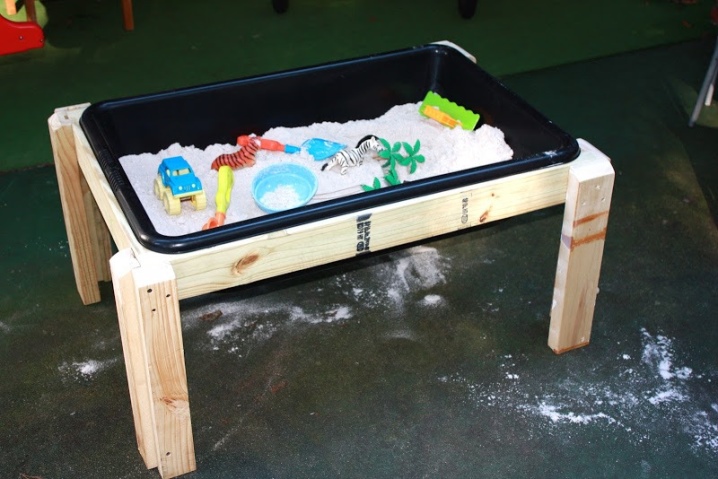
An interesting and very simple version of the sandbox for the smallest is a low table. It is being built for two-year-olds. The height of such a table is only 40 cm. The table top with a box is 90x60 cm. For manufacturing, you need to take a couple of three-meter boards, bars, plywood sheet and paint. The workpieces are sawn in detail, they need to be sanded and painted. And when everything is dry, you can assemble the structure. You will also have to lay a film under the sand.
The main convenience of the design is that it is portable. It can be taken outside in good weather and given to the baby to play. And in bad weather such a sandbox can be used at home, having previously protected the floor from sand. The guys will be delighted with the unusual and mobile gaming table.
Design ideas
The outdoor play area is a huge field for imagination, and you shouldn't stop it. Until a certain point, of course.The design of the sandbox depends both on the age of the child and on the gender - for a boy and for a girl there can be fundamentally different color options.
There are several ways to decorate the sandbox.
- One color, but then make a pattern on it using a stencil. It can be an Indian pattern, ethnic, fantasy. Finally, the surface is covered with a hypoallergenic varnish.
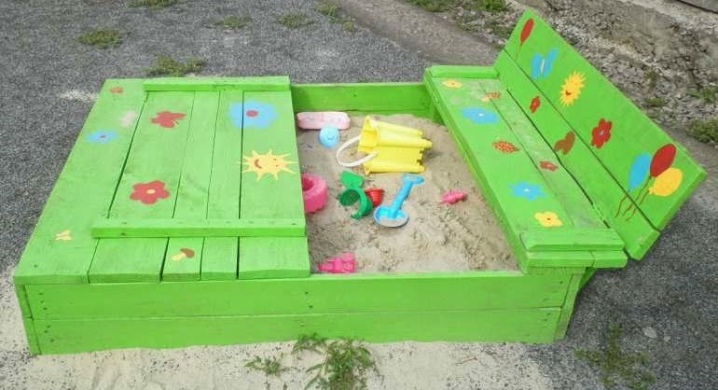
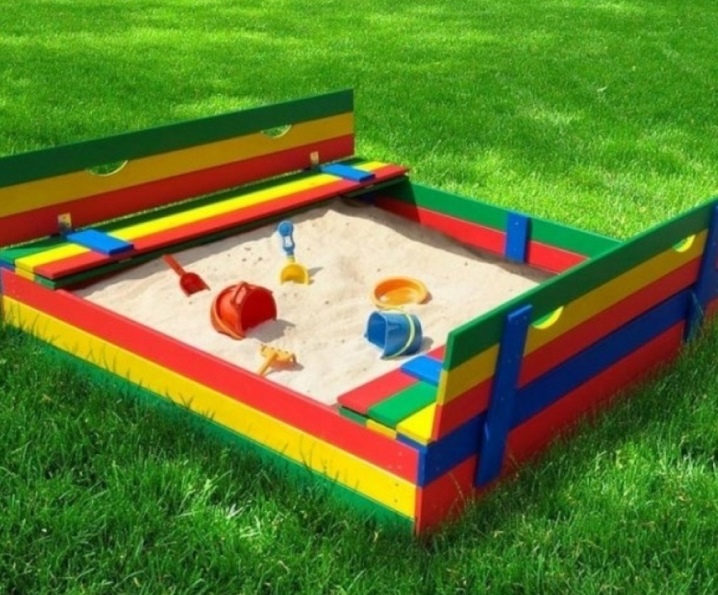
- Painting the sandbox with all the colors of the rainbow, but keeping some order is not just chaotic. Although a multi-colored design does not always look organic on the site, you need to be careful with a large number of colors.
- White - it will be a reconciling base - with a beautiful print on top. It can be berries, apples, geometric shapes, emoticons, polka dots. A white sandbox with red or blue polka dots looks very cute in virtually any area.
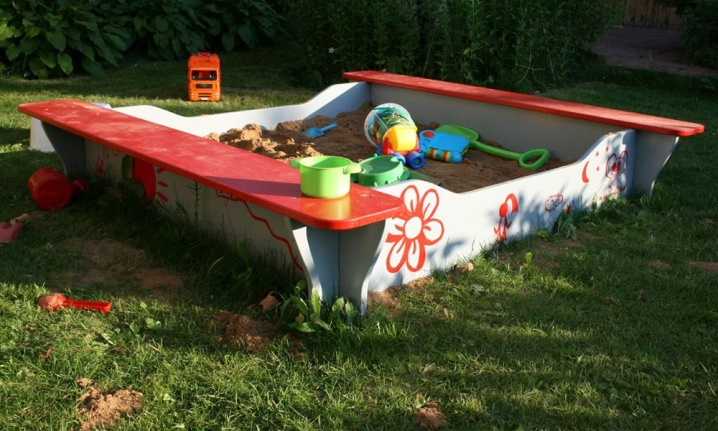
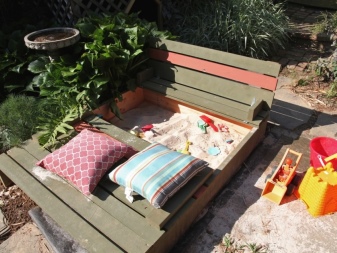
The structure can be additionally decorated. For example, if it is located near the fence, practically attached to it, a plank for props can be made on this fence. There will be rakes, shovels, molds and other tools that are extremely important for the little owners of the sandbox. If there is a bench nearby, you can decorate it with outdoor decorative pillows (if the players suddenly want to lie down).
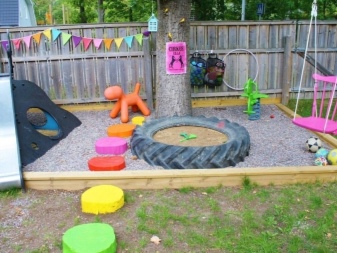
The same wall near the sandbox can be decorated with a garland of flags and other cute elements (textile circles, stars, hearts). All this will create a mood on the site. You can also hang a real garland of small bulbs that glow very atmospheric in the dark. Garden lanterns can also decorate this area.
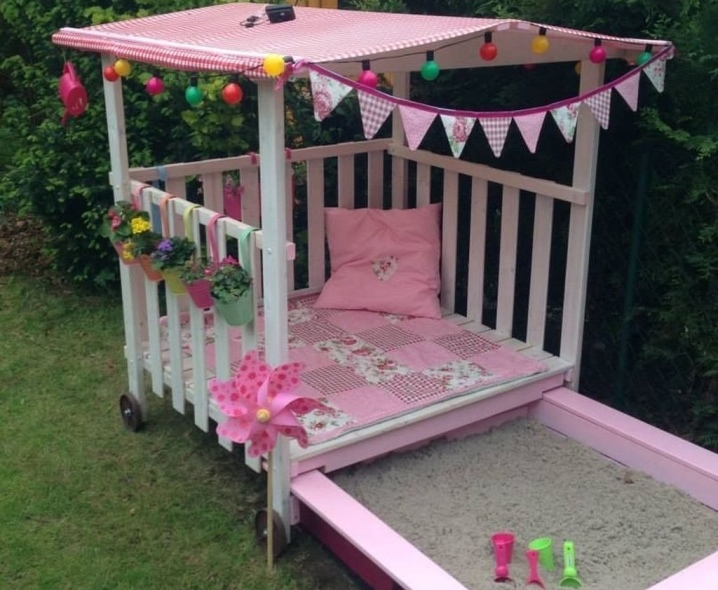
If the sandbox is made in the form of a house, you need to lay a blanket in it, throw pillows there and be calm if the child suddenly falls asleep under the roof of his little shelter. Most likely, he will transfer a bunch of toys there. As a precaution, you can put a chest for them next to the house.
Choosing a location
You should not place the site behind tall bushes and outbuildings. This will make it impossible to control the playground. Natural light is also taken into account: one half of the structure should be in the sun, the other in the shade. If there is no such place, you need an awning, a mushroom umbrella, any similar canopy.
It turns out that the main requirement for a sandbox is a place that is well viewed for adults. There should not be an active construction site or other object nearby that the child should not contact.
Beautiful examples
And 12 examples of pure inspiration will complete the material - cozy and unusual sandboxes in the garden, in the yard, on the site.
- A very comfortable table for several kids at once. And if parents want to teach them a master class, it will be convenient for them too. This sandbox also attracts adults.
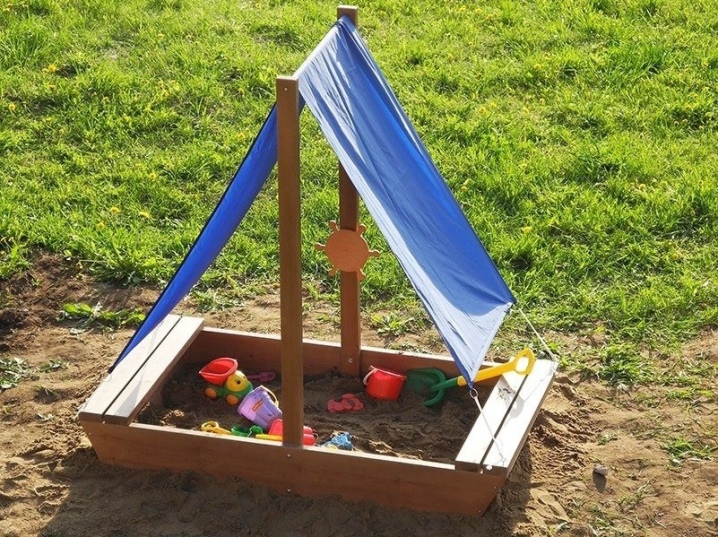
- An ideal solution, because the roof is built elementary, and the structure itself resembles both a tent, and a wigwam, and a boat - you can dream up.
- A whole play complex with a roof that will appeal to every kid. Is that the swing is not enough for complete childish happiness.
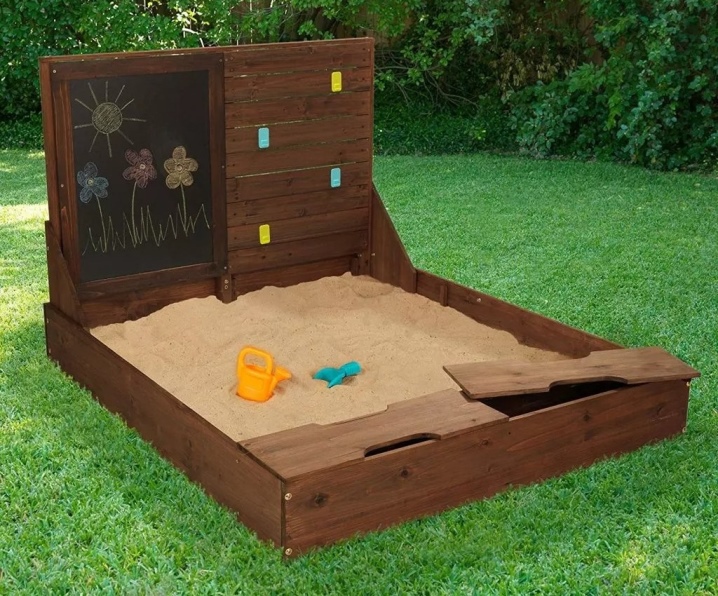
- And in this sandbox, you can immediately play school - a special board (or just paint) for drawing with chalk will be an original solution. And this part becomes the lid of the building.
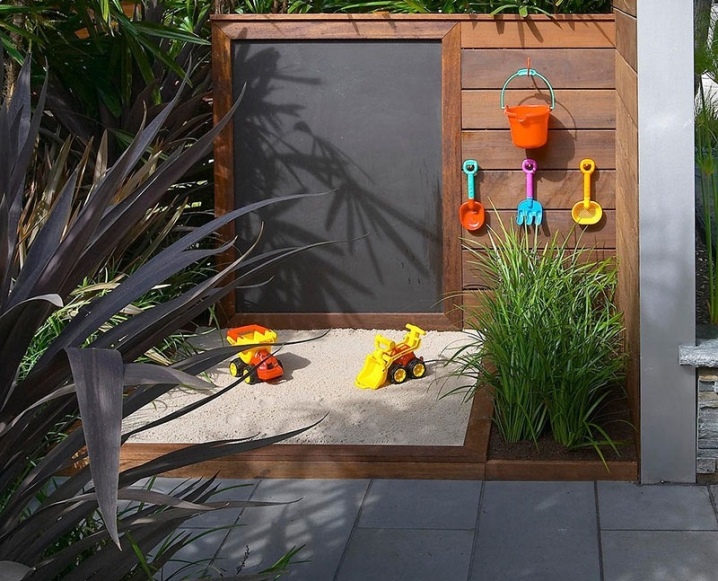
- A very cute corner for the baby, moreover, with the right location. Tools, obviously, can be stored on the wall, which teaches children to be tidy.
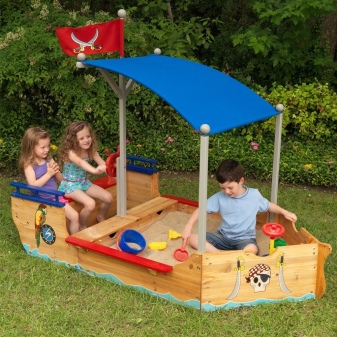
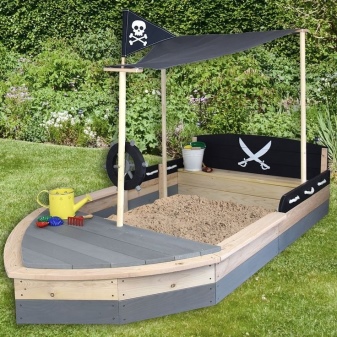
- Well, what boy has not tried on himself at least once the role of a fearless pirate. And here is a worthy ship for him, and part-time - a sandbox.
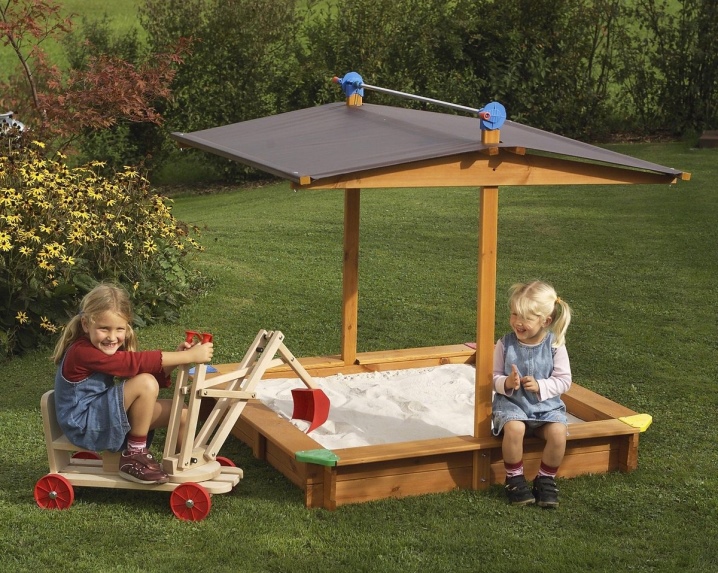
- If a child sees an ordinary sandbox as a real quarry, then there must be an excavator. By the way, adults can go overboard and do it too. Great idea, and even with a roof over the structure.
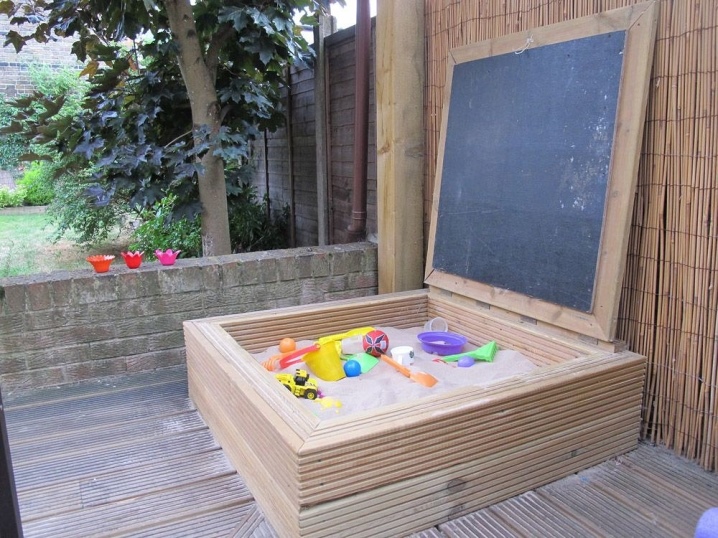
- A small sandbox made of decking is a quick-to-manufacture construction. And again there is a chalkboard next to it, obviously the kids love it there.
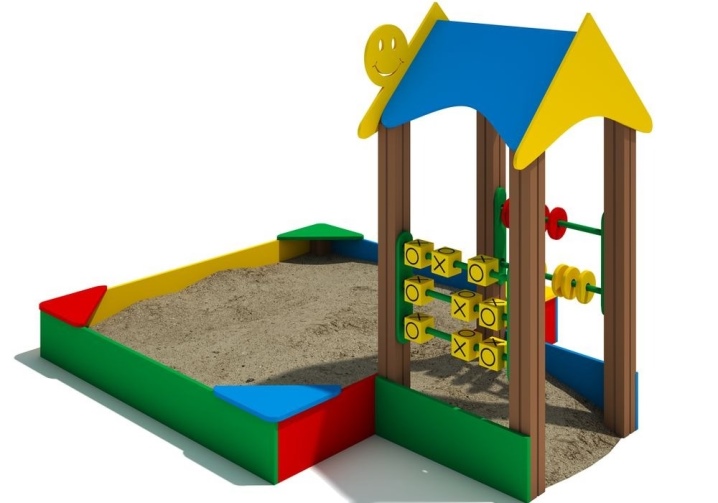
- A real teremok, and even with growth accounts - the kids will not leave this place.
- If there is a child in the house, and this is a girl, this option will fall in love with her at first sight. The case when two ideal places are connected in one - a sandbox and a children's kitchenette.
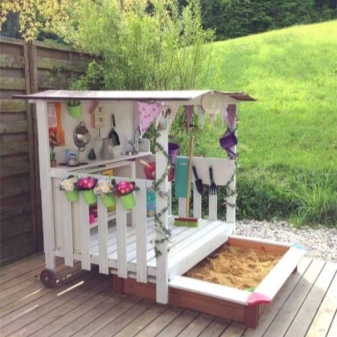
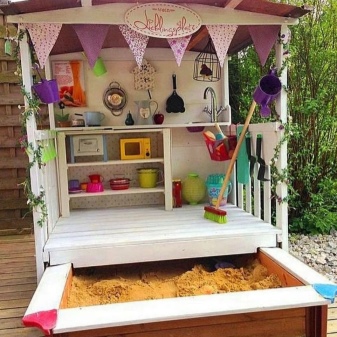
- And this option is possible if there are many children in the family, and everyone needs to please with a personal play area.
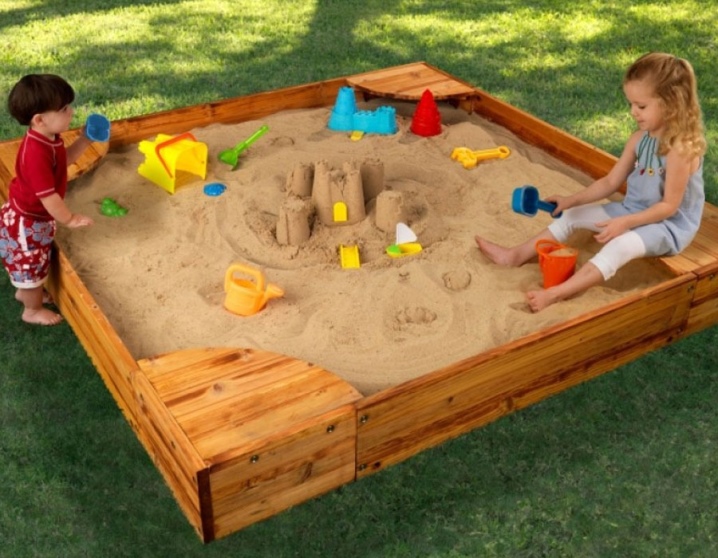
- Quite a simple, but still cute option, brightly and appropriately decorated.
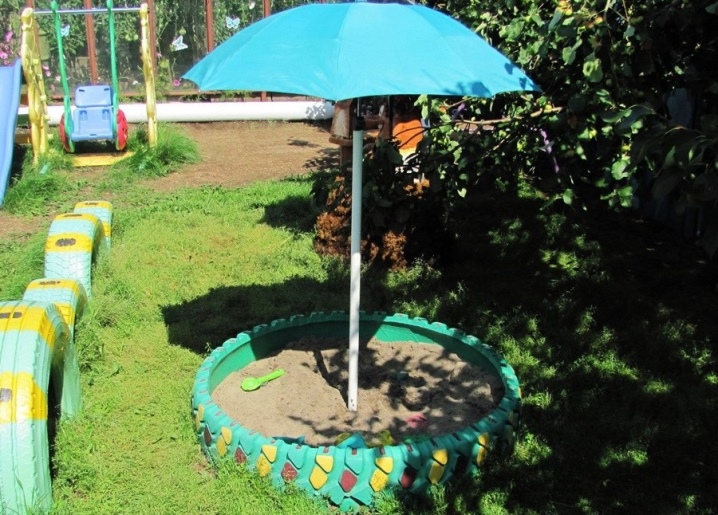
Happy choice!
Next, see a master class on making a sandbox with a lid and a canopy.


The comment was sent successfully.