All about sandboxes with a lid
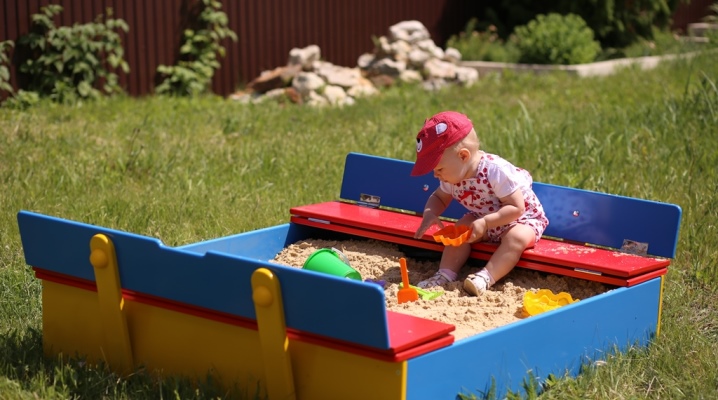
Almost all young children love to play in sandboxes. Often, such structures are built in summer cottages. Currently, there are a large number of such products of various types. The most convenient option will be the option with a lid, which will ensure the safety of the playing area. Today we will talk about what features such sandboxes have, as well as how you can make them yourself.
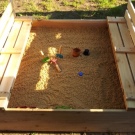
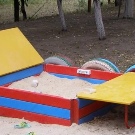
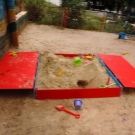
Advantages and disadvantages
A children's sandbox with a roof has many important benefits.
- Provides protection. The cover will keep the sand out of dirt, dust and pets.
- Allows you to store things in the sandbox. You can place children's toys in the sandbox under the lid, while they will be completely safe and will not take up much space in the house.
- Organizes an additional place for the child to rest. The cover converts easily into a comfortable seat.
- Serves as a beautiful landscape decoration. Often, such designs are made in interesting and neat designs, they can decorate the site.
- Fully closed bottom. This prevents the sand from becoming muddy even after prolonged rains. It will not get dirt and earth.
- Lightness and mobility. This advantage applies to plastic portable models with a lid. If necessary, they can be easily transferred to another place.
In addition, these varieties can be used as a pool by filling them with water.
Among the disadvantages of sandboxes with a lid are the following.
- Higher cost. Such models have a significant price, so they will not be affordable for everyone.
- More complex repairs. This mainly applies to transformer models.
Views
Closed types of sandboxes for children can be produced in different designs.
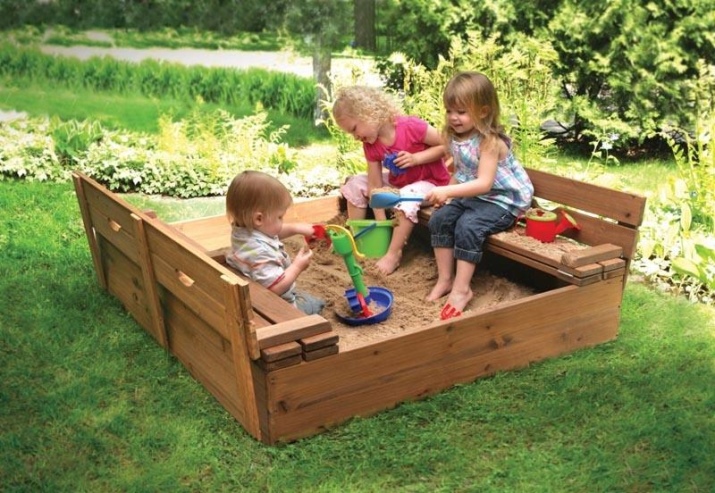
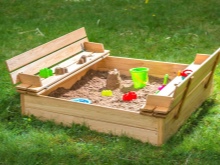
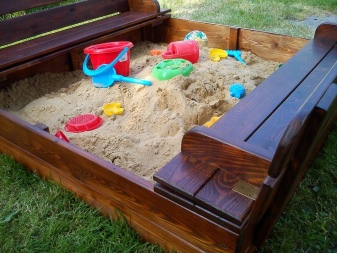
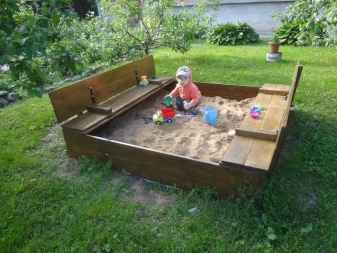
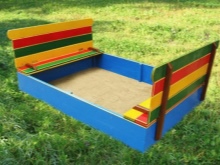
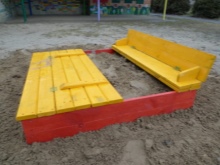
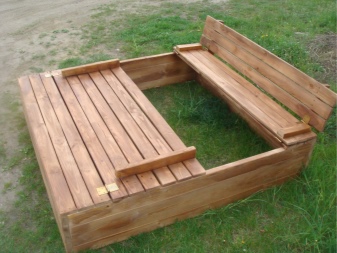
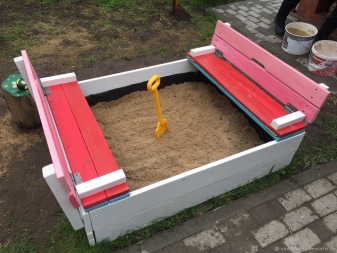
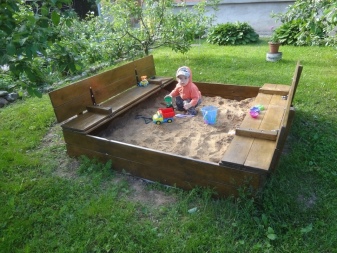
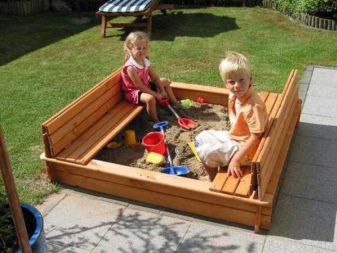
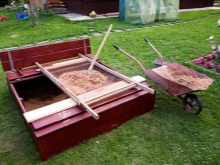
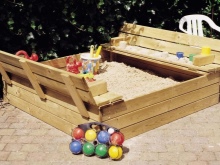
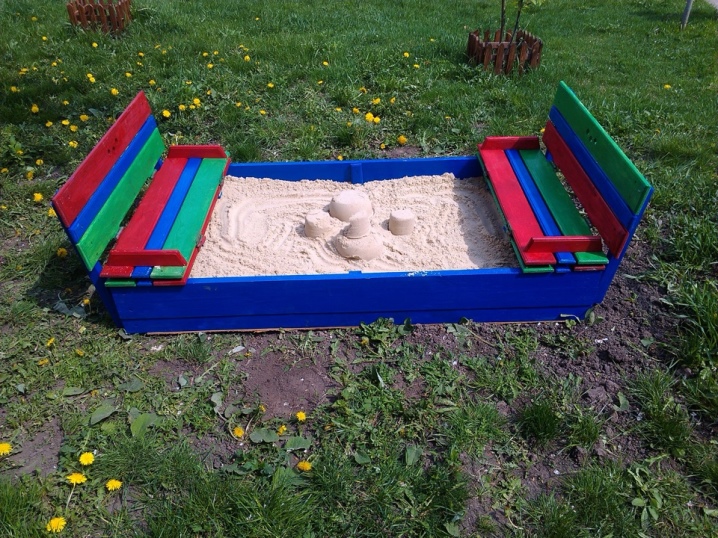
- Wooden models with transformer doors. These products are equipped with doors with a special mechanism. If necessary, they can be transformed into small and comfortable benches for children. Most often they have backs.
This folding version with a hinged canopy is the most practical in comparison with the others.
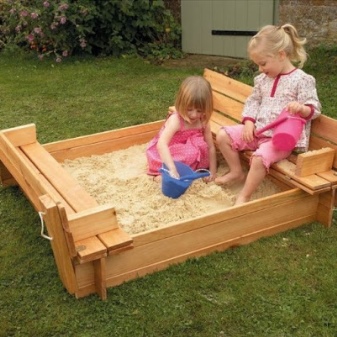
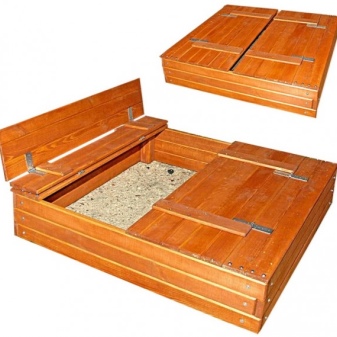
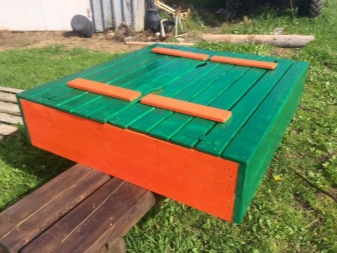
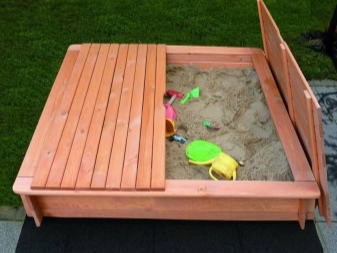
- Swing classic model. Such a closing sandbox is equipped with a lid, which consists of two swinging leaves. They are attached with hinges. Parts are revealed every time the children enter.
The design is considered the most reliable and safe for the child. It requires virtually no maintenance.
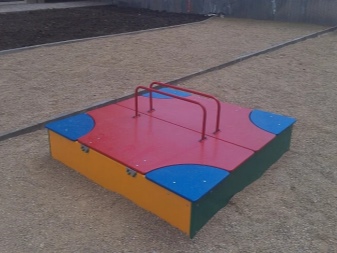
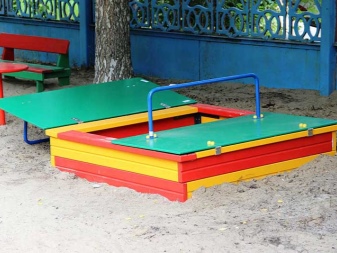
- Sliding products. They represent an opening structure with the same two sashes, but at the same time they will not swing open, the elements simply move to other sides.
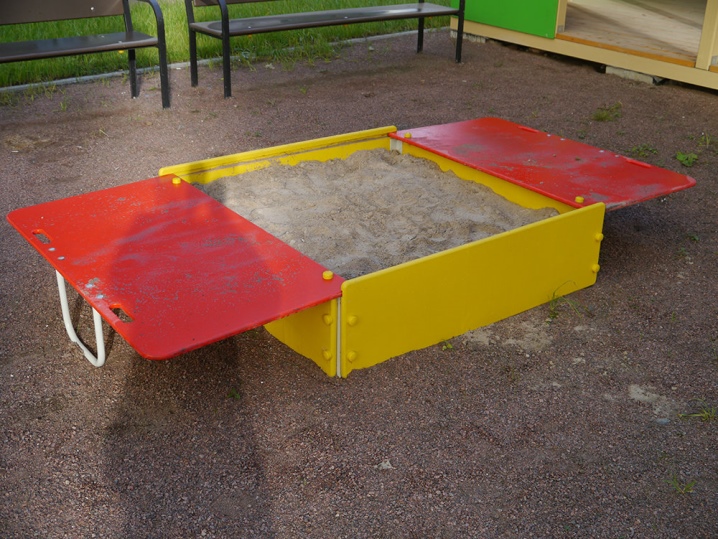
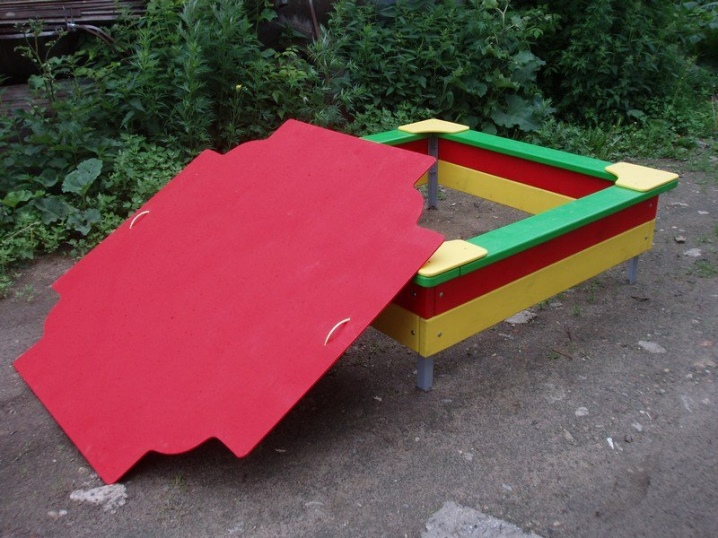
- Shield models. Such a simple version is equipped with a flap, which has to be removed completely and removed during children's play in the sandbox.
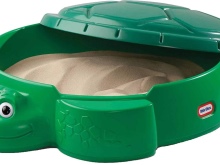
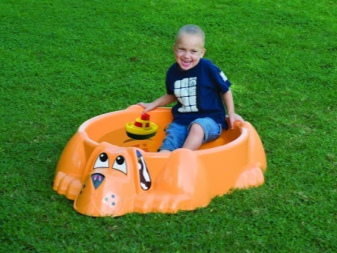
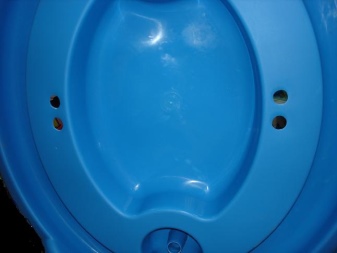
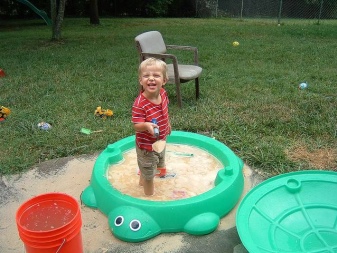
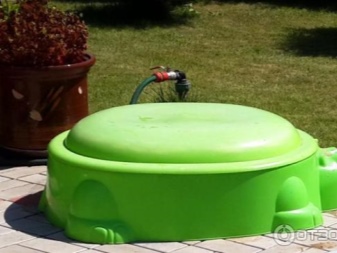
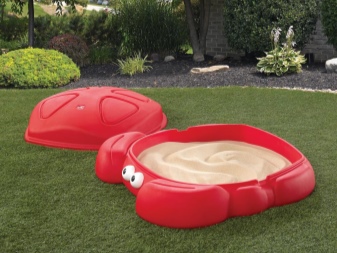
Today they also produce small sandboxes - "dogs". They are made with a cover that can be easily removed. Such models have a small mass, they are made from plastic. Sometimes they are used as a children's pool.
Blueprints
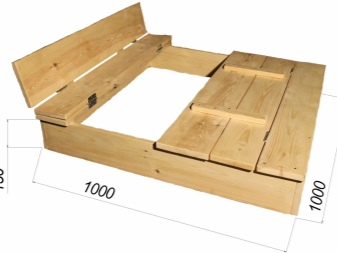
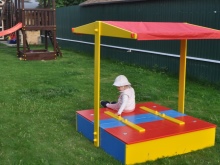
If you plan to make a sandbox with a lid for a summer residence with your own hands, then you can find a ready-made scheme for manufacturing. First you need to decide what kind of sandbox you need. On the street, you can place small street sandboxes with a flat roof or structures with a roof on supports. Often, complex structures are made on the site, which include a play area with sand, a slide, benches, and individual modules.
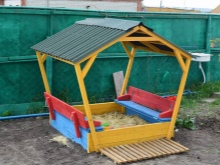
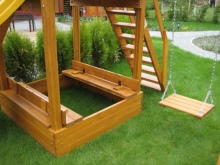
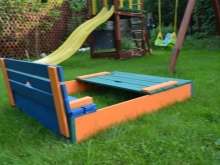
Decide on the shape. The sandbox is most often made square or round, but there are more complex models.
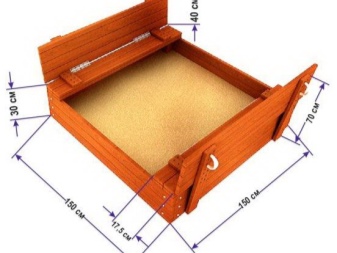
It is recommended to select projects that indicate all sizes of individual parts and the entire finished structure, so as not to make mistakes during the production process.
If you want to make a drawing yourself, then you should also immediately decide on the type of product and the material from which it will be made. Consider a cover (regular or convertible). Plan all stages of production separately. Decide on the dimensions of the future structure, mark all the dimensions on your drawing.
Materials (edit)
Sandboxes with a lid can be made from a wide variety of materials. But mainly they are made from the following bases.
- Wood. This environmentally friendly and safe material is quite easy to use. It should be carefully sanded so that no irregularities or other defects remain on the surface. It is also necessary to round off the corners and edges to avoid further injury. When creating, it is better to cover the wood with special compounds that counteract the formation of fungus. The product can be made from wooden planks (terrace varieties can be used). If necessary, they can be easily coated with construction paint. To fix the parts, use wood screws and furniture hinges.
For the formation of individual small shops, you can take plywood and bars. Sometimes pallets are taken as the main part for such a sandbox.
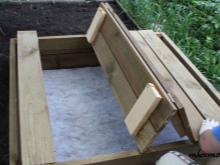
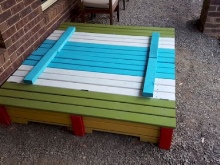
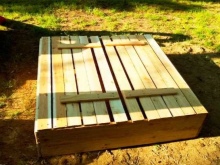
- Plastic. This material is considered to be quite strong and durable, safe. Plastic structures can have a variety of bright colors and patterns. They are easy to install and remove. Such models are mobile, they can be easily transferred to another area in the garden or transported. Sandboxes in the form of animals or cartoon characters are often made of plastic.
But it is worth remembering that these options will be much more expensive compared to standard wooden structures.
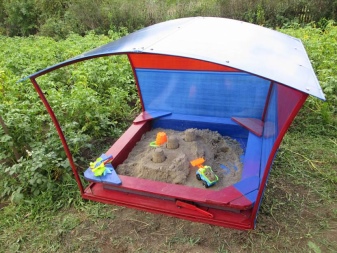
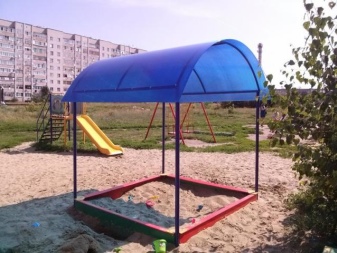
- Polycarbonate. This material is used in conjunction with wood or metal frames. It is covered with polycarbonate, creating a canopy as well. Such sheets reflect ultraviolet radiation, so even in hot weather, the child will feel comfortable in the sandbox.
To make the structure brighter and more unusual, you can use several colors of the material at once.
Also, some children's sandboxes are made using metal sheets (in this case, the material is treated with anti-corrosion compounds), stones, bricks. But such materials are used much less often than plastic and wood, since if improperly processed, children can be injured in such structures. Sometimes structures are made from old large tires, which are completely painted and decorated. They are absolutely safe for the child, he cannot get hurt, the walls are relatively soft and comfortable.
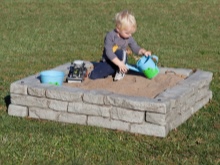
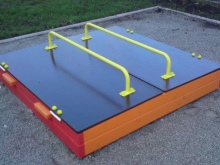
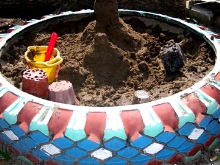
But still, this option cannot be called suitable for placement in a summer cottage, because the installation of protective gates will be quite difficult. Besides, large tires are too heavy and, if necessary, will be problematic to move to another place and disassemble.
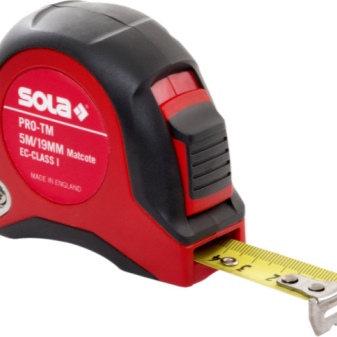
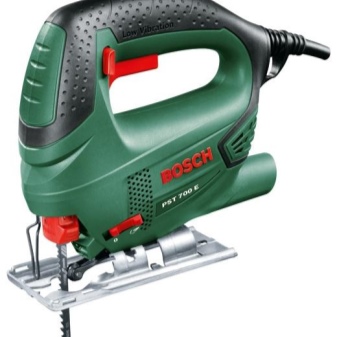
In addition to the basic material, you need to prepare in advance the necessary tools, including fasteners, a saw or jigsaw, a stapler, a screwdriver, a grinding device (for wooden models), a tape measure.
How to do it?
You can build a sandbox with a lid for a summer residence with your own hands. On the Internet, you can find various projects with detailed step-by-step instructions for the manufacture of structures. Consider the most affordable option for making wood.
Preparation
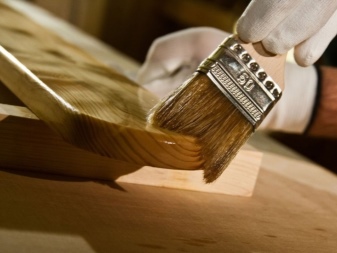
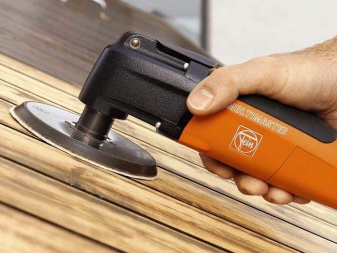
Before starting work, you need to prepare all the necessary tools and materials. All wooden parts must be carefully sanded and coated with special substances to protect against fungus and harmful insects and rodents. All parts must dry completely. Pre-determine the dimensions and take measurements on the material.
Choose the most suitable place for crafting, as wood shavings and other debris will form during the crafting process. After that, you can start working.
Frame
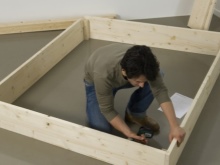
Manufacturing always starts with the frame part. First you need to take wooden boards and cut them into 4 equal parts of 1.5 meters. For the legs, it is better to take a bar, 4 elements 25 centimeters long are formed from it. Before assembling everything, you need to check the material again for burrs and other irregularities. A sandbox box is assembled from boards and timber. To do this, first knock down the sides with your hands, each of them is made of two boards. All this is securely fixed using special wood screws.
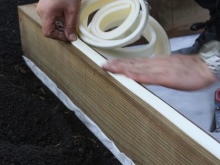
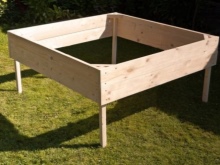
Then the boards are attached to the cut timber. As a result, you should get a square box with protruding legs. During the assembly process, a self-adhesive rubber seal is placed between all ends. He will be able to remove all the cracks formed, prevent sand from spilling out. After that, a lid is made for the future product.
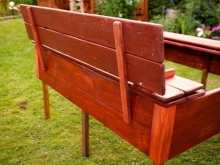
The best option would be a transformer model. If necessary, it will turn into a comfortable bench.
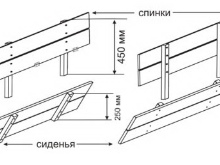
To create a shop, you will need 6 wooden planks. They should be connected in pairs to each other. In this case, one of them is firmly fixed to the side of the box with self-tapping screws. The other two pairs of boards are fastened to each other using furniture hinges. Then they take two slats and make stops from them, they will provide the backrest support.
The second shop, which will be located opposite, is produced according to a similar algorithm. Thus, only 12 wooden planks are needed. Moreover, their width must be calculated in advance. When folded, the benches should form a cover of the structure, which will completely cover it. Instead of a second bench, you can make a folding table for games.
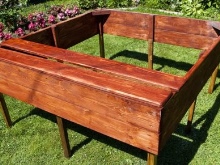
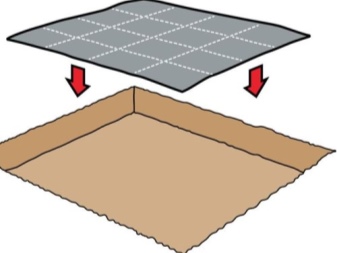
The bottom is considered an important element in the manufacture. If it is not formed, the child will be able to reach the ground, weeds will begin to sprout through the surface, and insects will appear. It can be made from special high-density agrofibre or geotextile. The canvas is firmly fixed with a stapler to the ends of the lower section of the box. The bottom must be completely waterproof, as moisture stagnation promotes the development of microorganisms.
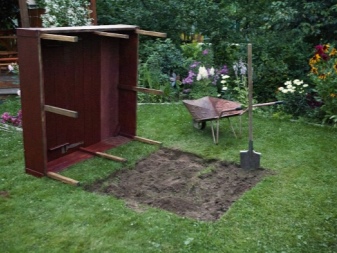
When the homemade structure is ready, it is installed on a leveled piece of land. At the same time, small holes are dug under the legs in advance. They should not be too deep, otherwise the sandbox will wobble. The legs must be treated with bitumen, after they are immersed in the soil, all this is covered with sand.
The area where the sandbox will be located must be prepared in advance. For this, a small, even pit is formed. Its depth will be only 3-5 centimeters. You can make gravel around.
Finishing
The inside of the sandbox can be sheathed with a soft cloth or left in the same form. If desired, the finished product is painted, small images are made on the surface. Inside, the lower sections of the walls are covered with polyurethane enamel; alkyd dyes can also be used instead. The rest of the product can be coated with water-based compositions of different colors and shades.
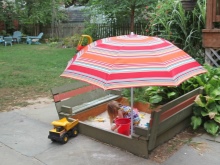
Often, the back and the upper part of the wooden box are pasted over with PVC film. The material will not only give a beautiful appearance to the product, but also protect the child's hands from possible damage. It is not worth glueing everything completely. If desired, you can install a small sun umbrella inside.
A sufficient amount of sand is poured inside. Particular attention should be paid to his choice. Most often, a fine-grained mass is used for a sandbox, because large particles can leave small scratches on the child's skin.
Many people prefer yellow river sand. This filler contains a minimum amount of clay and impurities. If you take quarry sand, then you should rinse it thoroughly first.
Too small material is not recommended to be taken, since in the process of children's games it will rise upward in the form of dust clumps.
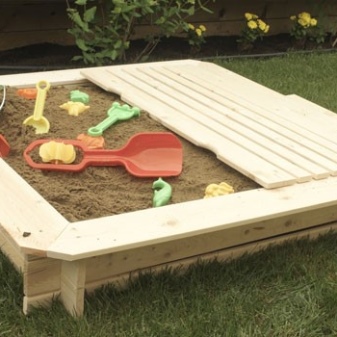
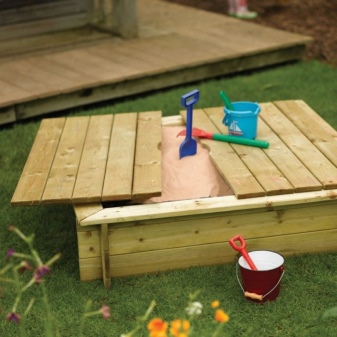
The sand for filling the sandbox must have good flowability, dust-free (too small filler particles can easily get into the child's lungs during play). Formability also plays an important role in the choice. The filler should be easy to mold into the molds by the child. Make sure the paste is completely dry before filling.
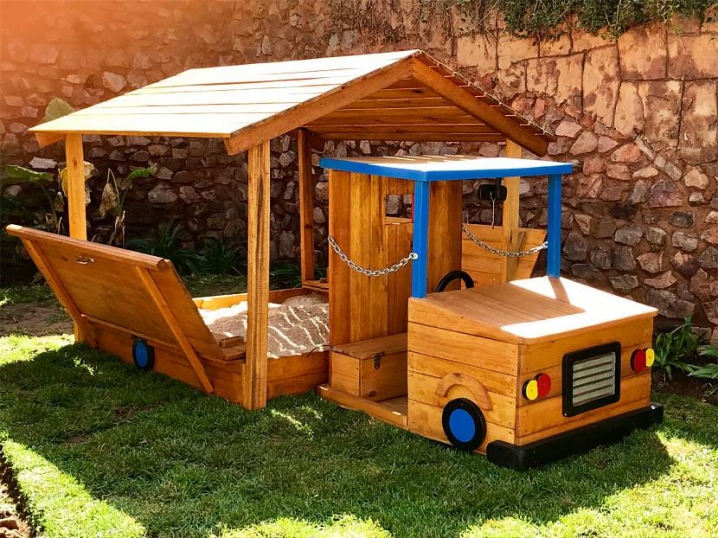
If you have made whole play complexes in a sandbox, then you should use purchased sand. This filler is produced with already processed edges. Such mixtures will not scratch the plastic. Sometimes whole game segments are made in the inner part. So, you can make a composition in the form of a car by installing a toy steering wheel, wheels and the cabin itself. Also, many people make a product in the form of a ship.
Accommodation types
The finished sandbox can be positioned according to the in-depth type. In this case, the base of the product is deepened into the soil, this technology can significantly increase the strength and reliability of the structure. With a deepened type of placement, drainage must be formed, its thickness should be about 15 centimeters. This will prevent excess moisture from accumulating at the bottom. It must be covered with a dense cloth, in which holes are made every 10-12 centimeters.
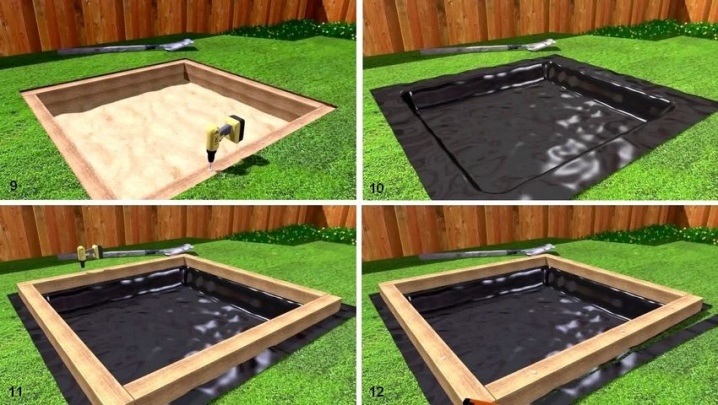
Sandboxes can also be mounted on a raised type. In this case, the product is fixed on a concrete base or on the grass. In this case, it must be taken into account that the child can climb inside on his own, so it is worth installing only models with low sides.
In any case, before installing a children's sandbox, it is worth choosing the right place for this. You need to choose a site near which there are no reservoirs, since excessive moisture and wind negatively affect the health of children.
Also, the selected place should be away from old and tall trees. Dust and leaves often begin to crumble from them, because of which the sand will quickly become dirty. The structure should also not be surrounded by thorny bushes and vegetation that attracts bees.
The sandbox should be installed in such a way that adults can easily observe children who need constant supervision. Also remember that excessive exposure to ultraviolet radiation and excessive shade can be bad for the child, so the best option would be to place one half of the structure in the sun and the other in the shade. Electrical wiring, hoses and similar gardening equipment should not run around the perimeter of the product. It is recommended to arrange a neat lawn around the structure with grass resistant to trampling.
Care Tips
Models with a cover do not require any special maintenance. The sand in them can be changed less frequently than in conventional products, since it is protected from dirt and dust by a cover. Even if all the basic rules are observed, the filler must be changed, since in any case it accumulates various particles in itself, begins to lose its stickiness.
The sand can be changed only once a year. At the same time, remember that the optimal thickness of the filler layer is approximately 10-15 centimeters. The outer part of the structure itself and its cover can be periodically cleaned from dirt with a regular cloth.
Better to check the bottom periodically - it should be completely dry.
Beautiful examples
An interesting and beautiful option can be a sandbox in the form of an animal with a lid. Such models are often made of plastic. In stores, you can find samples in the form of crabs, they are made in bright colors, they can be liked by almost any child. Some products are made in the form of toy boats and cars.
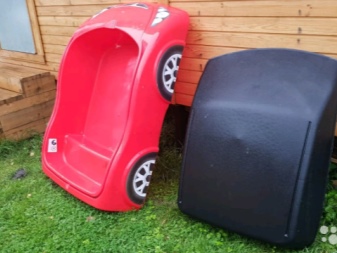
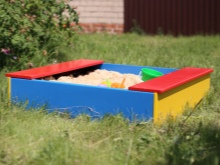
Standard wooden rectangular models with two benches or with a bench and a table will look beautiful. Moreover, they can be painted in bright and contrasting shades.
For information on how to make a sandbox with your own hands, see the next video.


The comment was sent successfully.