How to lay sandstone?
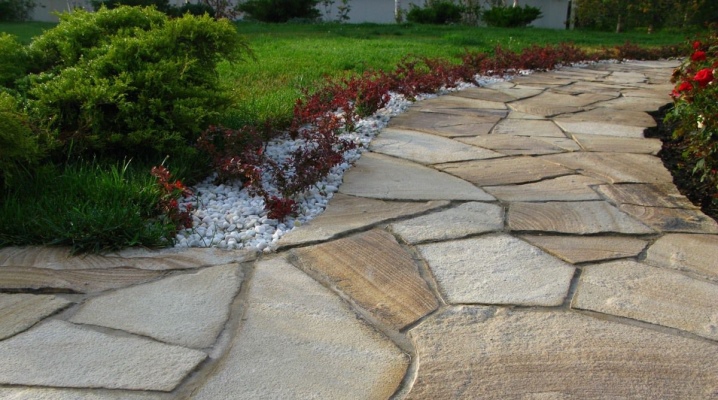
Sandstone laying has become a popular option for landscaping. Natural stone can be mounted on the ground and blind area around the house, on sand and concrete base. Before starting work, it is worthwhile to study the masonry technology with your own hands - when attached to the basement and paths, it will have differences.
Sandstone preparation
Sandstone, a type of natural stone, has a heterogeneous composition: from shell rock and limestone, feldspar, quartz. It is quite easy to machine, looks attractive, resistant to external influences after installation. Sandstone happens:
- sawn;
- chipped;
- torn;
- layered;
- smooth.
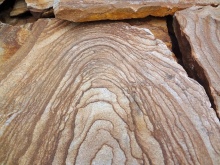
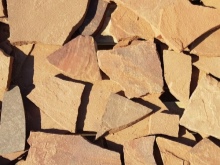
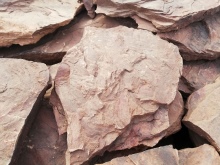
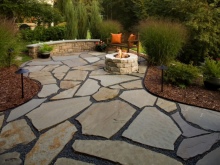
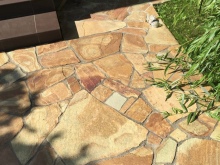
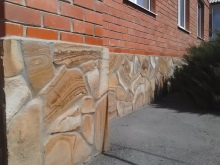
The use of the material is quite varied. Variants with an uneven, textured surface are used in the decoration of the basements and walls of buildings; when creating a blind area and paths, stones with a smooth or slightly corrugated texture are used, allowing free movement.
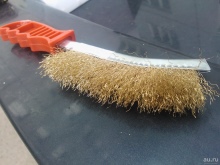
Sandstone is harvested in special quarries, and is delivered to customers in packaging that protects the material from the influence of the external environment. Before laying, it must be cleaned of dirt, dust arising in the process of crushing the stone. It is recommended to soak the material that has not previously undergone heat treatment - this will save it from excess mineral salts, which, after laying, may appear on the surface in the form of streaks. Sandstone aged in water is cleaned with a metal or plastic brush, then laid out on a plastic wrap to dry.
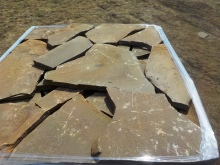

Adhesive selection
Laying sandstone requires careful preparation and choice of mortar. Natural stone does not adhere well to every material. Concrete or brick can be used as base surfaces, but a strong connection cannot be obtained with wood and slabs based on it.
The simplest adhesive composition can be prepared on your own. For this, a mixture of PVA glue and cement mortar is used in a 3/1 ratio. When choosing ready-made materials, it is recommended to give preference to the options intended for the installation of tiles, especially if the basement is being finished - they are more elastic. On the concrete base of the blind area or paths, the stone is placed on ordinary cement mortar. Among the ready-made compositions, the following options are given good reviews:
- Master Stonefix;
- Scanmix Super;
- Ceresit CM-11, CM-117;
- Kreisel Multi;
- "Polyamine PT-22".


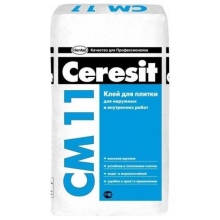
These are the main types of adhesives that are used to attach sandstone to the surface of walls and plinths.
It is important that the composition is adapted to work with a specific base material, it adheres well not only to natural stone.
How to install tracks?
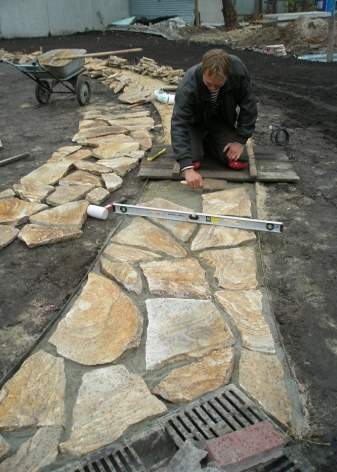
The easiest way is to lay sandstone paths on the sand. In this case, street paths are marked, then sod is removed within their boundaries to a depth of 15-20 cm. Since it is not recommended to lay natural stone on the ground, the resulting area is filled with a crushed stone pillow that acts as a drain. Sand is poured onto the gravel, on top of which the slabs are laid. If you mix the base with cement, and then wet the paved path with a hose, the fixation will be stronger.
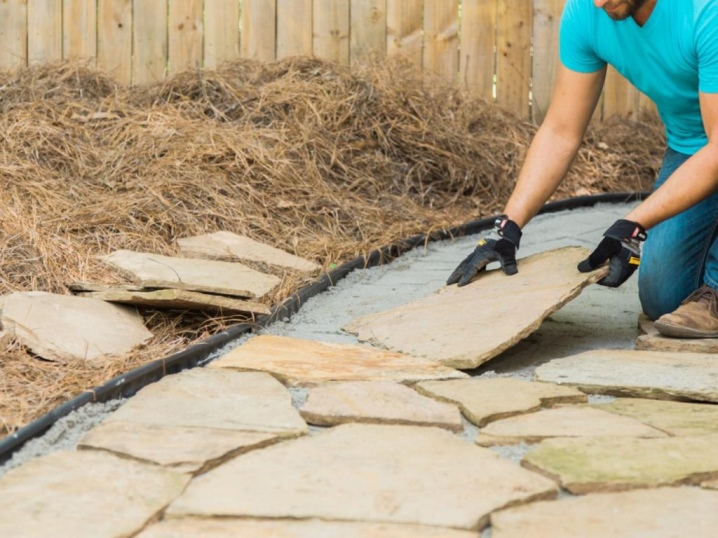
On a concrete base, a blind area around the house, driveways, parking under a car in the yard, installation is carried out using special glue. The procedure will be as follows:
- mix the cement-sand mortar (1: 4) with PVA glue (in the amount of about 10% of the total mass);
- perform a preliminary layout of the stone;
- starting from the edges to the center, the tiles are attached one by one to the mortar, tapped with a mallet for closer contact;
- excess solution is removed after drying.
The natural stone laid on concrete must be wiped off, filling the joints with a solution, and then covered with a hydrophobizing compound.
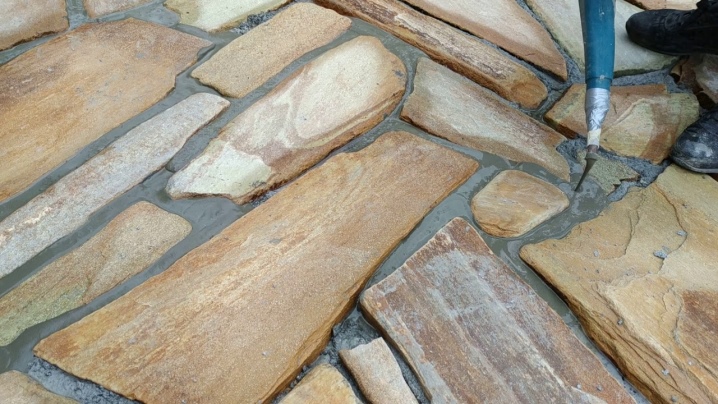
Diy masonry technology on walls and plinth
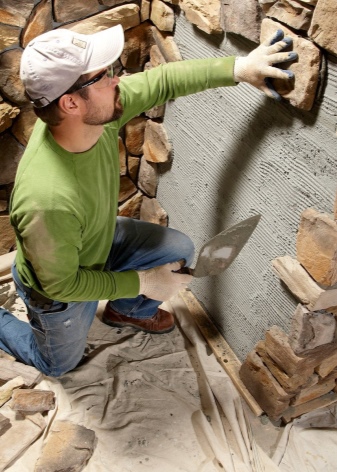
Laying sandstone on vertical surfaces is fairly easy, even without assistance. Previously, it is worth making a layout on polyethylene, forming a drawing of the future coating. After that, you can get to work:
- clean the surface of the walls from old plaster, dirt, debris;
- fix the metal plaster mesh, which is mounted on special dowels with washers;
- prepare a liquid masonry mortar in a ratio of 1: 3, taking the usual mixture of cement and sand, which is thrown onto the mesh with a trowel, eliminating irregularities and other obstacles for the reliable attachment of the stone;
- prepare an adhesive solution - usually a ready-made mixture is taken for it, to which 1 part of cement and river sand are added: the coating will remain vapor-permeable and avoid the appearance of efflorescence;
- apply glue to the wall and level with a notched trowel;
- apply 1 stone from the bottom corner, press it in to eliminate air pockets, then move sequentially, continuing the masonry to the selected height (if the entire wall is faced, after every 3 rows, the surface should be allowed to dry completely, but if this is not done, the masonry will inevitably slide ).
After the glue or mortar is completely dry, you can start filling the joints and grouting.
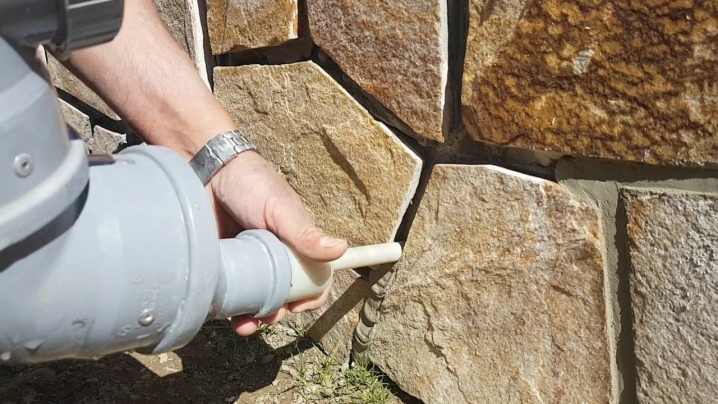
How to cover?
Despite the fact that sandstone tolerates weathering quite well, after laying it outdoors, it is often covered with additional protective compounds. Some of them prevent moss and lichen overgrowth, while others make it impervious to moisture. Especially popular are water repellents, which have to be renewed every 2-3 years. True, paint will no longer lie on top of such an impregnation - this should be taken into account if you plan to change the appearance of the basement.
The tracks can be treated with varnish, which increases the wear resistance of the material. In this case, polyurethane or polymer-based compositions are chosen - such are the ones from Tenax, other well-known brands.
Impregnations with an anti-slip effect are well suited for tracks, but they can slightly worsen the appearance of the material, make it dull.
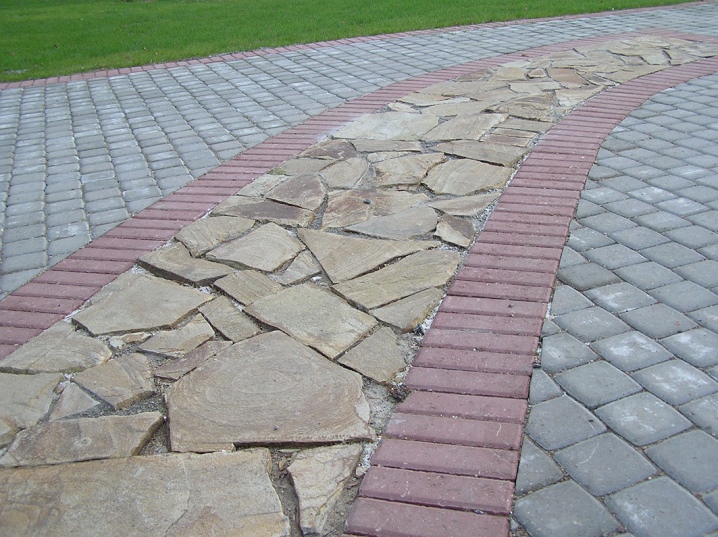
Sometimes the stone is processed to obtain a decorative "wet" effect. In this case, oil-based impregnation varnishes are used. Suitable ones can be found at Tenax, H & C.
For information on how to lay sandstone on a basement, see the next video.


The comment was sent successfully.