What are chili peppers and how to grow them?
Chili is a vegetable that can be easily grown both on site and at home on a windowsill. The plant must be provided with proper care, then it will give many beautiful and healthy fruits. In today's article, we will learn what chili peppers are like and how they need to be grown wisely.
general description
Chili is a plant that has been given many different names. This vegetable is also called pod, hot, Mexican pepper, paprika. The ancestors of Chile, as modern gardeners know it, come from New Land, where the Aztecs and Mayans were still involved in the cultivation of crops. Nowadays, hot peppers are very popular because they can be used in different areas of life. A spicy green or red vegetable is used not only in cooking, but also in medicine. In addition, sweet or hot peppers look quite attractive, so they can serve as a decorative addition to different settings.
In cooking, the pungent taste of this useful and at the same time ornamental plant is especially in demand. The vegetable can be used raw and fresh or dried. Pepper is added to a huge number of different dishes, and its pods are often ground or dried on purpose. From the product in question, chic sauces are obtained, for example, spicy-sweet Thai sauce. Chili pepper is enriched with vitamins C and A, as well as P, B. The product contains special essential oils and even ascorbic acid.
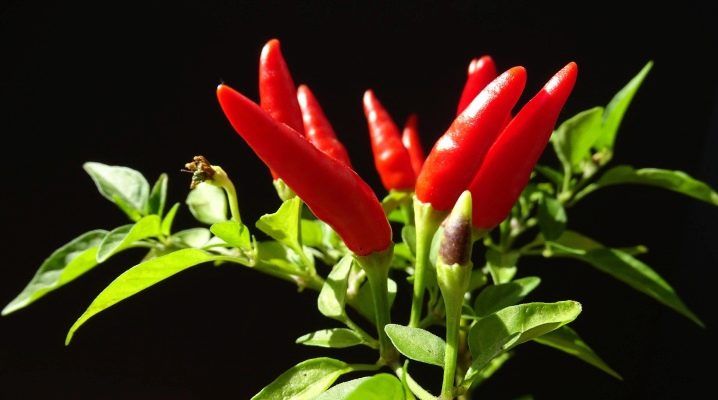
The pods of the plant are characterized by a bright and rich color, they can have a varied structure.
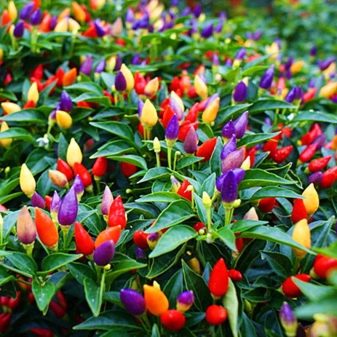
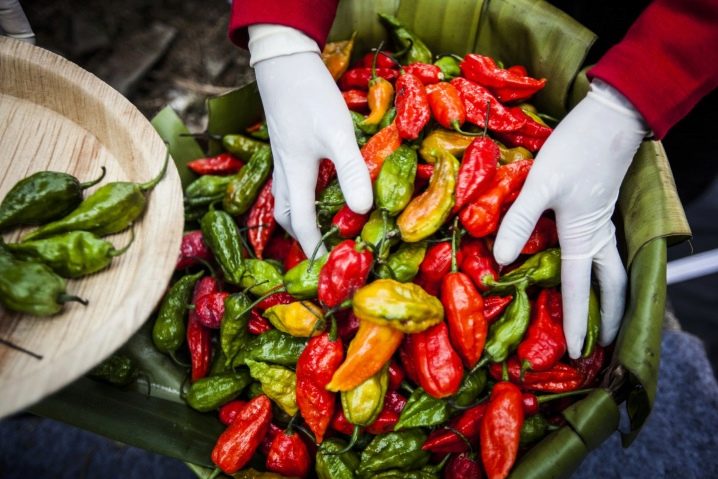
Most often, the shape of chili peppers is straight or curved, but rounded and tapered varieties can also be found. Sizes also vary. Fruits can develop as small or rather large. Slightly less often, you can see peppers that have a structure in the form of a pumpkin or a bell. The color of the pods is not always only red. They often display other colors such as orange, green, yellow, purple and even the original black.
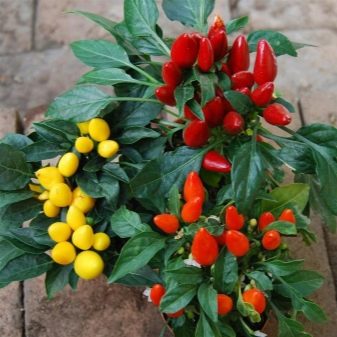
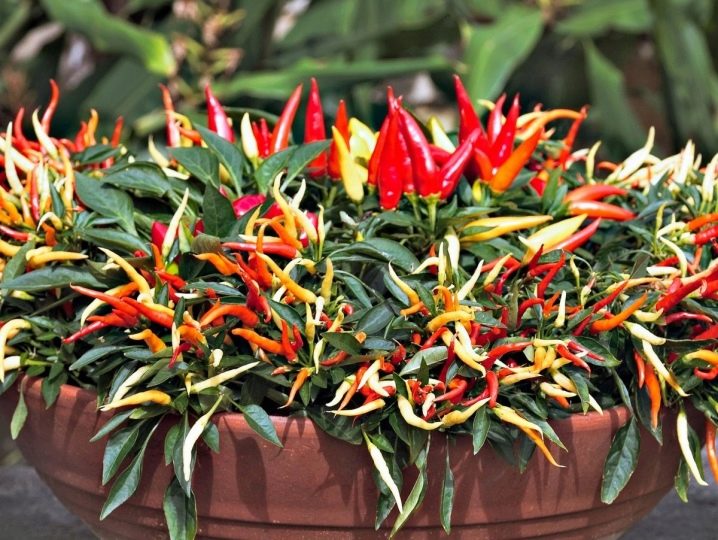
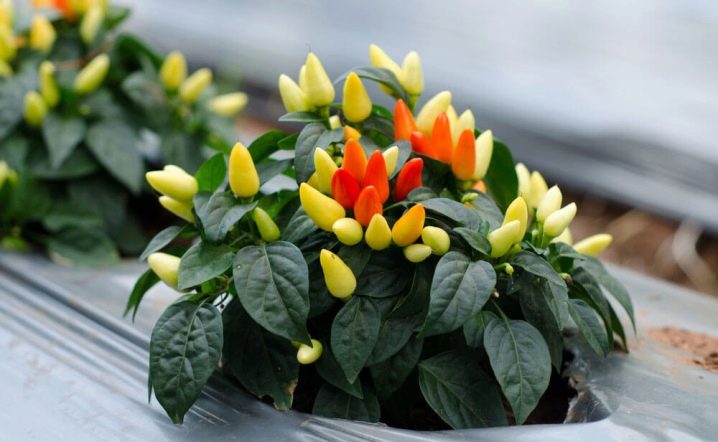
There are ornamental chili bushes. They are often used as houseplants and are placed in a suitable pot on the windowsill. Ornamental plants are characterized by compact size and small height parameters. They usually develop branched with small green leaves. The standard height of the considered small plants usually reaches 15-50 cm. Fruits can grow both singly and in the form of small bunches. In total, one bush can contain from 20 to 100 fruits.
The hot, or bitter, chilean pepper is a perennial plant. In comfortable and ideally suitable conditions, the culture can survive the winter season without problems, despite the fact that the spice is native to the tropics. With proper care and good conditions, chili can bear fruit for 2-3 years, and sometimes 5 years.
However, it should be borne in mind that not all varieties of the plant in question are adapted for growing at home. For such conditions, only those varieties are suitable that have leaf blades of miniature sizes.
Landing
Like any other plant, chili peppers must be planted in accordance with all the rules.
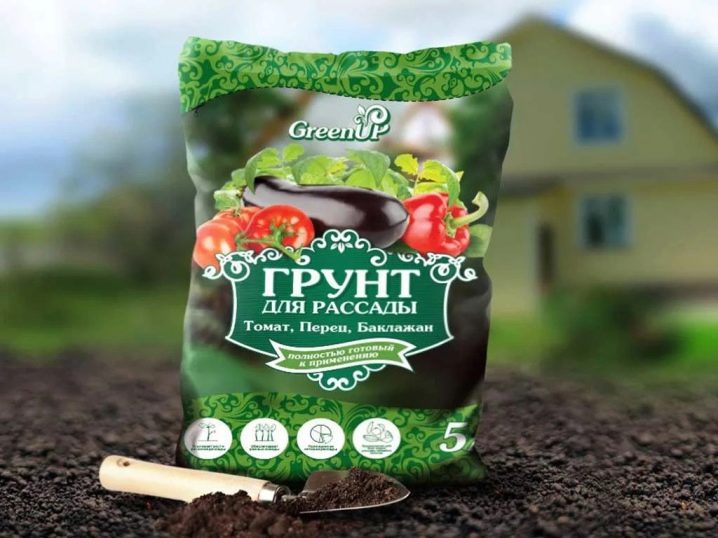
- Pepper cultivation begins with sowing seeds for seedlings... The ideal period for this is February or March when it comes to cool areas. If the region is warm, then it is better to carry out such operations in January-February. It is recommended to purchase a crop soil mixture from a specialist store. You can prepare a suitable mixture yourself from humus, river sand, peat.
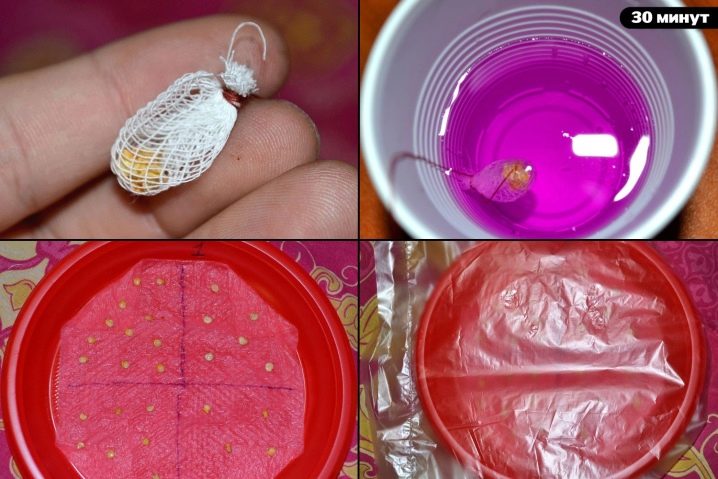
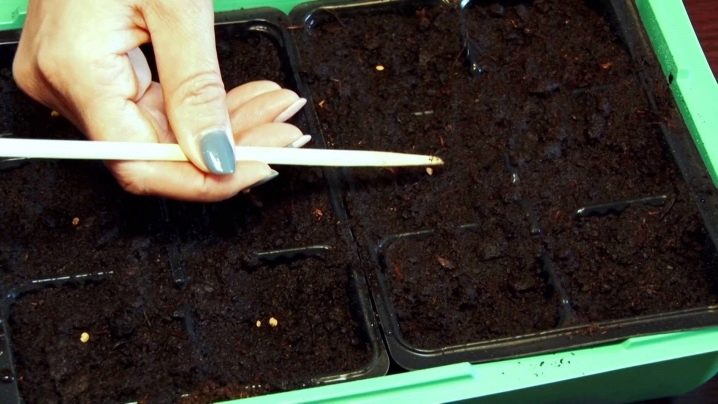
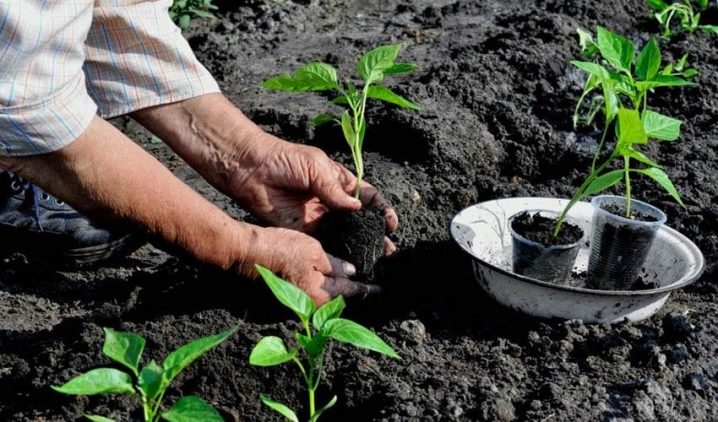
- Chili seedlings will need to be properly prepared for planting. To do this, they are first immersed in a weak solution based on potassium permanganate. After the planting material is carefully placed in a piece of damp cloth. At the same time, the temperature must be kept at least 25 degrees Celsius. It is necessary to wait until the seedlings begin to hatch. After this moment, the seeds should be sealed with the utmost care in a moist soil mixture. It is necessary to act carefully so as not to accidentally damage or break the planting material. The immersion depth in the soil mixture is 5-10 mm. Leave gaps of at least 5 cm between seeds.
- It is recommended to sow seeds in special boxes or small peat pots. The containers must then be covered with a film material or glass. The seedlings are kept this way until the first shoots appear. It is advisable to choose a warm place for keeping seedlings.
- The seeds of different varieties of chili peppers develop at different rates. As soon as the starting shoots hatch, the crops should be immediately rearranged to light. If the culture does not have enough lighting, then an ultraviolet lamp with a height of 25-30 cm can be placed above it. Another lighting device will do. Daylight hours for chili peppers should last at least 18 hours. If this condition is not met, then the seedlings will begin to grow rapidly. In addition, the substrate must be kept slightly moist. Too much moisture should not be allowed. From time to time between seedlings, you will need to loosen the soil mixture.
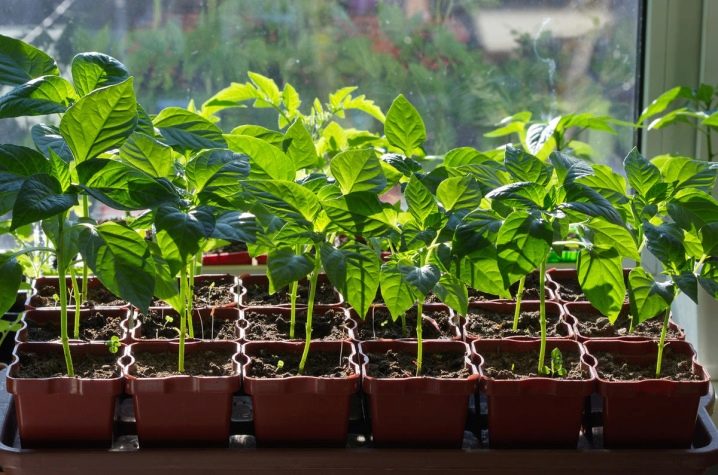
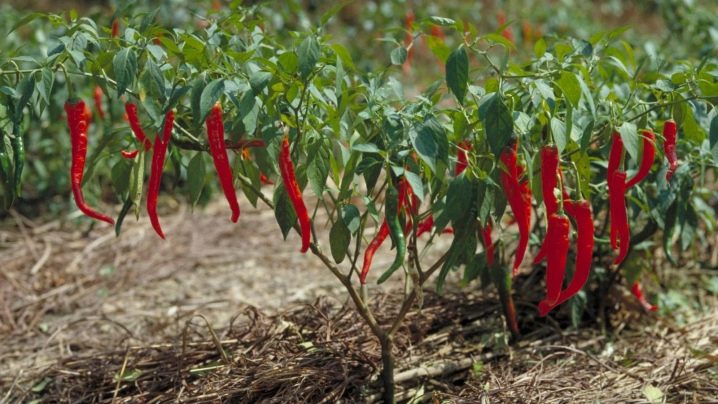
- It is permissible to transplant plants into open ground at the time of the start-up buds in the seedlings.... Another prerequisite is the setting of an average temperature of 15-17 degrees Celsius during the day. A couple of weeks before planting, the spice seedlings will need to be properly hardened by daily "walking" in the open air. It is advisable to start with 15-20 minutes of "walks", and then this time is "stretched".
This should be done until the young plant begins to spend the whole day on the street. When the culture has fully adapted to the outdoor environment, it is permissible to move it to the garden bed.

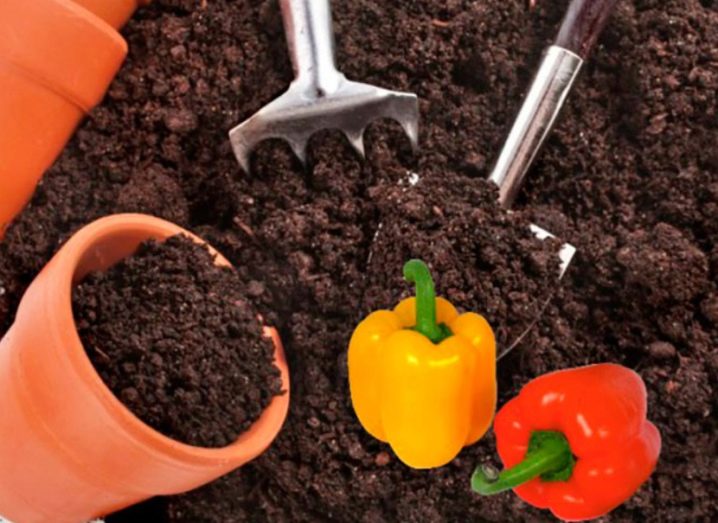
- Before planting a pepper in open ground, you need to consider which substrate is best for it. None of the peppers are capable of withstanding heavy and cold soil mixtures. If the soil is clayey in nature, then it must be dug to the depth of a pair of shovel bayonets, and then add peat and humus. If the soil is light and permeable, then it will need to be fertilized from the autumn period with the help of rotted manure.
- In order to plant and subsequently grow seedlings without problems, you will need to make small holes in the soil, while leaving a distance of 30-40 cm. The row spacing should be 60 cm. Planting of pepper by the nesting method in accordance with the 50x50 cm scheme is permissible. In this case, a pair of seedlings are placed in each hole. The depth of the excavated sectors should be such that the seedling sinks into them up to the neck of the roots. Put a spoonful of mineral fertilizers in each dug hole.
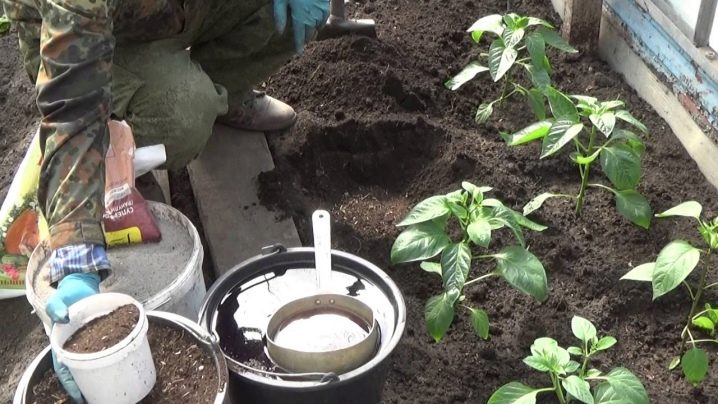
- Next, the seedling of the plant will very carefully need to be removed from the container and, together with a lump of earth, transferred into the prepared hole... The latter is sprinkled with earth by 50% or a little more. Pour a third of the bucket of water. As soon as all the liquid is saturated, the hole is poured with earth to the upper sections.
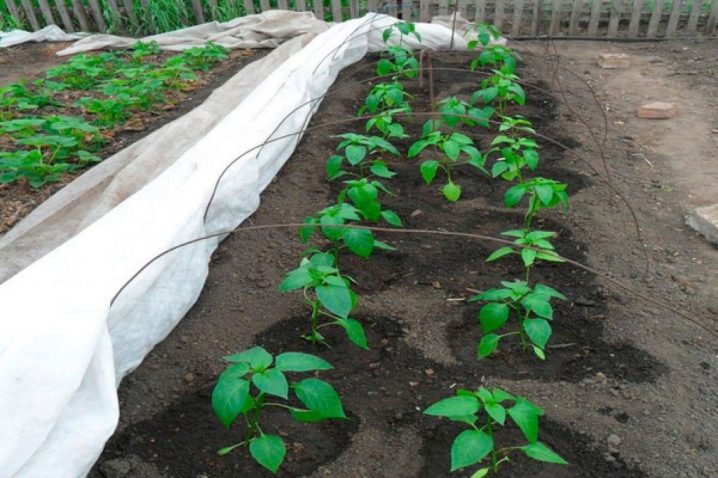
- After completing the planting procedures, it is advisable to mulch the bed with peat... If there is a need for this, the bushes of the plant must be tied to the support bases. If at night the temperature values fall below 13 degrees Celsius, then it is recommended to additionally cover the bed with a special non-woven material. Throw this material should be on the previously dug arcs.
It is recommended to start transplanting seedlings on cloudy days or after sunset.
Care
Chili peppers grow very well and produce quality pods if they are properly and regularly cared for. Let's find out how to properly water and feed this plant on the site.
Watering
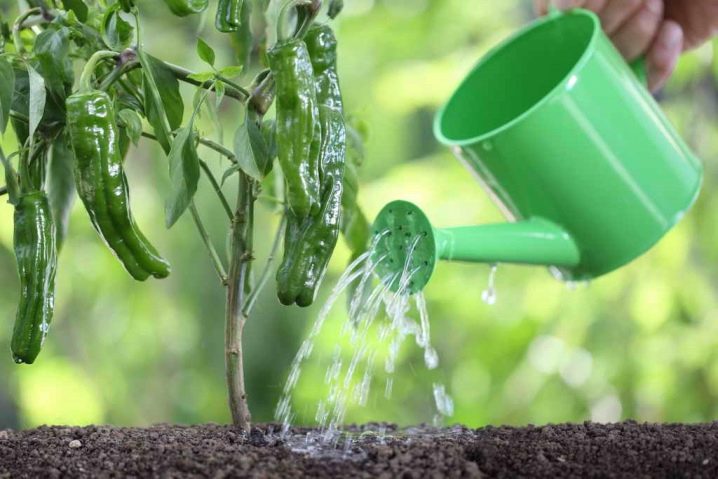
Pepper is a moisture-loving crop that especially needs moisture at the time of its fruiting and flowering. The soil in which the plant grows should never be in a dry state. So, in the summer, planting needs to be watered almost daily. Use warm liquid.
To prepare the watering liquid, you can take a large tank, fill it with water, and then put it out in the sun in the garden. Throughout the day, the liquid will have time to warm up and infuse. Having finished watering the plants, it is advisable to loosen the soil layer between individual plantings and remove all weeds.
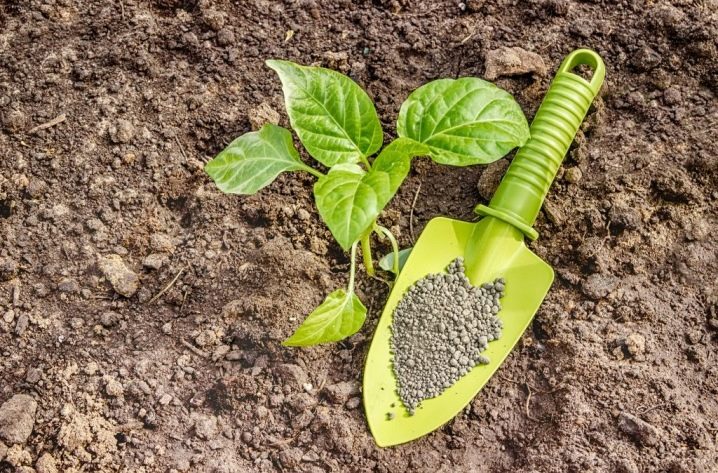
Top dressing
At the start of the growing season, chili peppers need magnesium and phosphorus to the maximum. Before the time for fruit ripening comes, it is necessary to reduce the amount of nitrogen supplements added. In general, the crop in question can be fertilized without a doubt with the same compositions that are used for tomatoes. Application times are about the same.
Diseases and pests
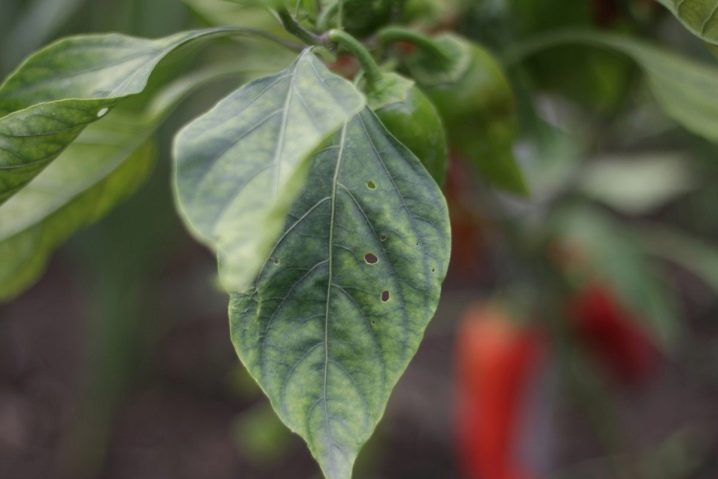
Chili peppers can suffer from various diseases, as well as attacks from insect pests. A very great danger for the plant in question is aphid, as well as spider mites, Colorado beetles, whiteflies, bears, slugs. It should be noted that the listed parasites most often infect nightshade crops. Fortunately, peppers are less likely to be affected by insects than the same tomato.
As for the common diseases that chili peppers are prone to, these are the same ailments that most often affect tomatoes or eggplants. We are talking about white, brown and black spot, as well as black leg, mosaic, phytosporosis. Often the plant in question is affected by cancer of a bacterial nature.
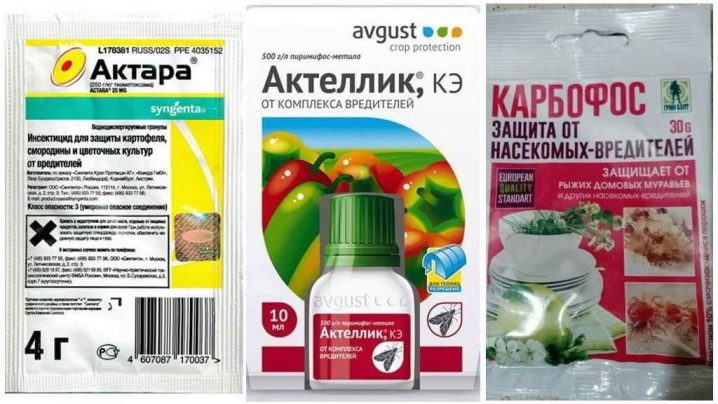
If the plant has been affected by fungal ailments, then it is advisable to treat it with fungicides. The most popular are such drugs as "Abiga-peak", "Baylon", "Maxim", "Gamair". You can also use copper sulfate.
Chili peppers can also suffer from serious diseases of a bacterial or viral nature. In such cases, any treatment is useless, since such ailments cannot be cured. As for the fight against insect pests, insecticides and acaricides are optimal and effective. Among them, the most popular and frequently used are:
- Akarin;
- "Karbofos";
- "Kleschevit";
- Aktelik.
If you properly care for the pepper, create all the necessary comfortable conditions for development for it, then the risk of diseases or the appearance of parasites will noticeably decrease.
Collection and storage
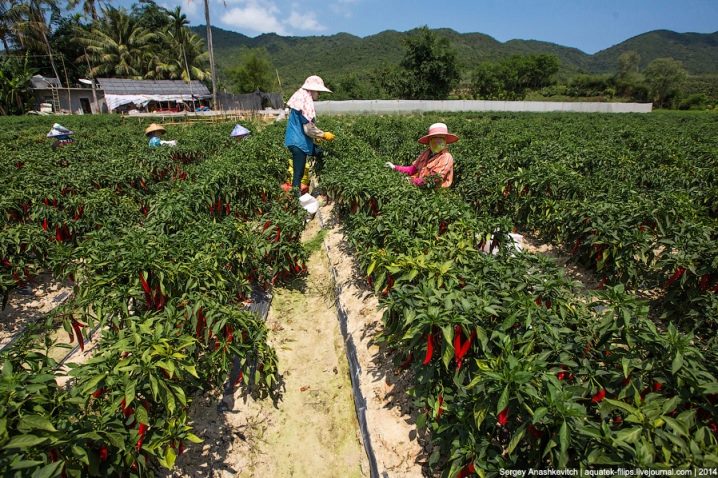
Chili peppers not only need to be properly planted and grown, but also harvested and stored correctly. For example, red hot peppers are allowed to be used both at the stage of incomplete ripeness, and at the end of its final ripening. Due to this feature, if necessary, the pods can be removed as soon as they have formed.
If the plans include sending the culture for long-term storage, then it is advisable to wait until the moment of full ripening of the fruits comes. If you do not follow this rule, then the spice will not be well and correctly stored.
It should be noted that the shelf life of the same red hot pepper depends on a special substance in the composition. The volume of this substance increases with the development of the fruit. This suggests that the larger the pod, the more it contains special bitter elements that play the role of preservatives during storage.
Before picking the fruits of the pepper, you need to figure out how to determine the degree of their formation.
- Ripe peppers are characterized by a bright color.... It can be red, yellow, orange, or others.
- The leaf blades of fully ripe chili peppers turn yellow. The same leaves that are located in the lower half of the bush inevitably dry out.
- If you gently rub your hand with the pepper, you can feel a slight burning sensation.
Chili peppers are usually harvested in late September. The pods are very easy to prepare for further storage. To do this, the peppers are immersed in a bowl filled with warm liquid for a few minutes. The fruits are thoroughly washed from dust and all contaminants, rinsed in cold water. After that, the pods are wiped with a towel and dried.
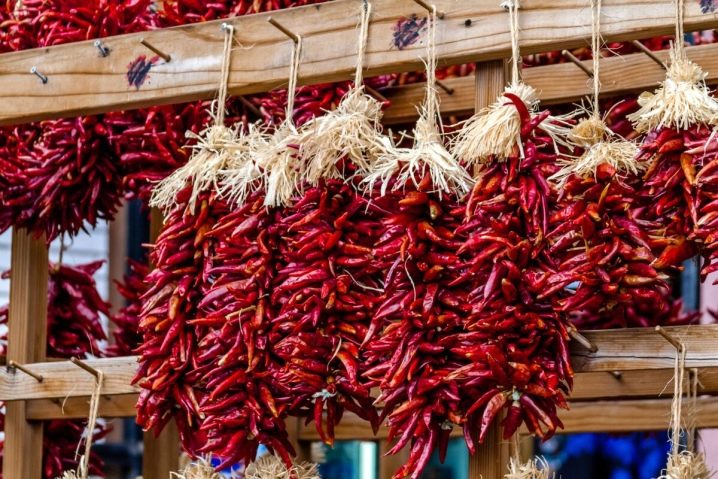
There are many methods for storing chili peppers. The choice of a specific option depends on how the spice will be used in the future. You can hold the fruit by hanging it on a string by the stalk. In this case, the pods should not be in contact with each other. Completely dried fruits are collected in tight woven bags or glass jars. The containers are covered with parchment and kept in a dry place.
Chili peppers are allowed to dry by spreading them out on parchment laid on the windowsill. If you regularly turn the fruits, then they can dry 100% within three weeks.
If it is necessary to speed up this process as much as possible, then the pods should first be cut into 2 halves.
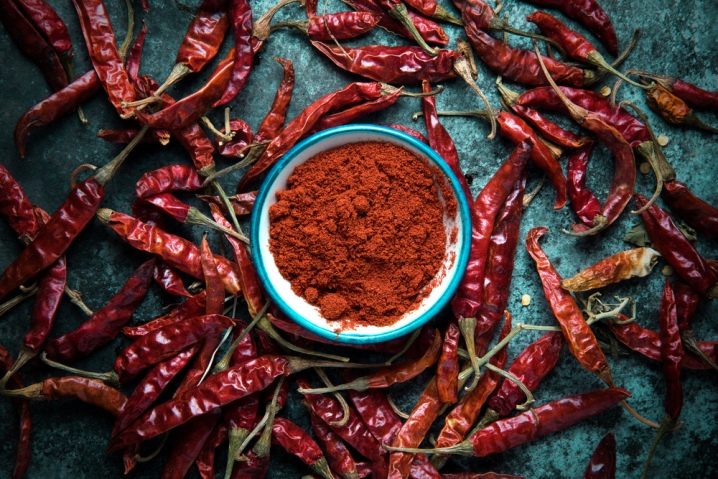
It is also possible to grind peppers with a blender / meat grinder. The finished mass is spread on a baking sheet and dried in an oven at 50 degrees. When the fruits have cooled, they can be easily transferred to a bag. Sometimes housewives prefer to dry the whole fruit in the oven. At the same time, the temperature is set at the same 50 degrees, only the whole procedure takes about 2 hours. The baking sheet needs to be covered with paper. Peppers will need to be turned over from time to time.
Another valid option - preservation of fruits in sunflower oil. For this purpose, the pods, well washed and peeled from seeds, are laid out in a sterilized glass jar. Then they are poured with oil, salted. At the last stage, the hostesses roll up the containers with a sterile lid. Products are stored in this state in a dark and dry place for 2-3 months.


The comment was sent successfully.