All About Styrofoam Incubators

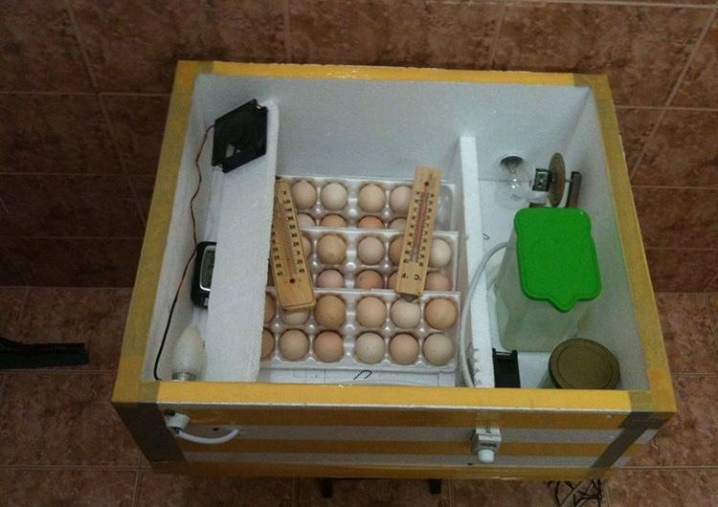
Anyone who has been involved in poultry farming knows that an incubator is one of the most important devices in this business. But for a beginner, it is not at all necessary to go broke on an expensive device, especially if he is not sure that he will be engaged in breeding birds at a professional level. For a start, a simple foam incubator is enough, which you can even make yourself. But first, you should study all the features of such devices.

Advantages and disadvantages
Foam incubators have not become popular out of the blue. This option has a number of advantages that are difficult to compete with other types of incubators. True, it was not without significant drawbacks. But let's start with the merits:
- the possibility of self-production;
- affordable price;
- low electricity consumption;
- the ability of some models to work from a car battery;
- compact size, suitable even for apartments;
- low susceptibility to mold and mildew;
- high thermal insulation.


Minuses:
- low material strength;
- it is difficult to wash the incubator before laying eggs and after hatching;
- the property of foam is easy to absorb any odors.
How can you understand the main problem is the maintenance of the foam incubator... Let's move on to how this maintenance, including disinfection, should be carried out correctly.

Disinfection
Any incubator must be disinfected... Liquid, fluff, droppings, blood can remain in the device, which means that an ideal environment for the development of bacteria will be created there. Therefore, the incubator must be thoroughly cleaned, disinfected after each hatching and before new laying, otherwise the life and health of the brood will be at risk.
This is especially important with a foam incubator, since although it has good protection against fungus, it is difficult to wash and clean it. The fragility of the material does not make the process easier.

The most common method for disinfecting home incubators is with chloramine solution.
Solution composition:
- 10 chloramine tablets;
- 1 liter of water.

Preparation method and disinfection process:
- chloramine must be dissolved in water;
- after that, you need to fill the spray bottle with the composition and spray the previously cleaned inner zone of the incubator;
- the treated device should be left for several hours, washed thoroughly and left open for a day.

Another popular method of incubator disinfection is ozonation. Here the subtlety lies in the fact that ozone must act on all surfaces of the incubator, for which fans are used.
Ozonation takes an hour... The required ozone concentration for such a procedure is 300–500 mg per 1 m3, the recommended temperature in the incubation chamber is 20–26 degrees, and the humidity is within 50–80%.
Speaking of temperature and humidity, they are important not only for the disinfection procedure. Their optimal values for incubation and other rules for using the incubator will be discussed below.

Nuances of operation
Temperature and humidity control is the main nuance that should always be taken into account when operating a home incubator.
The required incubation temperature differs for different bird species. Here are the approximate temperature regimes that should be set for eggs at different stages.
Chicken eggs:
- 38.5 degrees at stake;
- 37.5 - on the days before hatching.

Goose eggs:
- 37.5 - at the mortgage;
- 38.5 before hatching.

For duck eggs:
- 37 - at the mortgage;
- the same remains at the time of hatching.

For Indo duck eggs:
- 37.5 - at the mortgage;
- 38.5 - at the final stage of incubation.

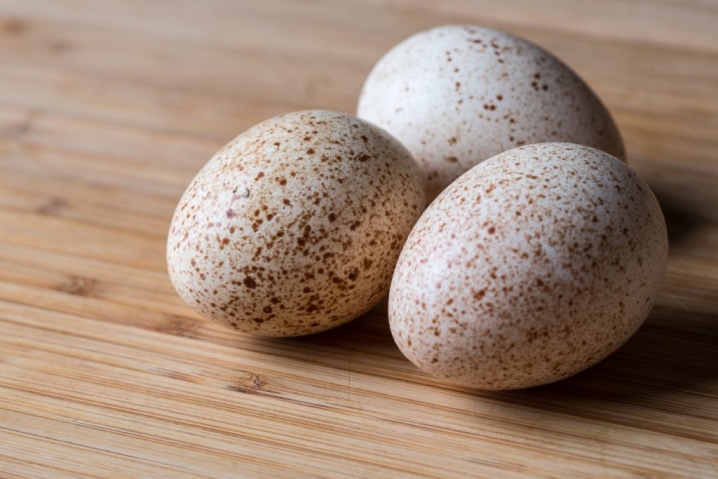
Turkey eggs:
- 37.5 - when bookmarked;
- 38.5 before hatching.

For quail eggs:
- 37.6–37.7 - at the initial stage;
- 37.2 - before hatching.

Humidity control is equally, if not more important. It acts on egg heating, moisture evaporation.
That's why if there are many dead embryos in the brood, then it makes sense to reduce or increase the humidity when working with the next one. Too low an indicator does not allow the embryos to receive enough oxygen, too high one interferes with pecking.

DIY making
Now it is not difficult to purchase a foam incubator, but many still decide to start with making homemade ones, fortunately, having drawings, diagrams and required materials at hand is not so difficult to crank up at home.

Tools and materials
To make an incubator you will need:
- 5 cm thick foam (about 2 sheets, the exact amount will depend on the size of the incubator);
- galvanized mesh;
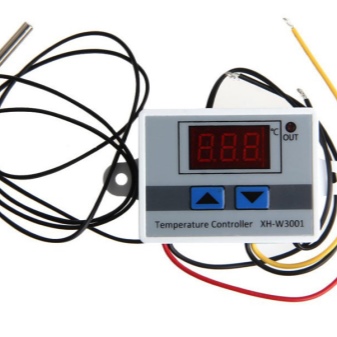
- electronic thermostat;
- humidity control system;
- thermometer;
- electrical equipment of the incubator: wires, lamps, holders, etc., depending on what the device will be filled with;
- glass;
- multimeter;
- soldering iron;
- glue;
- double sided tape;
- stationery knife;
- marker for marking parts.


Step-by-step instruction
Taking everything you need, you can get to work.
It is necessary to mark up the foam sheets. The walls of the case will be cut from the first sheet, respectively, it is marked into 4 parts, the sides of which are 50 cm.On the second sheet, 2 parts with dimensions of 50 by 40 and 50 by 60 cm are outlined.In addition, it is necessary to mark all the docking grooves, areas where wires will pass and - important! - ventilation holes.
Next, you need to cut out all the details with a clerical knife.

The first of the 2 rectangles of the second sheet is the lid, the second is the bottom of the incubator. A hole should be cut in the lid for monitoring the state of 12 by 12 cm, close it with glass. At the same time, you should still be able to move the glass during the incubation of eggs.
With the help of adhesive tape, we pre-assemble the body, checking how the parts fit together.
If everything is in order, the sheets can be glued. First, the walls are fastened, then the bottom.

When everything is dry, a 6 x 4 cm foam block is glued to the long inner side of the incubator - an egg tray will be installed on it.
At a height of about 1 cm from the bottom, you need to make ventilation holes with a diameter of 1–1.2 cm with a soldering iron.
The tray can be the mesh mentioned above or a regular plastic tray.

After the glue on the case has completely set, it's time to install the electrics and electronics. Work with wires, sockets, bulbs should be done by a trained person and in compliance with safety precautions.
It is recommended to mount temperature and humidity regulators outside the box.
At the final stage, it is necessary to check the reliability of all fasteners again.
After the incubator is ready, you need to clean it of debris, disinfect the internal surfaces, and carefully adjust all devices. Only then can you use it.

Thus, making a foam incubator for eggs and caring for it is not as scary as it might seem at first glance. The main thing is to monitor the cleanliness of the incubator, maintain the necessary humidity and temperature indicators in it, monitor the serviceability of the devices... Then you have every chance to get a healthy brood of chicks and not be disappointed in the business you have started.
To learn how to make an incubator for eggs from polystyrene foam with your own hands, see below.


The comment was sent successfully.