All about the slope of the blind area
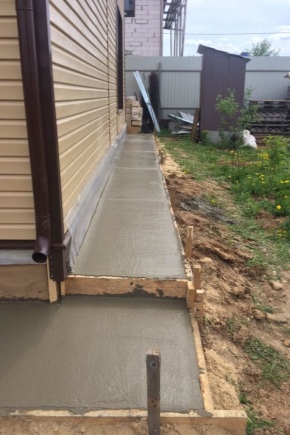
The article describes everything about the slope of the blind area (about the angle of inclination of 1 m). The norms for SNiP in centimeters and degrees around the house, requirements for the minimum and maximum slope have been announced. It is indicated how to make a specific slope of the concrete blind area.
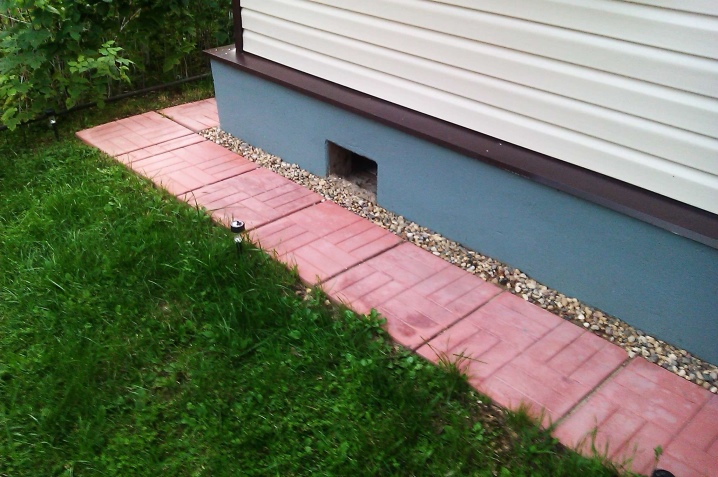
Why is bias important?
Dealing with the angle of inclination of the blind area around the house is necessary already due to the fact that it is she who protects from the seepage of precipitation downward. That is, from the erosion of the building itself with everything that is so dear to the residents in it. But even if there seems to be a blind area, it sometimes fails. And this is due precisely to the illiterate design of the bias. This parameter directly depends on other characteristics of the structure, and ideally everything should be calculated immediately.
SNiP norms
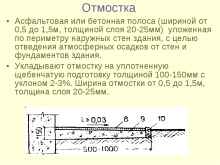
Building codes and regulations say directly that the width of the structure should be 1 m. Deviations from this value are allowed in exceptional cases if there is a technical justification. On clay soils, there is a high risk of damage to the building, therefore, the sand layer should be increased to 0.3 m. Only such a filling guarantees the reliability of the arrangement.
Interestingly, roof overhangs will also have to be taken into account. The width of the blind area should exceed the overhang dimension by at least 0.2 m. According to the standard, the slope count begins strictly from the foundation of the building. This requirement allows sediment and melt water to flow freely and go into the ground.
It is necessary to calculate the curvature according to the exact width and the materials used.
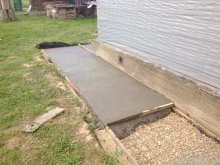
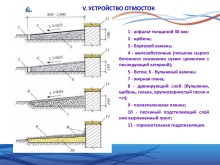
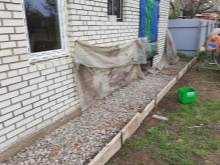
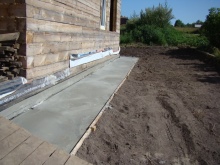
So, when using gravel and cobblestones and up to 1 m wide, the minimum slope level in degrees is 5, and the maximum is 10. But often the blind area is made on the basis of asphalt or concrete. Then its curvature reaches from 3 to 5% of the total width. Many parameters are also set in GOST. So, the standard 9128-97 regulates the composition of mixtures that are allowed to be used for arranging the blind area.
It is not difficult to recalculate the curvature violations specified in regulatory enactments into the usual metric units. But - only for professionals. For beginners and direct customers, it is advisable to focus on popular statements of standards. According to them, 1-10% of the curvature should fall on 1 m of the surface. In centimeters, it will be from 1 to 10 - and, as practice shows, it is not too difficult to maintain such a parameter.
But sometimes the characteristics are different. For concrete or asphalt, they are 0.3-0.5 cm, depending on the specific situation. Practical subtleties are always taken into account, and, again, only professionals can perform the correct calculation. The transverse slope from the walls of the building is no less important than the longitudinal slope - its indicator should be at least 2%, and according to some reports, even from 3%.
This requirement is also followed very closely; in the building regulations (JV) for the improvement, the same figures are announced, which are given above.
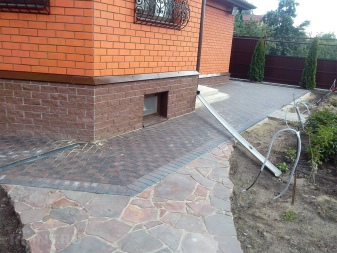
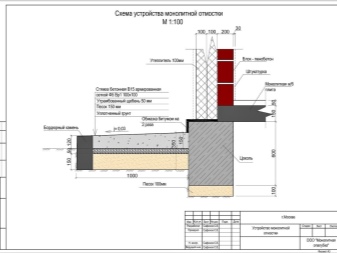
How to do it right?
But simply picking up certain numbers in tables and regulatory instructions is far from enough. Construction work itself is often faced with difficulties. And one of the possible problems is how to calculate the required deviation not on paper, but on concrete or other material. There is only one way out: use the building level. They measure the masonry twice: when the structure itself is being prepared and when they decide whether it is ready; after a while it will be difficult to correct the error.
When building a blind area with your own hands, one must not forget that it must be coordinated with the drainage complex. It is about the correspondence of drainage and slope that you need to think about first. There should be as little distance as possible between the pipes that draw water and the structure placed around a private house or other building.
This is the most important requirement, without which there is simply nothing to talk about.
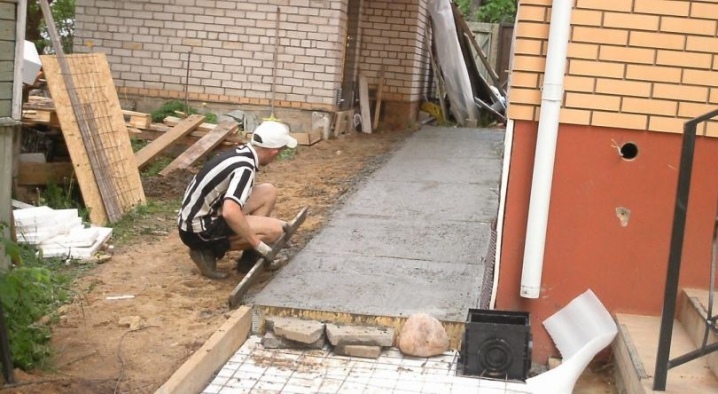
The sequence of work is as follows:
- marking of the territory to be developed (driving in stakes, pulling the cord until a flat line appears);
- careful removal of the upper tier of the earth (usually by 0.25 m, but you can say for sure depending on how much concrete is to be poured);
- a thorough examination of the bottom of the ditch, uprooting of roots and treatment with drugs that prevent plants from germinating again;
- preparation of formwork based on unedged boards over 2 cm thick;
- the layout of the pillow (most often a sand pillow with a minimum size of 5 cm is used under the concrete blind area, preferably even more);
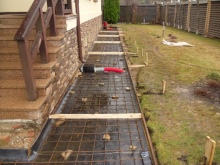
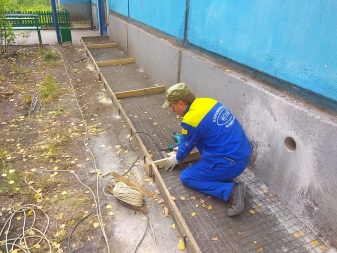
- installation of the frame (high quality fittings are taken for it);
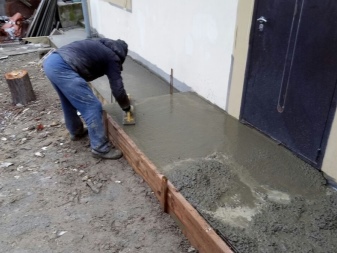
- pouring concrete at a given angle.
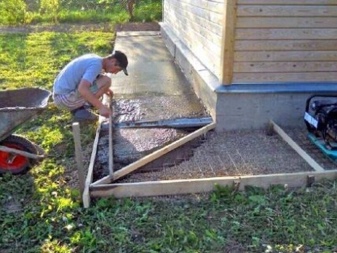
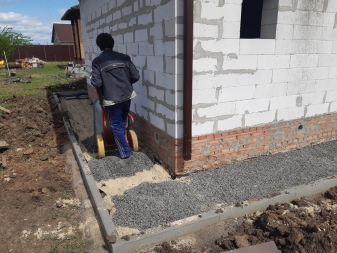
Of course, the standard approach can vary markedly according to circumstances. So, instead of clean sand, a sand-crushed stone composition is often placed at the bottom of the trench. Such a pillow can be tamped, and the optimal layer size is 0.15 m. Thermal and hydraulic barriers are laid on top of the pillow. Regardless of the design slope of 1 meter, you need to set the blind area above the surface by 0.05 m.
The tape used for the footpath must meet higher requirements. It necessarily has high strength. The width of the strip should be higher than usual to ensure comfortable travel. Important: it is undesirable to exceed the standard slope level. If the indicator is exceeded by 10%, the outflow of water will occur very quickly, and the edges of the blind area will begin to collapse extremely intensively.
This situation can be prevented by arranging gutters. They guarantee the most efficient drainage of the escaping water. The pouring technology is intuitive and as close as possible to the arrangement of a concrete sidewalk. For protection against water, PVP membranes are often used.
However, it excludes the possibility of equipping a footpath.
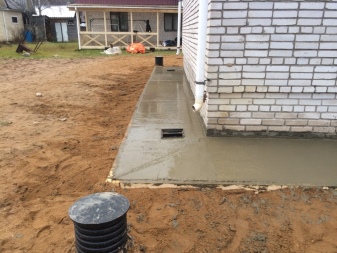
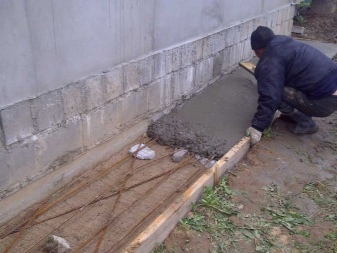
The subtleties are as follows:
- you can not rigidly connect the blind area to the walls;
- so that the swelling of the soil does not cause harm, a polyurethane-based sealant or damping tape should be used;
- will have to equip transverse seams to compensate for deformations.
Casting concrete is the most practical. Even non-professionals can do this kind of work. The greatest depth of the blind area is 50% of the depth to which the ground freezes. If a car drives along it, the thickness of the poured layer is increased to 15 cm. B3.5-B8 concrete is usually used to form the blind area.
For laying the pillows, both river and quarry sand are used. The optimal fractions of crushed stone are from 1 to 2 cm, the use of gravel is also allowed. Ironing is carried out using cement. Whether to use a ready-made solution or knead it yourself depends on the situation.
Fresh cement is recommended.
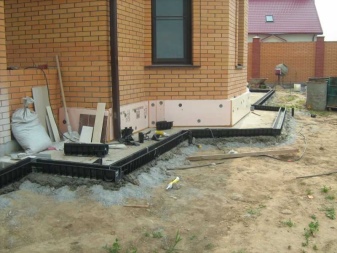
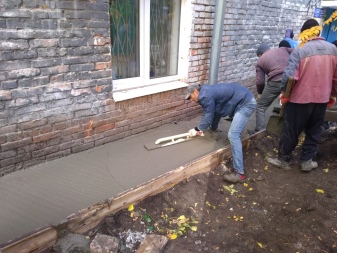
The addition of liquid glass helps to increase the resistance of concrete to cold. It is best to collect water for mixing the solution in a measuring container. When self-laying, the cement mixture is prepared in small portions, which reduces the likelihood of error. The hydraulic lock is usually made from oily clay. A pipe wrapped in geotextile helps to improve the quality of drainage.
Suppression of cold bridges is achieved with double thermal insulation. It is organized by means of a reinforcing mesh with a square cell. The side of the cells is 5 or 10 cm. It is undesirable to tie the reinforcement cage with a netting, because it is too flexible.
Wet ironing is performed on the 14th day after pouring.
You can find out how to make the blind area correctly from the video below.


The comment was sent successfully.