All about OSB floors
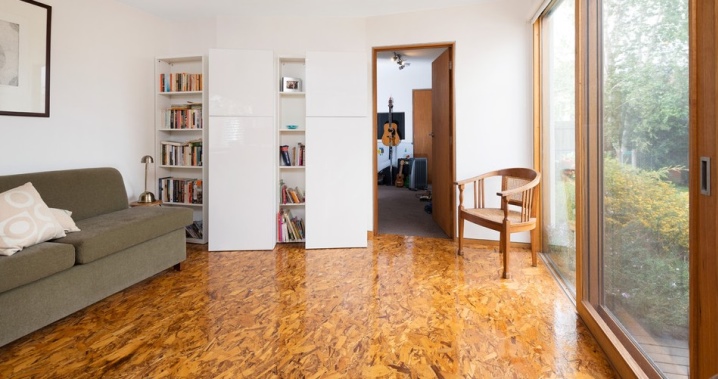
The wide variety of assortment of floor coverings on the modern market and their price breakdown leads a person to a standstill. Each proposed material has multiple positive characteristics, but no one reports on their shortcomings. That is why most consumers opt only for proven materials. One of these is the oriented strand board. Of course, for those who keep up with the times, this material is a relic of the past. But if you look from the other side, with the correct processing of the OSB-canvas, the coating turns out to be very effective.
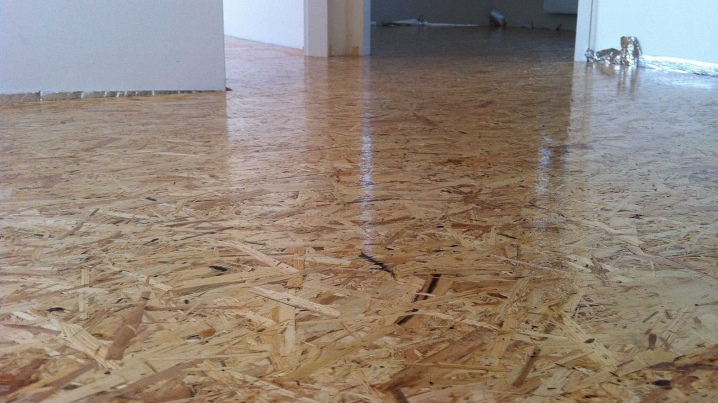
Can I lay it?
Many people, who are first faced with the arrangement of the floor, have a question about the possibility of using OSB boards as a finishing coating. Some claim that this material is intended only for leveling walls, others say that with its help it is allowed to decorate only the facades of buildings. In fact, both opinions are wrong.
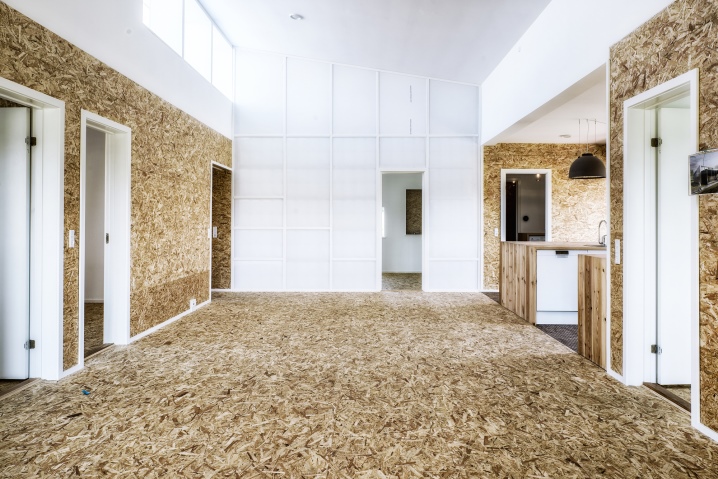
OSB boards are a versatile material that is ideal for leveling any substrates.
According to the technical characteristics, OSB boards are distinguished by high density, thermal conductivity and moisture resistance. More recently, only concrete screed was used as a floor covering. With its help, it was possible to correct irregularities and bring the floor to perfect smoothness. After drying, a finishing coat was made on top of the concrete screed. For example, a substrate with a laminate was laid out, or linoleum was laid.
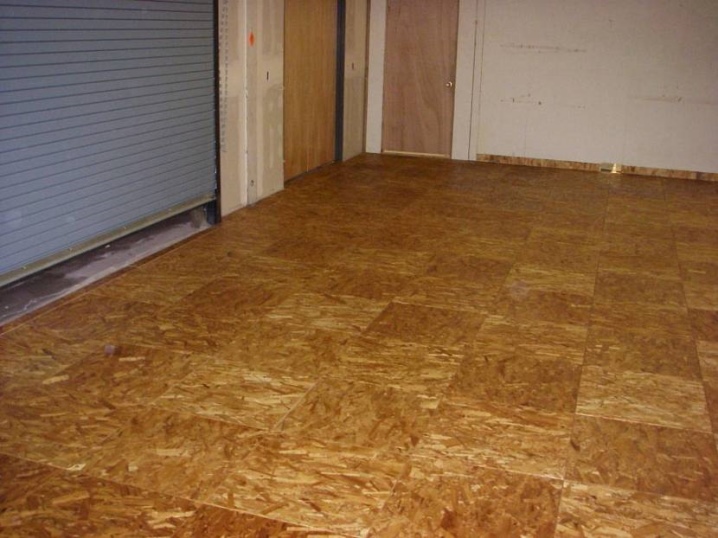
But if you think about it and calculate, then a huge amount of money was required to spend on materials for concrete screed and decorative finishes. Today, OSB boards are alternative.
They also give the floor a flat surface, are easy to work with, and most importantly, they don't hit your wallet.
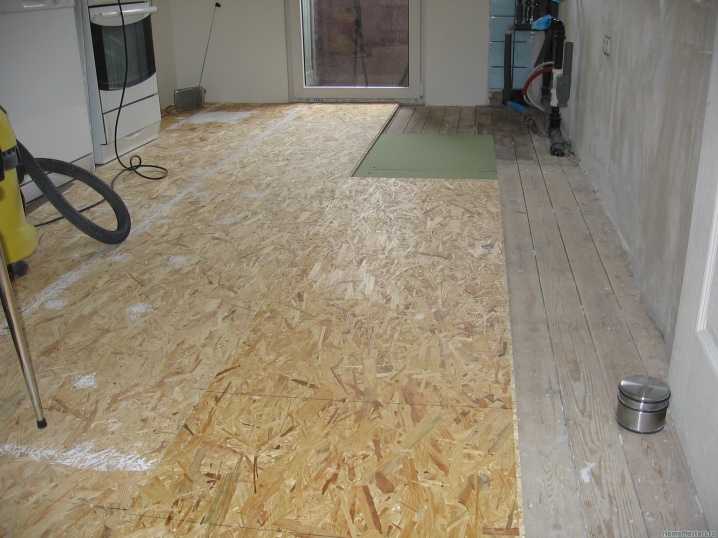
OSB flooring can be used for different conditions. First of all, the arrangement of living rooms with good insulation, where the pouring of a concrete screed is not allowed. OSB boards are also installed in private houses located in cold climate zones. It is these floors that are found in old frame buildings of the post-Soviet space. And today, thanks to innovative developments, OSB-plates are used as flooring for sheds, gazebos, verandas, balconies. Oriented strand board covers the floors in the country, where there is moisture.
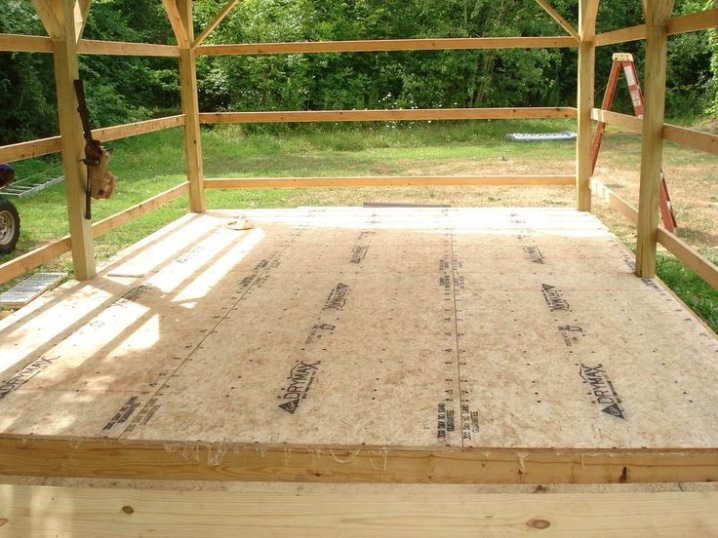
As a basis for OSB flooring, there can be not only a concrete surface, but also a tree.
Comparison of OSB with other materials
A modern person, choosing a building material for arranging his own house or apartment, resorts to the comparison method. After all there is a wide variety of products on the market that have multiple similarities to each other. Moreover, each individual product has a number of disadvantages that can play a significant role in the subsequent operation. The same goes for the final floor covering.
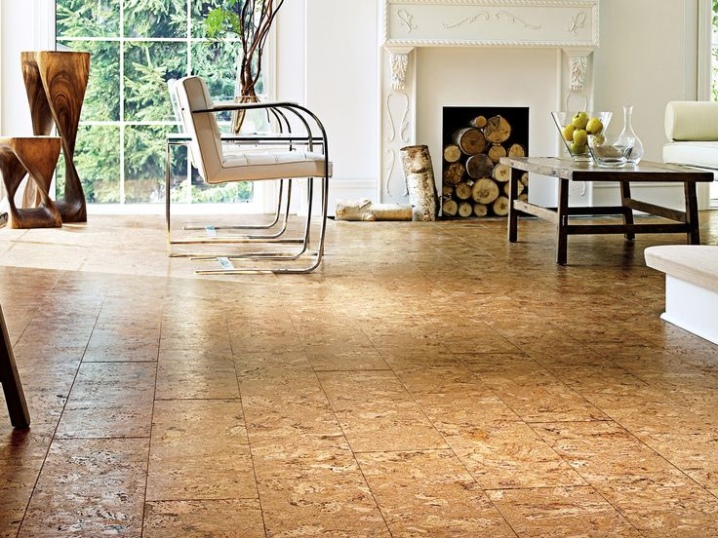
First of all, it should be noted that OSB can be put on a rough coating, even if there are flaws and irregularities on it.
Firstly, this material has a high level of sound insulation and thermal conductivity. Secondly, it has a high level of strength. Thirdly, it is resistant to the effects of an aggressive environment. And most importantly, it is easy to handle and unpretentious during further operation.
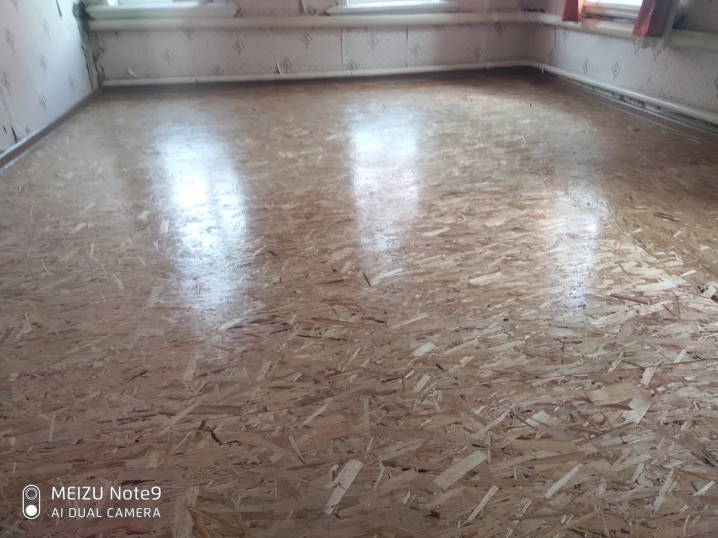
Often in the process of carrying out construction work, the analysis of the old floor structure is not carried out. OSB-plates are laid out on top of an old base. And it is already possible to lay linoleum, parquet and even carpet on the topcoat.
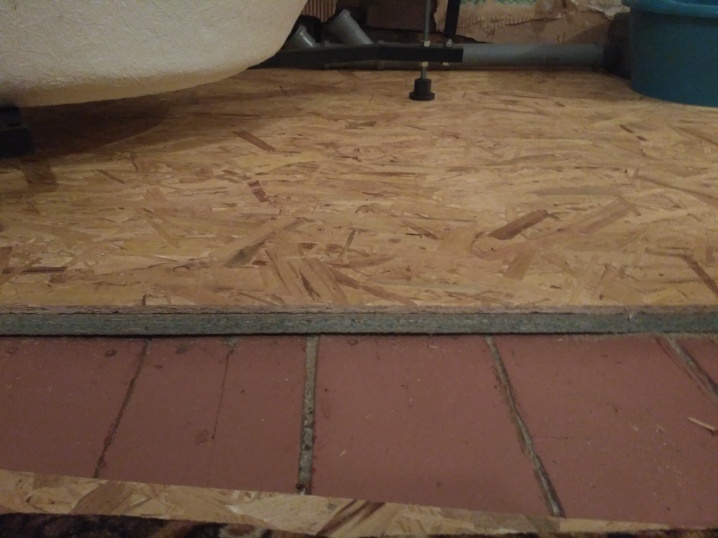
Once in the construction market, a person is faced with many different opinions. Some argue that DSP material is much better than OSB. In principle, both species have many of the same characteristics. They can be laid on top of a concrete or wooden base, mounted on logs.
The only "but" - DSP cannot be considered as a topcoat. What can not be said about OSB slabs.
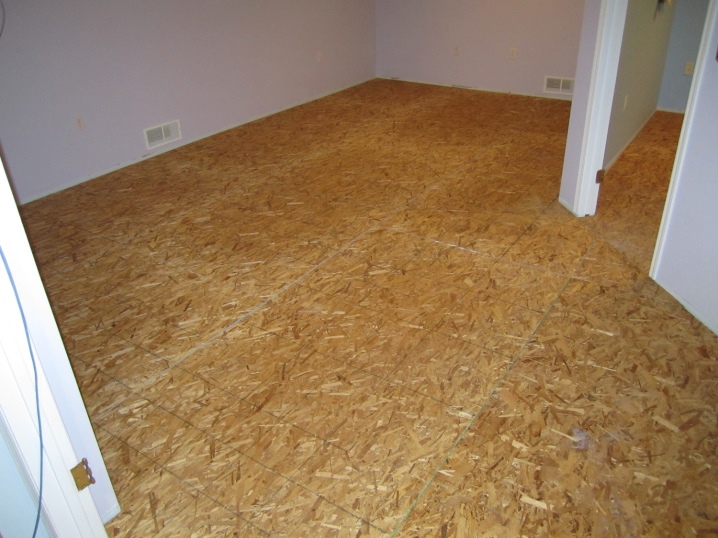
In approximately the same way, OSB material is compared with fiberboard. Oriented strand board, less massive, more flexible. Compared to plywood, it comes out much cheaper. Although, in principle, it is almost impossible to compare OSB and plywood. In both cases, an individual technology for the manufacture of the material is used, and the finished samples have many different characteristics.
Types of flooring
As mentioned earlier, the construction market is replete with a wide variety of assortments that allow you to create the most unique flooring.
And in large hardware stores, departments are completely allocated, representing budgetary and expensive products for arranging floors.
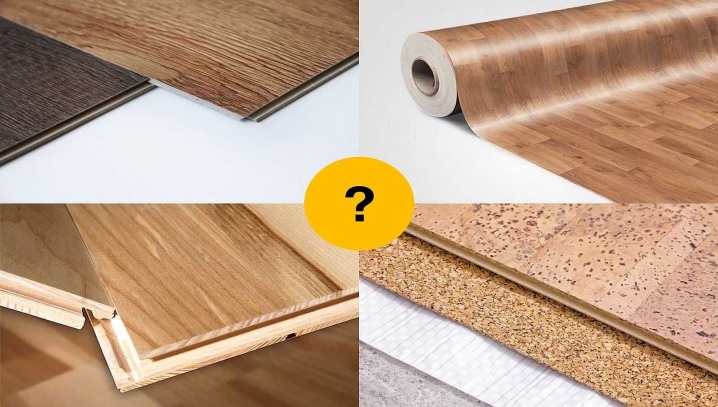
Low-cost products include linoleum, laminate flooring, carpets. Synthetic stones will cost a little more. But natural materials already belong to the premium class, their cost is not always available to the average consumer.
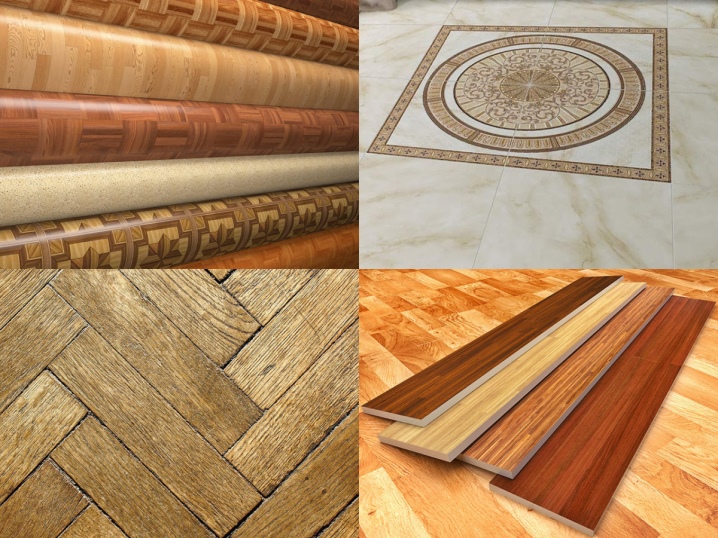
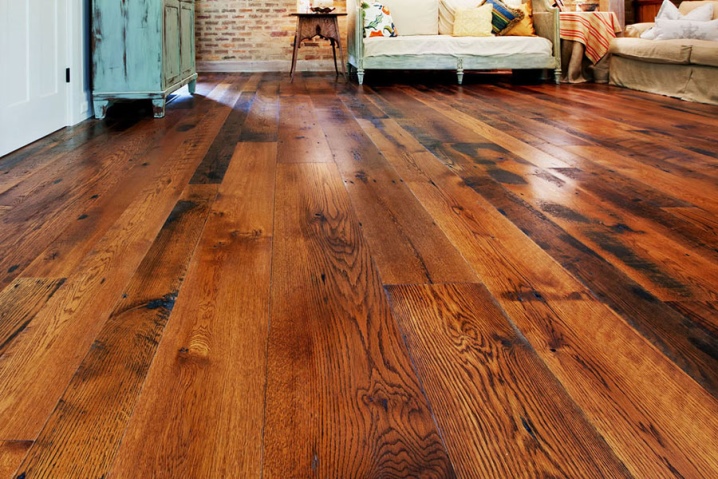
And yet, the modern consumer pays attention not to the price indicator, but to the availability of environmental parameters of the material. These samples include a solid board. This is a very durable coating that has a lifespan of at least 30 years. It is distinguished by heat and sound insulation, easy to install, unpretentious in subsequent care.
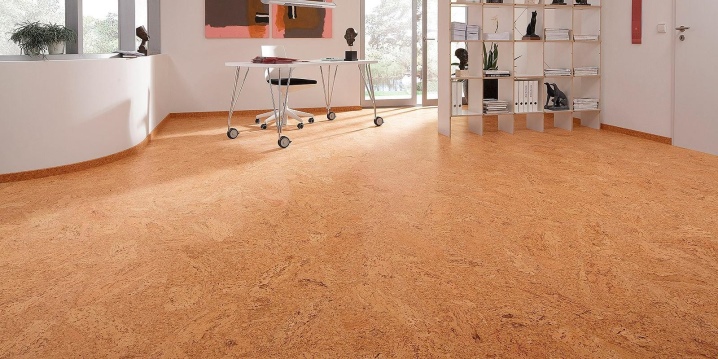
Cork flooring is in no less demand. It is also made from environmentally friendly material. Its structure is spongy, due to which the sheets have plasticity. In simple terms, there are no traces of furniture standing for a while on the cork floor. Its only drawback is the lack of moisture resistance.
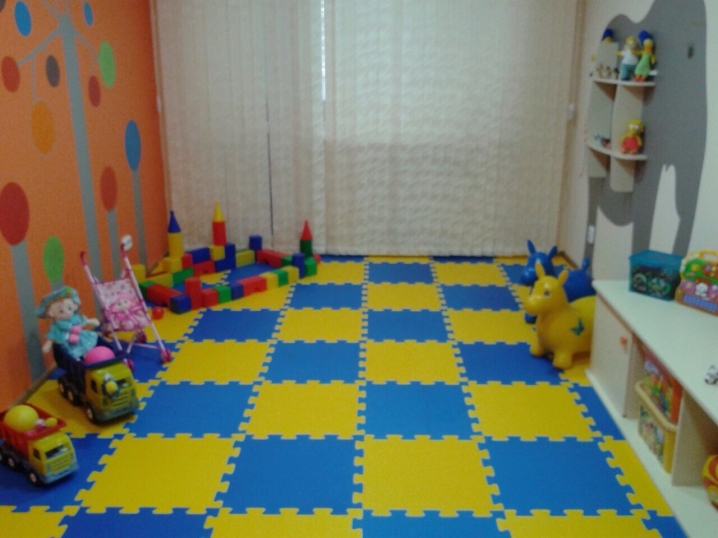
Modular flooring is no less popular. Its distinctive feature lies in the possibility of laying in rooms with any geometry. Many parents use modular flooring when decorating children's rooms, since this material does not harm human health.
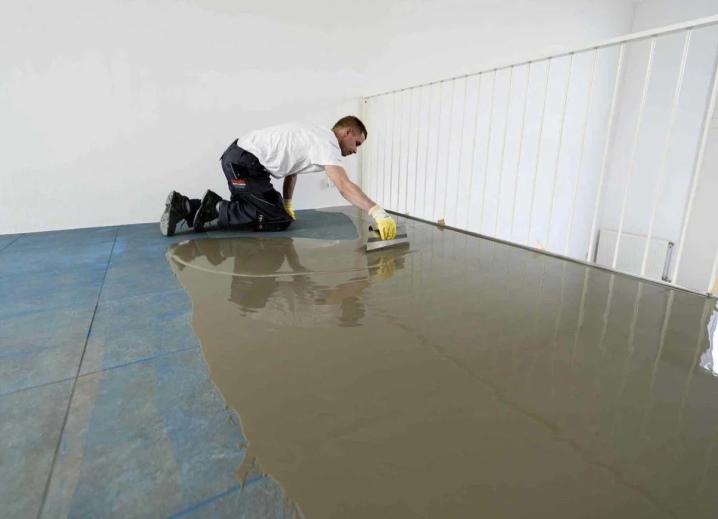
One of the modern and safe flooring options are self-leveling floors. They are divided into 4 types, which differ in composition:
- epoxy;
- methyl methacrylate;
- polyurethane;
- cement-acrylic.

Of course, the process of preparing the base consists of several lengthy stages. But the installation itself proceeds very quickly and easily. The mixture is poured onto the floor and leveled with a spatula. The term for complete drying of self-leveling floors is 5 days.
It is worth noting that in the construction world there are concepts that allow you to determine at what stage the preparation of the floor is.
In this case, we are talking about rough and finish coating.
- Draft. This is a prepared base for finishing. When creating a sub floor, the surface is leveled, on top of which decorative design is made.
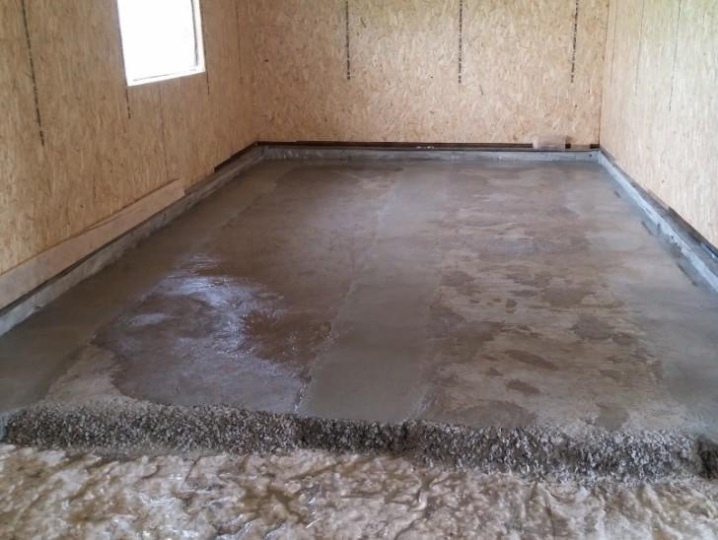
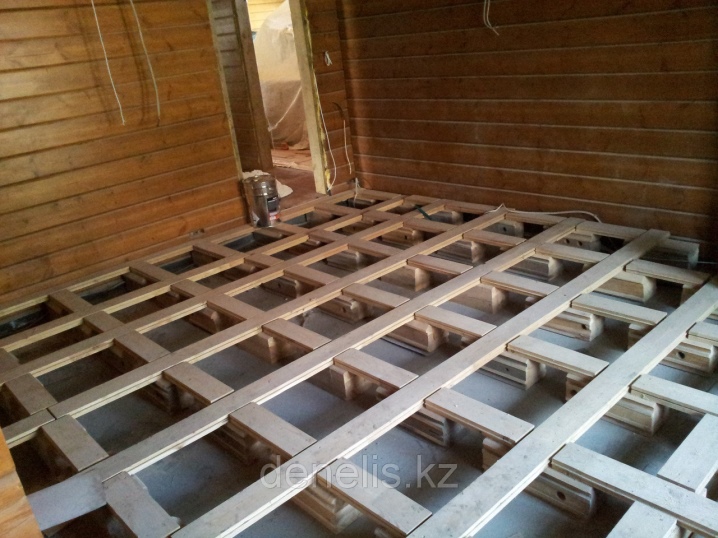
The traditional option for creating a subfloor involves the use of lags. Most often, such structures are used in wooden houses. On concrete foundations, a crate with a double system of beams or crossbars is made.
- Facial. In the construction industry, the facing flooring is called "finishing".In this case, it is assumed the use of almost any building material intended for the arrangement of the floor. It can be wood, ceramics, and more. However, the proposed options are accompanied by high costs.
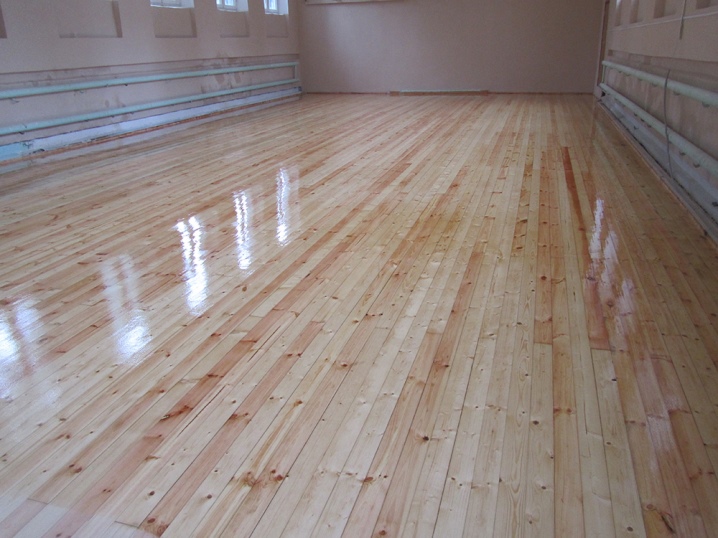
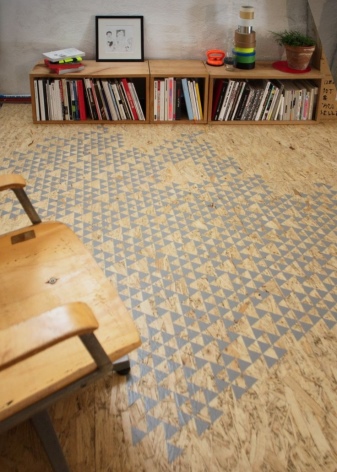
To minimize investment, it is worth considering the option of treating the OSB surface with varnish or paint. The result will exceed all expectations. The flooring will have a tangible resemblance to natural wood, often used in decorative finishes in wealthy homes.
What kind of plates are used?
OSB manufacturers offer consumers slabs, the thickness of which ranges from 6-26 mm. The higher the digital value, the stronger the fabric is at the fold.
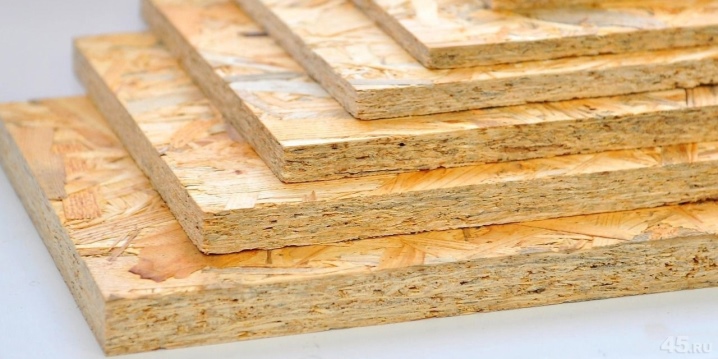
When arranging a floor, it is important to understand that the flooring takes on heavy loads. Accordingly, the strength of the OSB in this case is of great importance.
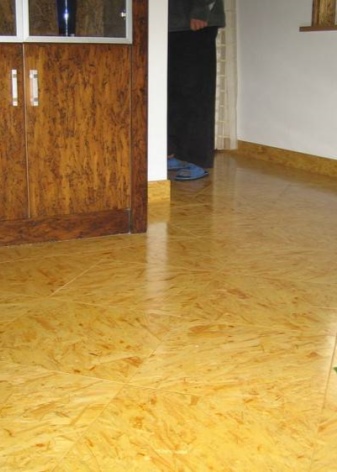
If OSB boards are laid on a solid base, sheets with a thickness of 9 mm should be taken. If it is assumed that bulky massive cabinets will be placed in the room, it is better to consider options with a thickness of 16 mm.
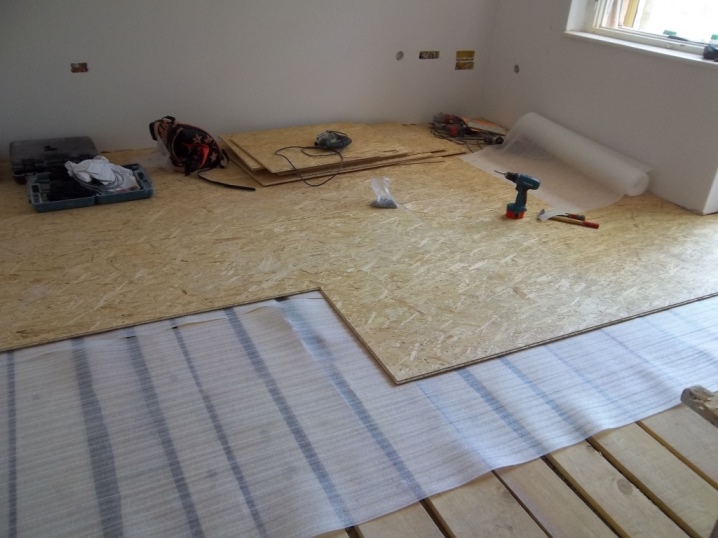
Laying out on a solid base is accompanied by minimal costs, which cannot be said about the installation of panels on logs. The cost of the beams can already cost a pretty penny, which is why not every consumer is ready to use this installation method. To understand what is at stake, it is proposed to consider the table, which shows the ratio of the distance between the lags and the thickness of the grooved slabs.
|
Distance between lags in cm |
OSB sheet thickness in mm |
|
35-42 |
16-18 |
|
45-50 |
18-20 |
|
50-60 |
20-22 |
|
80-100 |
25-26 |
Do not forget that OSB boards are divided according to the density index, the dimension of the chips used in the production of chips and the binders used.
There are 4 such varieties:
- OSB-1. The 1st category includes thin slabs that are not able to resist the effects of a humid environment. Most often they are used as packaging material for the transportation of small loads.
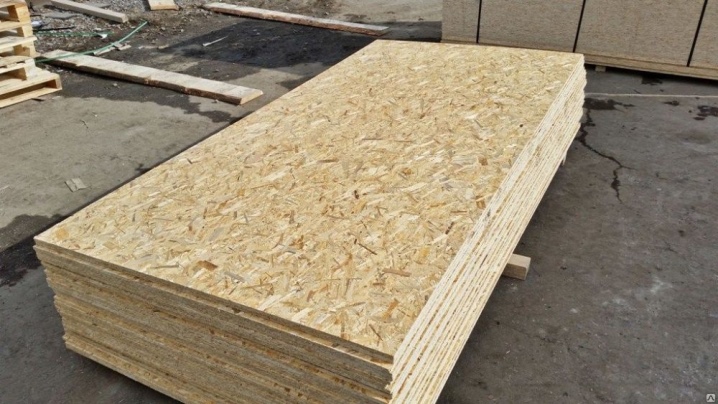
- OSB-2. The presented type of OSB-plate is distinguished by a higher indicator of moisture resistance. However, it is impossible to call it ideal for arranging flooring. OSB-2 is often used in furniture manufacturing.
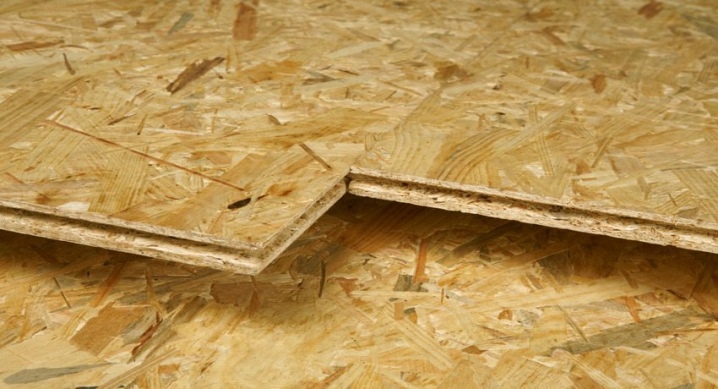
- OSB-3. The presented type of OSB-plates is suitable for arranging flooring. Remarkably, it can be used as a floor finish for indoor and outdoor structures, such as a gazebo, shed or veranda.
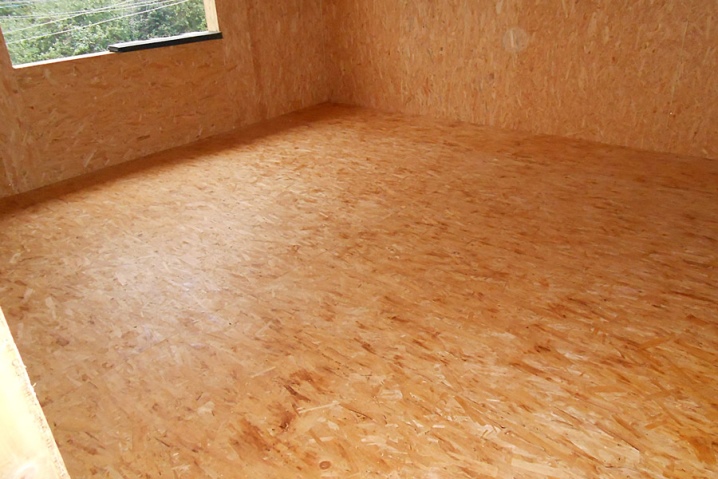
- OSB-4. The best option for arranging flooring. However, its cost does not always correspond to the capabilities of the buyer. If you still spend money on the purchase of the required number of sheets and, after laying them out, make the correct processing, you will be able to get the most unique, beautiful floor, which is no different from the flooring of rich houses.
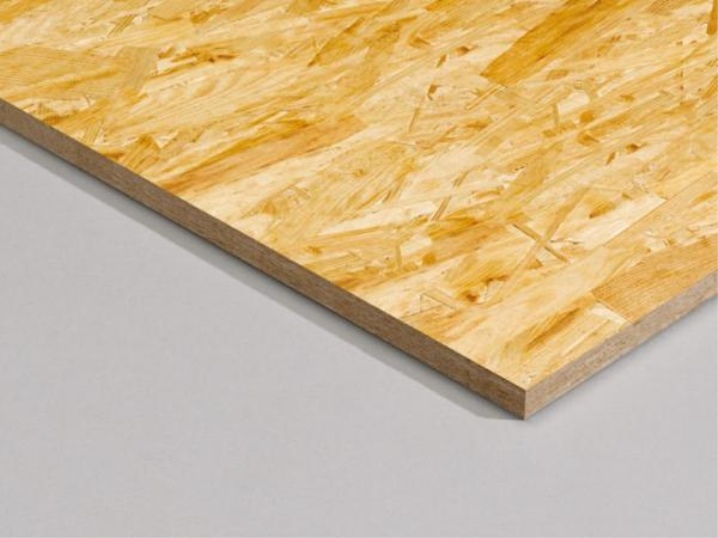
Laying methods
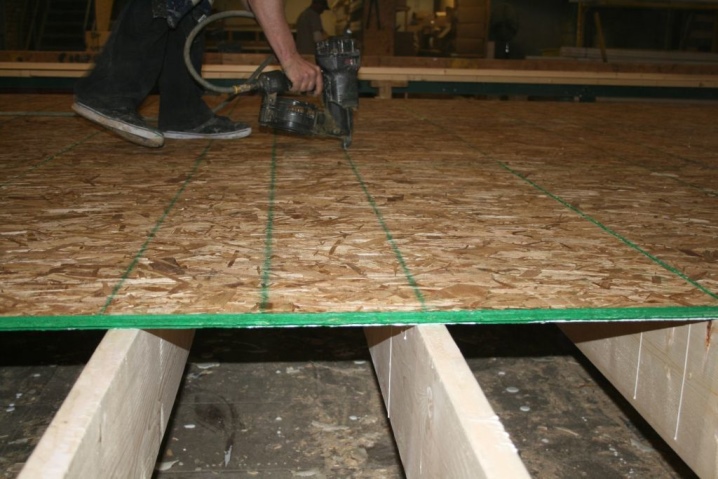
Before laying OSB, or how to properly name OSB boards, you must choose the appropriate installation method. Craftsmen like the use of longitudinal-transverse technology more, thanks to which it is possible to avoid alterations, and the surface is perfect.
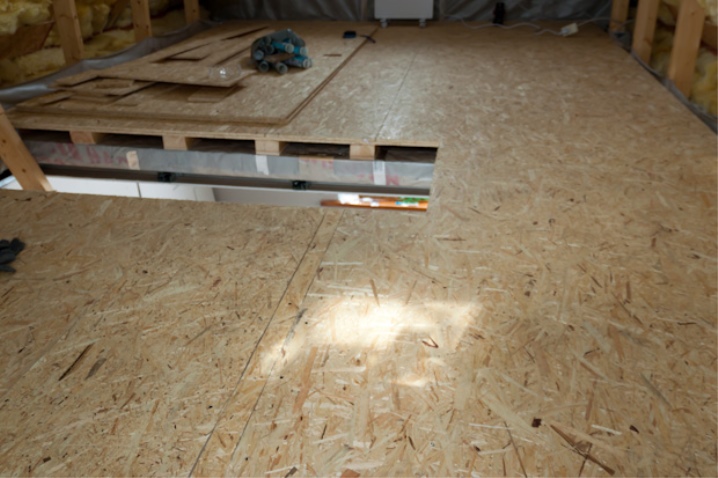
The plates are laid out in several layers.
The first layer is laid out along the room, and the second lies across. If necessary, the procedure should be repeated.
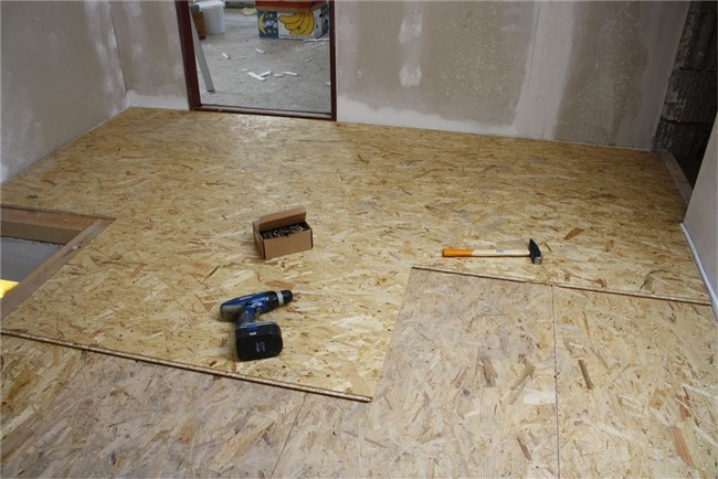
When there are many more problem areas than expected, professionals use a diagonal decking method that assumes a 45-50 degree angle. However, it is preferable to use this technology in rooms with uneven walls.
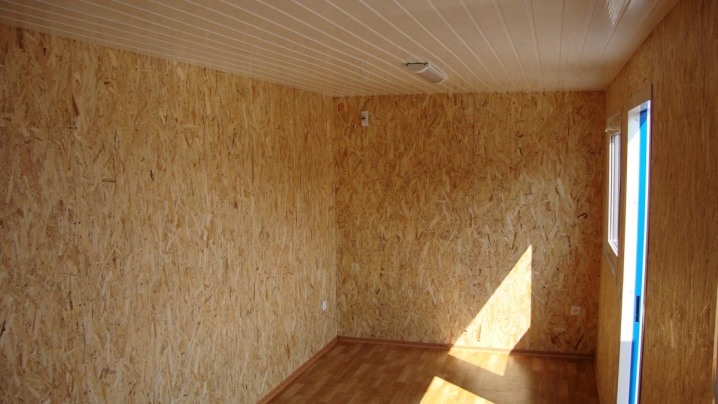
Further, it is proposed to get acquainted with the laying of OSB-plates on top of a wooden floor.
First of all, you need to prepare the tools, then clean and level the surface, and only after that you can proceed with the installation.
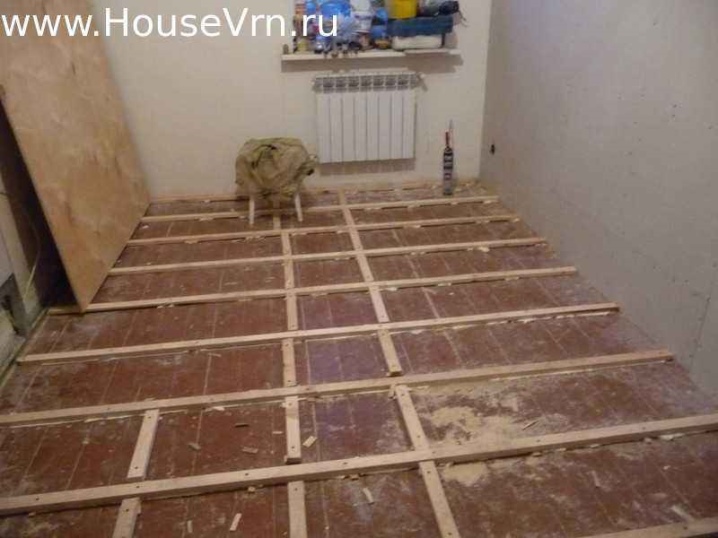
- It is necessary to make accurate calculations and set the markings in accordance with the direction of the masonry of the topcoat.If necessary, install a crate of beams.
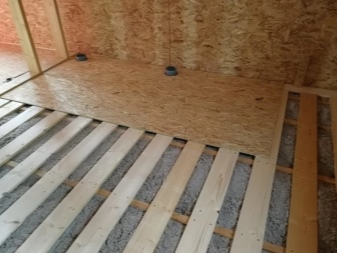
- The first layer spreads along the room, the second across. The first slab must be placed in the corner farthest from the entrance.
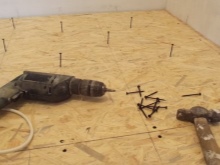
- Each laid layer requires fixing with special fasteners.
- It is important to ensure that the joints of the layers of the finishing material do not coincide with each other, otherwise cracks and sagging will occur.
- It is important to leave small gaps, which are filled with polyurethane foam or sealant after OSB installation.
- When the floor is sheathed, you can make a decorative surface. For example, lay a laminate with a backing or cover linoleum.
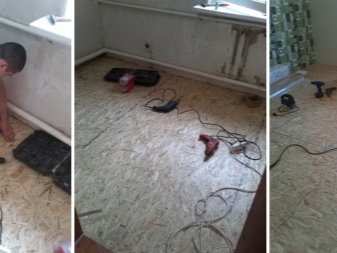
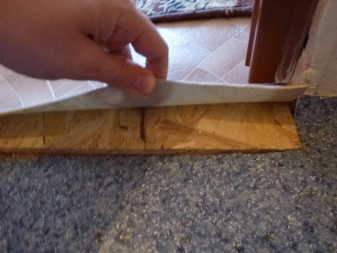
Having dealt with the rules for laying OSB-slabs on a wooden surface, it is necessary to consider the method of installation on a concrete base. Initially, you should determine how many layers are acceptable in the room. And only then start laying.
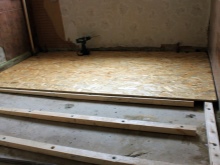
The installation process on a concrete base is similar to installation on wooden floors. However, it is necessary to fasten OSB-slabs to concrete with special self-tapping screws.
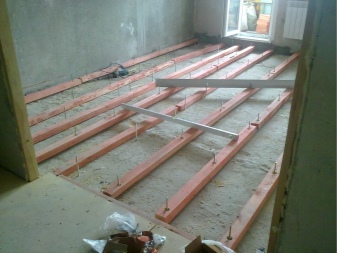
Further, it is proposed to get acquainted with some of the nuances, thanks to which it will be possible to avoid many mistakes when working on your own.
- If the room has a non-standard shape, it is important to calculate the area of the upcoming work as accurately as possible, to make a preliminary marking of the working area. Otherwise, you will have to cut the slabs, leaving a lot of extra pieces.
- The fewer joints between the slabs, the stronger the floor covering will be.
- When laying OSB boards, it is important to pay attention that the front side of the material looks at the ceiling.
- If the room is small, the sheets will have to be cut. But you should not do it by eye, it is better to take measurements, set it according to the markup, so that later you do not correct random errors.
- It is only necessary to cut the blade from the inner part. The outer edge must be factory finished.
- When installing OSB-plates, it is important to take into account the seasonality. Do not lay canvases in cold or extreme heat.
- An elastic sealant will help to qualitatively seal the seams.
Now it is proposed to get acquainted in more detail with the technologies for laying OSB-plates on different bases.
On lags
The presented installation method of the master is called the best, since the flooring receives air circulation, which is so important for the floor in the apartment. Internal cells allow for insulation.
The main thing is that the lumber used is dry.
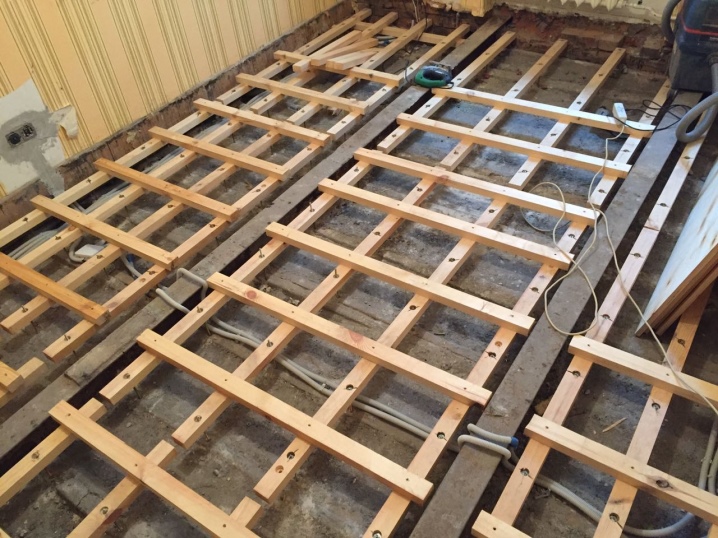
When choosing a timber to create a floor sheathing, it is necessary to consider options with a thickness of no more than 5 cm. The process of installing OSB on logs itself practically does not differ from laying plywood.
But it still has certain nuances:
- wooden elements of the floor structure that remain under the floor must be treated with an antiseptic;
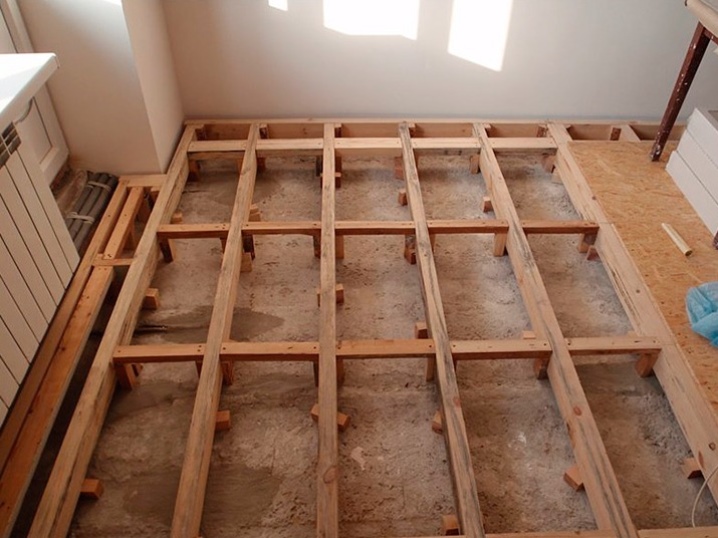
- the logs should be laid along the level parallel to each other, while not forgetting about the width of the heat-insulating material;
- the distance between the extreme supports of the sheathing and the walls should not exceed 20 cm;
- it is necessary to lay out the OSB sheet on the logs in order to make the markup and cutting;
- transverse elements of the crate are placed according to the marks;
- to adjust the level, you must use plastic pads or wood chips;
- insulation is inserted into the crate cells;
- OSB sheets are screwed on top of the crate.
On a wooden base
Everyone knows that a wooden floor looks presentable and does not cause trouble for a couple of years. Further, the tree dries up, creaks occur, dirt accumulates in the cracks formed. Accordingly, the flooring needs restoration.
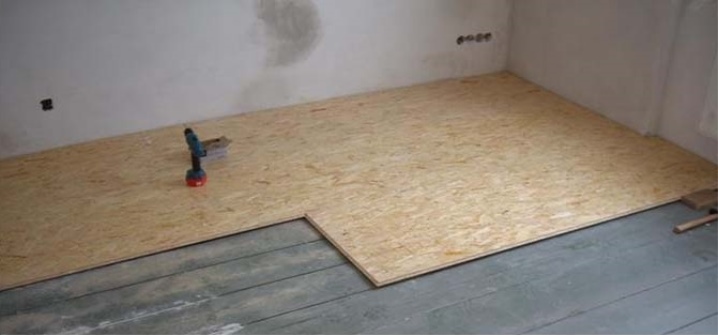
Surely everyone remembers that in old houses built during the Soviet Union, wooden flooring was painted with oil paint. This approach is inappropriate today. Someone says that you can hide the old wooden base under the linoleum, but after a few months the relief of the floorboards will be visible on the surface of the elastic material.
In fact, OSB plates will help to cope with the situation.
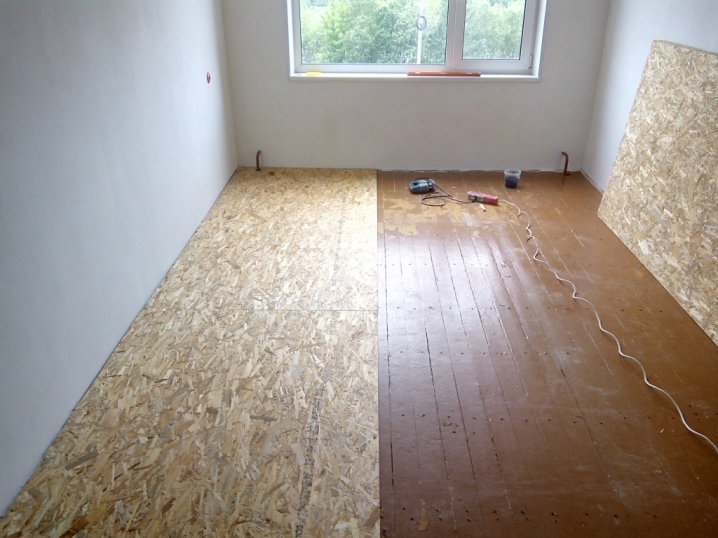
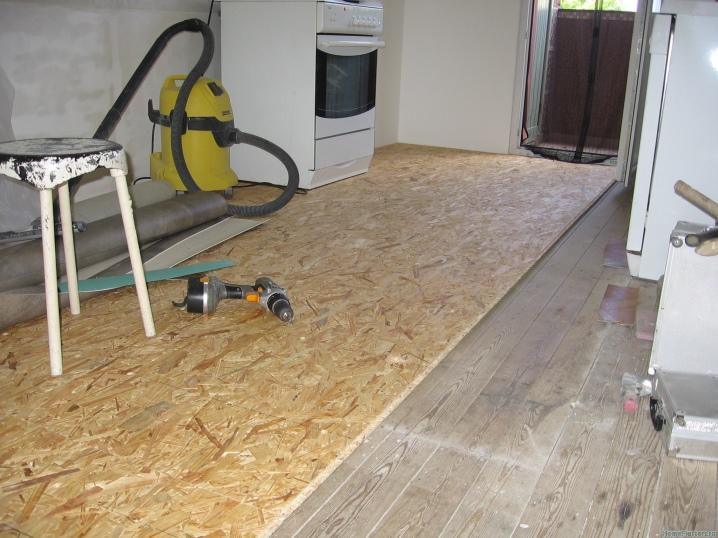
Their installation is carried out in the same way as on the screed. Only instead of glue and dowels, you can use standard self-tapping screws.
The technological process consists of several stages:
- initially it is necessary to restore the old floor, remove rotten boards, get rid of loose nails;
- then tighten the restored floorboards to the joists using self-tapping screws;
- then OSB-plates are laid out with a small distance for the gap;
- after the seams are sealed with an elastic sealant.
On cement screed
Recommendations.
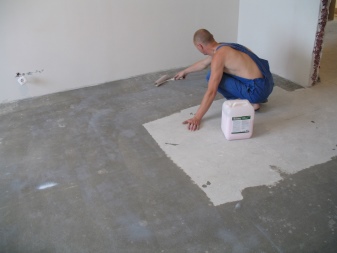
- Acceptable thickness of OSB for laying on a screed should be 16 mm. If a laminate is laid on top of the oriented strand board, the OSB thickness can be 12 mm.
- After the cement screed has been poured, it is necessary to leave the room calm for at least 3 weeks. After complete drying, the screed is primed, dries up, only after that the plates are glued.
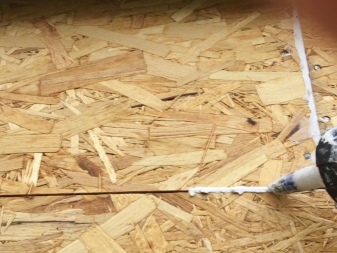
- Not having confidence that the adhesive composition will withstand the operation of the plates, you can use dowels. In this case, it is necessary to lay the sheets so that the seams do not shift. There should be a small gap between the plates in case of thermal expansion.
- After installing the boards, the remaining gaps must be sealed with an elastic sealant.
How to cover?
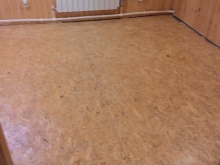
After the installation of OSB-plates, the question arises of covering the floor base with decorative material or preserving the resulting texture. Many opt for the 2nd option. First, the floor is great. Secondly, to create this magnificence does not require large costs.
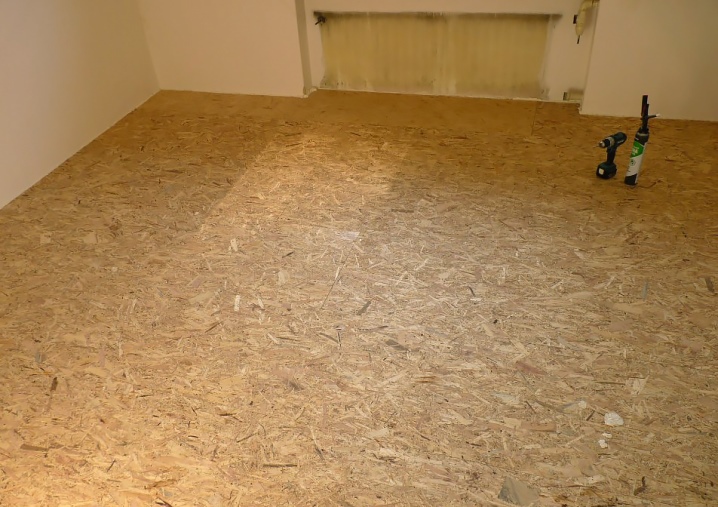
Further, it is proposed to get acquainted with the sequence of finishing OSB boards until the final result is obtained:
- using a special sealant or putty, the gaps between the plates are filled, the attachment points are sealed;
- it is necessary to sand the floor covering, then remove dust particles;
- a primer is carried out, and then a complete putty is done with an acrylic mixture;
- repeated grinding with the obligatory removal of dust particles;
- paint or varnish can be applied.
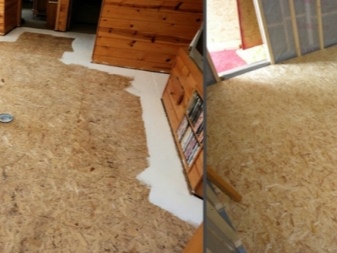
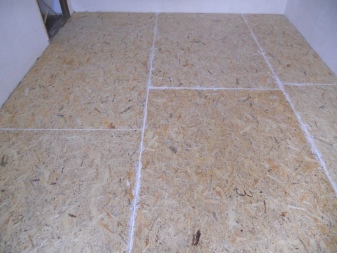
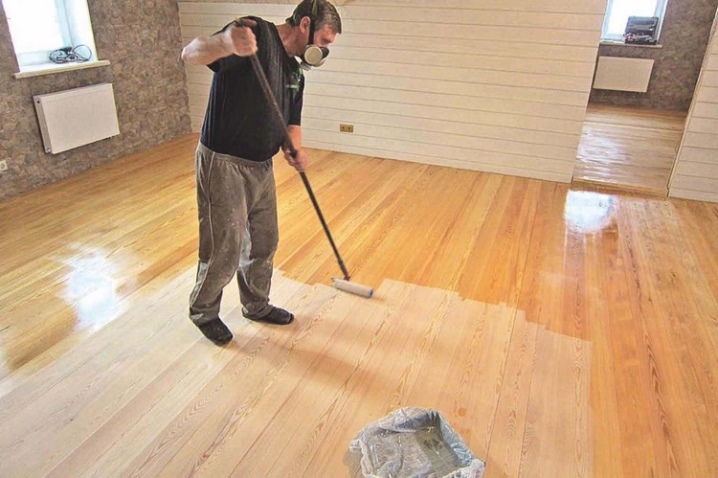
When using paint, you must count on at least 2 coats. And to apply the varnish composition, you will need to use a brush or roller.
As soon as the first layer dries, the surface is moistened, then ironed with a wide spatula. In this way, small splashes and various irregularities are removed.
In fact, there are a lot of design options for OSB plates, however, it is supposed to use coloring compositions or tint varnish for indoor flooring.
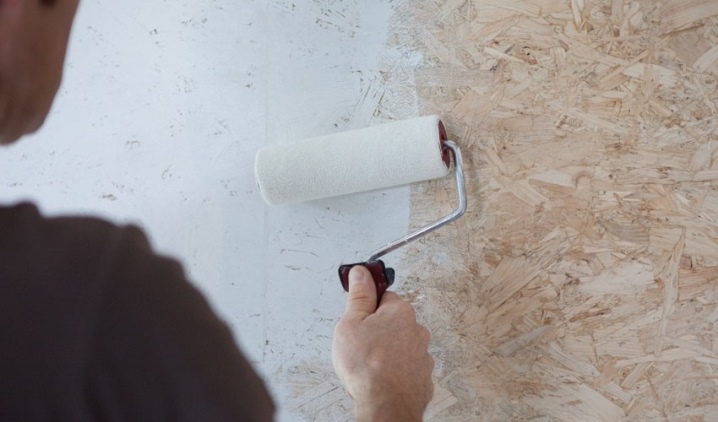
How to install OSB floors, see the video.


The comment was sent successfully.