How to propagate an orchid at home?
Among novice flower growers, there is an opinion that an orchid is a capricious and unpredictable flower, caring for it is extremely difficult, and reproduction at home seems to be something impossible at all. But sooner or later you have to face this problem: the plant has grown too much and needs to be planted, children have appeared, I want to replenish my own collection or make a beautiful gift. In fact, neither care nor reproduction of orchids is particularly difficult. To do this, you need to study the characteristics of the plant, the conditions of its existence, the basic rules and methods of reproduction.
Basic rules
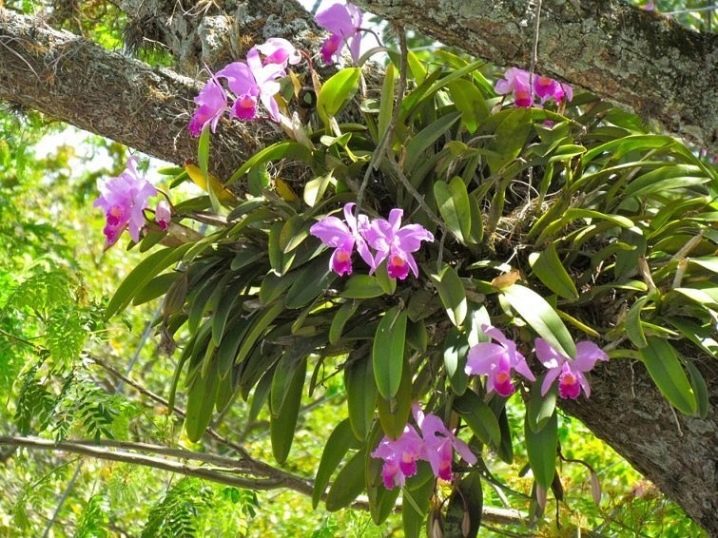
The orchid is native to the warm humid tropics. In nature, it grows almost everywhere, clinging roots to trees and even rocks. At the same time, growing on trees, orchids do not parasitize on the support plant, but extract nutrients literally from the air thanks to the abundant moisture, which itself contains the necessary components, washing them off the support. That is why the roots of the plant have a special structure, most of them are in the open air. They are covered with a special absorbent film, they are quite massive, but very fragile.
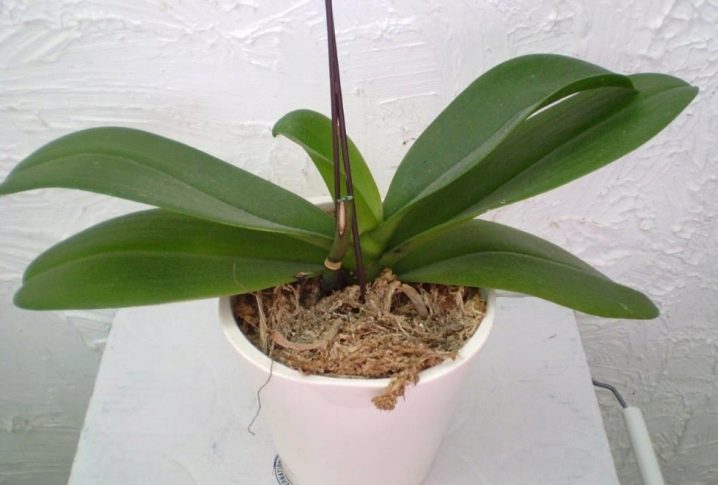
The leaves also take an active part in ensuring the vital activity of the orchid, therefore there are two types of watering the plant - root and foliar. In the life cycle of a plant, the phases of active growth, flowering and dormancy are distinguished. They must be taken into account, since it is on them that the irrigation regimes, room temperatures and feeding depend. To successfully breed an orchid at home, several conditions must be met.
- Time. During periods of flowering and dormancy, it is better not to disturb the flower at all. Reproduction should be done either in the spring or at the end of the bountiful flowering phase, when the orchid begins to grow actively.
- Humidity. Full reproduction is possible when the air humidity is more than 50%. At the same time, excess moisture is also useless - the upper threshold should not exceed 80%.
- Temperature. Orchids are thermophilic plants, so the ideal temperature for active cell division is not lower than +28 degrees.
- Plant age. The orchid must be at least 2 years old, strong and healthy.
Important! A diseased plant is unsuitable for reproduction. The condition of the roots and leaves must first be assessed and, if there are signs of disease, first cure the flower. The only exceptions are cases when it is no longer possible to save the mother plant.
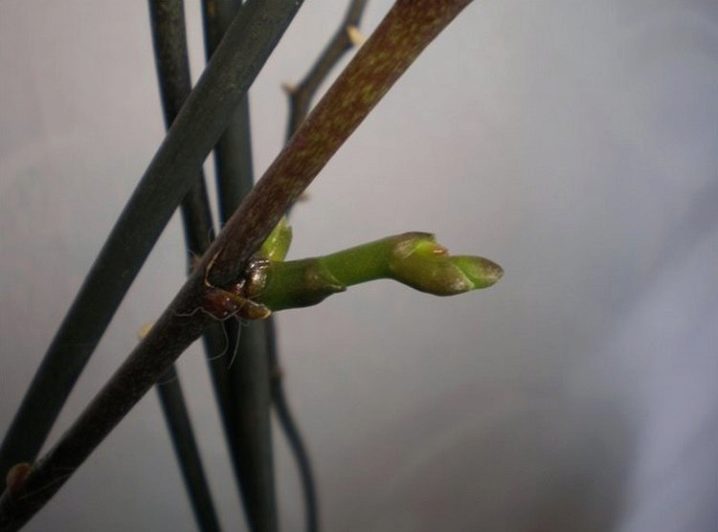
One of the most successful and simple, even for beginners, ways to propagate indoor orchids is in late winter or early spring, when the plant is full of vital energy. You can do this step by step like this:
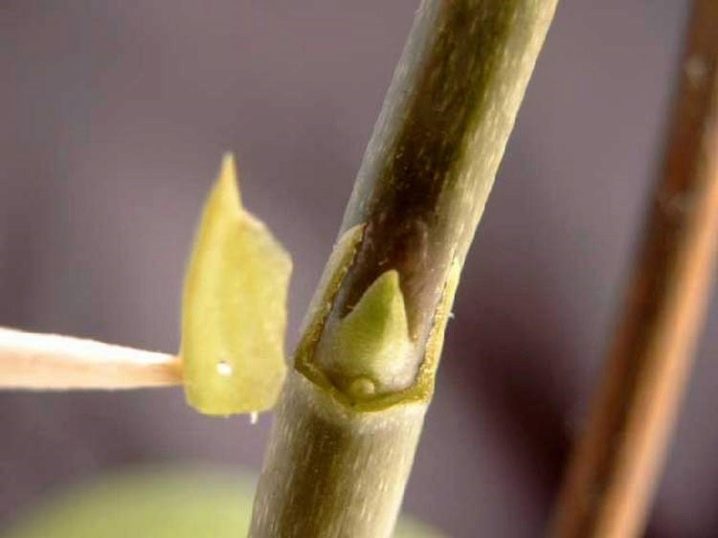
- scratch the peduncle with a sterile needle;
- grease the damaged area with paste, the layer of the drug should not exceed 2.5 mm, it is most convenient to do this with a toothpick; it is important to remember that if a little paste is added, this can lead to the formation of not a bud, but another peduncle;
- if there is a "sleeping" kidney, then to awaken it, you need to cut off the protective scales and apply the same amount of paste to the cut;
- the bud will wake up after 20 days, it will be possible to plant the sprout after the appearance of 3 leaves and roots not shorter than 3 centimeters.
The ways
Growing orchids on your own is quite a fun and rewarding experience.They take root well, grow quickly and actively. There are several ways of reproduction of orchids: you can divide the bulbs, grow from a cuttings or peduncles (they often say “grow from a leaf,” which is not entirely true), propagate a flower by children. Experienced growers sometimes grow seedlings themselves. This is a long-term method, it is not very easy to implement it at home: in order to germinate the seeds correctly, you need to create special conditions and constantly maintain them.
The application of this or that method depends on the type and condition of the plant. Orchids can be of two types.
- Monopodial view - these are orchids that do not form characteristic thickenings on the stems and roots - pseudobulb. They have one stem. They grow well and quickly. It is better to propagate them by children or cuttings.
- Sympodial orchids have several stems and form pseudobulbs. They grow more slowly. The most acceptable planting method for them is dividing the bush.
Vegetative propagation
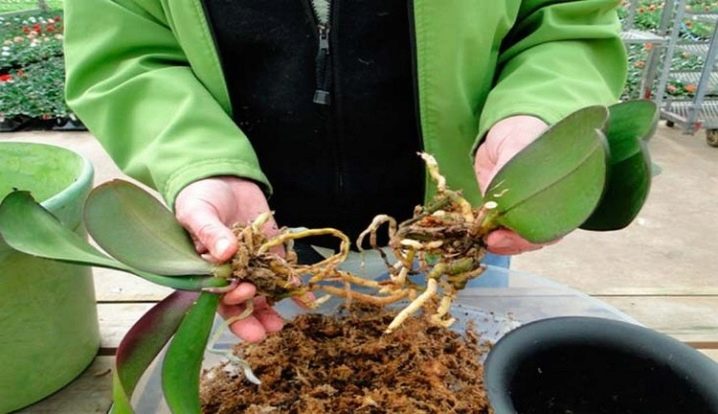
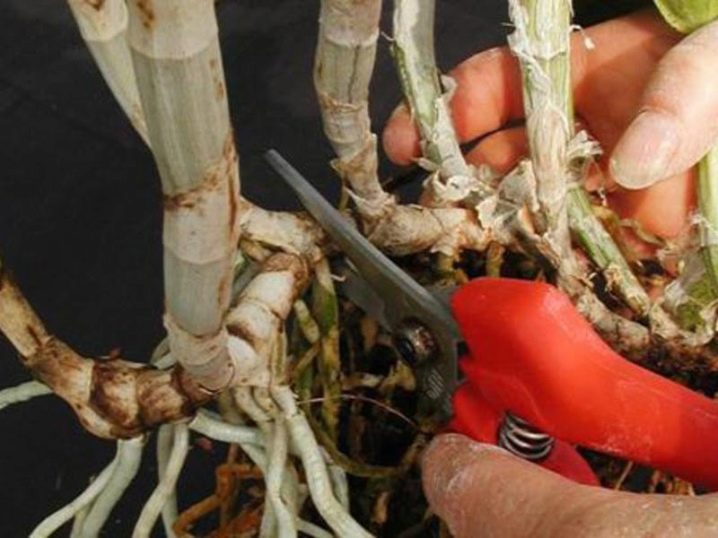
It is one of the most common and simple propagation methods for many houseplants. For sympodial orchids, it is the main one. This method is used for mature plants that have formed a sufficient number of pseudobulbs, or the flower in the pot has become cramped. Each thickening is already the rudiment of a full-fledged leaf shoot. You will need a sharp, sterile knife or pruner, crushed activated or charcoal, fresh soil and containers for planting shoots.
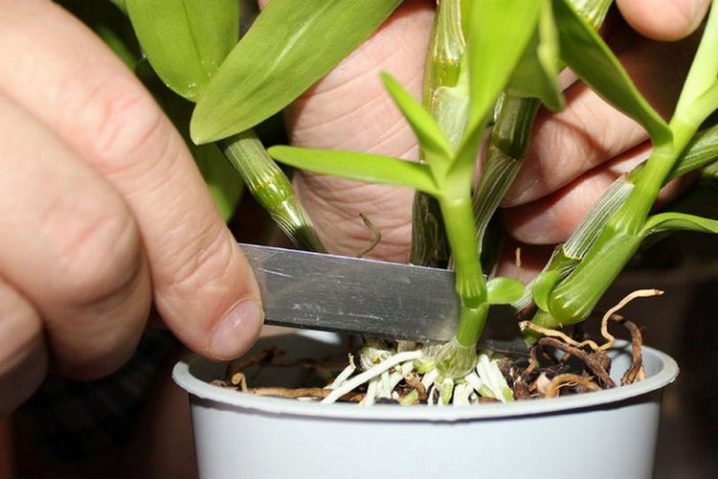
The process of vegetative reproduction is as follows:
- to make it easier to free the flower from the soil, you must first water it very well, carefully remove it from the pot, clear the roots from the ground; many orchid hobbyists advise soaking them in warm water for half an hour;
- the roots are cut into several parts, each of which must have at least 3 false bulbs and a sufficient number of roots, which is necessary for better rooting of plants;
- to prevent the development of diseases and decay, all sections are sprinkled with coal powder;
- then the seedlings need to be dried for some time (2-3 hours) and placed in prepared containers with soil;
- if during dividing the shoot got few roots, then for the formation of a stronger root system it can be packed for a while in a bag with wet peat moss sphagnum - the roots will develop much more actively;
- then the strengthened plant is planted in the ground;
- in the first 3 days, root watering should not be done, only spray the leaves twice a day, then you can water according to the general rules.
Important! With this method of reproduction, young orchids are very viable and retain all the characteristics of the mother plant.
Cuttings
This is a more sophisticated method and is only suitable for certain varieties of orchids. It is worth adhering to the following sequence of actions:
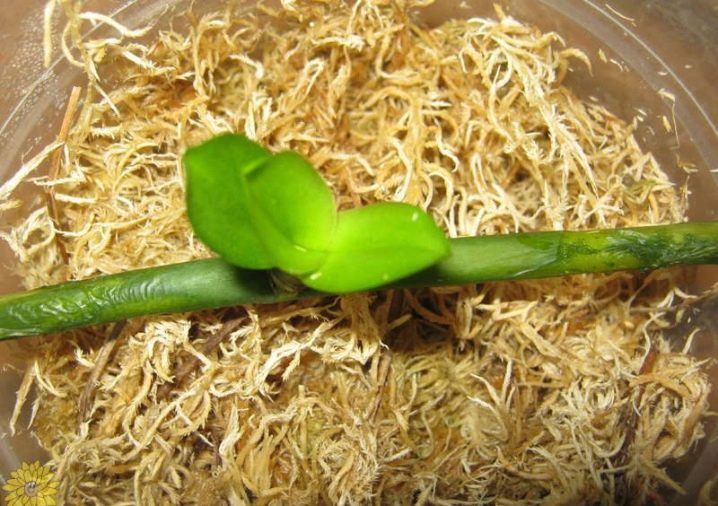
- long side shoots are used to obtain cuttings;
- the selected part of the plant must be cut into several parts with a sharp sterile knife; the length of the segments should be 12-15 cm;
- sprinkle all sections, both on cuttings and on the mother plant, with coal chips;
- keep the shoot for 1.5–2 hours on a dry surface, and then lay it horizontally on a well-moistened soil;
- the cuttings should be placed in greenhouse conditions - covered with glass or film, maintain a constant temperature of at least +29 degrees, pour warm water every other day, avoiding the appearance of excessive moisture; Feeding can be done once every 10 days;
- roots will develop from the kidneys; as soon as they grow to 5 centimeters, the plant can be planted.
Peduncle
This method is often the only way to save a diseased orchid.
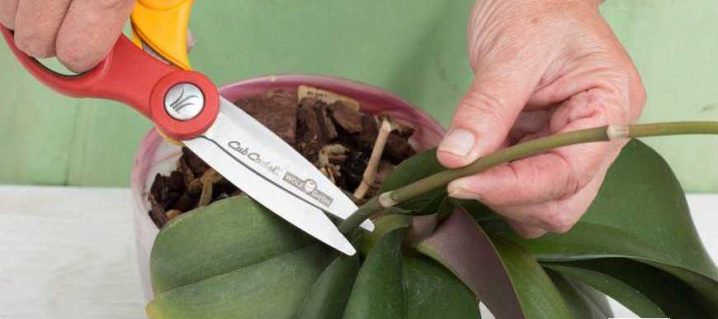
For reproduction, a faded peduncle is used, the bud on which should completely fade.
The peduncle must be cut into parts, which must have at least 1 bud. In fact, the same cuttings are obtained.Then you can act as when growing from cuttings, or you can apply a slightly different technology.
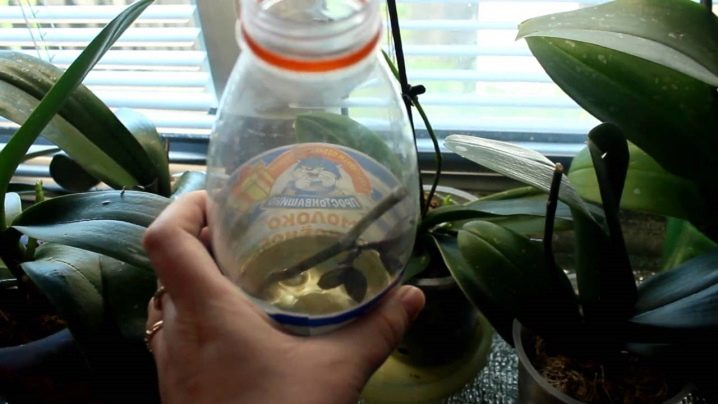
The prepared parts of the peduncle are placed in a bottle with clean, preferably soft water, to which a crushed tablet of activated carbon has been added. You can add a weakly concentrated (1/4 of the recommended) fertilizer solution for orchids. You need to change the liquid once a week. The water level is maintained about 5 centimeters above the cut. The room temperature should not exceed +28 degrees. At a higher temperature, a new peduncle will develop from the bud, not a baby.
Cytokinin ointment will help to "wake up" the sleeping kidney, which should be applied to the kidney, cutting off a small scale from it with a sharp razor. Treatment with ointment should be carried out every 7-10 days for a month. The emerging baby is ready for transplantation when it has 3 leaves and rather long (3–6 cm) roots. Together with the part of the peduncle, on which the shoot is located, the baby is placed in a transparent pot (the roots need light for development), filled with tree bark. Direct sunlight should not fall on the young plant.
Children
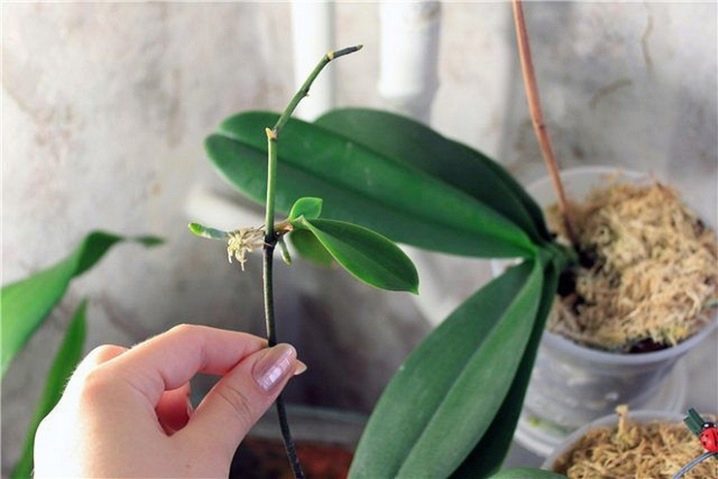
The orchid has buds located on the peduncle. From them, on the plant itself, children can develop - sprouts that are already ready for transplantation. They can appear on their own, but if necessary, you can "wake up" the kidney. It is better to start stimulating the awakening and growth of the bud in February, when the flower has completely faded. It is necessary to reduce watering, stop feeding, exclude direct sunlight from entering the plant and maintain the night temperature in the room not higher than +17 degrees, and the daytime temperature - about +27 degrees.
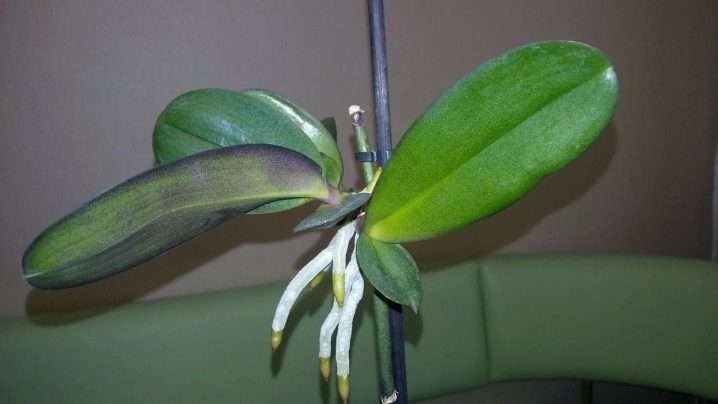
After about 1 month, the kidney will begin to wake up. At this moment, the orchid needs to be moved to a warm place, to restore the watering regime. You can fertilize by spraying the leaves with a nutrient solution. Children form their own roots. But it is not worth planting them right away - it takes time to form a strong root system, ready for independent functioning. This process takes 5 to 8 months. During this time, 3-4 leaves and up to 5 own roots more than 4 centimeters long should appear on the shoot.
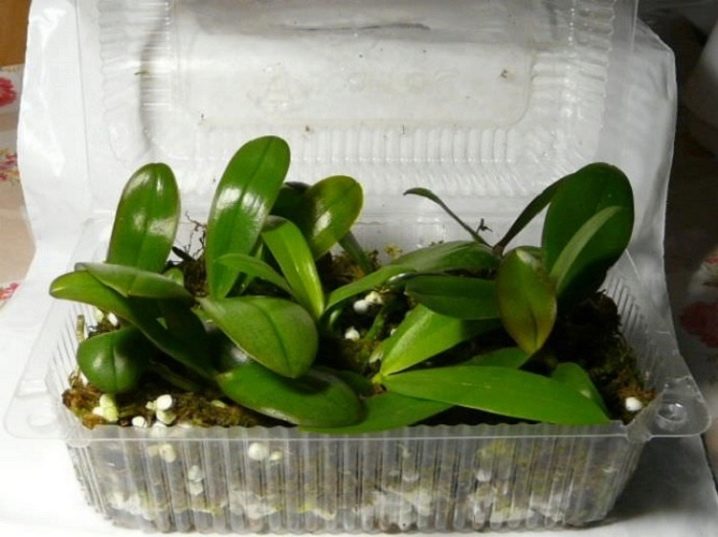
The ripe daughter shoot is cut with a sharp knife, the cuts are processed with crushed coal. You can plant the shoot after 3 hours in a slightly moistened substrate. In order for the roots to take root well and begin to actively develop, for a while the sprout is covered with a plastic or glass glass, creating a greenhouse environment. Moisten the soil once every 2-3 days, raise the glass periodically for ventilation. The flower must be watched carefully. If it does not dry, turns green and begins to grow, the "roof" can be removed.
Seeds
This is the longest way.
It will take at least 4 years to get a blooming adult orchid.
In addition, there may not be a complete resemblance to the parent plant. Compared to the others, this method is more laborious and not always successful. For a long time it was believed that it was generally impossible to implement it at home. But experienced flower growers can experiment.
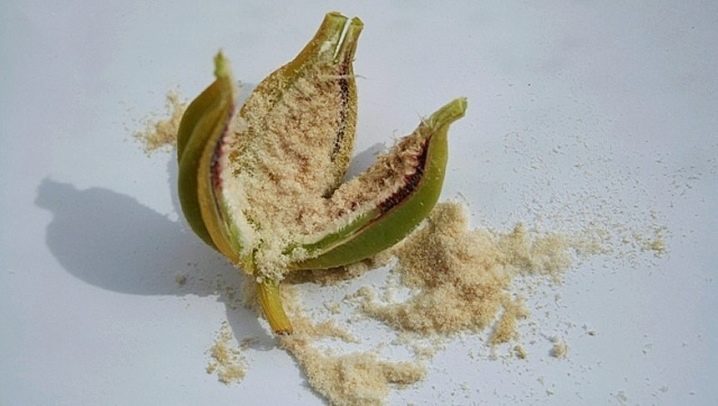
An orchid seed is no larger than a speck of dust; it is very difficult to see it without special devices. In addition, the seeds lack a protective layer of nutrients - the endosperm, they are susceptible to diseases and require careful and accurate care. Seeds are scattered in a thin layer on wet soil, without covering them with soil. Next, you need to create a greenhouse effect by covering the container with film or glass. There is no need to water the seeds - just spray with warm purified water. The process of seed germination requires strict control, it is impossible to allow drying or decay, the appearance of mold.
A more effective method involves placing the seeds in sterile tubes or small jars that can be sealed. Nutrient mixture for orchid seeds is prepared according to special recipes; quite a few components are required.Seeds, concentrate, and germination containers are thoroughly disinfected. The process technology is as follows:
- for disinfection, the seeds need to be covered with a weak solution (1%) of bleach for 15–20 minutes; shake vigorously several times;
- using a syringe, transfer them to the nutrient mixture, in each container there should be about 40 ml; close the jars and move them to the greenhouse; after six months, the seeds should germinate;
- further, the mixture must be poured into a container with warm water (50 ml), add 1-2 drops of a one percent solution of "Fundazole" to protect against fungal diseases and leave for processing for 20-25 minutes;
- for planting, it is necessary to prepare a special soil of peat moss and bark with the addition of crushed activated carbon;
- after six months, the sprouts can be transplanted into the soil for adult orchids.
The sprouts must be dived: the first time after the appearance of the first leaf, the second time - after the second leaf, the third time - after the fourth. Unfortunately, before the flowering of an orchid grown in this way, it can take several years (up to 7).
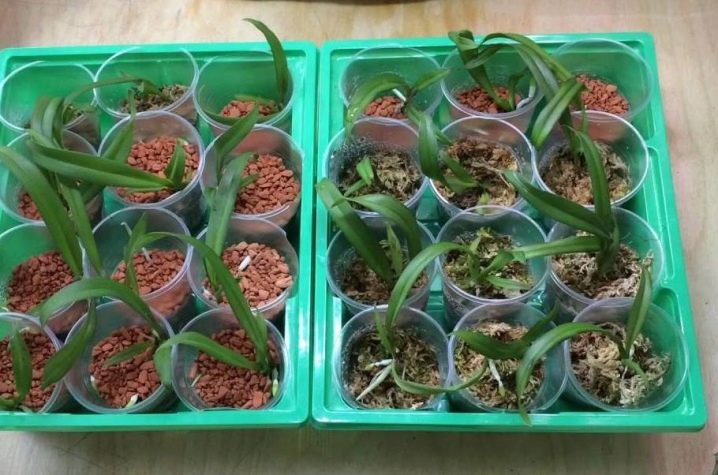
Nutrient medium for sowing seeds
The seeds are planted in a special nutrient mixture. There are several ways to prepare it.
- Pour agar-agar powder (15–20 grams) with water and let it swell. Boil a glass of water, mix with a jelly-like mass and add 10 grams of glucose and fructose, a little bit of phosphoric acid and calcium carbonate. Mix everything well until completely dissolved.
- Mix 100 ml of tomato juice, 1 teaspoon of sugar, 1 tablespoon of banana pulp, 2 tablets of crushed activated carbon, 2-3 drops of fertilizer for orchids, 1/3 teaspoon of honey. Dilute the resulting mixture with distilled water (about 400 ml).
The nutrient solution must be sterilized, poured into a sterile container, heated again in a water bath and left for a week to ensure complete disinfection.
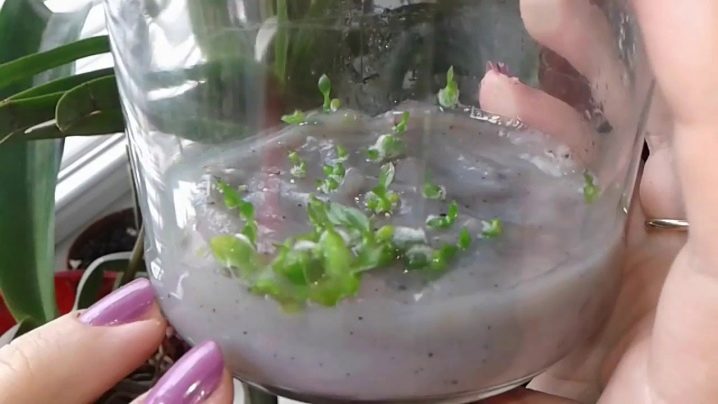
When mold appears, the mixture is destroyed, it cannot be used.
Further care
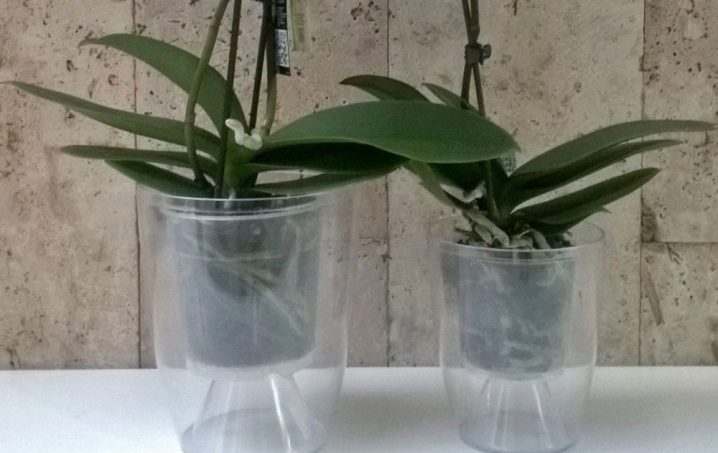
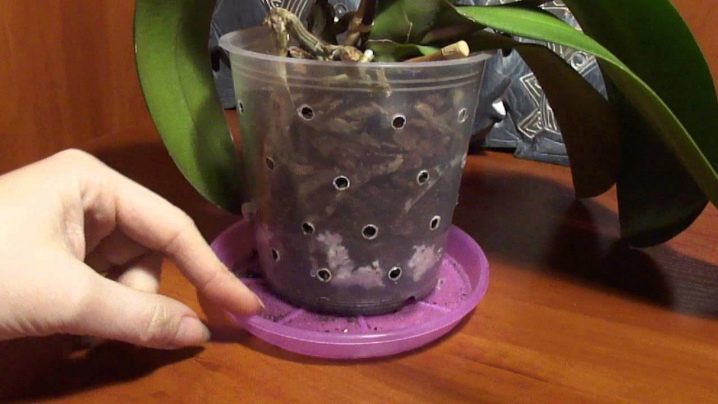
A young plant must be constantly monitored and carefully looked after. It will be fully formed by 3-4 years. Florists, taking into account the natural living conditions of orchids, advise planting them in transparent pots, since the roots take part in photosynthesis and need lighting. In addition, it is easier to control the condition of the roots, since they cannot be allowed to rot. Rot is the main enemy of the orchid; in no case should you flood the plant, it may die.
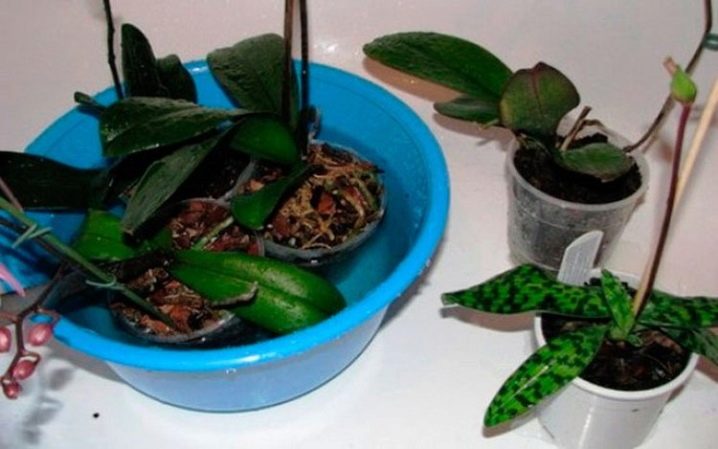
Foliar irrigation is carried out by abundant spraying of the plant, creating a kind of wet "fog" around it. Experts propose to carry out root watering by immersion: in the bottom of the container where the orchid lives, a sufficient number of holes are made, the pot is placed in a wide bowl of water. In this case, the roots have the opportunity to pick up the amount of liquid they need. The frequency of watering is the same as for adult plants, and also depends on the season and phase of the orchid's life.
The roots are very delicate, they can crawl to the surface. In this case, they need to be sprayed along with the leaves, it is permissible to cover them with pieces of moss. If brownish spots have appeared on the roots, it is time to start treating the orchid, otherwise black "blots" will form on the leaves, a rotten smell will appear, and mold may even start. This is already a neglected state; it is unlikely that it will be possible to save the flower.
For orchids, the composition of the soil is very important. It is fundamentally different from ordinary soil mixtures, it is prepared on the basis of pine bark, sawdust, charcoal and sphagnum moss. A self-prepared substrate must be disinfected by treating with hot steam, a weak solution of potassium permanganate or any fungicide. But experts advise nevertheless to purchase a special ready-made substrate.
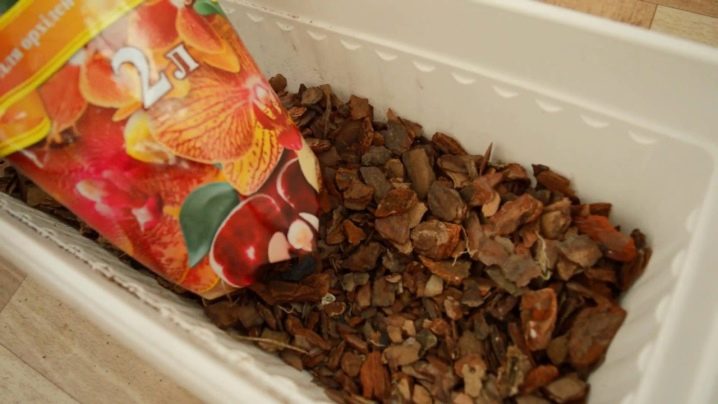
The pot is selected in a suitable size, does not hamper the development of roots, but also not excessively spacious.There should be a lot of drainage holes; moisture stagnation should not be allowed. By 1/3 the pot should be filled with drainage - expanded clay, brick chips or foam. Polyfoam is also an excellent heat insulator. This quality is especially important if the window sill becomes cold during the cold season.
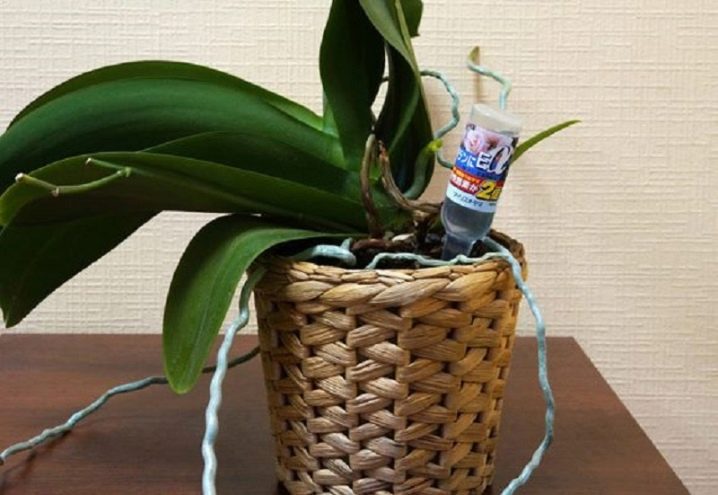
Orchids should be fed with fertilizers intended for them.
They differ from other complex dressings in composition and lower concentration. They can only be used in liquid form. Orchids need proper care more than other houseplants. Watching a flower developing is a very fun process. Subject to all the rules, good lighting and the right temperature, the flowering of a young orchid will come on time and will delight the owner.
For information on how to propagate orchids, see the next video.











Thanks for the detailed information, the article turned out to be informative and valuable for me. I have processed a lot of material on this topic and only in your article found a lot of useful things for myself.
The comment was sent successfully.