Orchid bark: how to prepare and use?
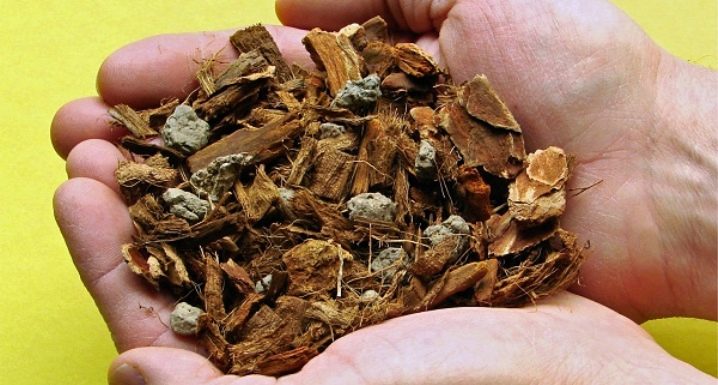
Quite often, tree bark is used to plant an orchid. Some also use a substrate based on this material. The bark is an excellent option for growing orchids. But it is important to remember that before this it should be properly prepared.
Benefit and harm
The bark layer has many positive qualities due to which this material is used. Here are a few of them:
- the bark is good for air, allowing the plant to breathe;
- it perfectly removes excess water, moisture-consuming;
- the material contains a component that has an antiseptic effect.
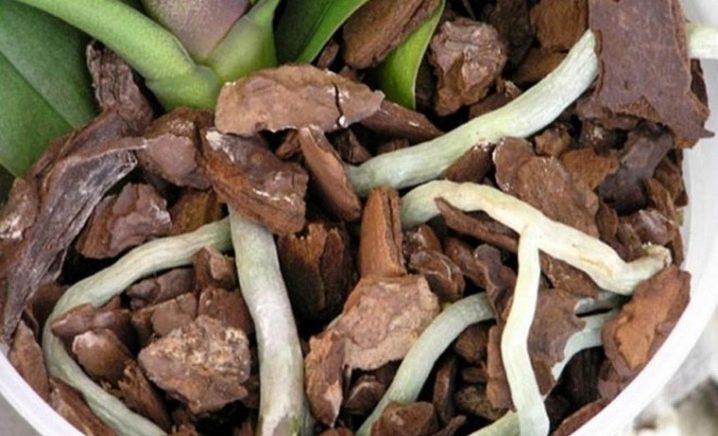
Florists use the bark to keep the plant strong and healthy. No negative qualities of this material have been identified. It is only important to remember that you cannot use the bark that is on rotten trees. She not only does not help the orchid, but is also capable of destroying it.
Which one do you need?
The material should be very carefully selected so as not to harm the house plant. It is necessary to collect the bark that contains the minimum amount of resin. If it is harvested on its own, you need to take the top layer, which is easy to break. Also, do not use dark, sunburned material. If the pieces have several darkened layers, they need to be removed.
Professionals advise using coniferous bark. You can use raw pine, sometimes spruce. Pine bark is more popular, as there is a large amount of resin in the bark of spruce.
You cannot take material from rotten trees, but you can use bark from long-dead plants. It peels off rather quickly, therefore it is easy to use. There is only a small amount of resin in the tissues, there are no causative agents of various diseases, insects are rare. Larvae can be caught but can be easily removed.
Oak bark is also suitable for an orchid, as it contains many nutrients. The hardwood layer will not flake off, so it is difficult to prepare it at home. There is no workpiece on an industrial scale, so this component is extremely rare in a special ready-made substrate.
It is better not to use raw materials from cedar, pine, thuja and larch, as it decomposes extremely slowly and does not release nutrients to the epiphyte.
Popular manufacturers
There are many growers who provide flower growers with the opportunity to properly care for an orchid and delight it with useful and safe substrates. Let's consider some brands.
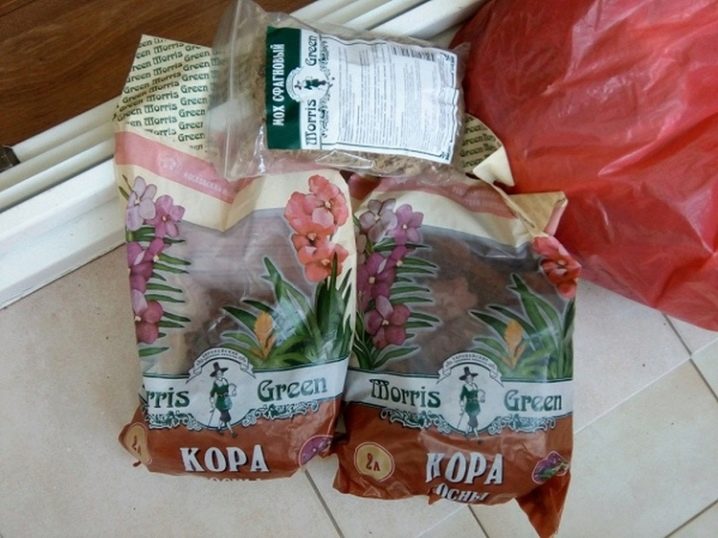
- Morris green - a substrate manufactured by a Russian manufacturer. In its composition, you can see large-fraction, well-dried pine bark. With this product, you can easily plant an adult plant on blocks or in a substrate. The raw materials are clean, pest-free.
- EffectBio - also a Russian-made product. It is a complex substrate based on raw materials from Angara pine. Dolomite flour is added to the material to keep its acidity low. The products are carefully dried and treated against insects that can harm the plant.
- As part of the complex Seramis there is bark, useful fertilizers, clay and a moisture regulator. It is most commonly used for orchids that are grown in a greenhouse. Products can be used for 10 years.It is quite loose, it allows air to pass through well, over time it will not cake or thicken. An excellent option for those who grow a large number of plants.
- Royal mix - multicomponent option. It contains calibrated raw materials that are thermally processed and supplemented with peat, coconut fiber and charcoal. The mixture contains a lot of useful and necessary trace elements. The products will remain loose after a long time of use, are able to maintain an optimal temperature regime and protect the roots of the orchid from a variety of diseases.
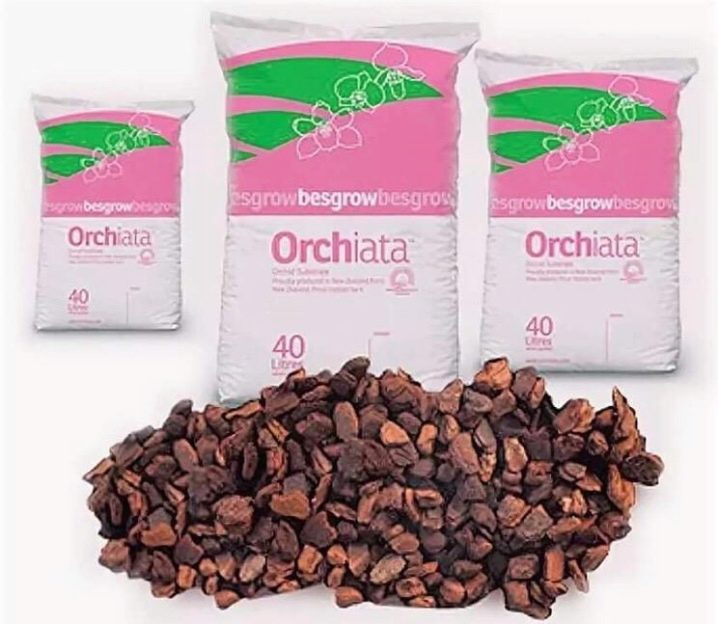
- In the substrate Orchiata there is a granular layer of wood. These products are manufactured in New Zealand. It will not thicken for a long time, it is disinfected. Allows the plant to be healthy and grow vigorously.
- Green garden pro - a substrate that will not allow the roots of the orchid to get wet. Its structure is extremely convenient, it helps the plant to develop. It contains a wide variety of nutrients and ingredients. The basis is tree bark.
- "Orchiata" - an option for those who buy only the best for their home plant. It contains radiant pine bark, which is carefully processed without losing its beneficial properties and microorganisms.
Preparing the bark at home
Before cooking, you need to carefully consider the material. If there are resin fragments, they should be discarded. Wood is well cleaned. You also need to get rid of burnt areas, clean the bark of dust and insects. The result should be a clean and healthy material. Some advise to temporarily place the workpieces in the barn or on the balcony, this helps to get rid of some pests. But one should not think that in this way all insects can be removed. The material can be completely cleaned only by heat treatment (for example, you can ignite it in the oven).
Next comes boiling. This process is necessary so that all parasites, as well as their eggs, die and do not harm the orchid later. It also helps to flush out substances that prevent the plant from growing. Some people use a steam bath instead of boiling, but this method is not very popular, as it requires a lot of time and special utensils (a large saucepan and a large colander).
There are two options for cooking the bark:
- the raw material is chopped into small pieces, and only then it should be boiled;
- first, the bark breaks down into small fractions, then you need to disinfect it, and then the processed raw material is chopped into small pieces.
Both the first and second options have their own characteristics, which you should be aware of before starting to disinfect the material. Chopped pieces will cook faster than larger fractions, but during the chopping process, the grower can transfer diseases or pest eggs to the tools and the surface on which the bark was chopped. Large pieces will take a long time to be processed and dried, but you can be sure that infections and larvae have not been transferred.
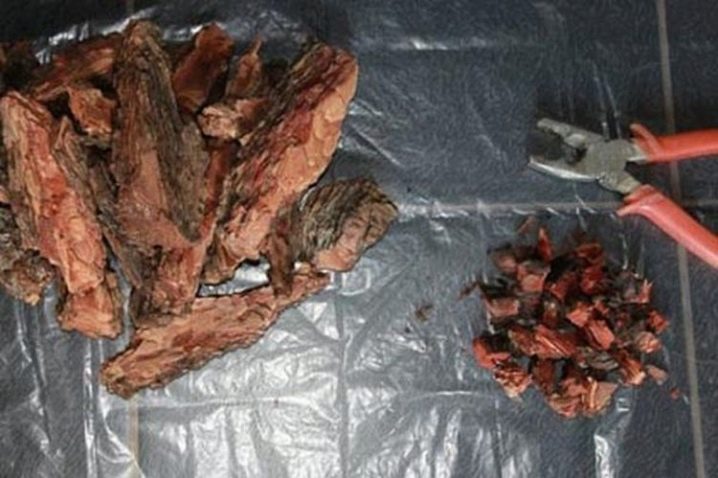
Consider how to properly boil raw materials.
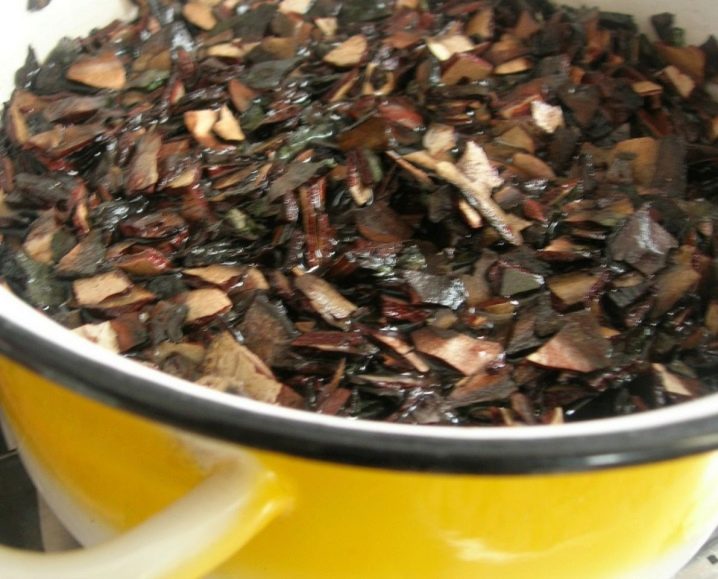
- To properly weld the material, you must choose the right container. You do not need to use your favorite saucepan, as it may be spoiled. It is best to use a galvanized bucket. The pieces are neatly stacked into it, a stone or something is placed on top that can press down the material so that it does not float. Water is poured, it must be higher than the last layer of raw materials. You should not put the bark "with a slide", it is important to leave a few centimeters (4-6) so that the resinous scale could settle.
- Next, the bucket is put on a small fire. It is necessary for the water to begin to boil. Raw materials are cooked for 15-60 minutes. If the pieces are too large, cook for 2-3 hours. Then the container is removed from the heat, left for a while so that the water can cool down. When this happens and the liquid becomes cold, it is drained and the material is thrown into a colander.Now you should wait for the excess liquid to drain.
- When the bark dries up a little, it needs to be chopped with a knife. Some use secateurs. Raw materials of 1x1 size are suitable for young plants, 1.5x1.5 for adult specimens. If there are no suitable tools, you can break the material with your hands. In this case, the pieces are different in size, but this is not so important, since the heterogeneity does not affect the development of the home flower.
- After the raw material has been chopped, knead it in your hands. To avoid injury to your hands, it is better to wear gloves made of thick fabric. Construction works well. This must be done in order to remove the sharp edges of the pieces.
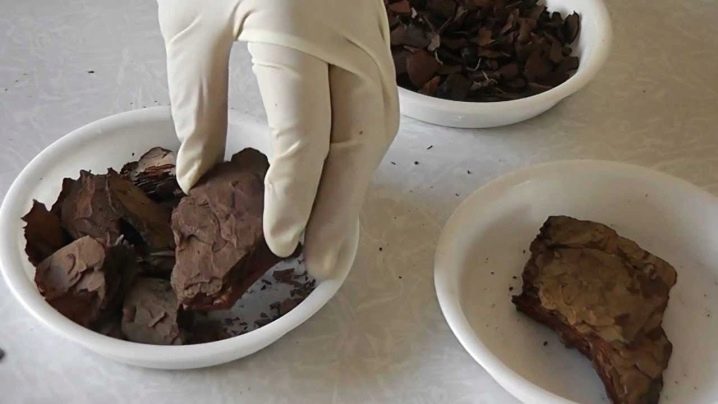
There is another option for grinding, which will save the grower from the need to crumple the material. You can scroll it in an old meat grinder, after removing the front grill with a knife. You can grind the bark in this way before it is cooked. The substrate will be airy and fluid-retaining.
After boiling, the workpiece must be well dried in the open air. It is laid out in a small layer on any flat surface. You can put the material in the oven. If the last drying option is used, the future substrate should be constantly mixed and kept there for only 15 minutes.
After that, the bark is disassembled into the required number of portions, neatly laid out in bags. Thus, the grower will protect her from bugs and diseases. To do this, you need to purchase paper bags, since plastic options provide poor ventilation. If mold appears on the pieces, you need to process them again.
Usage
If the pieces are very large, they are used as a separate soil. At the bottom of the pot, you can lay out foam or expanded clay. It is necessary to ensure that the layer is about 3-4 cm. The first few layers of wood material should consist of large pieces, then the root system of the plant is planted in the container. It should fit freely into the pot and fit above the lower layers. You should hold the plant in weight, fill up small fragments of bark between the roots, occasionally tapping the pot on the table. Pour the material up to the root collar. It is important not to block it.
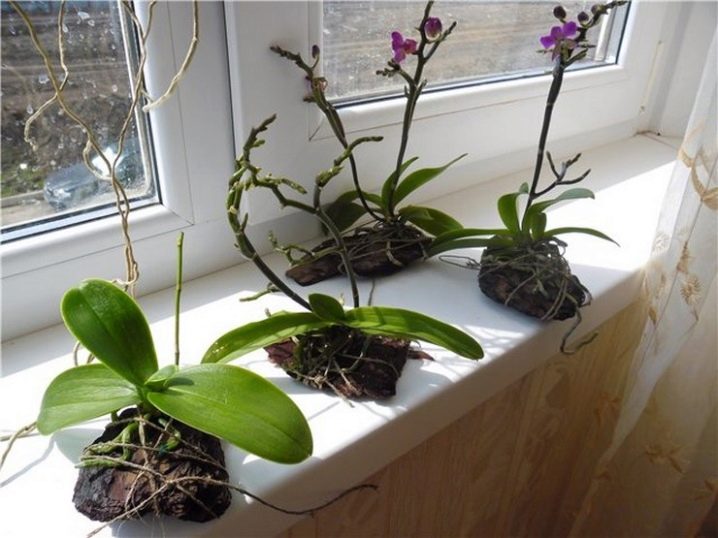
In some cases, the orchid will not be planted in the substrate. A block is made from large, voluminous pieces of bark, a flower is attached to it. A small amount of sphagnum should be laid on this block, and the orchid should be pressed on top, securing it with fishing line or wire, which should not be too thick and not rigid. It is possible to reuse the bark, but not desirable.










I bought Morris Green bark, and it's all moldy and damp.
The comment was sent successfully.