Oleander: characteristics, varieties, care and reproduction
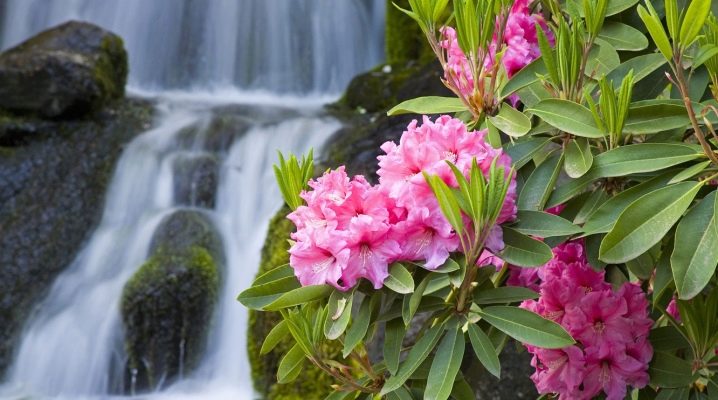
With our harsh and long winters, we often want to come up with at least something to get a piece of summer for ourselves and our loved ones. It is not for nothing that indoor plant growing is so widespread in our country - in this way people try to escape from the dullness and darkness and cheer themselves up. Plants from very distant equatorial forests can be problematic due to the huge difference in climate, but subtropical guests often take root well, if not in a garden, then at least in a tub. Oleander also belongs to those.
Description
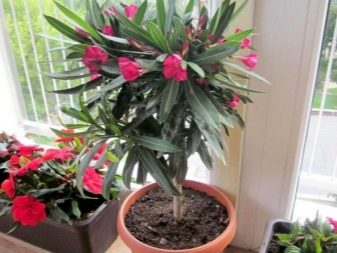
Oleander is a genus of plants in the Kutrovye family, which, however, consists of only one species - common oleander, whose name is often shortened to just one first word in common parlance. In the wild, such a shrub, which often takes the form of a small tree, grows in many subtropical regions of the Old World - from Portugal to Southeast China, including in the subtropical parts of the Black Sea coast. A favorite habitat for oleander is river beds, which dry up in the dry season.

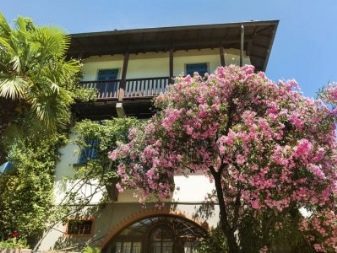
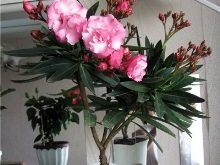
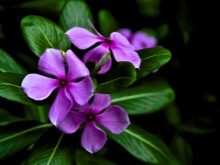
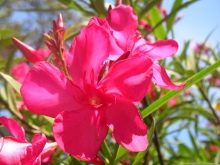
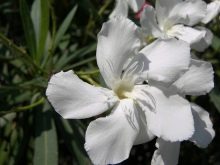
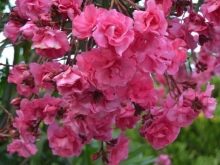
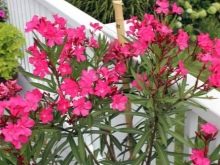
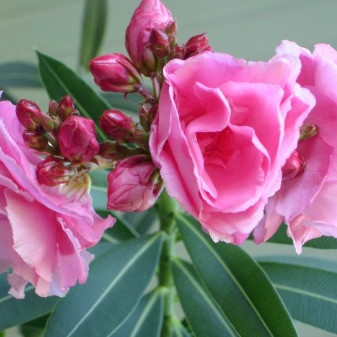
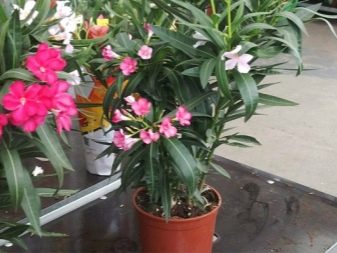
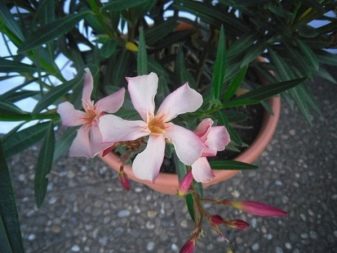
As befits a subtropical guest, oleander is an evergreen plant. In a tree-like form, the growth of such a shrub can reach 4 meters, in a tub it usually does not grow above two meters in height. Its stems are densely branched, their color is slightly brown. The leaves have a narrowed lanceolate shape, with a width of about 3 cm, they can stretch in length by 10-15 cm. One of the main reasons for the widespread cultivation of oleander is its double flower, which has excellent decorative qualities., although terry is more characteristic of specially bred varieties, and not for wild-growing shrubs. A wild tree usually blooms white or pink, thanks to the work of breeders there are varieties with emphasized red or even yellow flowers.
The exact timing of oleander flowering cannot be said in advance without understanding the climate of the region in which it grows.


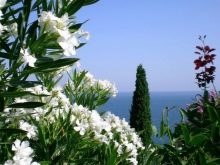
In natural conditions, where the shrub grows wild, it usually begins to bloom from June to October. The fruits of the plant are inedible and look like bolls packed with seeds.
When growing decoratively at home, be sure to pay attention to the fact that all parts of the plant are poisonous. In the most severe cases, the ingestion of oleander juice into the human body can even cause cardiac arrest, therefore, such a tree is absolutely not worth growing where children or pets can get access to it. Moreover, some African varieties are even capable of emitting toxic fumes, and if there should not be any special problems when planting in a garden, then when growing in a tub in an indoor environment, people often experience headaches and dizziness.
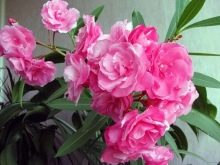
Types and varieties
Although in many sources of information the only species of the genus Oleander is the common oleander, some experts are inclined to single out two more allegedly separate species of this plant. Indian oleander is famous for the characteristic sweet smell of its flowers, therefore it gives the gardener even more aesthetic pleasure - it can be sniffed freely without fear of poisoning with harmful fumes. Something like this can be described and fragrant oleander, but that has one more interesting feature: the growth of such a bush never exceeds a very modest half a meter.
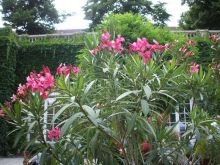

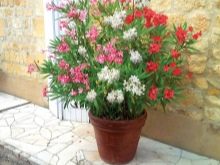
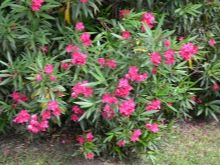
The varietal diversity of the plant is quite large, but the breeders paid the main attention to exactly what everyone calls common oleander. The main efforts of the specialists were divided into three areas. The first of them concerned the improvement of the decorativeness of flowers. - thanks to this work, red and yellow flowers appeared, as well as white ones with a slight blue tint.
Another direction is aimed at reducing the harmfulness of shrubs - although the juice has not ceased to be poisonous and it is categorically impossible to try to eat a single part of the plant, at least the amount of toxic fumes in many varieties was normalized, allowing them to be grown quietly indoors.
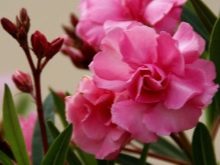


The third vector of work was directly related to increasing the frost resistance of oleander. And although there are still no outstanding successes on this soil, the most resistant varieties of shrubs are able to withstand up to 10 degrees below zero, provided that such a cold snap is short-lived.
Thanks to such research, oleander became a more popular garden plant in the subtropics, and also spread further north as a purely indoor culture.
Growing at home
One of the important advantages of oleander is not only its decorative effect, but also the fact that it is easy to care for it - that is why such a bush is present at home even among beginners.
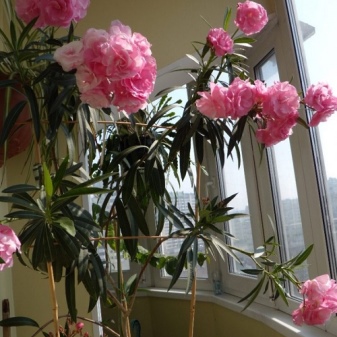
How to propagate oleander will be discussed below, but first you need to decide on a suitable place for such a large indoor plant. In the middle lane, it will not withstand a year-round stay on the street, and in a room for sufficient lighting it should be located near the southeastern windows. If the gardener has only northern windows at his disposal or he is forced to place a tub in the back of the room, the problem is solved by artificial lighting, and in winter such a procedure makes sense anyway. The normal length of the day for oleander is at least 8 hours, and it is not recommended to place lighting devices closer than 70 cm to the tree. In summer, the bush feels great on the street or on the balcony, but it is advisable to choose a place so that the sun's rays do not burn it and cool rains do not fall on it.
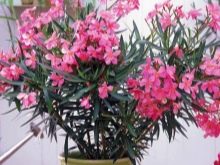
If we talk about the temperature in detail, then in summer for oleander the optimal indicators are from 23 to 28 degrees Celsius, and if a slight overheating is still acceptable, then hypothermia is undesirable. In winter, the tree is at rest, it will normally accept a drop in temperature to 10-15 degrees, because some gardeners specially bring the tub to a cool veranda.
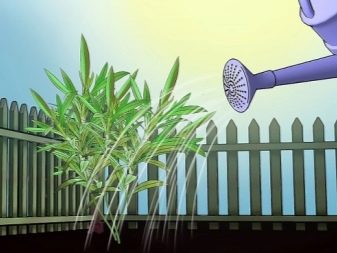
The oleander is poured with pre-settled water, which should not be either cold or hot - the room temperature will be just right. This plant loves water, so you should not be stingy with its amount., the need to repeat the procedure matures as the upper layers of the soil dry. In an effort to provide the pet with moisture, do not get carried away too much, so as not to turn the tub into a swamp - from such treatment, the oleander root system can begin to rot, which will not lead to good.
If, in the cool season, the temperature in the room does not steadily reach at least 20 degrees Celsius, the frequency of watering automatically decreases - three times a week should be enough.
An abundance of moisture should be present not only in the soil, but also in the air. Oleander is extremely unpleasant to dry air, therefore, in extreme heat and during the heating season, the plant is uncomfortable in the room, especially if it is not ventilated. To neutralize such inconveniences, you need to regularly spray the bush. You can also increase the humidity in the room in any other convenient way - a good option, for example, would be to install the tub on a pallet with humidified drainage.At the same time, the bottom of the dishes in which the oleander grows should not come into direct contact with water, otherwise the soil in the pot may become oversaturated with moisture in the lower layers, which will lead to decay of the roots.
During the active growing season, which falls mainly in spring and summer, the oleander is in dire need of feeding, without which a full-fledged growth of green mass and flowering are impossible. You can fertilize the tree with some organic dressings, as well as with complex chemicals specially produced for this particular plant, which already contain everything you need. The second option is preferable, since it also contains detailed instructions on how and in what quantities to feed the bush. The general rule is that fertilizing in a tub with oleander is applied in the morning or evening, while the forums recommend waiting about an hour after watering, and not mixing the fertilizing with water.
If you bought an already grown oleander in a pot from a store, most likely it grows in peat. Such soil is not very good for the permanent residence of a tree, therefore it is immediately transplanted into a mixture either from clay and humus, or from peat, garden soil and manure. In addition, as the root system grows, the bush needs an increase in the pot, therefore in youth it is transplanted annually in the spring, even before flowering, and in adulthood - every 2-3 years.
Correct transplantation involves the observance of some simple conditions. First of all, the new capacity should be significantly larger than the previous one in order to provide the growing root system with additional space at least for the next year.
As befits a plant that does not like waterlogging of the soil, it is imperative to make drainage holes in the bottom of the pot, through which excess moisture will go out.
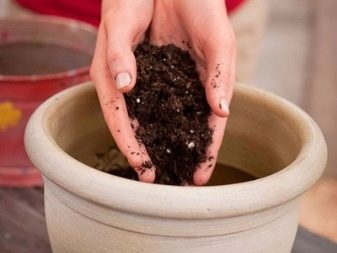
The bottom of the pot should have its own drainage layer... The most popular materials for this are expanded clay, gravel, small pebbles; even broken brick can be used from scrap materials, so that water does not linger in this layer. On top of the drainage layer, a layer of soil mixture is poured, two possible options for which were described just above. The soil is not poured to the top.
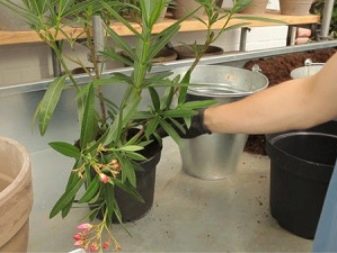
Since the oleander has a rather developed root system, it is carefully, trying not to damage the roots, removed from the old vessel and installed in a new one, on an already poured earth layer. After that, the rests of the substrate are filled in the voids around the root. It is recommended to even tamp the mass a little so that it does not pass water through itself too quickly and does not sag in the future.
Freshly transplanted oleander requires generous watering.
Disease and pest control
As often happens, any problems with oleander, be it diseases or pests, would never arise if gardeners always adhered to the rules of caring for the plant. Of course, causative agents of major diseases and other uninvited guests can attack a completely healthy and well-groomed flower, but this happens quite rarely. However, even if the bad thing has already happened, you need to try to save the tree, and for this it is first desirable to determine what the problem is.
- The foliage dries and withers. This is a typical sign of a lack of moisture, therefore it is necessary to intensify watering or spraying, as an option - to increase the humidity in the room.
- Leaves fall. Most plants shed their foliage in conditions of fairly low temperatures, this statement applies to evergreen oleander, although this behavior is not the norm for him at all. In winter, while the bush grows indoors, hypothermia usually does not threaten him, but on a summer night he, taken out into the street, may freeze a little. Because of this, gardeners usually advise, even in summer, to take the oleander outside only during the day, taking it back to the room at night.
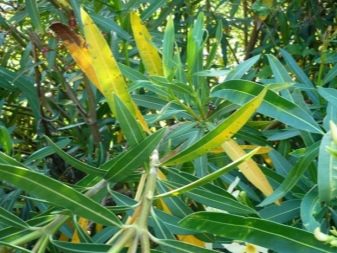
- The leaves turn yellow. There can be two reasons for this phenomenon at once: firstly, too intensive watering and potential rotting of the roots, and secondly, ill-conceived feeding.
- The tree does not bloom. A disaster for all lovers of oleander flowers can be caused by any of a number of reasons. So, for proper budding, you need a lot of light and access to fresh air, and in the room these requirements are not always met. For all its thermophilicity, an adult oleander does not like extreme heat and because of it, it may also not bloom. Finally, it is possible that the plant has simply outgrown its tub - then it just needs to be transplanted into a larger container.
- The buds fall off. This is another sign that a tropical visitor is cold. In this case, the problem may relate to both low air temperature and irrigation with too cold water.
- Black dots on the leaves and further weakening of the bush. Such symptoms clearly indicate that a fungus has occupied the oleander foliage. Over time, fungal spots are able to increase, and in fact they block the access of the green mass to sunlight, due to which photosynthesis loses its efficiency. The affected leaves can no longer be saved, therefore they are removed, the rest of the plant should be treated with fungicides.
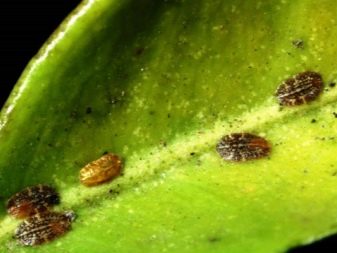
- Whitish and brown clusters on foliage. Similar traces are left behind by almost all pests of oleander - thrips and mealybugs, spider mites (which also leave a cobweb) and scale insects. Carefully examining the leaves, you will find not only traces of these intruders, but also themselves. In mild cases, the fight against them is possible even with the help of ordinary soapy water, but with an abundance of enemies, the plant will have to be treated with insecticides, and possibly more than once. In addition, some pests are able to hide or lay eggs even in the adjacent areas of the soil, therefore sometimes not only the oleander itself is subject to processing, but also the soil in the tub.
- Growths on the trunk and branches, as well as white spots on the foliage. Such phenomena are typical for severe diseases of the bush - cancer or bacteriosis.
In many cases, it is not possible to save the tree, but you can try to do this by removing the damaged areas.
Pruning
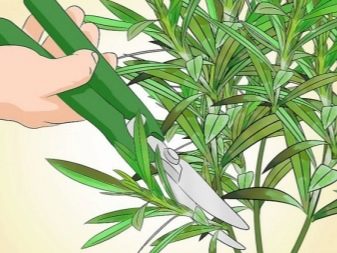
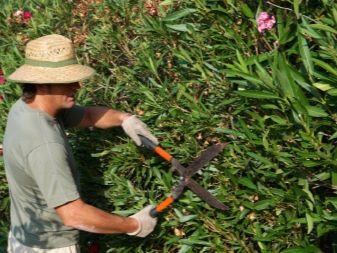
Oleander is highly valued as an ornamental crop due to its lush flowering, but without regular crown formation, which even in itself allows you to decorate the tree, you should not expect an abundant number of flowers. Standard guidelines assume that the shrub is pruned annually, immediately after flowering, that is, in the fall. As a rule, all branches are pruned, leaving only half of its original length for each.
At the same time, some of the shoots of any oleander give the impression of weak and unpromising. Their appearance is not deceiving - experienced gardeners usually recommend removing them entirely. This allows you to save the strength of the tree, which will no longer be wasted, and instead of them, the oleander can start new shoots next year, which with a high degree of probability will turn out to be healthy. Pruning an oleander tree involves not only shortening the branches in the fall, but also removing wilted petals. Such a procedure is performed immediately upon detection, however, the petals should be removed carefully: if the flowering season is not over yet, the carefully preserved inflorescence can bloom again.
Reproduction methods
This culture is good because it can be propagated by layers, cuttings, and seeds. Each method deserves more detailed consideration.
Layers are very popular with gardeners - with high germination efficiency, they are quite easy to care for. For rooting, the branch is incised (but not cut off completely, otherwise it will already be cuttings), then the section of the shoot allocated for the future plant is cleaned of bark and lowered into water, less often into moistened sand.
Some time later, the incised shoot, dipped in moisture, should give roots, after which it can be finally separated from the mother plant and planted in an individual pot.
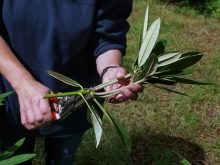
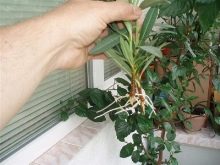
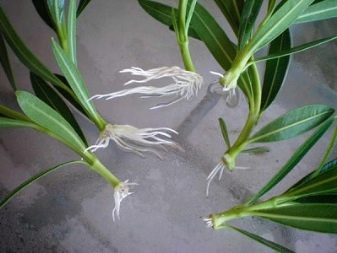
Cuttings are usually cut only in spring or autumn - before or after flowering. Any healthy shoot about 15 cm long is suitable for the role of a cutting. Waste after pruning a tree is often used as such. The wounds, both on the tree itself and on the cuttings, are sprinkled with coal powder, after which the collected seed is planted in a container where the substrate consists of perlite, sand and charcoal in equal proportions. Future oleanders need a lot of light, so they are placed in a place where there is no lack of it. It should be remembered that temperature drops at this stage are extremely undesirable.
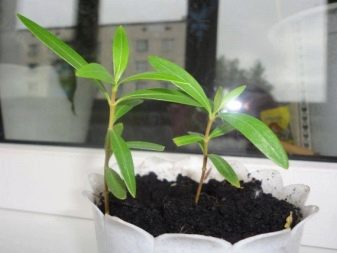
Cuttings are prone to relatively easy decay, therefore watering is strictly dosed. If done correctly, the root system of young oleanders will develop in about a month - they are now ready to move into their own permanent tubs. Please note that the composition of the substrate there should already be completely different - collect it from sand, peat soil, humus and turf.
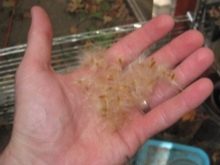
As with many other plants, seed propagation option is the longest and most laborious, but for those gardeners who are not intimidated by the difficulties, this can be an excellent test of their own skills. Oleander seeds have a rather low level of germination, therefore it is generally not customary to store them - as soon as they are harvested, plant them immediately.
At the same time, experts recommend preliminary disinfection of the planting material, for the sake of which the oleander seeds are placed first for half an hour in a light solution of any fungicide (potassium permanganate will work from available tools), and then for another hour - in a solution of drugs like Zircon or Heteroauxin.


Treated seeds are not deeply buried in the ground. The soil for them is exactly the same as for an adult oleander. At the same time, the seed is very picky about the temperature, which should be unusually high - at the level of 30-35 degrees above zero. Ignoring such a requirement, you run the risk of greatly slowing down the germination process, and in many cases the seeds simply rot at all. If everything was done correctly, young shoots should appear after about a week and a half.

A seedling that has broken through needs intensive human care. In the conditions of premises in our country, he may not have enough light, heat and humidity, therefore all these shortcomings must be compensated. In almost all cases, the sprouts need artificial lighting, the place for them should be chosen the warmest in the room, and humidification of the air and periodic spraying will not interfere with the seedling. At the same time, you should not arrange a round-the-clock steam room for the plant - regularly ventilate the room, but try to avoid drafts.
From the moment when the sprout acquires three full-fledged leaves, it needs to be gradually accustomed to the conditions of detention familiar to an adult tree. When the number of leaves reaches 4-5, the future bush is ready to move into a separate pot.
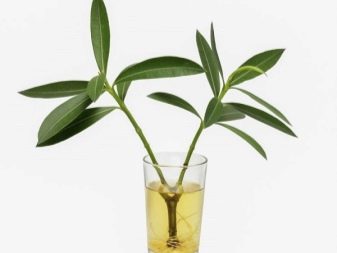
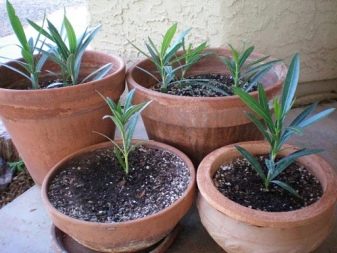
In the next video, you will find even more information about breeding, planting and the features of caring for oleander.



The comment was sent successfully.