How to make a do-it-yourself disk hiller?
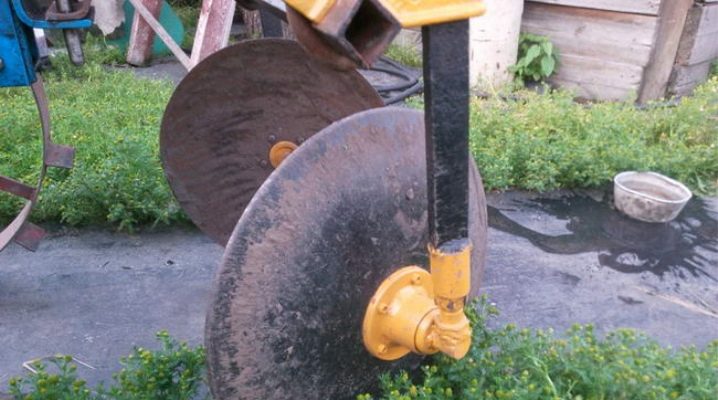
Hilling and digging up a land plot is quite hard work that takes a lot of strength and health. Most land owners and gardeners practice in their household such a practical device as a walk-behind tractor. With its help, you can easily dig up the entire available area in a short time. And if you add various equipment to it, for example, a hiller, a mower, and the like, then the work will be simplified several times.
However, you can create a disk tool for hilling motor vehicles with your own hands.
Why are they good?
This type of equipment is endowed with a number of positive qualities.
- Ideally combined with a walk-behind tractor... If the disc device for hilling is operated at a reduced gear of the unit, then its power is significantly increased, thereby increasing the productivity of digging up the soil.
- Convenient operation... In the process of cultivation or digging with this device, much effort is not required. He moves forward on his own, without the need to help him and push him from behind.
- Multifunctional design... The hiller can be practiced to loosen the soil both before planting the potatoes, and after it in the process of active growth for extraordinary cultivation.
Hilling disc equipment is as important as a winch and a plow. Through it, you can easily prepare beds for planting vegetation, and also use it for planting planting material, in particular, potatoes.
If you choose from the available samples in retail outlets, then it is advisable to opt for hillers made of alloy steel, the structure of which is equipped with roller bearings and disc elements with a large diameter and thickness.
Structure
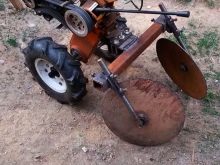
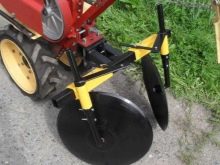
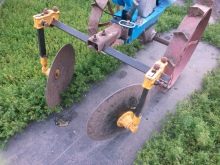
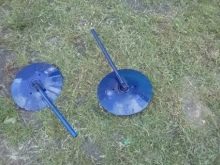
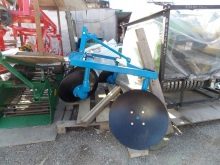
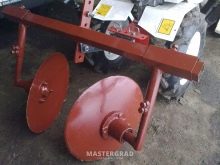
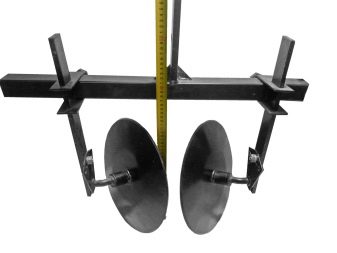
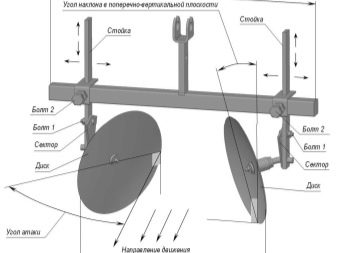
The structure of the tillering disc includes a frame on two wheels and two suspended discs.
If we analyze all the component parts more thoroughly, then we can especially note the following:
- T-shaped leash;
- screw ties (turnbuckles) - 2 pcs., thanks to which the angle of rotation of the disks vertically is adjusted;
- rods - 2 pcs.;
- discs - 2 pcs.
The adjustment of the racks provides an optimal variation in the distance between the edges of the discs. As a result, you can select the width that is required (ranging from 35 centimeters to 70 centimeters).
Wheels should be fitted with a diameter of approximately 70 centimeters and a width of 10-14 centimeters. Otherwise, you can damage the plantings during the hilling process.
If it is required to set the proportional rotation angle of the discs, then it is necessary to adjust the screw ties. Without this, the hilling tool will constantly be dragged to the side. But the angle of inclination of the discs is not adjustable - it is always in one position.

Operating principle
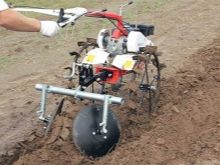
The device is connected to motor vehicles on the bracket of the coupling device (hitch), which does not have a bedside bed. This is done by means of a locking component - two screws and a flat washer. More comfortable and quality work is done at the first reduced speed. This will make it possible to increase traction by reducing the forward speed.
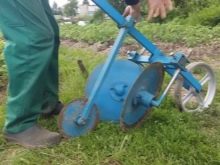
The principle of operation of the disc hilling tool is simple: the discs, when moving, capture the ground and form a roller in the process of hilling, sprinkling the vegetation with soil. The movement of the discs makes it possible to additionally crush the soil and loosen it.
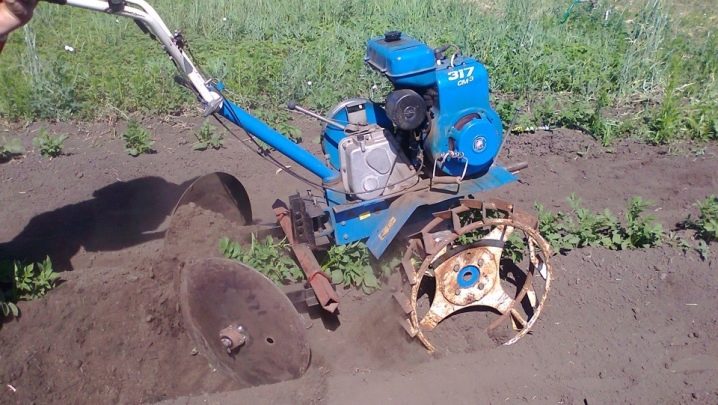
The disc device for hilling has some advantages compared to its relatives: it builds ridges higher and more evenly, it is easier and more interesting to operate, while the energy consumption is much lower. It is easier for an employee to work with such a device.
Of course, not everything is so beautiful. You always have to pay for the convenience. And the cost of the disc tiller is proof of that. The cost of being able to use a comfortable and easy-to-use disk device is approximately 3-4 times higher than other types.
The cost of agricultural equipment depends on the following characteristics:
- thickness and lateral dimensions of the discs;
- material of manufacture: ordinary metal or alloy steel;
- application in the structure of roller bearings or sleeve bushings;
- setting device.
When purchasing a disk tool for hilling, all these points must be taken into account.
Taking into account that this equipment is not cheap, a natural question arises as to whether it is possible to make a homemade disk device for hilling to a walk-behind tractor.
How to do it yourself?
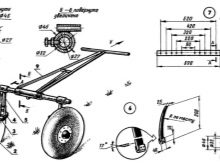
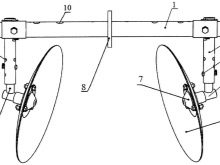
Drawing
Before proceeding with the implementation of the described hiller on your own, it is advisable to study the drawings of this device. They will make it possible to implement this rig with maximum precision.
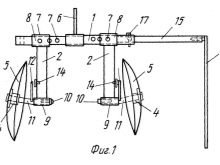
Manufacturing methods
The hilling device can be made in 2 methods:
- with a static working width;
- with adjustable or variable working width.
Tools
For work, you will need the following welding and locksmith equipment:
- welding unit (it is desirable that this equipment was designed for electric arc welding);
- angle grinder with a set of various attachments and discs;
- electric drill with a set of quality drills;
- electric sanding machine;
- a gas burner, which is required to heat iron during quenching;
- yews or a special work table;
- all kinds of files and other consumables (bolts and other fasteners).
This list refers directly to the inventory we require. In addition, the material itself will be needed, from which the assembly of the equipment will be carried out.
Process of creation
In order to make such a device, you will also need improvised devices, among which the main ones are 2 lids from old useless pots. The size of the diameter must be in the range of 50-60 centimeters.
The covers must be sharpened along the entire circumference... They will become the work plane. Then, using a hammer, we bend our future discs: from one side the lid should become convex, from the other - depressed. This is done so that the device can raise the soil and dig in adjacent landings. You can also use discs from an old seeding machine.... You will also need 2 screw ties, 2 vertical strips and a T-shaped leash.
The components of the fixture are connected together by means of bolts or involve welding. The disks themselves are connected with custom adapters.
Screw ties will allow you to adjust the angles of rotation of the disk in a vertical position.
Work elements should be installed so that they are parallel, and the distance between their edges corresponds to the width of the rows.
The assembled product is fixed to the motorcycle holder by means of a leash using bolts with flat washers and a stopper.
To summarize: if you have some abilities and the necessary components among unnecessary used rubbish, you can easily build a hilling device on your own and save a very substantial amount.
For a video on how to make a do-it-yourself disk hiller, see below.


The comment was sent successfully.